Ultimate Guide to Vegan Curry: Recipes, Tips, and Techniques for Perfect Plant-Based Meals
Vegan curry has transformed from a niche dietary choice into a beloved weeknight dinner staple for millions of home cooks. The aromatic blend of spices, creamy coconut milk, and tender vegetables creates comfort food that satisfies every palate.
This Website contains affiliate links. That means I may earn a small commission if you purchase through my links, at no extra cost to you.
This comprehensive guide walks you through everything you need to master vegan curry at home. You’ll discover essential ingredients, foolproof cooking techniques, and time-saving meal prep strategies.
Whether you’re new to plant-based cooking or seeking to expand your recipe repertoire, these tips will help you create restaurant-quality curry in your own kitchen. Let’s explore the world of vegan curry together.
Essential Ingredients Every Vegan Curry Needs
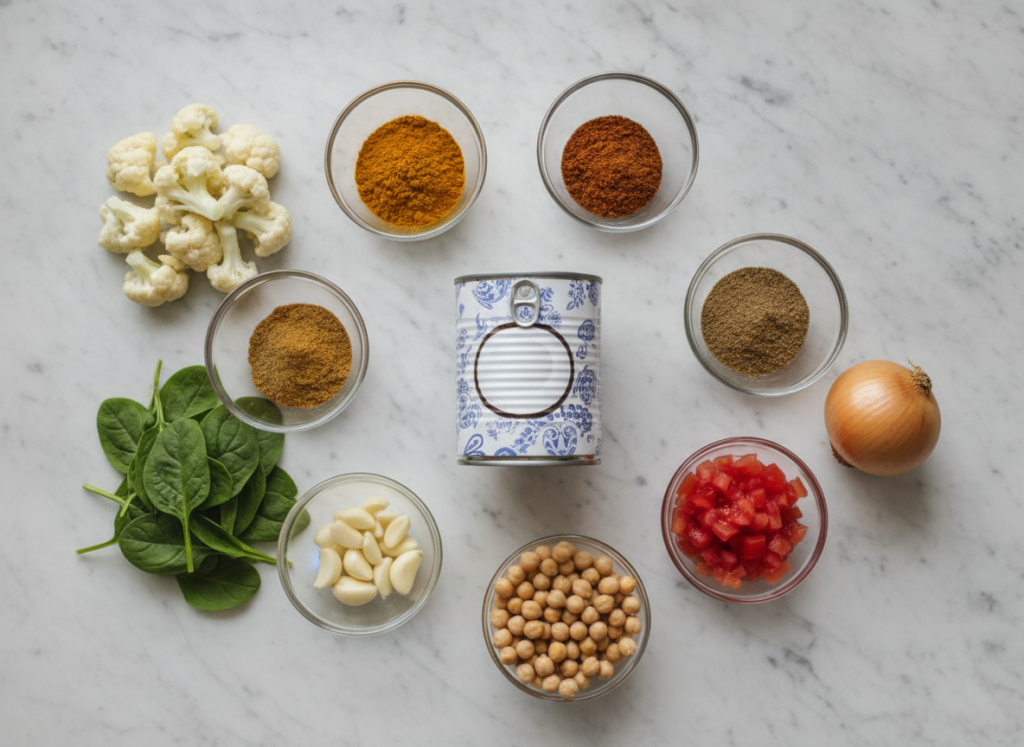
Building a flavorful vegan curry starts with understanding your core ingredients. Each component plays a specific role in creating depth, richness, and authentic taste.
The Foundation: Coconut Milk
Coconut milk forms the creamy base for most curry recipes. Full-fat coconut milk delivers the richest flavor and silkiest texture. The fat content creates that restaurant-quality mouthfeel you’re seeking.
Store coconut milk cans in your pantry for spontaneous curry nights. One 13.5-ounce can typically serves four people when combined with vegetables and protein.
Spice Blend Essentials
Curry powder serves as your primary seasoning, but depth comes from layering multiple spices. Stock your pantry with these crucial ground spices:
- Curry powder (your base flavor profile)
- Cumin (earthy warmth and depth)
- Turmeric (golden color and subtle bitterness)
- Garam masala (complex finishing spice)
- Ground coriander (citrusy brightness)
Each teaspoon of spice contributes specific flavors. Start with one teaspoon curry powder per serving, then adjust based on your heat preference.
Aromatic Base Vegetables
Yellow onion and garlic create the aromatic foundation. Sauté these ingredients in oil until softened before adding spices. This process releases essential oils and builds flavor complexity.
Dice one medium yellow onion finely for even cooking. Mince three to four garlic cloves for optimal flavor distribution throughout your curry sauce.
Liquid Components
Beyond coconut milk, you’ll need additional liquids for consistency control:
- Vegetable broth or water for thinning
- Tomato sauce or diced tomatoes for acidity
- Lime juice for brightness
Protein and Vegetables
These ingredients add substance and nutrition to your curry:
- Chickpeas (hearty and filling)
- Cauliflower (absorbs flavors beautifully)
- Spinach (adds color and nutrients)
- Bell pepper (sweetness and crunch)
Unlock 500+ Vegan Curry Recipes
Get instant access to our comprehensive vegan curry cookbook featuring authentic recipes from around the world. Each recipe includes detailed instructions, ingredient substitutions, and meal prep tips for busy home cooks.
Mastering Cooking Techniques for Perfect Vegan Curry
Technique separates good curry from exceptional curry. These methods ensure your spices bloom properly and flavors develop fully during cooking time.
The Bloom Method: Activating Your Spices
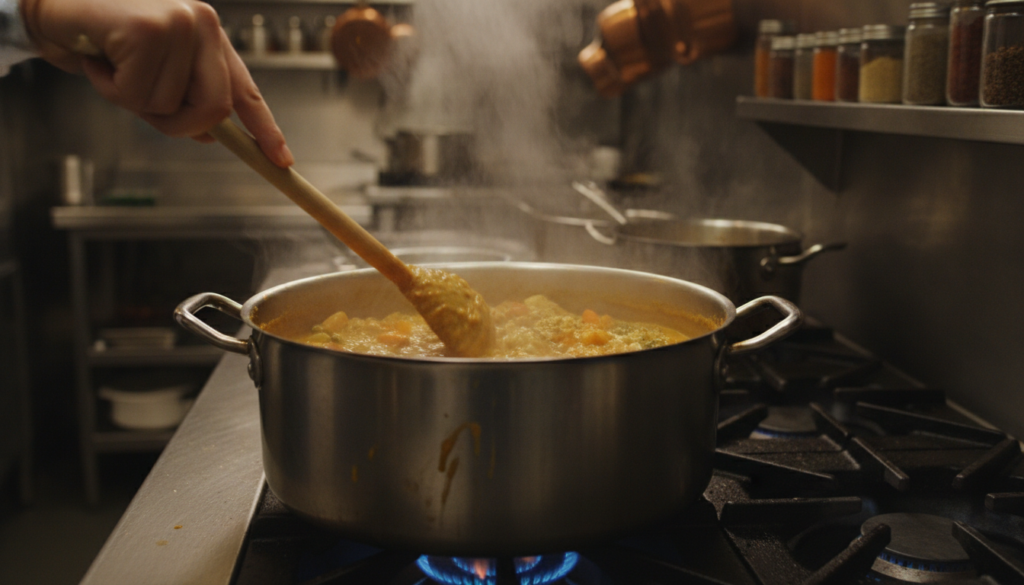
Blooming spices in hot oil releases their essential oils and intensifies flavor. Heat two tablespoons oil in your pot over medium heat. Add curry powder, cumin, and other ground spices.
Stir constantly for thirty seconds to one minute. You’ll smell the spices becoming fragrant. This signals they’re ready for liquid ingredients.
Never skip this step. Raw spice flavor tastes harsh and incomplete compared to properly bloomed seasonings.
Building Layers of Flavor
Add ingredients in the correct sequence for optimal taste development:
- Sauté onion in oil until translucent (five minutes)
- Add garlic and cook until fragrant (one minute)
- Bloom your spices in the aromatic base
- Add tomatoes and cook until broken down
- Pour in coconut milk and water
- Simmer vegetables until tender
Each stage builds upon the previous one. Rushing through steps produces flat, one-dimensional flavor.
The Simmer: Patience Creates Depth
Once all ingredients combine in your pot, reduce heat to maintain a gentle simmer. Cover partially to allow steam escape while concentrating flavors.
Simmer for twenty to thirty minutes minimum. This time allows vegetables to soften and sauce to thicken naturally. Stir occasionally to prevent sticking.
The curry sauce should coat a spoon when ready. If too thin, simmer uncovered for additional minutes. If too thick, add water one tablespoon at a time.
Texture Control
Achieving the perfect curry consistency requires attention to these factors:
- Pot size affects evaporation rate
- Lid position controls moisture retention
- Heat level determines thickening speed
- Stirring frequency prevents scorching
Flavor Adjustments
Taste and adjust your curry before serving using these enhancement options:
- Salt brightens all other flavors
- Lime juice adds fresh acidity
- Garam masala deepens complexity
- Coconut milk smooths excessive heat
Heat Management
Control spice level throughout the cooking process:
- Start mild, add heat gradually
- Remove curry from heat before final seasoning
- Allow five minutes rest time
- Serve hot sauce on the side
Master Professional Cooking Techniques
Transform your home cooking with our step-by-step video course. Learn professional techniques from experienced chefs, including advanced spice combinations, texture perfection, and presentation skills that wow your dinner guests.
Popular Vegan Curry Recipes You’ll Make Again and Again
These tested curry recipes deliver consistent results for home cooks. Each version offers unique flavors while maintaining the comforting essence of traditional curry.
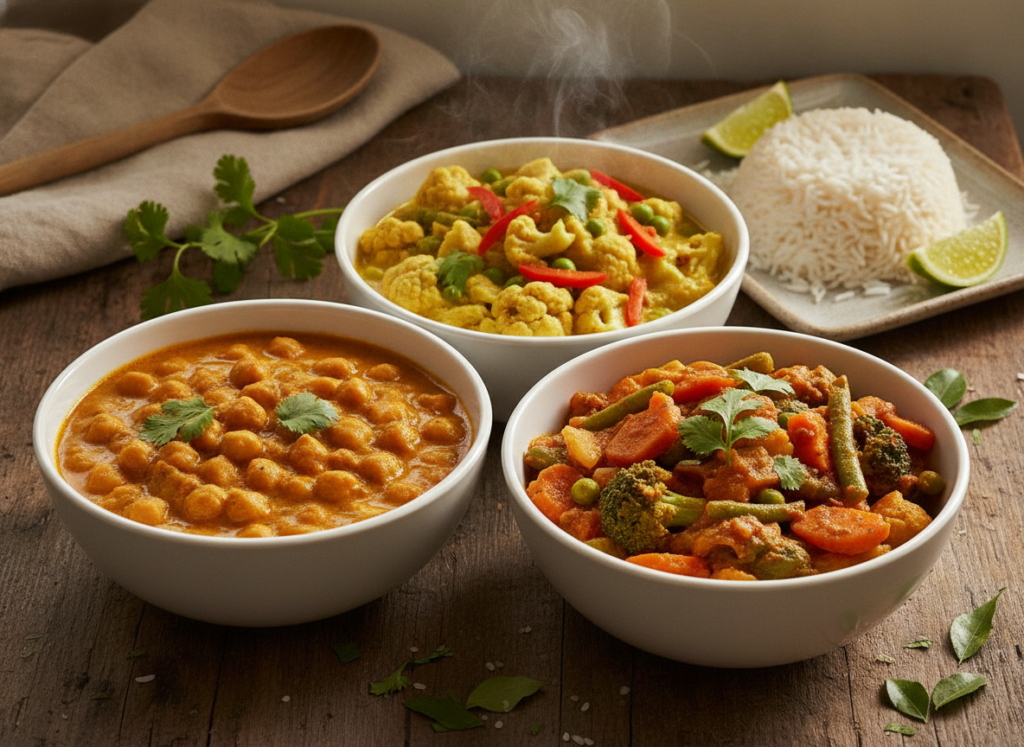
Classic Coconut Chickpea Curry
This recipe represents the perfect introduction to vegan curry cooking. Chickpeas provide protein and heartiness while absorbing the rich coconut milk sauce beautifully.
Combine one can drained chickpeas with coconut milk, diced tomatoes, and curry powder. Simmer for twenty minutes until sauce thickens. The result feeds four people generously.
Serve over rice for a complete meal. Leftovers taste even better the next day as flavors continue developing in the fridge.
Cauliflower and Spinach Curry
Cauliflower florets transform into tender, flavor-soaked morsels in this vegetable-forward curry recipe. The neutral taste accepts bold spicing while maintaining pleasant texture.
Cut one medium cauliflower head into bite-sized florets. Add to your curry sauce after bringing to a simmer. Cook covered for fifteen minutes until fork-tender.
Stir in fresh spinach during the final two minutes. The greens wilt quickly, adding color and nutrition without overpowering other flavors.
Red Lentil Curry with Tomatoes
Red lentils cook quickly and break down into a thick, creamy texture. This curry recipe requires minimal prep time while delivering maximum comfort.
Rinse one cup red lentils thoroughly. Add to your spiced tomato base with three cups water. Simmer for twenty-five minutes, stirring occasionally.
The lentils will soften completely and thicken the sauce naturally. No additional thickeners needed for perfect consistency.
Quick Weeknight Version
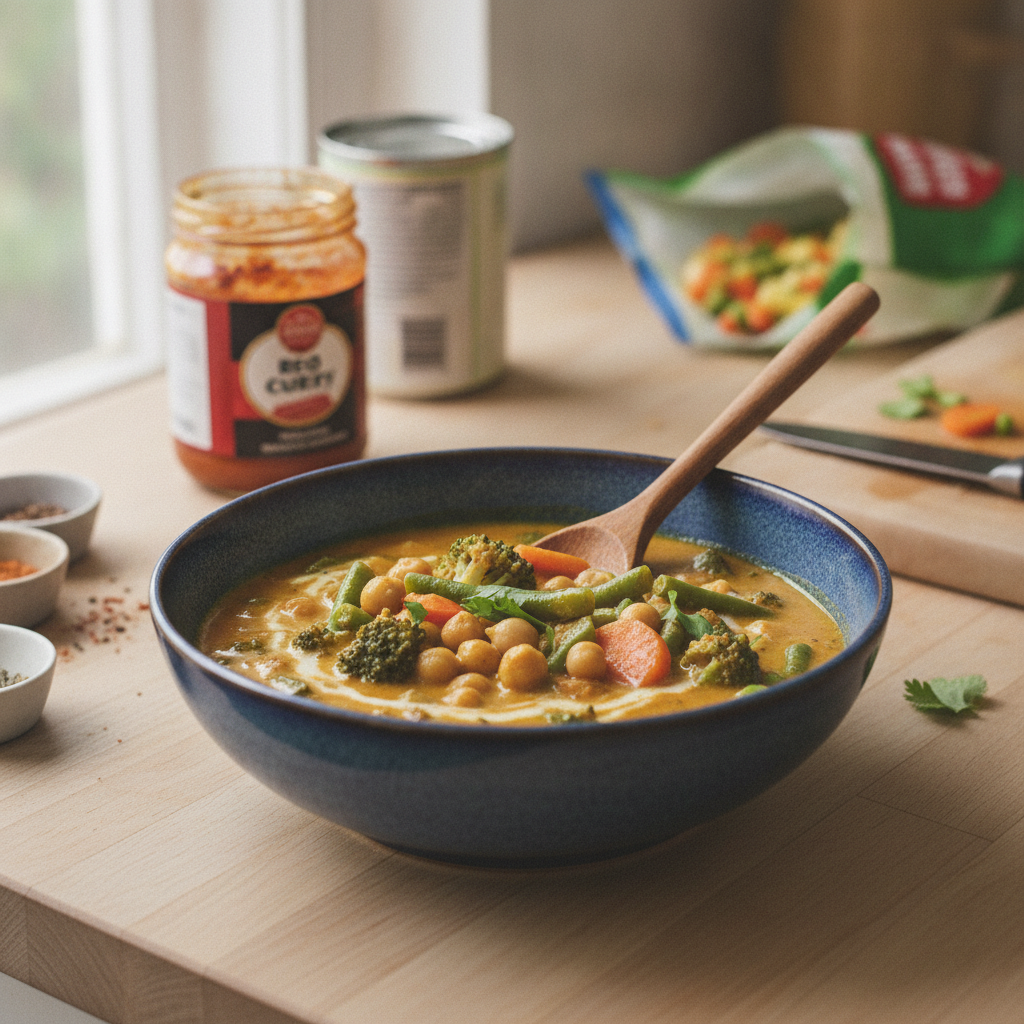
When time is limited, this streamlined approach delivers curry in thirty minutes or less:
- Use pre-cut frozen vegetables
- Start with canned chickpeas (already cooked)
- Employ curry paste instead of individual spices
- Cook rice in your rice cooker simultaneously
- Skip browning steps for vegetables
Meal Prep and Storage Tips for Busy Home Cooks
Vegan curry excels as a meal prep dish. The flavors improve over time, making it ideal for advance preparation and weekly meal planning.
Proper Storage for Maximum Freshness
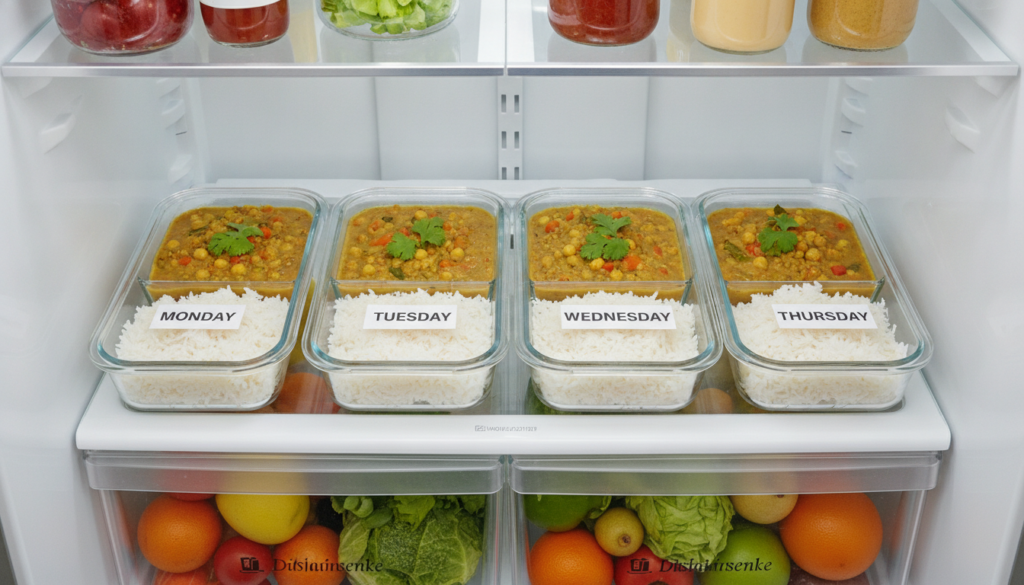
Transfer cooled curry to airtight containers immediately after cooking. Glass containers work best for preventing odor absorption and maintaining flavor integrity.
Store in the refrigerator for up to five days. The curry will thicken as it cools. Add a splash of water when reheating to restore original consistency.
Leave one inch headspace if freezing. Curry expands slightly during freezing. Freeze for up to three months without quality loss.
Batch Cooking Strategies
Double or triple your recipe when meal prepping. The cooking time increases only minimally while providing multiple meals throughout the week.
Cook rice separately and store in individual containers. This prevents rice from absorbing excess liquid and becoming mushy during storage.
Portion curry into single-serving containers for grab-and-go convenience. Label each container with the preparation date for easy tracking.
Reheating Methods That Preserve Quality
Stovetop reheating provides the best results. Transfer curry to a pot over medium heat. Stir frequently and add water if needed. Heat until steaming throughout.
Microwave reheating works for quick meals. Use a microwave-safe container with a vented lid. Heat for two minutes, stir, then continue in thirty-second intervals.
Avoid reheating more than once. Each heating cycle degrades texture and flavor. Only reheat the portion you plan to eat immediately.
- Cool curry completely before sealing
- Use airtight glass containers
- Label with date and contents
- Store rice separately from curry
- Freeze in portion sizes
- Thaw overnight in fridge
Storage Do’s
- Don’t store hot curry immediately
- Avoid plastic containers for long storage
- Never leave at room temperature over two hours
- Don’t mix old and new batches
- Skip freezing cream-based sauces
- Avoid microwave thawing when possible
Storage Don’ts
Weekly Meal Prep Schedule
Plan your curry meal prep efficiently with this weekly approach:
- Sunday: Prepare large batch, portion into containers
- Monday-Wednesday: Enjoy fresh refrigerated portions
- Thursday: Freeze remaining portions if not consumed
- Friday-Saturday: Rotate with other meal prep dishes
This rotation prevents flavor fatigue while ensuring you always have healthy dinner options ready.
Smart Ingredient Substitutions for Any Dietary Need
Curry recipes adapt easily to accommodate various dietary restrictions, preferences, and ingredient availability. These substitutions maintain flavor while meeting your specific needs.
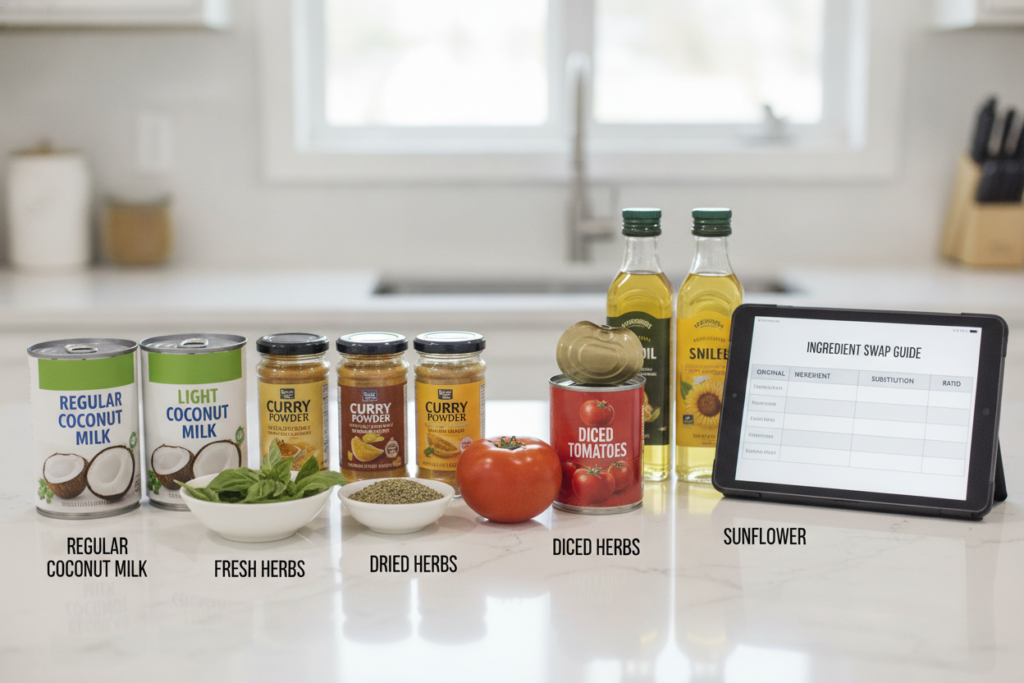
Coconut Milk Alternatives
Full-fat coconut milk creates the richest curry sauce, but alternatives work when needed. Light coconut milk reduces calories while maintaining coconut flavor. Add one tablespoon coconut oil to restore creaminess.
Cashew cream provides a nut-based alternative. Blend one cup raw cashews with one cup water until smooth. This creates neutral-flavored creaminess without coconut taste.
Oat milk or soy milk work in a pinch. Choose unsweetened varieties and add extra fat through oil or nut butter for proper consistency.
Spice Blend Modifications
Create your own curry powder blend when store-bought versions aren’t available. Combine two teaspoons ground cumin, two teaspoons ground coriander, one teaspoon turmeric, and one-half teaspoon each of ginger and cayenne pepper.
Garam masala adds finishing complexity but isn’t essential. Substitute with extra curry powder and a pinch of cinnamon for similar warmth and depth.
Fresh ginger replaces ground ginger at a three-to-one ratio. Use three teaspoons grated fresh ginger for every one teaspoon ground ginger called for in recipes.
Vegetable and Protein Swaps
Any combination of vegetables works in curry. Use what you have on hand or what’s in season for best flavor and value.
Protein Options
- Chickpeas (classic choice)
- Tofu (firm or extra-firm)
- Tempeh (nutty flavor)
- Red lentils (quick-cooking)
- Green lentils (holds shape)
Hardy Vegetables
- Cauliflower (absorbs flavor)
- Sweet potato (adds sweetness)
- Potato (filling and hearty)
- Eggplant (meaty texture)
- Butternut squash (creamy)
Quick-Cooking Additions
- Spinach (final two minutes)
- Peas (frozen work great)
- Bell pepper (keeps texture)
- Zucchini (summer option)
- Green beans (snap beans)
Oil-Free Cooking Adaptation
Eliminate oil by water-sautéing your aromatics. Use two to three tablespoons water or vegetable broth instead of oil. Add liquid in small amounts as it evaporates. This technique produces similar flavor development without added fat. Your curry will have slightly lighter texture but maintains all essential taste components.
Creative Serving Suggestions to Elevate Your Curry
Transform your vegan curry from simple meal to impressive dinner with thoughtful serving choices and complementary sides.
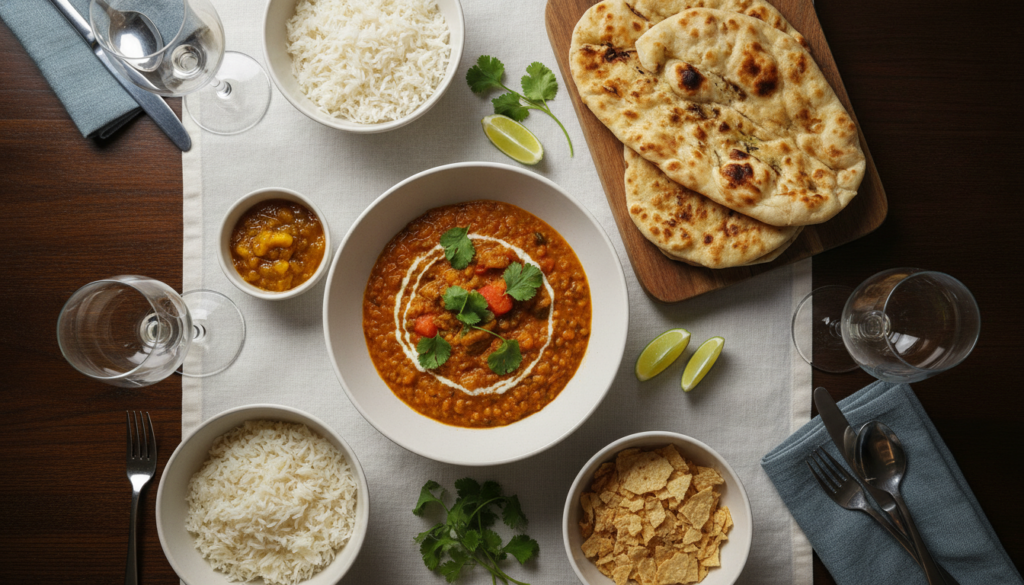
Perfect Grain Pairings
Basmati rice remains the traditional choice for good reason. The long grains stay separate and fluffy, providing ideal texture contrast to creamy curry sauce.
Cook rice using a two-to-one water ratio. Combine one cup rice with two cups water, bring to a boil, reduce heat, cover, and simmer for fifteen minutes. Let rest five minutes before fluffing.
Brown rice adds nutty flavor and extra fiber. Increase cooking time to forty-five minutes and use two and one-half cups water per cup of rice.
Quinoa offers a protein-rich alternative. This ancient grain cooks in just fifteen minutes and provides complete protein to complement your curry.
Bread Options for Scooping
Naan bread transforms curry into an interactive eating experience. Warm store-bought naan directly on your gas burner or in a dry skillet for authentic char.
Roti or chapati provides a lighter, whole-wheat option. These unleavened flatbreads contain no added fat, making them ideal for calorie-conscious diners.
Papadums add crunchy contrast. These thin lentil crackers come pre-made and crisp quickly in the microwave or over an open flame.
Fresh Garnishes That Pop
Fresh cilantro brightens curry with herbaceous notes. Chop roughly and sprinkle generously over each serving just before eating.
Lime wedges provide customizable acidity. Squeeze fresh lime juice over your curry to brighten flavors according to personal preference.
Sliced red onion adds sharp bite. Soak thin slices in cold water for ten minutes to mellow harshness before serving.
Complete Curry Dinner Menu
Build a memorable meal around your vegan curry with these complementary elements:
- Start with samosas or pakoras as appetizer
- Serve cucumber raita or coconut yogurt as cooling side
- Include mango chutney for sweet contrast
- Offer pickled vegetables for tangy brightness
- Finish with chai tea and fruit dessert
This progression creates a balanced dining experience that showcases curry as the centerpiece while providing varied flavors and textures throughout the meal.
Beverage Pairings
Choose drinks that complement curry’s bold spicing:
- Mango lassi (sweet and creamy)
- Coconut water (light and refreshing)
- Ginger beer (spicy and effervescent)
- Riesling wine (off-dry white)
Troubleshooting Common Vegan Curry Problems
Even experienced cooks encounter curry challenges. These solutions address the most frequent issues and help you rescue any batch.
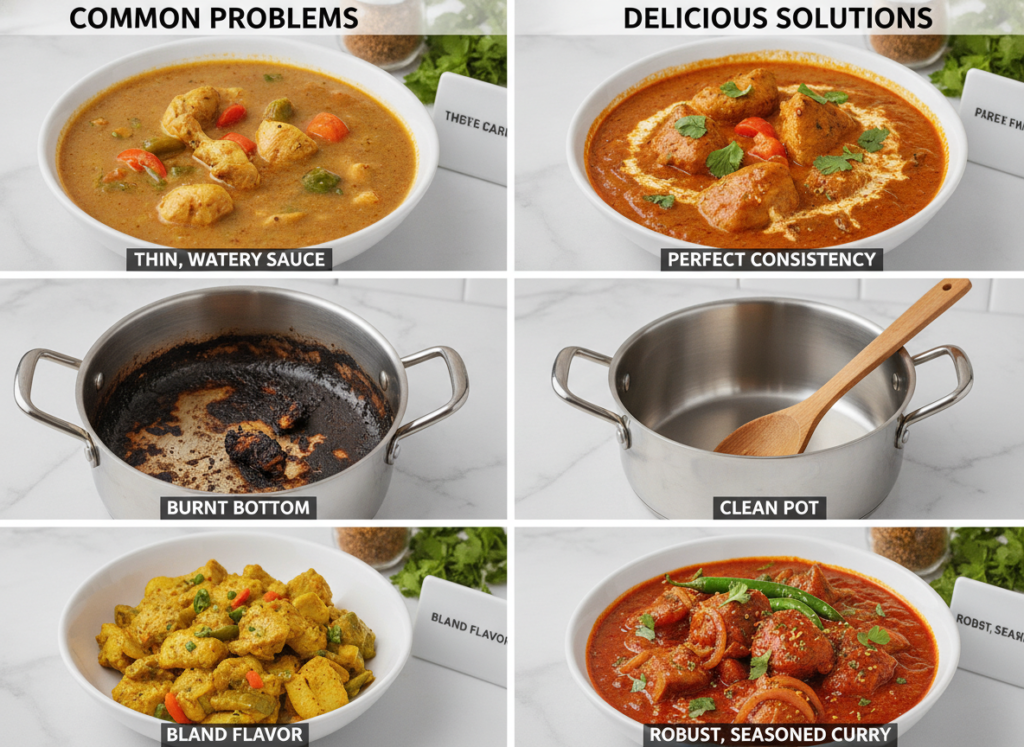
Curry Too Thin or Watery
Excess liquid dilutes flavor and creates unsatisfying texture. Multiple solutions exist depending on your available time and ingredients.
Continue simmering uncovered for additional ten to fifteen minutes. This allows water to evaporate naturally and concentrates flavors simultaneously.
Add one tablespoon tomato paste for quick thickening. Stir thoroughly and simmer for five minutes to cook out raw paste flavor.
Create a cornstarch slurry by mixing one tablespoon cornstarch with two tablespoons cold water. Add gradually while stirring, then simmer for two minutes until thickened.
Curry Lacks Flavor or Tastes Bland
Underseasoning represents the most common curry disappointment. Salt plays a crucial role in activating other flavors.
Add salt one-quarter teaspoon at a time. Stir, taste, and repeat until flavors brighten noticeably. You’ll be surprised how much salt curry actually needs.
Boost depth with additional garam masala. Add one teaspoon, stir well, and let simmer for three minutes before tasting again.
Finish with acid for brightness. Squeeze half a lime into your curry and stir. The acidity brings forward all other flavors instantly.
Curry Too Spicy or Hot
Excessive heat overwhelms other flavors and makes curry uncomfortable to eat. Several strategies reduce burn without starting over.
Add more coconut milk to dilute spice concentration. Pour in one-quarter to one-half can additional milk, stir well, and simmer briefly.
Stir in one tablespoon sugar or maple syrup. Sweetness counterbalances heat perception without eliminating flavor complexity.
Increase vegetable quantity to spread spice across more volume. Add extra cauliflower or chickpeas and simmer until tender.
Why did my curry separate or look curdled?
Coconut milk can separate when overheated or combined with acidic ingredients too quickly. Reduce heat to low before adding coconut milk. If using tomatoes, cook them thoroughly before adding coconut milk. Stir constantly when combining for smooth integration. If separation occurs, vigorously whisk the curry while simmering gently. The emulsion will often come back together with persistent stirring.
Can I fix curry that tastes burnt?
Burnt flavor penetrates throughout the dish and cannot be completely removed. Transfer curry carefully to a clean pot without scraping the bottom. Add fresh coconut milk and extra vegetables to dilute burnt taste. Increase other seasonings to mask the flavor. Unfortunately, severely burnt curry is best discarded and remade with more careful heat management.
How do I prevent vegetables from turning mushy?
Cut vegetables into larger pieces than you think necessary. They’ll shrink during cooking. Add quick-cooking vegetables like spinach or peas during the final few minutes only. Maintain a gentle simmer rather than rolling boil. Aggressive heat breaks down vegetable structure quickly. Remove curry from heat as soon as vegetables reach desired tenderness.
Never Make Cooking Mistakes Again
Our comprehensive troubleshooting guide covers every common cooking problem with video demonstrations and expert solutions. Learn professional techniques for rescuing dishes, preventing errors, and achieving consistent results every single time you cook.
Advanced Flavor Techniques for Exceptional Curry
Elevate your vegan curry from good to extraordinary with these professional techniques that add complexity and depth.
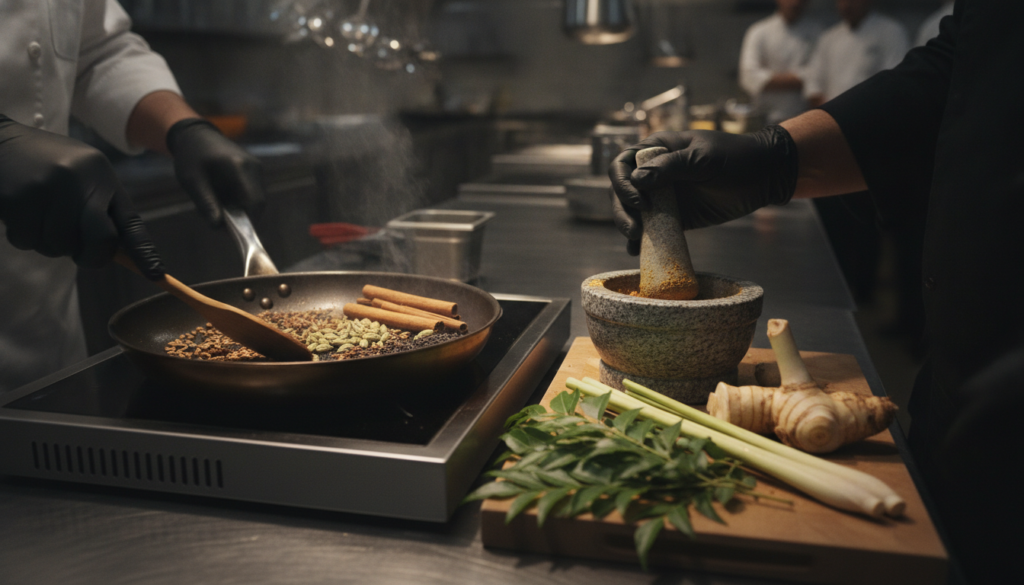
Tempering: The Secret Finishing Touch
Tempering, or tadka, involves briefly frying whole spices in hot oil, then pouring them over finished curry. This technique adds aromatic intensity that transformed cooked spices cannot achieve.
Heat two tablespoons oil in a small pan until shimmering. Add one teaspoon cumin seeds and one-half teaspoon mustard seeds. When seeds begin popping, add curry leaves if available.
Immediately pour the crackling spiced oil over your curry. The dramatic sizzle releases aromatics throughout your dish. Stir gently to incorporate.
Fresh Herb Infusions
While dried spices form your curry base, fresh herbs add brightness and complexity. Cilantro stems contain more flavor than leaves.
Finely chop cilantro stems and add them with your onion during initial sautéing. The extended cooking time extracts deep herbal notes.
Reserve cilantro leaves for garnishing just before serving. Heat destroys their delicate flavor and vibrant color.
Thai basil, mint, or curry leaves transform your curry when stirred in during the final minute of cooking. Their volatile oils dissipate quickly, so timing matters.
Umami Boosters
Umami depth makes curry taste rich and satisfying. Several plant-based ingredients enhance this savory quality naturally.
Add one tablespoon miso paste with your coconut milk. The fermented soybean paste contributes complex savoriness without overwhelming other flavors.
Stir in one teaspoon soy sauce or tamari for subtle depth. The sodium content also helps season your curry effectively.
Include one tablespoon tomato paste even in recipes that don’t call for tomatoes. The concentrated umami enriches your sauce significantly.
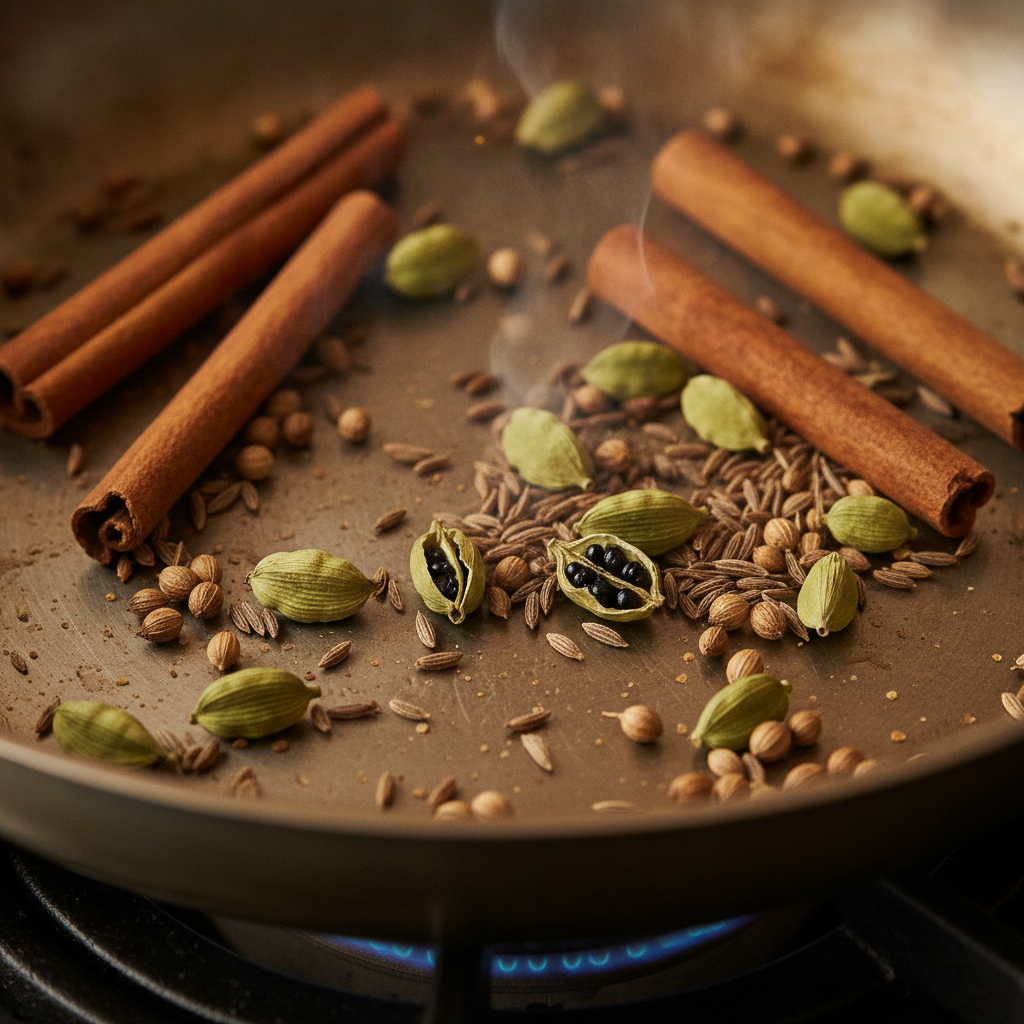
Toast Whole Spices First
Toasting whole spices before grinding releases essential oils and intensifies flavor exponentially compared to using pre-ground versions.
- Use dry pan over medium heat
- Shake frequently for even toasting
- Remove when fragrant (two to three minutes)
- Grind immediately in spice grinder
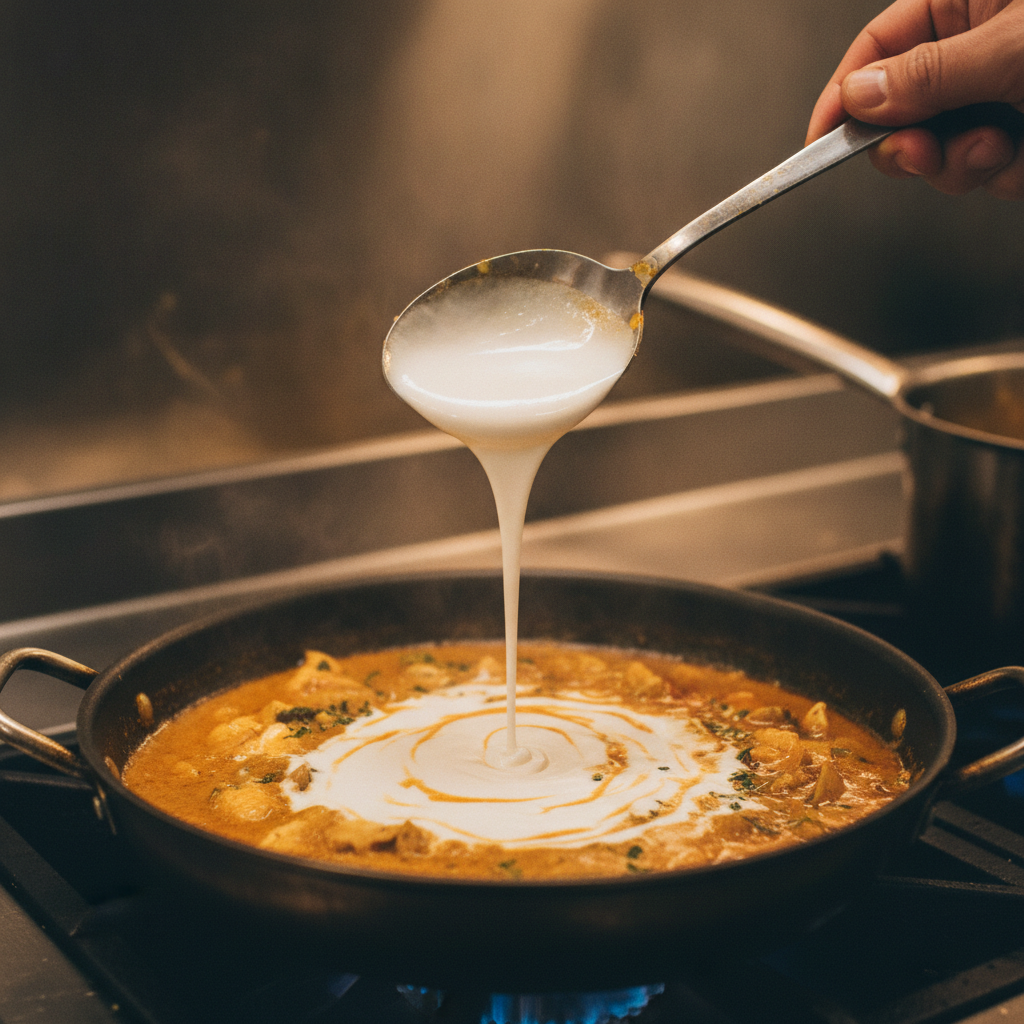
Use Coconut Cream Layer
The thick cream that separates to the top of canned coconut milk contains concentrated flavor and creates luxurious texture.
- Refrigerate can overnight before opening
- Scoop thick cream from top
- Fry spices in cream before adding liquid
- Reserve some for finishing swirl

Rest Before Serving
Allowing curry to rest off heat for ten minutes before serving permits flavors to marry and mellow, creating harmonious taste.
- Remove from heat when vegetables are tender
- Cover with lid to retain heat
- Let stand for ten to fifteen minutes
- Flavors integrate and intensify naturally
Exploring Vegan Curry Variations from Around the World
Curry traditions span continents, each culture contributing unique spice combinations and cooking methods. These global variations expand your repertoire beyond familiar recipes.
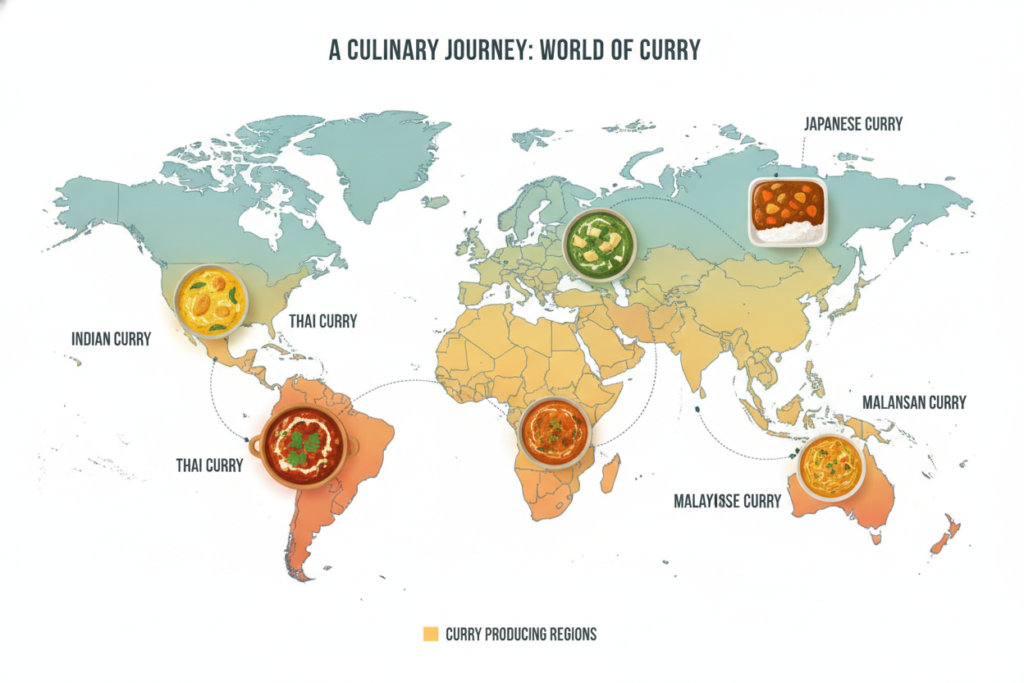
Indian Regional Styles
India’s diverse regions each developed distinct curry characteristics. Northern curries feature cream and nuts, while southern versions emphasize coconut and tang.
Punjabi-style curry uses tomato-onion base with warming spices like garam masala and fenugreek. This robust style pairs perfectly with naan bread.
South Indian curry incorporates coconut, curry leaves, and tamarind for bright, complex flavor. Mustard seeds and curry leaves feature prominently in tempering.
Bengali curry adds subtle sweetness through bay leaves and green cardamom. Panch phoron, a five-spice blend, provides signature flavor.
Thai Curry Differences
Thai curries rely on fresh paste rather than dried powder. Lemongrass, galangal, and kaffir lime leaves create distinctive aromatic profiles.
Green curry derives color from fresh green chilies and Thai basil. This variety offers the most heat and herbaceous character.
Red curry balances heat with slight sweetness. Red chilies and shrimp paste (omit for vegan version) form the base.
Yellow curry contains turmeric for golden color and mild flavor. This approachable style works well for curry beginners.
Japanese Curry Characteristics
Japanese curry differs dramatically from Indian versions. The thick, brown sauce resembles gravy more than traditional curry.
Commercial curry roux blocks simplify preparation. These compressed flavor cubes contain curry powder, flour, and fat for instant sauce creation.
Serve Japanese curry over rice with pickled vegetables on the side. The mild, slightly sweet flavor appeals to children and curry novices.
| Curry Style | Key Ingredients | Heat Level | Cooking Time | Best Served With |
| North Indian | Garam masala, tomatoes, cashews | Medium | 35-40 minutes | Naan, basmati rice |
| South Indian | Coconut, curry leaves, tamarind | Medium-Hot | 30-35 minutes | Rice, dosa |
| Thai Green | Green chilies, lemongrass, basil | Hot | 20-25 minutes | Jasmine rice |
| Thai Red | Red chilies, galangal, lime leaves | Medium-Hot | 25-30 minutes | Rice noodles |
| Japanese | Curry roux, apple, honey alternative | Mild | 25-30 minutes | Short grain rice |
| Malaysian | Coconut, star anise, cinnamon | Medium | 40-45 minutes | Roti canai |
“The beauty of curry lies in its infinite adaptability. Every region, every household, creates their own version based on available ingredients and personal preference. There is no single correct way to make curry.”
Your Vegan Curry Journey Starts Now
Mastering vegan curry opens endless possibilities for delicious, nutritious meals. The techniques and recipes in this guide provide everything you need to create restaurant-quality curry at home.
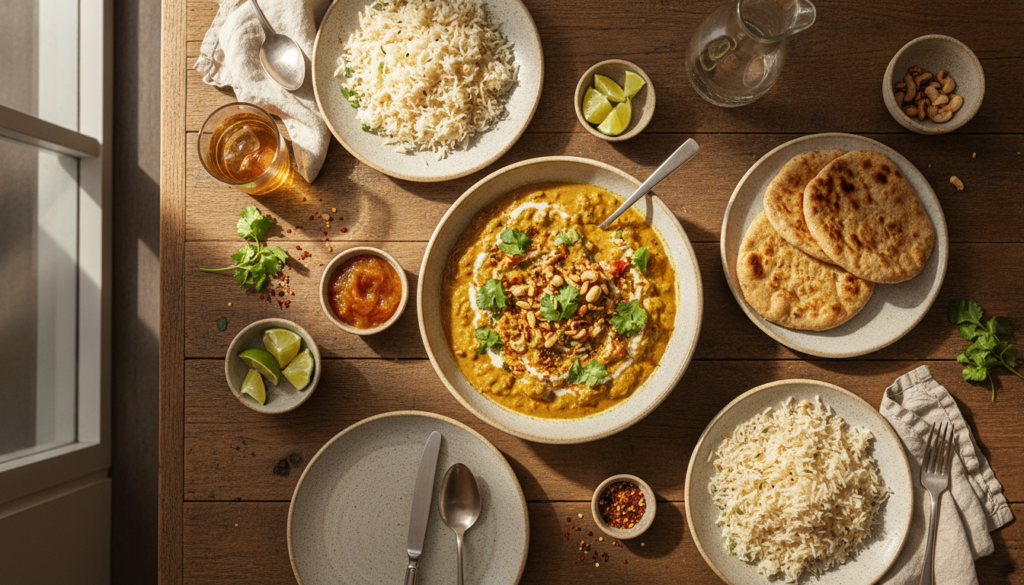
Start with simple recipes using ingredients you already have. Build confidence through repetition. Experiment with spice levels and vegetable combinations that match your preferences.
Remember that curry improves with practice. Each batch teaches you about flavor balance, texture control, and timing. Don’t fear mistakes—they’re learning opportunities that make you a better cook.
The curry recipes and techniques shared here represent years of testing and refinement. Apply these methods consistently, and you’ll develop intuition for creating perfect curry every time.
Your kitchen now holds the potential for amazing curry dinners. Gather your ingredients, follow these proven methods, and discover the joy of homemade vegan curry. The aromatic spices, creamy sauce, and satisfying flavors await your creation.
Transform Your Cooking Skills Today
Take your vegan cooking to the next level with our complete collection of recipes, video tutorials, and meal planning tools. Join thousands of home cooks who’ve discovered the confidence to create delicious plant-based meals every single day.