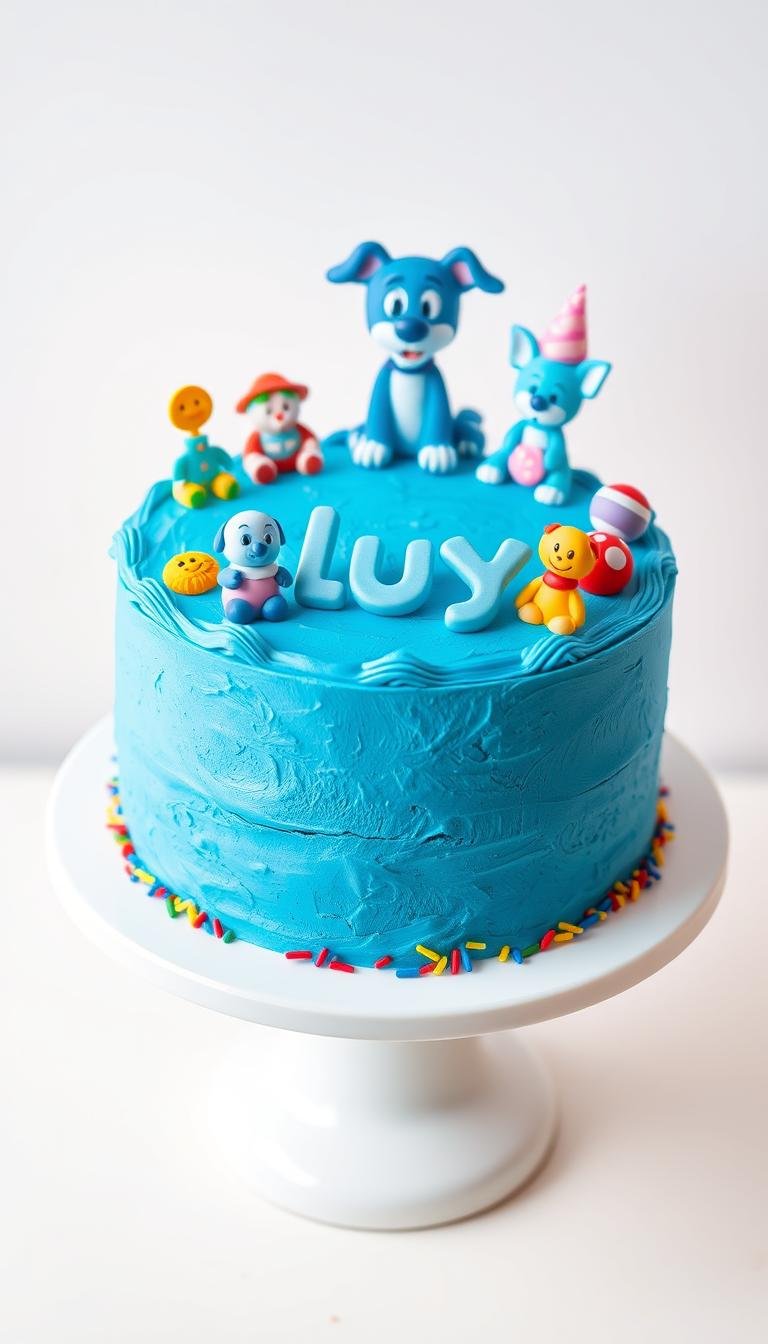
Tortas de Halloween: Spooky Treats to Delight Kids
Surprising fact: nearly 70% of parents say a visually fun dessert makes kids more excited to try new flavors.
This Website contains affiliate links. That means I may earn a small commission if you purchase through my links, at no extra cost to you.
Kid-friendly cakes can be spooky without strange tastes. Use familiar flavors like vanilla, chocolate, and pumpkin spice to please picky eaters while you add playful decorations.
Plan by picking a theme — graveyard, jack-o’-lantern, or friendly ghosts — then match flavors, colors, and serving sizes to your crowd. Bake layers a day ahead, make frosting in advance, and decorate the morning of the event to save time.
Keep texture in mind: soft cake with crunchy cookies, chewy gummies, or smooth buttercream keeps bites fun. Label allergens, offer gluten-free or dye-free options, and choose kid-safe food gels for bright colors.
Key Takeaways
- Balance spooky visuals with familiar flavors to win picky eaters.
- Prep in stages: bake, frost, then decorate for less stress.
- Mix textures and clearly label allergens for safety and fun.
- Use cocoa-based blacks and gel colors to avoid flavor clash.
- Transport chilled cakes in snug boxes and bring a small repair kit.
Best tortas de halloween ideas kids will love right now
Here are playful cake ideas that mix spooky looks with flavors kids already love. Each concept focuses on simple assembly, kid-safe decorations, and textures that make every bite fun.
Graveyard chocolate cake with cookie “tombstones” and gummy worms
Bake a rich cocoa cake in a 9×13 pan and frost with chocolate buttercream. Crumble sandwich cookies for “dirt,” stand cookie tombstones and tuck in gummy worms for color and texture.
Tip: Press gravestones into thick frosting or melted chocolate and chill 15–20 minutes before transport to avoid tipping.
Spiderweb vanilla bundt with marshmallow pull “web”
Glaze a cooled vanilla bundt and pull heated marshmallows into thin strands to drape like a web. Add a candy spider or pipe one with chocolate for a quick finish.
Bundt success: Grease and flour the pan well and let the cake rest 10 minutes before unmolding.
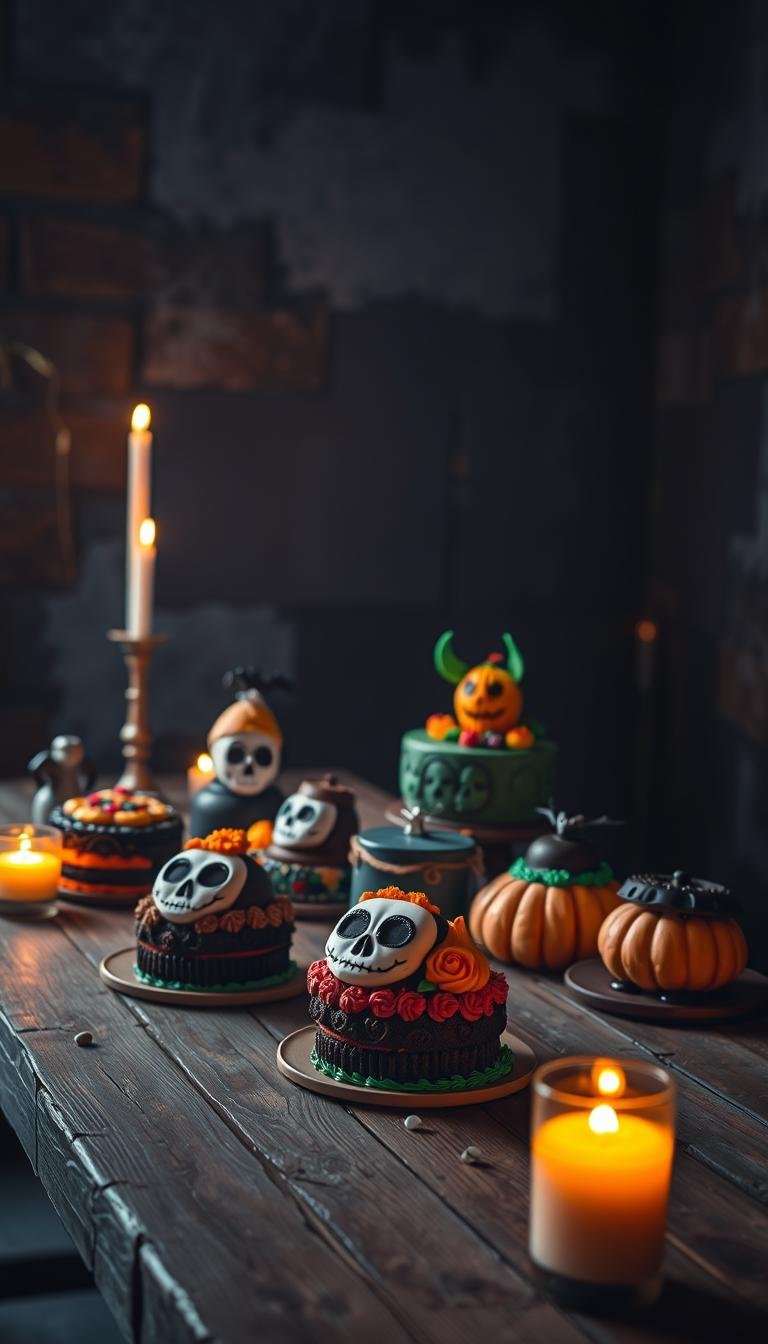
Jack-o’-lantern, Frankenstein, ghosts, witch hats, and black velvet
For pumpkin spice layers, fold in cinnamon, ginger, and nutmeg and use cream cheese frosting tinted orange. Make Frankenstein with green buttercream and pretzel “bolts.”
Top fudgy brownies with toasted meringue ghosts, dip cones for witch hats, or bake a black velvet cake and pair it with bright orange buttercream for dramatic contrast.
Quick, kid-friendly shortcuts: easy, no-bake, and dietary-friendly options
Quick swaps and no-bake tricks let you serve a fun, party-ready cake without hours in the kitchen. These ideas save time, work well for make-ahead planning, and keep allergy concerns clear.

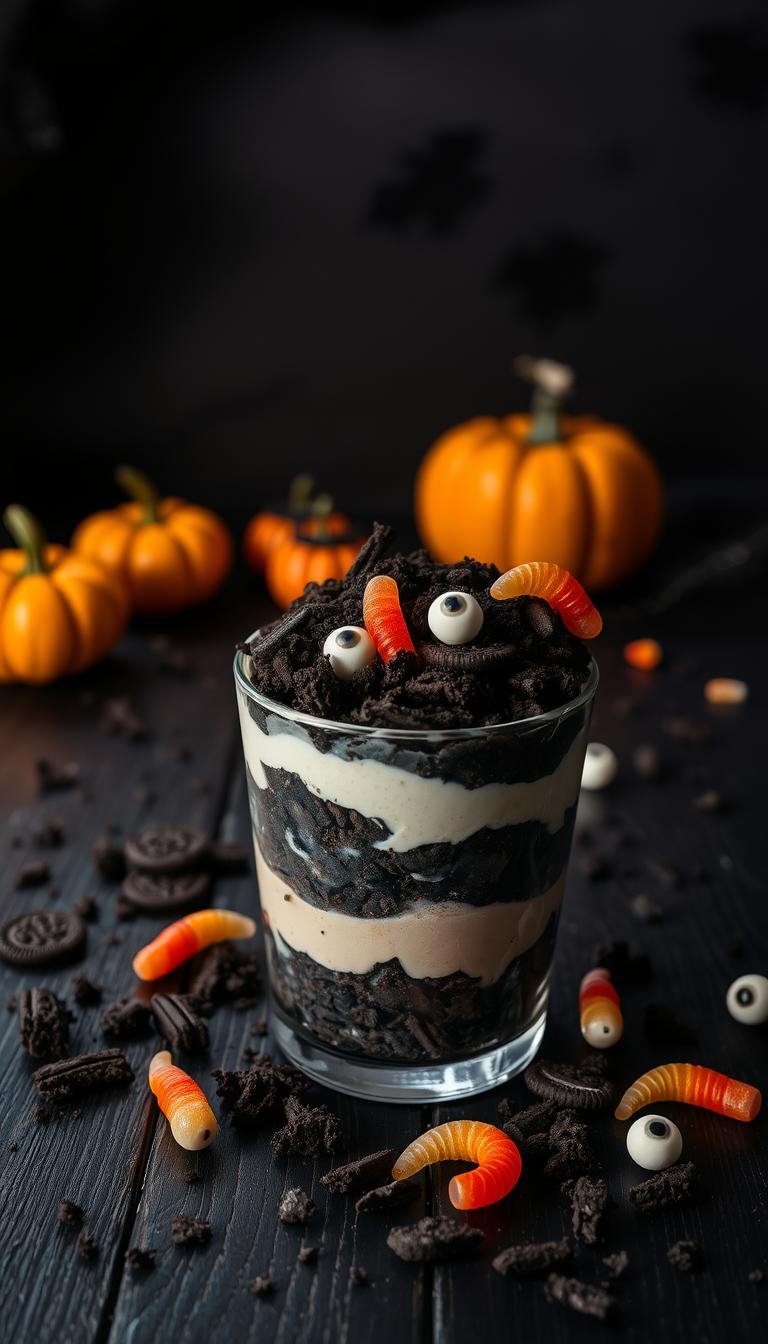
No-bake Oreo torte with whipped cream “bones”
Layer crushed chocolate sandwich cookies and stabilized whipped cream in a springform pan. Chill 4–6 hours so slices hold their shape.
Tip: Line the pan with parchment for easy release. Pipe bone shapes with melted white chocolate or use a large round tip for cream “bones.” Finish with a light cocoa dusting and a few gummy worms for instant spooky vibes.
Store-bought pound cake glow-up: spooky frosting and sprinkles
Slice a store loaf horizontally and spread thin jam or frosting between layers. Coat the outside with tinted buttercream and add candy eyes or stencil designs for a fast finish.
Speed hack: Microwave canned frosting 10–15 seconds to loosen it, then tint with gel colors so hues stay bold without thinning the texture.
Gluten-free chocolate torte with naturally dyed orange frosting
Use almond flour or a flourless chocolate base for a fudgy, naturally dense torte. Check labels on candies and sprinkles to keep it truly gluten-free.
Color buttercream with pumpkin purée concentrate or carrot/annatto-based gel for a warm orange shade. Offer a small signage card listing allergens and use clean tools to avoid cross-contact.
“Make-ahead desserts often taste better after a night in the fridge—decorate just before serving.”
- Make-ahead advantage: set overnight, decorate last-minute.
- Kid help station: safe tasks like sprinkle application and candy placement.
Decorating like a pro: colors, tools, safety, and storage tips for Halloween
A smooth finish begins with chilled layers and the right gels—choose colors that pop without watering your frosting.

Safe color choices and kid-approved flavors
Use food color gels for vivid orange, green, purple, and black. Gels keep frosting thick and bright.
Favor familiar bases—vanilla, chocolate, and pumpkin spice—and add little accents like cinnamon or orange zest.
For deep black, mix dark cocoa into buttercream first so you need less black gel and avoid bitter flavors.
Simple tools that make big differences
Stock piping bags, a few round and star tips, an offset spatula, and a bench scraper for neat sides.
Edible markers and small stencils speed up cookie details and cake faces with minimal skill.
Clean lines, safety, and storage
Apply a thin crumb coat, chill 20–30 minutes, then smooth the final layer using a turntable.
Secure candies with small frosting dots and skip sharp decorations for very young kids. Remove toothpicks or skewers before serving.
Cool cakes completely before frosting. Refrigerate cream cheese or meringue-topped desserts and transport in a snug box on a non-slip mat.
- Label flavors and allergens.
- Pack a mini repair kit: extra frosting, a spare piping bag, tips, and a small spatula.
- Time-savers: use stencils, pre-made candy eyes, and sprinkle mixes for fast, festive finishes.
Conclusion
Finish strong with a simple plan that pairs kid-loved flavors and playful visuals for a memorable party dessert. A little planning makes spooky treats feel friendly and fun.
Pick a theme—graveyard, jack-o’-lantern, or Frankenstein—and choose a format that fits your time and skill: sheet cake, bundt, layer cake, or mini cakes. Bake or buy the base, pick a color palette, and prep frosting and decorations ahead.
Keep it flexible: use no-bake or store-bought shortcuts and offer gluten-free or dye-conscious options so every guest can join in. Pack a small repair kit with extra frosting and tools.
Final tip: favor contrasts in color, texture, and height to make designs pop and invite kids to help with safe, simple decorating tasks for extra fun.