Top Birthday Cake Ideas Aesthetic for Your Party
Nearly 70% of hosts now pick a dessert that doubles as the party’s visual centerpiece, turning one sweet item into the focal point for photos and memories.
This Website contains affiliate links. That means I may earn a small commission if you purchase through my links, at no extra cost to you.
Our 2025-ready guide shows how trending looks—coquette hearts with bows and pearls, neutral palettes with cherry accents, zodiac motifs and lyric nods—turn into practical, social-ready designs. Creators share budget wins, from sourcing supplies at Walmart to bakery buys like a Tampa Alessi Bakery treat under $35 that feeds 10–15.
Flavor-forward pairings matter just as much as the look. Think red velvet with Nutella and berries, lavender-honey, matcha-strawberry and clear vegan or gluten-free options that still taste great. Styling tips—stands, fresh florals, fruit décor, macarons and shooting in natural light—help simple bakes look signature.
This article moves from trending designs and color strategy to milestone looks, flavor profiles, and time-saving DIY and pro touches that keep quality high. Read on for step-by-step inspo and practical sourcing for every budget.
Key Takeaways
- Choose a dessert that doubles as a photo-ready centerpiece.
- Translate social trends into practical, recognizable designs.
- Budget-friendly options exist, from DIY supplies to affordable bakeries.
- Pair visual design with bold flavors and dietary-friendly options.
- Simple styling—stands, florals, natural light—elevates presentation.
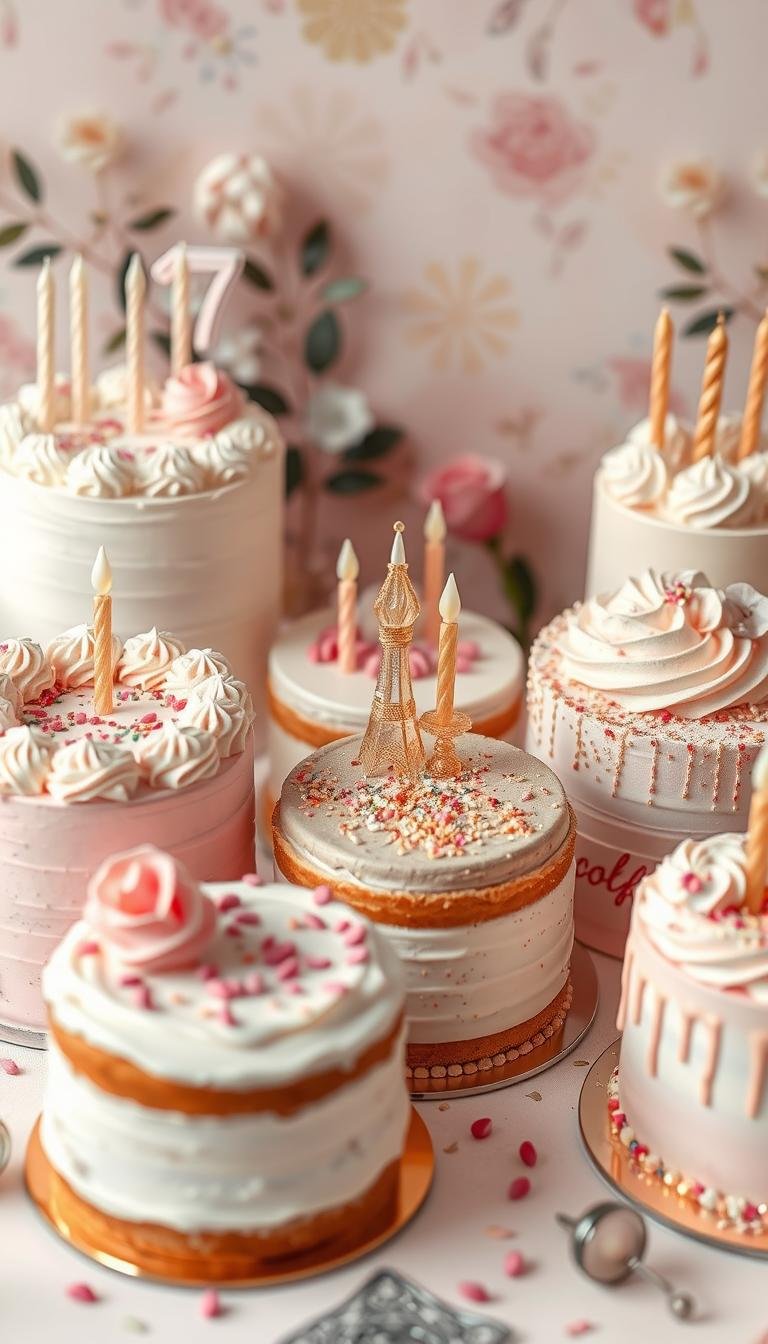
Trending aesthetic cake designs to inspire your centerpiece
Modern styling gives each layer a voice—vintage trims, bold drips, or whisper-quiet minimal lines. Choose a look that matches the party mood and the table setting for best photos and guest impact.
Vintage coquette hearts: piped borders, shell edges, ribbon bows, edible pearls, and scripted messages create a romantic, photo-ready heart birthday cakes moment. Add initials, lyric nods, or a small date for personalization.
Classic chocolate drip: stack dark sponge with a smooth crumb coat, chill, then pour cooled ganache for controlled drips. Finish with fresh berries, macarons, and chocolate shavings for height and texture.
Minimalist white: ultra-smooth buttercream or fondant in a restrained palette keeps visuals clean. Top with a few fresh or edible flowers and match florals to table colors for cohesive styling.
Themed showstoppers: travel globes with fondant suitcases and landmarks, space cakes in deep galaxy hues with glittering stardust, and unicorns with pastel ombré and a gold horn all serve as bold centerpiece anchors.
- Personalize: map pins, constellation patterns, or scripted initials.
- Feasibility tips: premake ganache, use ready fondant accents, practice drip timing.
- Stands & props: vintage glass for coquette, sleek white for minimalist, LED-acrylic for galaxy.
- Order timeline: 2–3 weeks for fondant themes; shorter lead times for simple drips.
- Budget tip: prioritize one focal motif and keep sides minimal.
| Design | Key Elements | Best Stand | Lead Time |
|---|---|---|---|
| Coquette heart | Piped borders, pearls, ribbon bow | Vintage glass pedestal | 1–2 weeks |
| Chocolate drip | Ganache drips, berries, macarons | Wooden or marble slab | 3–7 days |
| Minimalist white | Smooth buttercream, fresh florals | Sleek white pedestal | 3–7 days |
| Themed showstopper | Fondant toppers, galaxy colors, gold horn | Acrylic or custom topper base | 2–3 weeks |
Color-forward looks: rainbows, ombré buttercream, and pastel palettes
A thoughtful palette transforms layers and frosting into photo-ready art. Use color to set the tone for the whole celebration and to create a high-impact reveal when the first slice is cut.
Cheerful rainbow layers for bold moments
Portion vanilla batter into six bowls and tint red, orange, yellow, green, blue, and purple. Bake thin rounds, chill fully, then stack with even frosting to avoid leaning.
Pro tip: add a central dowel for tall builds and chill between crumb coat and final coat for clean lines. Finish with multicolor nonpareils for classic pop.
Elegant ombré buttercream finished with edible flowers
Mix buttercream in one color family, from darkest to lightest. Apply darkest at the base and lightest at the top, then smooth with a bench scraper for a seamless gradient.
Finish: top with edible blossoms to add texture and a refined focal point.
Soft pastel palettes for airy, Pinterest-perfect vibes
Keep saturation low and limit tones to two or three complementary shades like pink, blue, and lilac. Use micro-textures—gentle swirls or small rosettes—to create a floaty look.
Coordinate balloons, napkins, and candles to unify the tablescape. For serving, cut a hero slice first and photograph it beside the dessert under natural light after bringing it to room temp for 30–45 minutes.
- Stability: fully cool and wrap layers before stacking.
- Storage: brief chill helps set colored buttercream.
- Serving visual: hero slice yields the best photos.
Milestone moments: aesthetic ideas for 21st, 22nd, and beyond
Milestones call for designs that photograph well and feel personal. Pick one clear motif and let accents, color, and topper scale follow. Small choices—metallic numbers or a single cherry—make a big visual difference.

21st birthday cake ideas: heart shapes, number toppers, and glam details
Heart-shaped builds with luxe piping and pearl borders read as intimate and celebratory. Add a metallic number topper or mini champagne bottle picks to nod to the milestone.
22nd birthday trends: lyric nods, monochrome neutrals, and cherry accents
Lyric-based messages and sleek script are popular for ages 21–23. A monochrome neutral palette with one cherry accent keeps the look modern and photo-ready.
Personalized touches: zodiac, favorite colors, or hobby-inspired designs
Consider zodiac glyphs, a martini-themed brown motif, or small icons that mirror hobbies—cameras, books, or rackets. Coordinate the dessert with outfit and backdrop for cohesive portraits.
“Finalize inscriptions and topper scale at least two weeks out to avoid last-minute changes.”
| Milestone | Key accents | Sourcing |
|---|---|---|
| 21st birthday | Heart shape, pearls, metallic number | Custom from Lili’s Bakery or semi-DIY toppers |
| 22nd birthday | Lyric script, monochrome, cherry | Local baker or order replicas for budget |
| Photo-ready option | Themed center + small portrait heart | Dual-cake approach for content capture |
Flavor profiles that match the aesthetic
Choose flavor pairings that support the look so every slice matches the table and photo. Pair pastel palettes with delicate notes like lavender-honey, vanilla bean plus lemon curd, or almond with raspberry for a soft, airy taste that suits pale shades.
For bold rainbow or galaxy designs, pick dependable crowd-pleasers: funfetti vanilla, chocolate with salted caramel, or cookies-and-cream balance bright colors with familiar flavors. Modern combos photograph well too—matcha-strawberry offers green/pink contrast, red velvet with cream cheese and fresh berries reads classic, and a Nutella-strawberry swirl adds rich shine.
Dietary swaps keep finish and flavor intact. Offer gluten-free vanilla layers with berry compote or a vegan chocolate cake with coconut-milk ganache so all guests can enjoy the centerpiece.

To keep tall designs moist, brush layers with simple syrup infused with citrus zest or floral notes. Add texture accents—crunch pearls, praline shards, or macaron toppers—to echo visual details like pearls or bows and give a dynamic bite.
| Serving tip | Temperature | Why it matters |
|---|---|---|
| Buttercream-based | Room temp (20–25 min) | Best mouthfeel and flavor release |
| Cream-cheese frostings | Slightly cooler (10–15 min) | Stability and texture |
| Syrup-soaked layers | Apply before final stack | Prevents drying during photos |
Label the table with flavors and allergens so guests choose confidently. A clear sign avoids confusion and keeps the party flowing.
birthday cake ideas aesthetic: DIY tips, shortcuts, and styling
Quick upgrades can turn a store-bought base into a social-ready centerpiece in under an hour. Creators shared semi-homemade wins—one sourced supplies at Walmart and another ordered a plain bakery round to finish at home.
Easy at-home upgrades
Start simple: level a store-bought round, crumb-coat with tinted buttercream, then add a piped border using an open star tip. Top with sliced strawberries, cherries, or macarons for instant polish.
Fast coquette tip: attach premade sugar bows and pearl sprinkles to a heart-shaped base. Practice shell borders on parchment first.
Flavor pairings that photograph beautifully
Choose combos that show color and taste: matcha-strawberry adds vivid contrast, lavender-honey reads soft and refined, and red velvet with cream cheese is reliably photogenic.
Plate thin slices, use a clean knife pass, and serve on a contrasting plate for better shots.
Table styling and photos
Pick a stand that fits the design, add a small floral cluster at the base, and place taper candles for height. Shoot in side window light, remove clutter, and capture a hero slice from overhead and 45°.
| Task | Tool | Quick result |
|---|---|---|
| Level & crumb-coat | Offset spatula, turntable | Smooth finish for photos |
| Drip test | Warm ganache, chilled edge | Controlled drips without pooling |
| Styling | Stand, florals, candles | Height and scale in shots |
Conclusion
End by locking in the look, taste, and timeline so the centerpiece arrives camera-ready.
Recap: vintage hearts, minimalist whites, drips with berries, and themed builds each anchor a memorable table and shots.
Choose a color strategy—rainbow, ombré, or soft pastels—and pair it with a matching flavor. Personalize with numbers, lyrics, zodiac glyphs, or hobby motifs for a keepsake moment.
Use semi-homemade shortcuts, grocery bakery bases, or simple piping and fruit décor to stay on budget and time. Confirm final flavor, palette, and topper plan; lock your order or DIY timeline.
Practical next step: create a short photo checklist so the birthday cake and guests get the best light and the day is captured well.