Tasty Chicken Thigh Recipes Boneless Skinless to Try Now
Surprising fact: one well-made batch can turn into lunches and dinners for a week, with safe leftovers for 3–4 days and freezer-ready portions that last up to three months.
This Website contains affiliate links. That means I may earn a small commission if you purchase through my links, at no extra cost to you.
This guide gives busy cooks three clear methods—oven-baked, sticky-baked with a broil finish, and slow-cooker—so you can pick the best route for time and texture. Each method uses pantry staples like olive oil, kosher salt, smoked paprika, soy, and brown sugar to deliver big flavor without extra trips to the store.
Expect precise times and tips: oven temps, broiler distance, and slow-cooker ranges are all covered. Small choices—leaving a bit of fat, using a 9×13 ceramic dish, or glazing before broiling—shape juiciness and the final caramelized finish.
This introduction sets up quick, dependable weeknight solutions that are easy to master and simple to reheat. Bookmark the methods and try the one that fits tonight’s dinner.
Key Takeaways
- Three reliable methods: oven-baked, sticky-baked with broil, and slow-cooker for flexible weeknight planning.
- Simple pantry ingredients create bold flavor without specialty shopping.
- Precise temps and placement tips reduce guesswork and ensure doneness.
- Minor prep choices affect juiciness and caramelization—use a ceramic 9×13 when possible.
- Leftovers store well refrigerated or frozen, making these approaches great for meal prep.
Why boneless skinless chicken thighs are a quick, flavorful win right now
Practical and forgiving: This cut is affordable and cooks fast, so weeknight dinners land on the table with less fuss. The compact size promotes even cooking, which makes timing simpler for busy cooks.
A bit more fat than breast means better moisture and a richer mouthfeel without constant basting. That extra layer helps keep meat juicy up to the safe internal temperature of 165°F.
Why it works: Mixed-size packs can roast together—just cook until the largest pieces reach doneness and the smaller ones will stay tender. The cut soaks up rubs and glazes quickly, turning simple pantry seasonings into bold results.
“A forgiving protein lets you focus on flavor, not perfect timing.”
- Reduced prep and faster cook time than bone-in cuts.
- Robust flavor that stands up to bold rubs and sticky glazes.
- Versatile across baking, broiling, and slow-cooker methods.
| Feature | Benefit | Practical tip |
|---|---|---|
| Higher fat | More moist and satisfying bite | Leave a touch of surface fat when trimming |
| Compact size | Even, predictable cook times | Cook until largest pieces read 165°F |
| Flavor absorption | Quick seasoning payoff | Toss briefly with rub or glaze before cooking |
Pantry-friendly ingredients that bring big flavor
You can build big flavor from a handful of pantry staples that mix fast and travel well between methods. These basics let you choose a dry rub, a sticky glaze, or a bright slow-cooker sauce without a supermarket run.
Olive oil, garlic powder, smoked paprika, cumin, and cayenne
For a reliable dry-rub bake, toss kosher salt, black pepper, garlic powder, onion powder, smoked paprika, cumin, and cayenne with a splash of olive oil. Mix in a large bowl so every surface is coated for even browning and crisp color.
Ketchup, brown sugar, soy sauce, Worcestershire, and vinegar
Want a glossy finish? Whisk ketchup, brown sugar, low-sodium soy, Worcestershire, a little vinegar, and olive oil into a sweet-savory glaze. Under high heat or the broiler it caramelizes and adds depth. Swap honey or maple if you’re out of brown sugar, or use rice or white wine vinegar in place of apple cider.
Fresh add-ins: minced garlic, ginger, and a squeeze of lime
For slow-cooker or quick stovetop reductions, add minced garlic, grated ginger, Sriracha, and lime juice. Fresh aromatics brighten the sauce and cut through sweetness, giving a lively final flavor without extra fuss.
- Tip: Worcestershire and soy layer umami so a short ingredient list tastes complex.
- Tip: Small tweaks to sweet and acid adjust the sauce to your palate.
Oven-baked: olive oil and spice-rubbed chicken thighs
A quick toss in a bowl and a 400°F oven make it easy to get flavorful, evenly cooked pieces every time.
Prep and seasoning
Pat the boneless skinless pieces dry, then place them in a bowl. Add 2 tbsp olive oil, kosher salt, black pepper, garlic powder, onion powder, smoked paprika, cumin, and a pinch of cayenne. Toss until every surface is coated so the rub adheres and browning is even.
Bake and timing
Preheat oven to 400°F and arrange pieces in a single layer in a 9×13-inch baking dish. Bake about 30 minutes, checking the largest piece for an internal temperature of 165°F. Smaller pieces will reach doneness sooner; plan on the biggest one as your guide.
Juiciness and quick swap
Leave a small trim of surface fat to help baste during baking—it protects moisture without adding greasiness. A ceramic 9×13 retains heat and keeps bites juicier than a sheet pan, though either works.
Simple variation for busy nights
When time is tight, spray with olive oil, sprinkle kosher salt and Italian seasoning, and bake the same way for a fast, herby recipe. Scrape any oil-and-spice mixture from the bowl onto the tops before roasting and rest briefly so juices redistribute for cleaner slices.
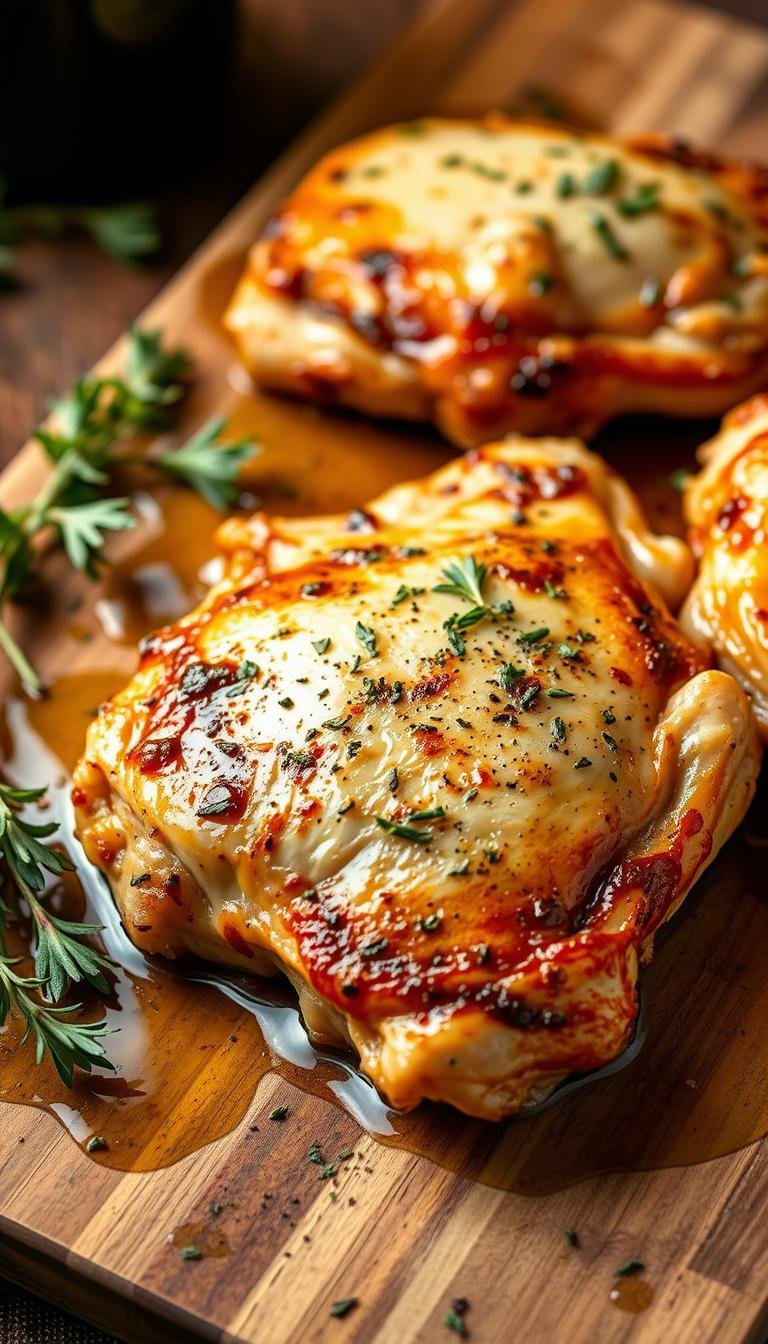
Sticky baked and broiled boneless skinless chicken thighs
Start with a hot oven and a glossy glaze to get caramelized color without overcooking the meat. Preheat to 425°F and line a foil pan for easy cleanup. This two-step method builds savory pan juices during baking, then uses broiler heat to lacquer the tops.
Glaze and method
Mix 1/4 cup ketchup, 3 tbsp brown sugar, 1.5 tbsp soy sauce, 1 tbsp apple cider vinegar, 1 tbsp olive oil, 2 tsp Worcestershire, and 2 minced garlic cloves. Place the pieces in a foil-lined pan and spoon the glaze over the top side only.
Bake, then broil
Bake about 15 minutes. Switch to broil on high and position the pan ~8 inches from the element. Spoon pan juices over the tops, add remaining glaze, and broil 8–10 minutes until deeply caramelized. Rest a few minutes so the glaze thickens and sticks.
Smart swaps and serving
Use honey or maple for the brown sugar, or swap ketchup with BBQ or tomato sauce. Try different clear vinegars and light soy if needed. Serve with rice or crusty bread to soak up every syrupy drop.
“Baking creates flavor-rich juices; broiling gives the finish that makes it feel restaurant-quality.”
| Step | Temp / Time | Why it matters |
|---|---|---|
| Preheat and line pan | 425°F / prep | Jump-starts browning and eases cleanup |
| Bake with glaze | ~15 minutes | Builds pan juices and cooks through |
| Broil finish | High / 8–10 minutes ~8″ away | Caramelizes glaze and adds glossy color |
Slow cooker comfort: set-it-and-forget-it chicken thighs
Set the slow cooker and let hands-off heat turn simple cuts into a glossy, flavor-packed dinner.
Optional sear: Heat 1–2 tablespoons of oil in a skillet, season the pieces lightly with salt and pepper, and sear about 3 minutes per side for deeper savory notes. Transfer to the slow cooker when done.
Sauce mix-in
Whisk together 1/2 cup low-sodium soy, 1/2 cup ketchup, 1/4 cup honey, 3 minced garlic cloves, 2 tsp minced ginger, 2 tbsp Sriracha, and the juice of 1 lime. Pour over the meat and toss to coat so every piece picks up the sauce.
Cooking time and finish
Cook on low for 5–6 hours for the most tender texture, or on high for about 2 hours if you need dinner sooner. Serve the glossy results over white rice with steamed vegetables.
Storage: Leftovers refrigerate well for about 4 days and reheat with a splash of sauce to restore shine. This method keeps protein juicy and lets bold flavors develop with almost no active time.
Chicken thigh recipes boneless skinless: timing, temps, and doneness
Timing and thermometer checks are the two best tools for consistent, juicy results every time.

Internal temp and safety
Internal temperature: aim for 165°F, measured in the thickest part with an instant-read thermometer. Rely on the probe, not just minutes, because oven and piece size vary.
Ballpark timelines and mixed-size packs
For a dry-rub bake, expect roughly 30 minutes at 400°F. The sticky method bakes about 15 minutes at 425°F, then broils 8–10 minutes for color.
When you cook mixed trays, judge doneness by the chicken thighs large pieces; the smaller ones will be done sooner and stay moist.
Broiling distance and final tips
Place the pan about 8 inches from the broiler element and watch closely to get deep caramelization without burning. Leave space between pieces for airflow and rotate once if your broiler has hot spots.
Rest briefly after high heat so juices redistribute. Thigh cuts are forgiving—one or two minutes past target is less damaging than with leaner meat. Note your oven’s quirks for faster success next time.
Serving ideas and sides that match the method
Match your main dish with sides that cook on the same tray to save time and cleanup. This makes weeknight plating simple and keeps everything warm together.
Oven-friendly sides that roast at 400°F
Sheet-pan vegetables like broccoli, carrots, and Brussels sprouts roast well at 400°F alongside the main. Toss with olive oil and kosher salt so they caramelize in the same time frame.
Quick stovetop pairings
Finish creamed spinach, sautéed mushrooms, or zucchini noodles while the meat rests. These sides cook fast and add a fresh, savory contrast to richer elements.
Grains and sauces to soak up pan juices
White rice, couscous, or crusty bread are ideal to mop up sticky pan juices. For a silky finish, whisk a splash of vinegar and a pat of butter into the roasting juices and spoon over the plate.
“Warm plates and a starchy side make every bite feel intentional and restaurant-ready.”
| Side type | Why it works | Serve with |
|---|---|---|
| Sheet-pan veg (broccoli, carrots, Brussels) | Roast at 400°F with minimal attention | Oven-baked main for easy timing |
| Quick stovetop (spinach, mushrooms, zucchini noodles) | Finish while the meat rests; adds brightness | Sticky-baked or slow-cooker styles |
| Rice / couscous / crusty bread | Soaks up glaze and pan sauce | Any dish with syrupy pan juices |
Balance the plate: aim for a protein focus, colorful vegetables, and one starchy side. A simple green salad with bright vinaigrette or a herbed yogurt drizzle cuts richness and complements bold flavor.
Make-ahead, storage, and reheating without drying out
A little planning after cooking turns tonight’s dinner into easy lunches all week. Cool the food quickly, then move it into an airtight container fridge to slow bacterial growth and lock in moisture.

Store cooked pieces in the fridge for 3-4 days. For longer holds, freeze individual meal-size portions for up to 3 months and thaw overnight in the fridge before reheating.
Gentle reheating that preserves moisture
Reheat on low power in a microwave: cover in a microwave-safe bowl and use 50% power in 60–90 minutes intervals until warm. Or warm at 350°F in the oven until just heated through.
Smart tips to save time and keep flavor
- Moisten leftovers with a spoon of reserved pan juices or a splash of broth before reheating.
- Keep sauces separate to avoid soggy textures and extend shelf life.
- Label each container with the date to track days and rotate stock.
Love your leftovers cold: sliced or shredded over arugula or spinach, this protein stays tender and bright straight from the fridge. These simple steps make the next-day meal feel fresh and intentional, saving both time and waste.
Pro tips, swaps, and flavor boosts
Small moves make a big difference. Keep a few pantry tricks in mind so your weeknight main stays juicy and bold without extra work.
Don’t over-trim: a little fat protects and adds flavor
Leave a thin layer of fat on pieces to baste during cooking. This prevents dry, stringy bites and preserves moisture.
If you must trim, preserve a ribbon of fat near the edge so the meat finishes tender and more flavorful.
Smoked paprika is key—don’t skip it
Smoked paprika brings color, warmth, and a mild smoky note that mimics a seared finish. Use it in your dry rub and glaze for consistent depth.
Combine with garlic powder and a pinch of salt to balance the profile before roasting or broiling.
Add heat or herbs: cayenne, hot sauce, oregano, or thyme
Adjust heat with cayenne or a dash of hot sauce, and lift the dish with dried oregano or thyme. A splash of soy or Worcestershire adds instant umami.
- Whisk in a touch of oil for glossy sauces that cling.
- Mix rubs or glazes ahead for faster weeknight prep.
- Finish with a squeeze of citrus or splash of vinegar to brighten aromas.
Conclusion
Conclusion: Choose the method that fits your schedule — a 400°F dry‑rub bake (about 30 minutes), a 425°F sticky bake finished under the broiler for 8–10 minutes about 8″ from the element, or a slow cooker on low for 5–6 hours (or ~2 hours on high) using the soy‑ketchup‑honey‑garlic‑ginger‑Sriracha‑lime sauce.
Keep simple pantry ingredients like olive oil and smoked paprika on hand for quick prep. Store leftovers in an airtight container in the fridge for 3–4 days or freeze portions up to 3 months. Reheat gently to protect texture, or enjoy cold over a salad for an easy lunch.
Serve with roasted veg at 400°F, quick stovetop greens, or a warm bowl of rice to catch pan juices. Note your preferred rub ratio and broiler rack position so you can repeat perfect color and timing next time.