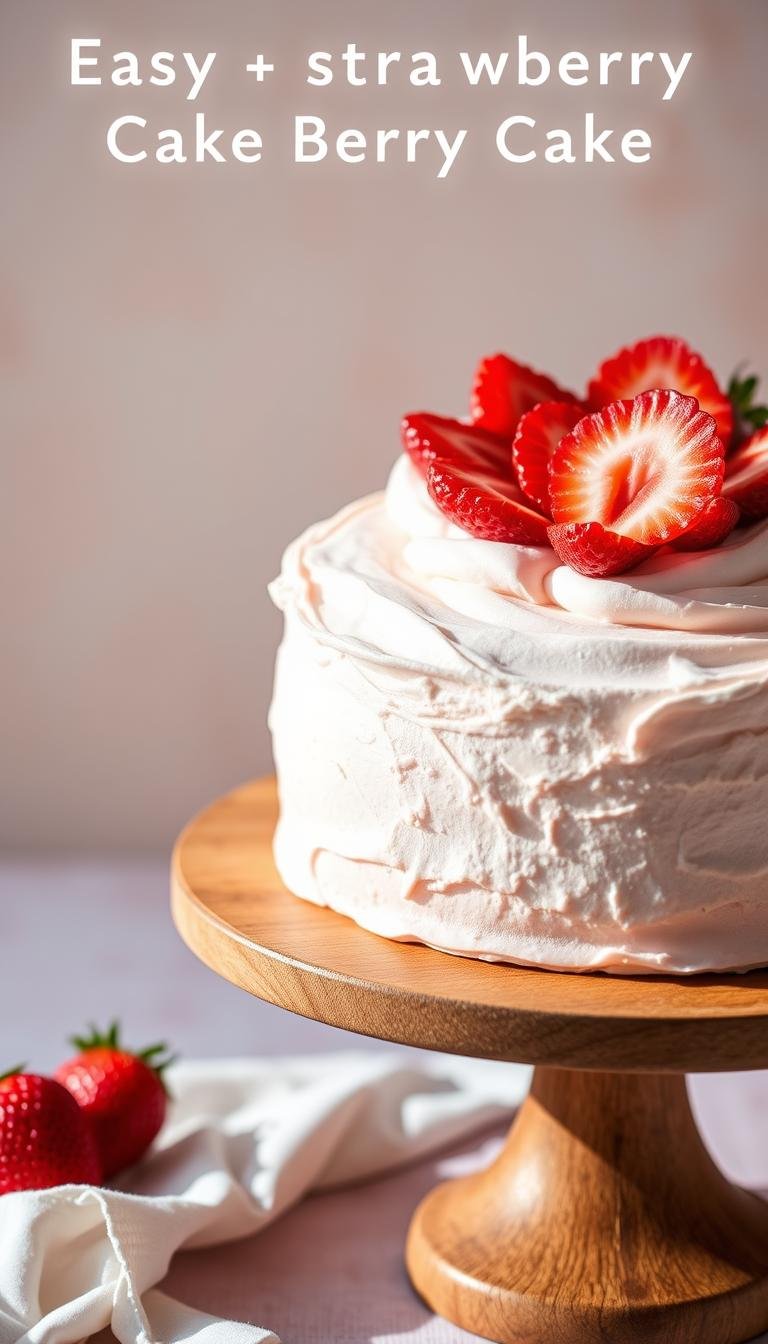
Strawberry Cream Cake Recipe: Moist & Delicious Dessert
Surprising fact: more than 60% of home bakers say that chilling a layered dessert overnight makes the biggest difference in clean, even slices.
This Website contains affiliate links. That means I may earn a small commission if you purchase through my links, at no extra cost to you.
This tested cake recipe builds light vanilla layers that feel tender and airy. The batter blends butter and oil with room-temperature milk, whole eggs plus whites, and real vanilla for warm, balanced flavor.
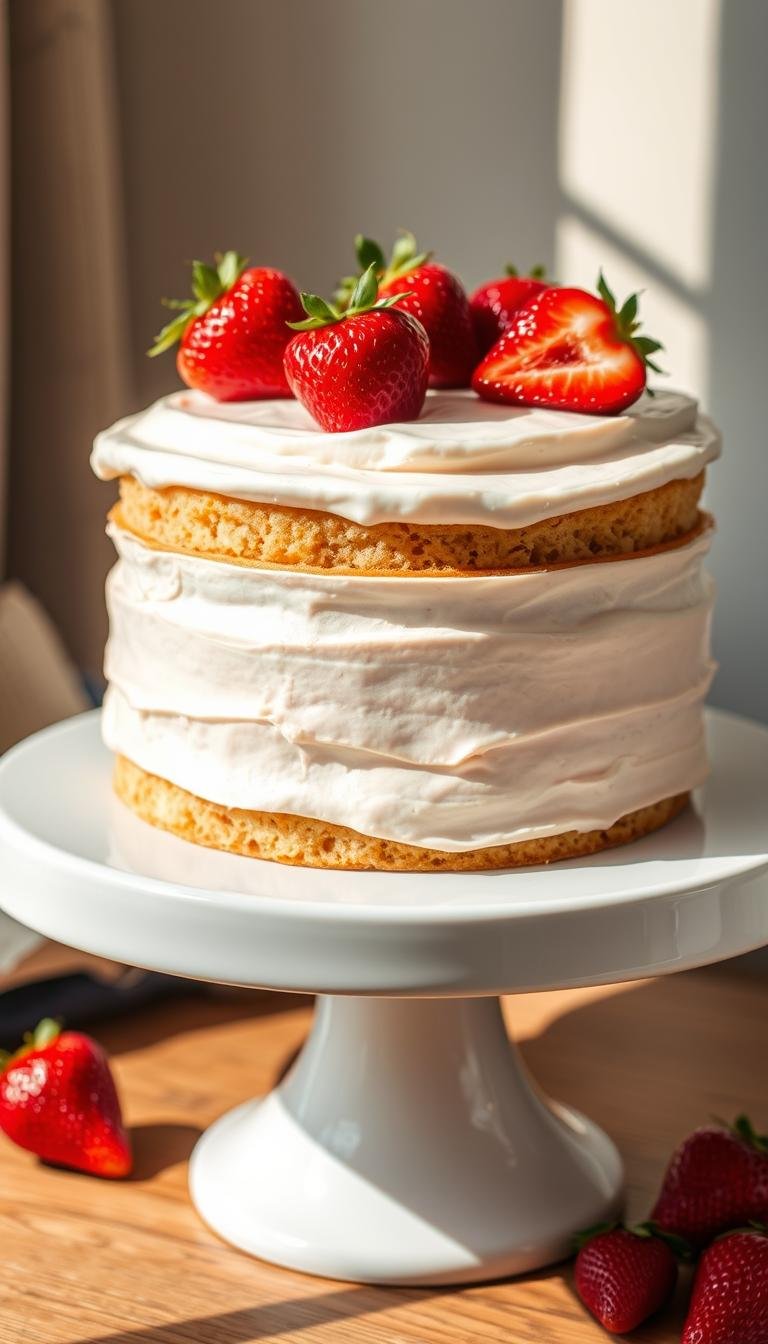
You’ll bake two 8–9 inch rounds at 325°F until a toothpick comes out with a few moist crumbs, then split them to make four thin layers. Between layers, clouds of lightly sweetened whipped topping and fresh strawberries create a classic, elegant finish.
Plan your time: active prep and bake time are followed by at least four hours of chill time, ideally overnight, so the dessert slices cleanly and stays moist.
Key Takeaways
- This reader-tested cream cake uses pantry ingredients and simple techniques for reliable results.
- Combine butter and oil, use room-temp milk, and alternate wet and dry additions for a moist crumb.
- Bake in light-colored pans at 325°F and cool completely before layering.
- Split rounds to create four thin layers and refrigerate at least 4 hours for clean slices.
- Pro tips in the post include accurate measuring, tool options, and flavor swaps.
Why this strawberry cream cake is a crowd-pleasing, summer-perfect recipe
Few desserts feel as fresh and festive as a soft vanilla sponge layered with bright, ripe berries. The combination keeps the dessert light, yet satisfying for backyard parties and showers.
Light vanilla layers, fresh strawberries, and real whipped cream
Airy vanilla layers and juicy strawberries balance sweet and bright. Real whipped topping is lightly sweetened so vanilla and berry flavor can shine.
Tested-to-perfection methods for moist crumb and clean slices
The tender crumb comes from butter plus a touch of oil and the mix of whole eggs with egg whites for lift. Bake on a lower rack in light pans at 325°F to avoid dark edges.
- Bake until a toothpick comes clean or with a few moist crumbs to prevent drying.
- Chill at least four hours, ideally overnight, so the filling sets and slices come clean.
- Versatile: works in rounds, a 9×13, or as cupcakes without losing that signature lightness.
| Feature | Why it matters | Quick tip |
|---|---|---|
| Butter + oil | Flavor and tender crumb | Use unsalted butter at room temp |
| Egg mix | Lift without heaviness | Separate whites for extra air |
| Chill time | Clean, confident slices | Refrigerate 4 hours to overnight |
Strawberry cream cake: ingredients & smart substitutions
Proper ingredient choices and smart swaps turn a basic batter into a tender, show-stopping dessert.
For the cake layers
Use all-purpose flour for reliable structure or swap in cake flour for a softer crumb. Combine baking powder and a pinch of baking soda with fine salt and granulated sugar for balanced lift and flavor.
Mix whole milk, softened butter, a little neutral oil, vanilla extract, whole eggs plus extra egg whites to lighten the batter. Measure leavening precisely for steady rise.
For the cream filling and frosting
Whip heavy cream with powdered sugar and vanilla until stiff peaks form. Fold in finely diced fresh strawberries for juicy pockets, then set aside until assembly.
For more stability, blend mascarpone or cream cheese into the whipped topping. Use heavy cream when you need reliable whipping power.
Flavor boosters & add-ins
- Add a drop of almond extract or vanilla bean paste for bakery-style aroma.
- Try a thin swirl of homemade jam or a layer of instant vanilla pudding for a Fraisier twist.
- Press crushed whole almonds or graham cracker crumbs between layers for crunch.
- Swap vegetable oil for canola, or add 1–2 tablespoons extra milk if batter seems thick.
| Component | Why it matters | Smart swap |
|---|---|---|
| Flour | Structure vs. tenderness | Use cake flour for softer crumb |
| Butter + oil | Flavor and moisture | Unsalted butter + neutral oil |
| Leavening | Lift and browning control | Measure baking powder and a pinch of baking soda |
| Filling | Texture and stability | Mascarpone or cream cheese for sturdiness |
Tools you’ll need to make cake layers that bake evenly
Well-chosen equipment is the shortcut to even layers and a reliable bake every time. A few items control heat, volume, and timing so the batter performs predictably.
Essential gear
Use two 8–9-inch light-colored cake pans lined with parchment and sprayed for even rise and tender edges. Grease well, then set aside your prepared pans.
If you prefer a Fraisier-style build, a 7–8 inch springform pan works for a neat strawberry ring and pudding layer.
Mixing, measuring, and finishing tools
You’ll need a reliable mixer—stand or hand—and a sturdy bowl set to separate dry and wet mixes and whip to stiff peaks.
Accurate measuring spoons and cups are fine, but a kitchen scale gives repeatable results. Keep parchment circles and a long serrated knife for clean layer splitting.
- Check oven temp with a thermometer and place the rack lower to avoid doming.
- Have cooling racks, offset spatulas, a bench scraper, and a fine-mesh strainer ready.
“Bring key ingredients to room temperature for smoother mixing and better emulsification.”
How to make strawberry cream cake step-by-step
Here’s a straightforward workflow to move from batter to a chilled, sliceable centerpiece.
Mix the vanilla cake batter
Preheat the oven to 325°F and prepare two 8–9 inch pans; line with parchment and grease, then set aside.
In a bowl, whisk flour, baking powder, a pinch of baking soda, and salt to blend the dry ingredients.
Stir milk with vanilla extract in a small bowl. In a mixer, beat butter, oil, and sugar until light.
Add whole eggs and egg whites one at a time. Alternate adding the dry mix and the milk mixture, starting and ending with dry. Mix just until the batter comes together.
Bake and check doneness
Divide batter between pans and smooth the tops. Bake on the lower rack for 30–40 minutes.
Start checking after 30 minutes. Pull when a toothpick comes clean or shows a few moist crumbs.

Whip, layer, and chill
Cool in pans 15–20 minutes, then invert to racks and cool completely. Whip cold heavy cream with powdered sugar and vanilla to stiff peaks; reserve half and fold diced fresh berries into the rest.
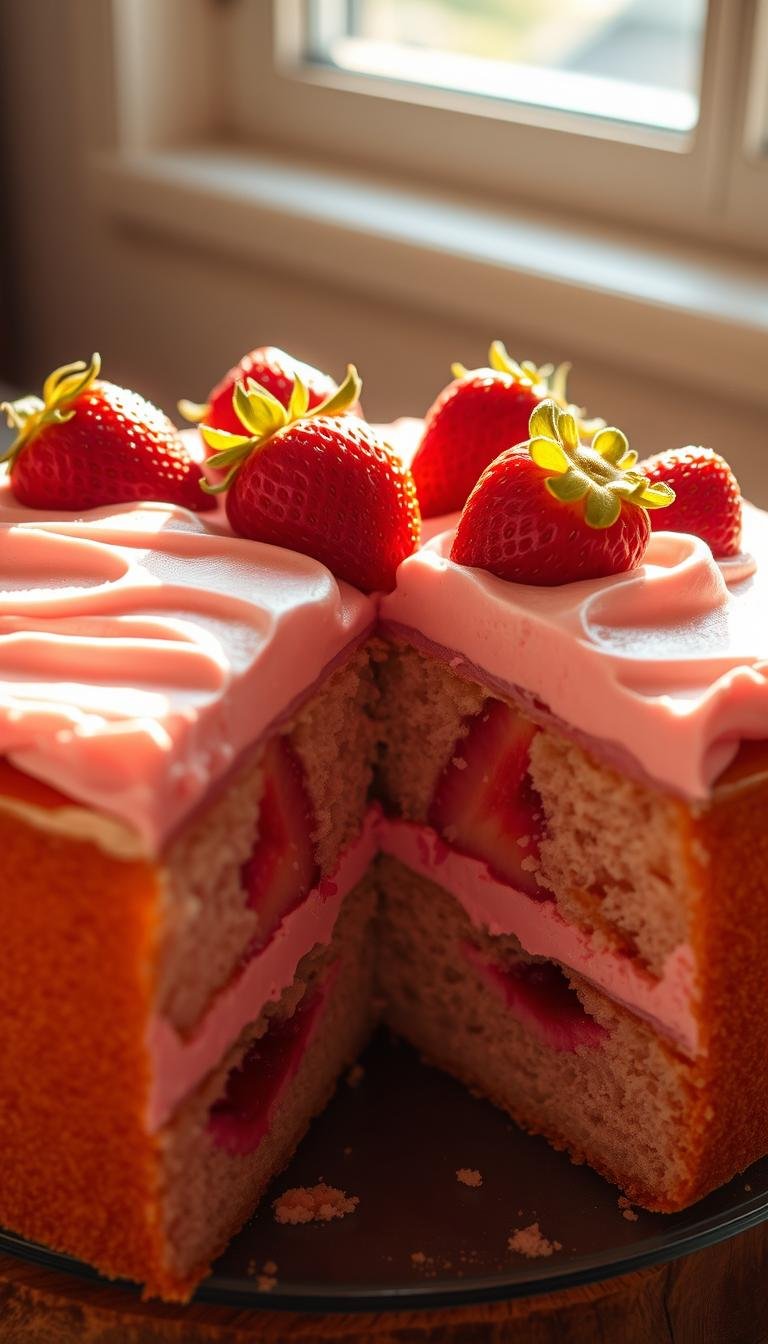
Split each round to make four thin layers. Spread the berry-studded filling between layers, frost with the reserved whipped topping, and arrange berries on top.
“Refrigerate at least 4 hours, ideally overnight, for the cleanest slices.”
Pro tips for the moistest crumb and stable cream
Simple attention to ingredient temp and gentle mixing keeps layers tender and the filling stable. These small steps are easy to do but change results a lot.
Start with room temperature ingredients. Bring milk, eggs, and butter to room temperature so the batter emulsifies smoothly and traps air for a finer, moist crumb.
Measure and mix with care
Measure flour with the fluff-spoon-level method to avoid packing. Too much flour gives a dense texture and reduces lift.
Alternate dry ingredients and milk while mixing. Stop as soon as the last streak disappears to prevent overmixing and a tough crumb.
Oven, pans, and timing
Use light-colored pans and bake on the lower rack to limit top browning. Place an oven thermometer on the rack to verify actual oven heat.
Cupcakes need about 18–20 minutes at 325°F; rounds take 30–40 minutes. These times protect thin cake layers from drying out.
Chill and finish
Let layers cool completely before splitting and frosting. Residual heat will melt the cream and compromise structure.
Refrigerate the assembled dessert for at least 4 hours, ideally overnight. This time lets moisture even out and makes slicing neat.
| Tip | Why it matters | How to do it |
|---|---|---|
| Room temperature ingredients | Better emulsion and rise | Take milk, eggs, butter out 30–60 minutes before mixing |
| Fluff-spoon-level flour | Avoids excess flour and dryness | Fluff, spoon into measuring cup, level with a knife |
| Light pans + thermometer | Even baking, correct temperature | Use light-colored pans; place thermometer on rack |
| Chill time | Cleaner slices and balanced moisture | Refrigerate 4 hours to overnight before slicing |
Choose your format: round cake, 9×13, or cupcakes
Decide whether you want an elegant multi-layer round, a party sheet, or easy-to-serve cupcakes. Your choice drives pan size, bake minutes, and assembly steps.
Pan sizes, bake times, and cooling so layers come out clean
Rounds: For classic layers, use two 8–9-inch pans and bake at 325°F for 30–40 minutes. Cool in the pans 15–20 minutes, then turn out to finish cooling completely before splitting and filling.
Sheet: For a 9×13 format, expect about 40–55 minutes at 325°F. Top the baked sheet with swirls of whipped topping and sliced berries for a quick, crowd-friendly finish.
Cupcakes: Plan for roughly 24 cupcakes at 325°F for 18–20 minutes. Once cool, core and fill with a berry filling, then pipe the reserved topping on the top.
- Prepare pans with parchment and nonstick spray so cake layers release cleanly.
- For a Fraisier-style build, use a 7–8 inch springform and line the rim with halved berries before filling with pudding and jam.
- Watch the minutes near the end—thin layers and cupcakes can finish a few minutes early.
“Always cool completely before stacking; warm layers will shred and compress under the filling.”
| Format | Bake temp & time | Key tip |
|---|---|---|
| Two 8–9-inch rounds | 325°F — 30–40 minutes | Cool 15–20 minutes in pans, then finish cooling on racks |
| 9×13 sheet | 325°F — 40–55 minutes | Decorate the top; slice after chilling for cleaner pieces |
| 24 cupcakes | 325°F — 18–20 minutes | Core and fill, then top each with a piped dollop |
| 7–8 inch springform | 325°F — follow round timing | Line with halved berries for Fraisier style |
Easy variations to change up flavor and texture
If you want a silkier finish or a show-stopping look, these easy swaps make big differences without adding fuss.
Mascarpone whipped topping or a touch of cream cheese
Fold mascarpone into whipped topping for a velvety, slightly firmer frosting that holds piped details and tastes rich.
For gentle tang, blend in a small amount of cream cheese. It gives a cheesecake-like note and more stability in warm rooms.
Fraisier-inspired build: springform, pudding, and jam
Bake a single tall round in a springform, then split it. Line the rim with halved berries, add instant vanilla pudding, and swirl in homemade jam before topping.
“Line the ring with fruit and use pudding plus jam for a polished, bakery-style presentation.”
Swap fruit or add almond crunch between layers
Try raspberries for tartness, blueberries for pop, or thin peaches for a fragrant summer twist. Brush layers with strained jam or macerated juices to intensify flavor.
- Add crushed whole almonds or graham crumbs between layers for contrast.
- Use vanilla bean paste instead of extract to boost aroma and visible flecks.
- If it’s hot, stabilize the topping with gelatin or choose the mascarpone option for structure.
Storage, make-ahead, and freezing guidance
Good planning saves stress on the day of your event. A little prep ensures the dessert stays moist and slices cleanly.
Refrigeration window and serving temperature
Refrigerate the finished cake covered and keep it chilled. Stored this way, it stays best for up to 3 days. Slices often look and slice cleaner the day after an overnight chill.
Limit time at room temperature to about 2 hours when serving. For best flavor, bring slices slightly toward cool room temp for a few minutes before serving so the top and filling soften a touch without losing structure.

Make ahead: bake layers, cool completely, set aside and assemble later
Bake your cake layers ahead and let them cool completely before wrapping. Double-wrap unfrosted layers in plastic and foil, then set aside in the fridge or freezer as needed.
Assemble with whipped topping and fresh berries the day you plan to serve for the best texture and appearance.
What freezes well and what doesn’t
Freeze only unfrosted cake layers. Double-wrap in plastic and place in an airtight bag or container to prevent freezer burn. Thaw in the refrigerator before using.
Avoid freezing a fully assembled dessert that uses whipped topping and fresh strawberries. These elements break down and weep when thawed, leaving a soggy top and loose filling.
| Item | Storage | Notes |
|---|---|---|
| Assembled cake | Refrigerate up to 3 days | Slices slice cleaner after overnight chill; limit room time to ~2 hours |
| Unfrosted cake layers | Freeze 1–3 months (double-wrap) | Thaw in fridge and brush with simple syrup if slightly dry |
| Whipped topping & fresh berries | Refrigerate only | Do not freeze once assembled; texture degrades |
| Leftover slices | Refrigerate covered 1–3 days | Remove only what you’ll serve to keep remaining slices fresh |
“When short on time, assemble the dessert the night before; chilling lets flavors meld and improves sliceability.”
Conclusion
Conclusion
Master clean, tender slices by following the basics: whisk dry ingredients in a bowl, alternate wet and dry additions, and watch bake minutes closely so the toothpick shows a few moist crumbs.
Cool fully, split the rounds, fill with lightly sweetened topping and fresh strawberries, then refrigerate so layers set. This strawberry cream cake balances a vanilla-scented sponge with bursts of berry in every layer.
Want variety? Use a springform for a Fraisier-style build, swap in mascarpone or light gelatin for stability, or turn the batter into cupcakes or a 9×13 sheet. Key ingredients to remember: flour, baking powder, sugar, butter, milk, vanilla extract, eggs and egg whites, and plenty of ripe berries.
Make layers ahead and set aside wrapped, freeze unfrosted rounds, and assemble near serving time. Enjoy this recipe as a base and make it your own.