Strawberry Cake Drawing Tutorial: Techniques for Realistic Art
Did you know that 72% of viewers say a photo of food makes them judge its quality before tasting? That same first impression holds for illustrations. A believable dessert sketch can make a viewer pause, smile, and feel hungry.
This Website contains affiliate links. That means I may earn a small commission if you purchase through my links, at no extra cost to you.
This short tutorial treats a sweet subject like a clear recipe. You will learn to see the form as simple 3D blocks first, then refine frosting, sugar sparkle, and fruit sheen. The guide blends basic art skills with dessert textures so you can work at home without studio gear.
Expect steps that read like baking: clean line art, mapped values, controlled color, and a final polish. Tips scale for quick sketches or more finished pieces. You will spot cues like crumb texture, light on glaze, and tiny seeds that sell realism on the page.
Follow along and turn a fun visual challenge into a repeatable practice. By the end, you’ll create a dessert illustration with believable cream, moist layers, and vanilla warmth that looks delicious on the page.
Key Takeaways
- Start with simple 3D shapes before adding detail.
- Use value mapping to control light and depth.
- Texture cues—crumb, glaze, seeds—make desserts believable.
- Think like a baker: follow steps as a recipe for consistency.
- Techniques work for quick sketches or refined artwork at home.
Set up your drawing space and tools for realistic dessert art
Set up a tidy station so your tools serve the picture, not the other way around. Start simple: one liner, marker paper, a handful of markers, and a couple of colored pencils. This compact kit works at home or in a classroom and keeps the process fun.
Essential supplies include a Sharpie or fineliner for confident outlines, smooth marker paper to prevent bleed-through, alcohol-based markers like Bianyo for rich base tones, and Prismacolor pencils for fine cream and sugar details.
Marker paper matters. Its slick surface stops feathering and helps you blend strawberry reds, vanilla highlights, and chocolate accents without fuzzy edges.
- Keep a small box or tray with tools, an eraser, and a swatch page of butter, eggshell, and berry tones.
- Beginners: limit the palette and focus on form. Advanced: layer markers, then refine with pencils for cheesecake texture and frosting sparkle.
- Treat setup like a recipe—mise en place—so the drawing challenge stays smooth from page to plate.
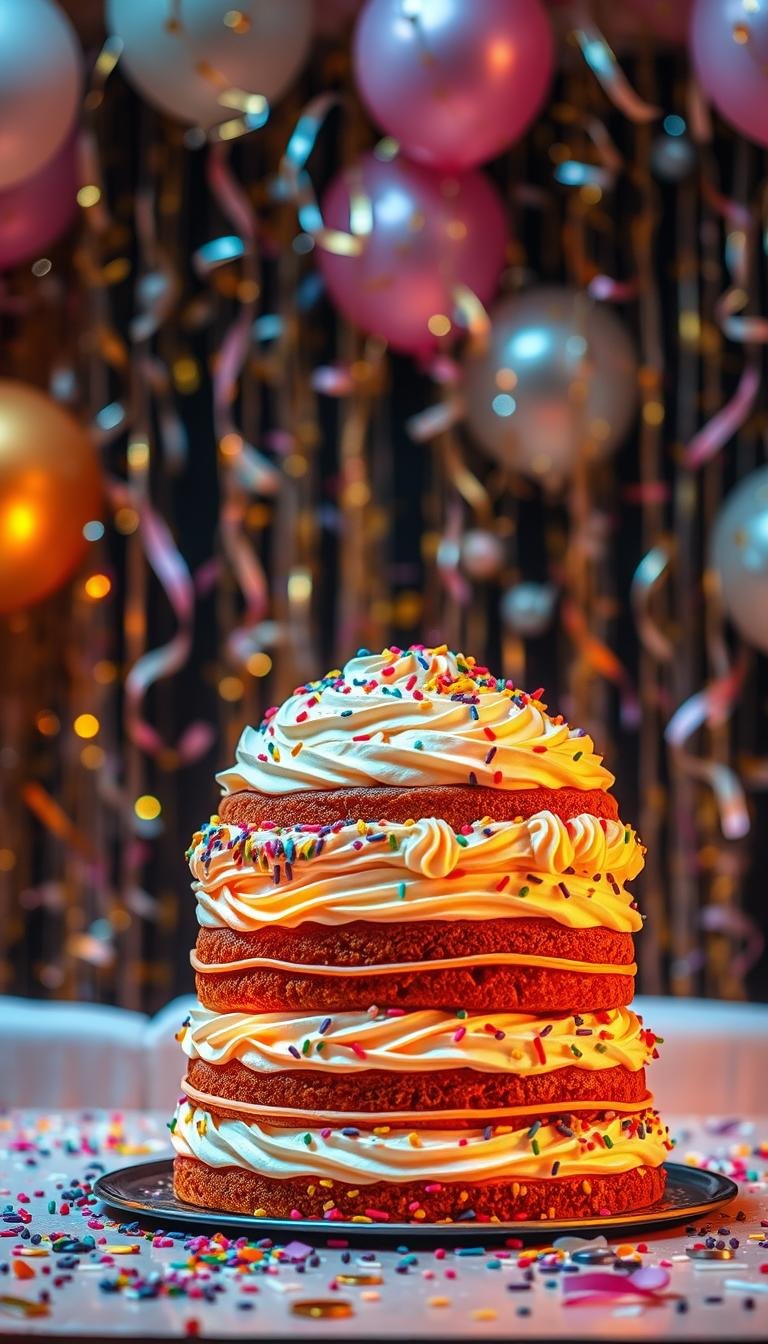
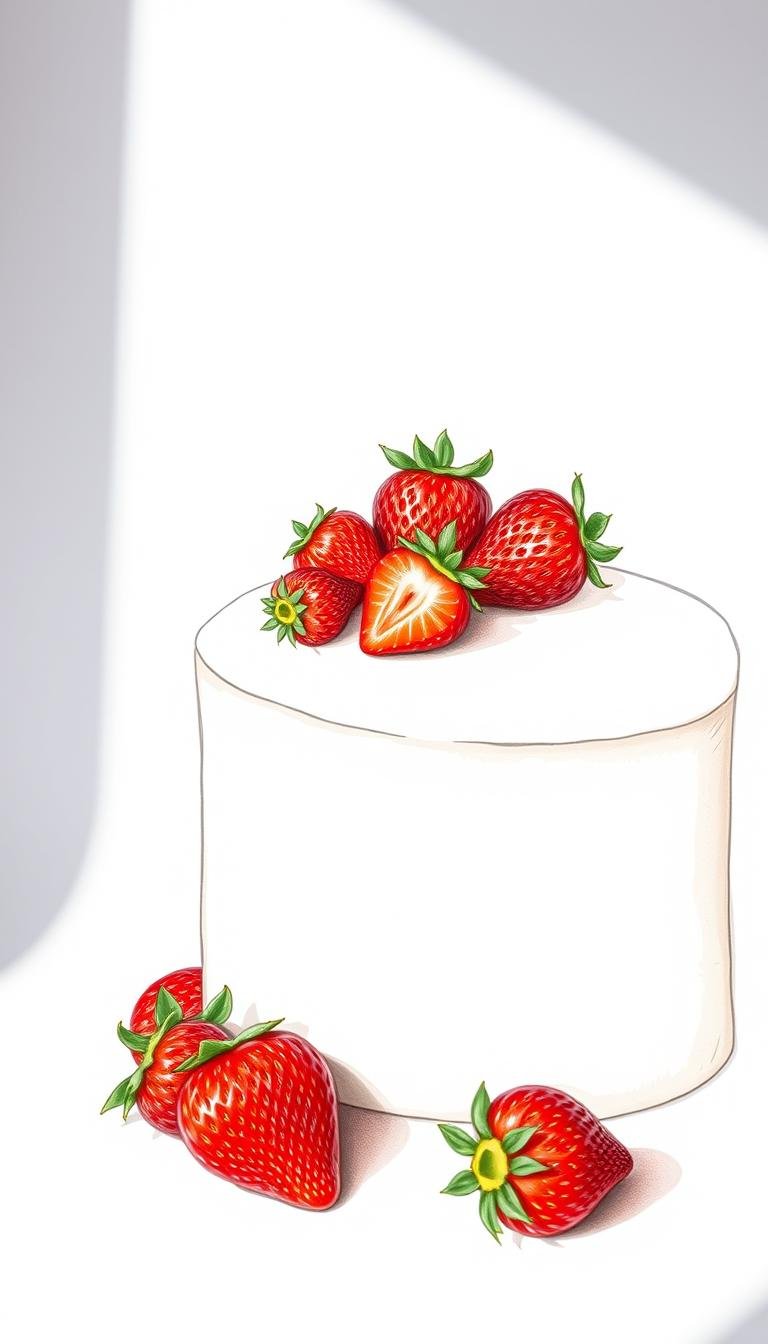
Strawberry cake drawing: step-by-step techniques for lifelike results
Lay in the big shapes first so the rest of the details fall into clear, believable positions.
Construct the base form by blocking a cylinder for a whole cake or a wedge for a slice. Tilt the ellipse to show the plate in perspective. Keep these lines light so frosting edges stay clean.
Build crumb and crust with mid-value hatching and small stipples to suggest air pockets. Darken the crust edge slightly to read baked, not raw. Adjust hole spacing if you want a cheesecake or a shortcake feel.

Cream and topping details
Reserve highlights for soft peaks and tapered drip lines. Add warm vanilla tones to stop the cream from looking blue-white. Map seeds on the fruit first, glaze translucent reds, then place specular highlights.
Color strategy and final polish
Use markers for base reds and chocolate accents, then refine micro-textures with colored pencils. Punch the value recipe: light for cream, mid for crumb, dark for crust. Add tiny sugar sparkle and a cool reflected light under the slice.
- Suggest an ice cream scoop with soft ellipses and a faint melt line if you like an accompaniment.
- Time your layers: let markers set, then return with pencils to avoid lifting and keep edges sharp for the final challenge.
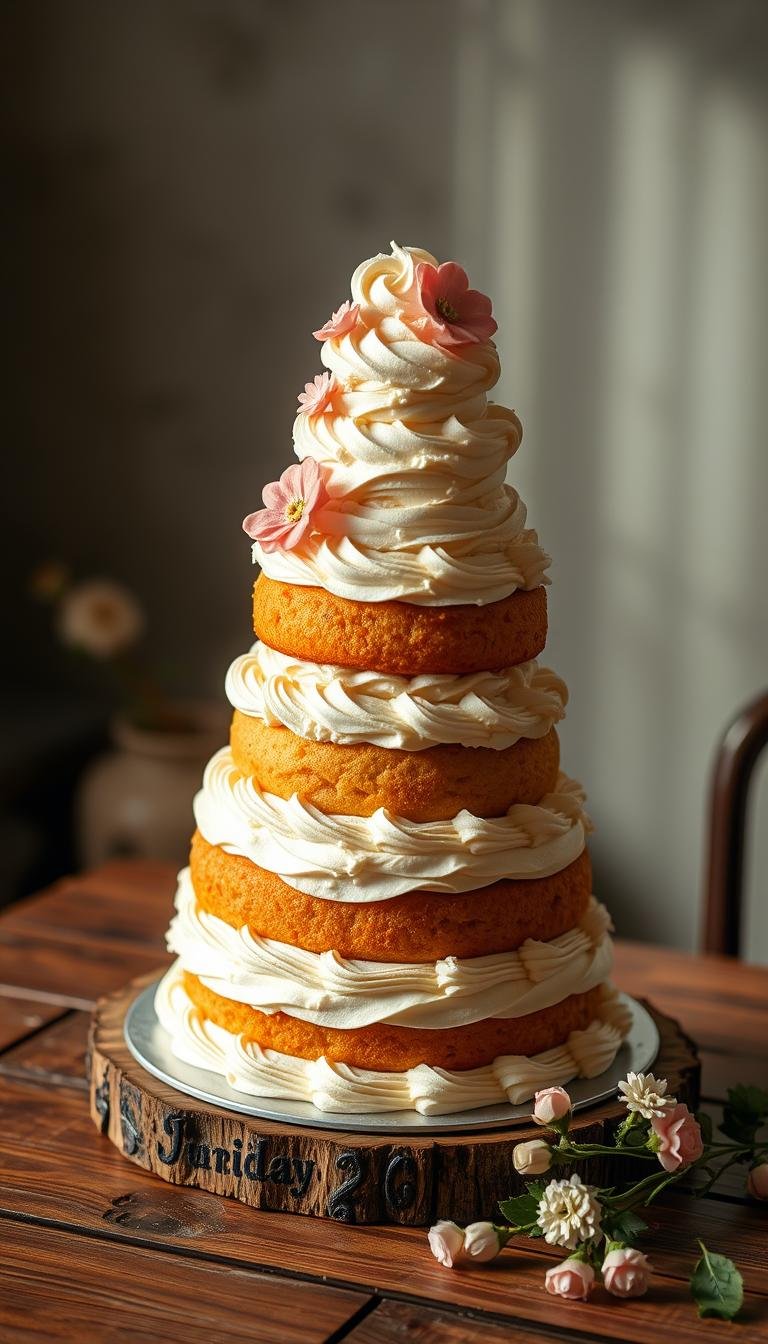
Inspiration from the kitchen: shortcake, heart Bundt motifs, and community challenges
Kitchen motifs often spark fresh ideas for plate-to-page compositions. Borrow shapes, textures, and recipe cues to build a visual language that feels edible and believable.

Design ideas from a shortcake and a heart-shaped Bundt with rose patterns
Translate the NordicWare heart-shaped Bundt pan and its rose imprints into petal-like shadow rhythms around your form. Use repeating floral contours to frame the focal fruit.
Sketch a strawberry shortcake stack—biscuit, cream, and fruit—as a compositional blueprint. Then adapt the recipe-inspired layers into stylized piping or rose motifs to echo the pan’s imprint.
Join a bakers’ community challenge: share and learn
Mirror Sally’s Baking Challenge by picking a monthly subject, creating your piece, and sharing a photo. This routine turns practice into steady progress.
- Use box-mix cues for packaging-style art: clean cuts, tidy crumbs, and idealized vanilla or chocolate accents.
- Build a concept sheet listing ingredients, eggs, and butter color notes to keep palettes consistent.
- When adding ice cream or sugar glaze, keep reflections tight and layered to capture kitchen light on rose imprints.
End each study by noting time spent, the recipe that inspired you, and what the challenge taught you. This habit keeps your portfolio focused and fun.
Conclusion
Finish strong by turning layered steps into a habit you can follow on every page.
You now have a clear, repeatable recipe for illustrating desserts: build forms confidently, layer values intentionally, and add selective sugar highlights so each cake reads believably.
Prioritize ripe strawberry hues, calm cream notes, and a hint of vanilla warmth. Track small wins—cleaner edges, better crumb, and believable ice cream shadows—to see steady progress.
Expand references to cheesecake and cheese textures, keep a tiny ingredients checklist, and set weekly micro-goals as a friendly challenge. Rewrite your process like a quick recipe so success is easy to repeat.