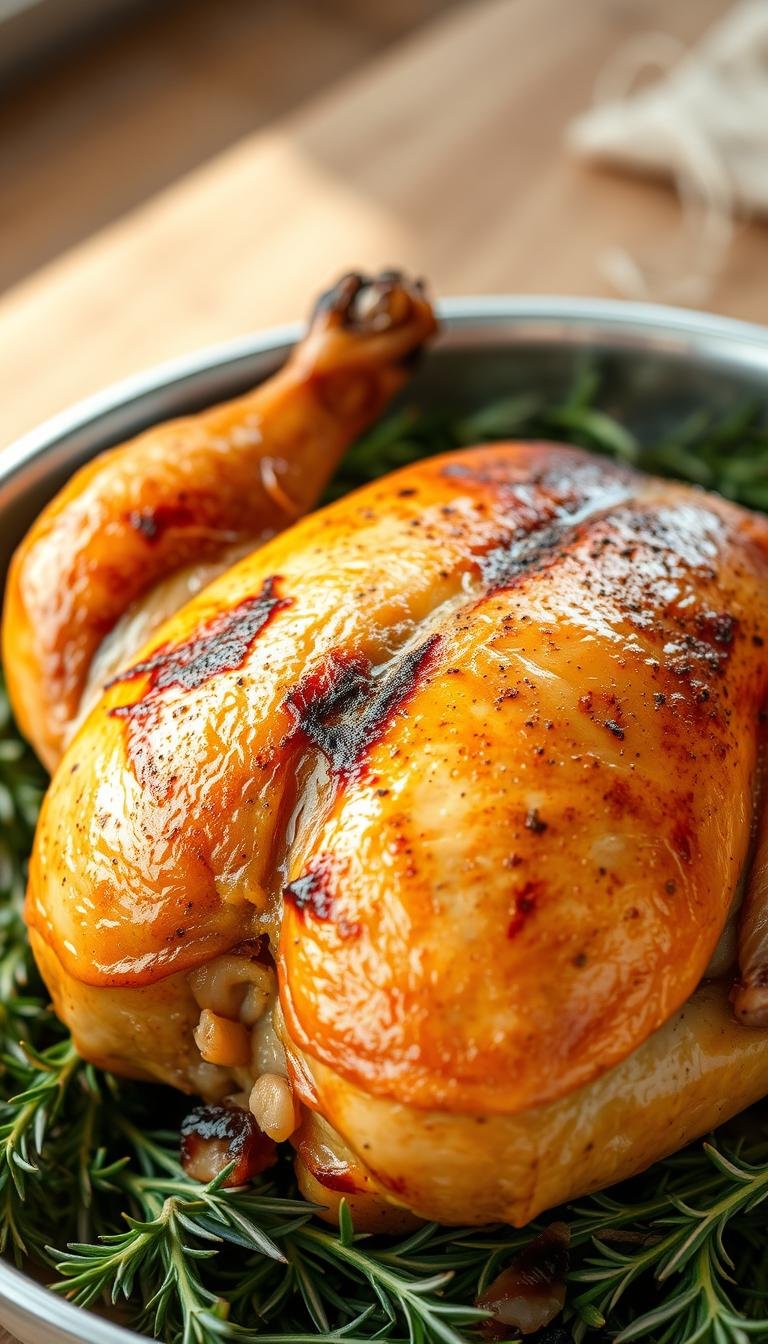
Simple Chicken Recipes Baked with Love
Surprising fact: home cooks who follow a five-step method report juicier results nearly 90% of the time.
This Website contains affiliate links. That means I may earn a small commission if you purchase through my links, at no extra cost to you.
This guide shows a proven B.B.R.R.R. approach: Brine, Brush, Rub, Roast, Rest. It makes weeknight meals reliable and hands-off. You’ll learn how a hot oven (400–450°F) builds a golden surface while locking in moisture.
Season simply with salt, pepper, garlic powder, and smoked paprika. Use a quick brine or an even thickness to prevent overcooking. An instant-read thermometer removes guesswork — pull at 165°F.
Make, store, and reuse: rest the meat 5–10 minutes under foil for easy slicing. Leftovers chill 3–4 days or freeze up to 3 months. This base recipe is flexible and ready for many flavor twists.
Key Takeaways
- Follow B.B.R.R.R. for juicy, tender results.
- Roast hot (400–450°F) and check 165°F with a thermometer.
- Simple seasoning gives big flavor and easy swaps.
- Rest 5–10 minutes under foil before slicing.
- Quick brine or pound breasts for uniform cooking.
- Store chilled 3–4 days or freeze up to 3 months.
Why Baked Chicken Works for Busy Weeknights in the United States
A hot oven is the weekday cook’s best ally for reliable, fast protein. Roast at 400–450°F to cut active work and get even browning. This method finishes breasts and cutlets in about 15–26 minutes depending on thickness.
Set seasoned pieces on a sheet or dish, start the oven, and use that hands-off window to prep sides or tidy up. Convection and steady heat remove the need to flip and reduce hot-spot risk.
Realistic windows help plan meals: roughly 16–26 minutes in the oven, then rest 5–10 minutes before slicing. That fits school-night and work-night routines.
- Budget-friendly: boneless, skinless cuts are affordable and versatile.
- Scaleable: one pan serves one or a family without extra effort.
- Minimal cleanup: one dish plus a small bowl for seasonings.
- Reliable texture: use an instant-read thermometer to avoid overcooking and rubbery meat.
Small effort, big return: this approach yields lean protein that slices cleanly for salads, sandwiches, and quick second-day meals.
The Fail‑Proof Method for Juicy Baked Chicken Breasts
Follow a tight five‑part routine to turn ordinary breasts into reliably juicy weeknight mains.
The B.B.R.R.R. approach: Brine, Brush, Rub, Roast, Rest
B.B.R.R.R. breaks the process into clear steps that limit error. Brining boosts moisture. Brushing adds fat to help browning. Rubbing seasons every bite. Roasting at high heat speeds cooking. Resting lets juices redistribute so slices stay moist.
When to brine vs. when pounding is enough
Quick brine blueprint: 15 minutes in cool salted water, then rinse and pat dry. Skip this if the package lists a sodium solution.
Pound thin or uneven pieces when time is tight. Pounding evens thickness and often replaces a brine for fast weeknight cooks. Thicker cuts still benefit from brining or extra time.
| Step | Action | Why it matters |
|---|---|---|
| Brine | 15 min cool salted water | Adds moisture and flavor |
| Brush | Melted butter or olive oil | Promotes browning and spice adhesion |
| Rub | Salt, pepper, garlic powder, smoked paprika | Balanced, versatile seasoning |
| Roast | 400–450°F until 165°F | Fast cooking; check with an instant‑read thermometer |
| Rest | 5–10 minutes under foil | Keeps slices juicy; ensures fully cooked and even texture |
Ingredients and Smart Swaps
Start with simple, reliable ingredients to get consistent, tasty results.
Choose boneless, skinless chicken breasts of similar size so pieces cook evenly. Trim any thin edges and, if needed, pound to a uniform thickness. Even thickness shortens oven time and cuts the risk of dry meat.
Brush each piece with about 1 Tbsp of olive oil or melted butter. Olive oil browns well and tolerates high heat. Butter adds richer flavor and deeper color. Measure fat by the tablespoon to control calories and ensure even spice adhesion.
Core seasoning and flexible swaps
Build a base blend: kosher salt, freshly ground black pepper, garlic powder, and smoked paprika. Mix spices in a small bowl before sprinkling for an even coat.
“Skip the brine if the package already lists a sodium solution—pre-brined meat can become too salty.”
- Swap sweet or hot paprika for a different smoke level.
- Use avocado or light-flavored oil if you prefer a neutral high-heat option.
- Add herbs or citrus zest to vary flavor without changing the method.
| Item | Use | Why it matters |
|---|---|---|
| Boneless skinless chicken breasts | Pound to even thickness | Ensures uniform cook time and juiciness |
| Olive oil | 1 Tbsp per piece | Promotes browning and tolerates high heat |
| Butter | 1 Tbsp per piece (melted) | Adds richness and deeper flavor |
| Salt, pepper, garlic powder, smoked paprika | Mix in bowl, then season both sides | Even seasoning gives consistent color and taste |
Prep Essentials: Preheat, Thickness, and Baking Temperature
Start by bringing the oven up to full heat so timing and browning stay predictable. A stable preheat oven gives even surface color and reliable cook windows. Wait until the gauge reaches the set temperature before sliding the pan in.
Choose your target temperature
Pick 400°F for a forgiving cook that runs about 18–22 minutes, or 450°F for a faster roast of roughly 15–18 minutes. Adjust based on piece size and desired crust. Use higher heat for a crisper exterior.
Pound for even thickness
Pound uneven pieces so thickness matches across each piece. Even thickness prevents dry edges and undercooked centers. This step improves tenderness and shortens variable cooking time.
| Thickness (400°F) | Approx. Time (minutes) |
|---|---|
| 1/2″ | 16–18 |
| 3/4″ | 20–22 |
| 1″ | 24–26 |
Use this chart as a starting point. Always confirm doneness with an instant-read thermometer. Insert the probe into the thickest part without touching the pan. Pull when the internal temperature reads 165°F for safe, juicy results.
Keep spacing between pieces for even airflow. Expect oven variances; monitor the last few minutes and consider a brief broil at the end for extra color. Rest before slicing so carryover heat finishes cooking gently.
Step‑by‑Step: From Pan to Perfectly Baked Chicken
Move confidently from brine to plate with a short, repeatable routine designed for busy nights.
Step 1 — Brine and dry: In a mixing bowl, dissolve salt in cool water and soak for about 15 minutes. Rinse and pat the pieces completely dry to improve browning and spice adhesion.
Brush, season, and arrange
Brush both sides with a measured amount of oil or melted butter to help prevent sticking and to form a base for seasonings.
Mix salt, pepper, garlic powder, and smoked paprika in a small bowl. Season both sides and be sure to cover edges for even flavor.
Arrange the pieces on a metal sheet or oven‑safe dish with space between each so air circulates.
Bake, broil if desired, then rest
Bake at 400°F for about 18–22 minutes or 450°F for roughly 15–18 minutes, depending on thickness. Optional: switch to broil 2–3 minutes at the end to improve color without overcooking.
Verify doneness with an instant‑read thermometer and aim for 165°F in the thickest part. Transfer to a clean plate, tent loosely with foil, and rest 5–10 minutes so the juices redistribute.
- Slice across the grain for tender bites or leave whole for storage.
- Save any pan juices to spoon over slices or stir into grains for extra flavor.
Seasoning Variations to Keep It Interesting
Swap one or two spices and the same cooking method yields very different results.
Start by brushing pieces with olive oil so dry mixes stick and bloom in the oven. This simple step improves color and texture while keeping seasoning even.
- BBQ and smoky: blend smoked paprika, brown sugar, garlic powder, and a touch of cumin for grill-like depth.
- Lemon‑pepper: add fresh lemon zest, cracked pepper, garlic powder, and kosher salt for a bright finish.
- Spiced blends: use chili powder, Cajun seasoning, or taco spice to add heat; serve with cooling yogurt-lime or slaw.
- Italian herb mix: combine oregano, thyme, basil, rosemary, and parsley for a Mediterranean-leaning flavor.
Small tests: mix a tablespoon batch first to find the right balance. Watch salt levels in pre‑brined packages to avoid oversalting.
| Profile | Key spices | Best pairings |
|---|---|---|
| BBQ/Smoky | Smoked paprika, brown sugar, garlic | Roasted corn, baked potatoes |
| Lemon‑Pepper | Lemon zest, cracked pepper, garlic powder | Simple greens, couscous |
| Spiced (Cajun/Taco) | Chili powder, cumin, oregano | Yogurt-lime sauce, slaw |
| Italian Herb | Oregano, thyme, basil, rosemary | Roasted vegetables, chimichurri |

Ways to Serve Your Baked Chicken
Well-roasted breasts become a flexible base for salads, pastas, tacos, and more. Use leftovers to speed dinners and add protein to weekday menus.
As a main with roasted vegetables
Plate a whole piece with sheet-pan vegetables that can roast alongside the meat. Try asparagus, broccoli, Brussels sprouts, cauliflower, mushrooms, potatoes, or zucchini.
Over salads and grain bowls
Slice and serve over salads like Caesar or Cobb. Or add to grain bowls with quinoa, farro, or brown rice for a balanced protein boost.
In pastas, sandwiches, wraps, and tacos
Fold sliced breast into creamy Alfredo or marinara. Build sandwiches and wraps with lettuce, tomato, and sauces such as pesto or chipotle mayo. Try tacos or quesadillas with slaw and a squeeze of lime.
Shredded into soups, casseroles, and dips
Shred for quick soups—chicken noodle, tortilla, or white chili work well. Mix into casseroles or a crowd-pleasing buffalo chicken dip for game-day snacking.
“Batch-cook once and transform one roast into several distinct meals in minutes.”
| Serving | Examples | Why it works |
|---|---|---|
| Main + veg | Roast with broccoli, potatoes, or Brussels sprouts | One-pan efficiency; balanced plate |
| Salads & bowls | Caesar, Cobb, quinoa bowl | Adds lean protein and texture |
| Pasta & sandwiches | Alfredo, marinara, wraps, tacos | Stretches leftovers into comfort dishes |
| Soups & dips | Chicken noodle, white chili, buffalo dip | Fast, warming meals that use shredded meat |
Simple Sides That Pair with Baked Chicken
Plan sides that cook alongside or on a second rack so everything finishes at the same time.
Roast seasonal vegetables—asparagus, broccoli, Brussels sprouts, cauliflower, mushrooms, potatoes, or zucchini—on a second rack while the meat cooks. Toss with olive oil, salt, and pepper and roast until caramelized and tender.
Make sheet-pan potatoes or sweet potatoes for a hearty side that holds well for meal prep. Add quick-cooking mushrooms and zucchini to bring umami and moisture to the plate.
Prepare simple grains like quinoa or farro and finish them with lemon zest and fresh herbs. Whisk a quick pan sauce—lemon-garlic butter or an herb vinaigrette—to tie sides and protein together.
Serve crisp salads with vinaigrettes that echo or contrast the main spice profile. Include a creamy element such as mashed cauliflower or a yogurt-cucumber dip to balance spicier seasoning blends.
- Keep seasonings light to let the chicken’s rub shine while adding layered taste.
- Batch-roast vegetables on prep day so dinners later in the week come together fast.
| Side | Prep | Oven Temp/Time | Why it pairs |
|---|---|---|---|
| Roasted Brussels/Asparagus | Olive oil, salt, pepper | 425°F / 12–18 min | Caramelized edges echo savory rub |
| Sheet‑pan potatoes | Cube, toss with oil & herbs | 425°F / 25–30 min | Hearty texture that holds for meals |
| Quinoa or Farro | Simmer, finish with lemon zest | Stovetop 15–20 min | Bright, grainy base balances richness |
| Mushrooms & Zucchini | Quick toss, high heat roast | 425°F / 10–14 min | Adds umami and moisture |
“Lightly seasoned sides let the main seasoning stand out while creating a cohesive plate.”
Make‑Ahead, Storage, Freezing, and Reheating Tips
Plan ahead and your weeknight meals will come together in minutes. Small advance steps cut evening stress and keep flavor strong.
Season ahead up to 24 hours
Oil and season pieces, cover, and refrigerate for up to 24 hours to let flavors develop and speed evening prep. Keep items in a single layer so rubs stay even.

Store and freeze safely
Cool cooked portions, then store in airtight containers for 3–4 days in the fridge. For longer storage, freeze in meal-size packs up to 3 months. Label each pack with date and seasoning so reheating is simple.
Best reheating methods
Restore texture without overcooking by using gentle heat and a little moisture.
- Oven: place pieces in a casserole dish with a few tablespoons of water, cover with foil, and warm at 325°F for 10–15 minutes until fully cooked.
- Air fryer: set to 350°F and reheat 2–3 minutes per side for thinner pieces to regain crispness.
- Always confirm an internal temperature of 165°F before serving.
Thaw frozen portions overnight in the fridge for best results. Add a light brush of oil before reheating to refresh surface moisture. Slice after reheating for hot plates or slice first for quicker cool salads.
Nutrition Snapshot and Protein Benefits
A single serving delivers a lean, high-protein option that fits many meal plans.
Quick numbers: expect roughly 146–196 calories per serving and about 24–32g of protein depending on portion size and added fats.
Total fat stays modest, usually around 3–6g, and varies with the type and amount of oil or butter you use. Adjust salt and brine choices to control sodium.
- Use measured amounts of key ingredients like olive oil to manage calories while keeping moisture.
- Pair the meat with fiber-rich sides for fuller, more nutrient-dense plates.
- If you track macros, a food scale and nutrition calculator deliver precise results.
“Lean poultry supports muscle maintenance and satiety when included in balanced meals.”
Tip: Keep sauces light—herb vinaigrettes or yogurt dips preserve the nutrition profile and complement the protein without adding heavy fat.
Tools That Guarantee Success
Good gear makes the method repeatable and stress-free. A few reliable tools save time, avoid mistakes, and help you hit safe internal temperatures every time.
Instant‑read and probe thermometers give quick, accurate readings in seconds. Consider a dual-probe wireless unit if you want remote alerts while the oven does the work. These devices remove guesswork and protect against overcooking.
Choose the right pans and prepware
Prefer metal baking sheets for high-heat roasting; they brown better and withstand 450°F and above. Glass baking dishes often cap near 425°F—check the manufacturer’s limit before using them.
Line sheets with parchment to cut cleanup and reduce sticking. Use a sturdy mixing bowl for brining and to mix rubs. Pat meat dry before it hits the pan to avoid steaming and to promote browning.
Troubleshooting dryness and uneven cooking
Monitor temperature closely and pound uneven pieces to one thickness to prevent dry edges. Space pieces to promote airflow and use the center rack for the most even oven heat.
“Pull at 165°F, then rest 5–10 minutes—carryover heat finishes the job and locks in juices.”
- Invest in an instant-read thermometer or a dual-probe wireless model.
- Prefer metal sheets for higher temps; verify glass limits.
- Line with parchment for easy cleanup without losing browning.
- Pat dry in a bowl, space pieces, and use the center rack for even cooking.
- Combat dryness by monitoring temp, pounding to even thickness, and resting after roasting.
chicken recipes baked
Reliable timing and a short rest make weeknight bakes predictable and juicy.
Reliable oven times, safe internal temperature, and resting for juices
Use these times at 400°F as a baseline and always confirm with an instant‑read thermometer.
| Thickness | Oven Time (400°F) |
|---|---|
| 1/2″ | 16–18 minutes |
| 3/4″ | 20–22 minutes |
| 1″ | 24–26 minutes |
- Pull at 165°F — this temperature is the most reliable way to bake chicken safely and keep it juicy.
- Adopt a simple way to improve moisture: let rest 5–10 minutes so juices redistribute before slicing.
- Keep a written chart near the oven for quick reference on busy nights.
- If unsure, check early; it’s easier to add a few minutes than fix overcooked meat.
- For color, broil briefly at the end while watching closely. Slice against the grain for better tenderness.
Tip: Portion batches using this timing approach so every meal prep run turns out the same way. Save the resting juices to spoon over sliced pieces for extra flavor.
Conclusion
A few disciplined steps—even prep, hot roasting, and a short rest—turn a simple meal into a winner.
Use the B.B.R.R.R. path: brine or pound, brush with oil, rub seasonings, roast hot, and rest 5–10 minutes. Verify doneness with an instant‑read thermometer and pull at 165°F for safe, juicy results.
This method is flexible—swap blends like BBQ, lemon‑pepper, spiced, or Italian herb. Adjust oven temp and scale portions for meal prep without losing texture or flavor.
Pair with quick roasted vegetables or grain salads for full plates. Store cooked portions 3–4 days in the fridge or freeze up to 3 months; reheat gently to 165°F to preserve moisture.
Quick note: small details—pat dry, space pieces on the pan, and keep a thickness-to-time note—make the biggest difference. With this way of cooking, juicy baked chicken and consistent chicken breasts are easy, repeatable wins.