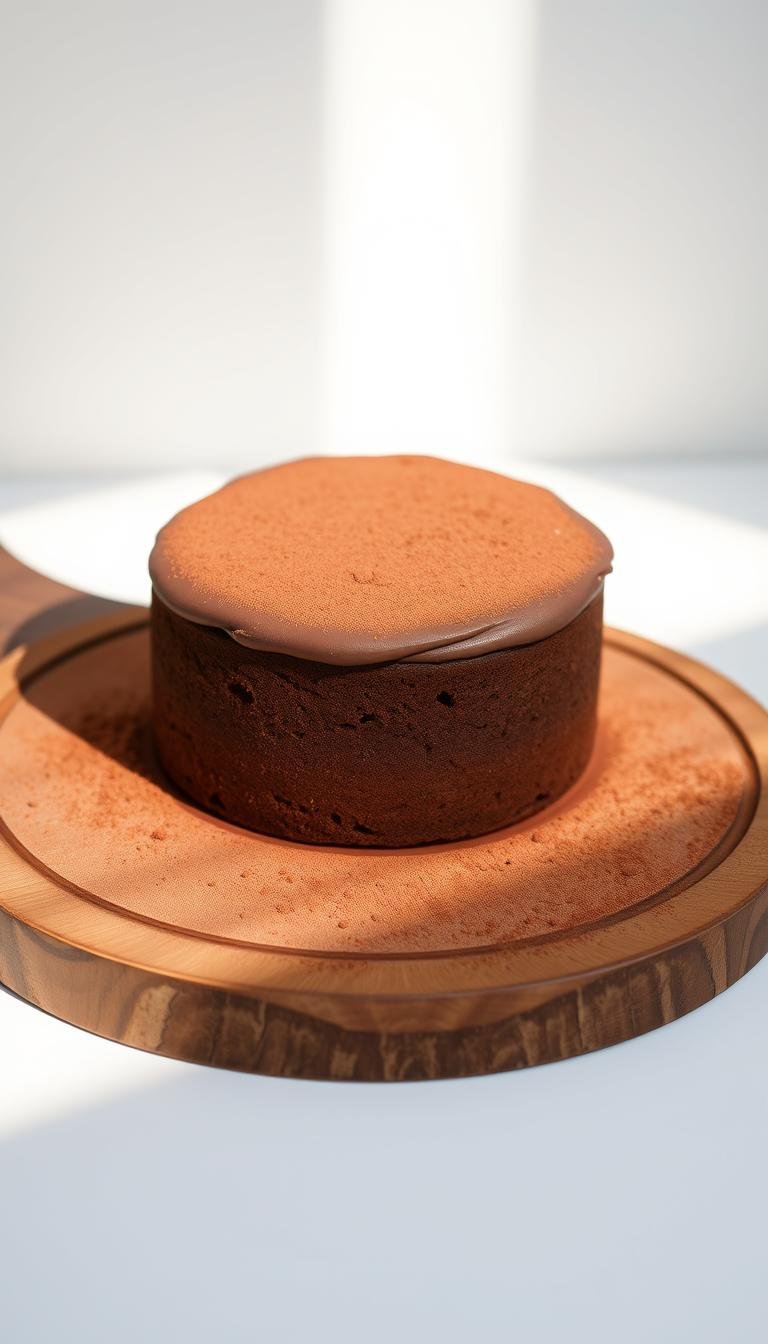
Simple Birthday Cake Chocolate Recipe for Any Occasion
Surprising fact: over 60% of home bakers say a one-bowl method gets them from pantry to dessert in under an hour.
This Website contains affiliate links. That means I may earn a small commission if you purchase through my links, at no extra cost to you.
This friendly recipe delivers bakery-level results using just a few pantry staples. A single bowl keeps mixing simple, and a thin, pourable batter locks in moisture for an ultra-soft crumb.
Hot coffee or water blooms the cocoa, deepening flavor without lending a coffee aftertaste. Oil and buttermilk add tenderness and the right rise when paired with natural cocoa and baking soda.
Expect clear timing: preheat, pour into two 9-inch pans, and bake at 350°F for about 23–35 minutes; test with a clean tester. Finish with a classic buttercream of butter, confectioners’ sugar, cocoa, cream, vanilla, and salt.
Key Takeaways
- One-bowl method saves time and dishes while producing moist layers.
- Bloom cocoa with hot liquid for richer flavor without coffee notes.
- Bake two 9-inch layers at 350°F for roughly 23–35 minutes; test for doneness.
- Classic buttercream balances sweetness with a touch of vanilla and salt.
- Freeze wrapped layers for 1–2 months and thaw before frosting.
Why this chocolate cake wins every birthday
Small steps, bakery results. Start with a thin, pourable batter and a simple pantry list, and you get a reliably moist, tender crumb that feeds a crowd.
Moist, rich crumb with simple pantry ingredients
The batter stays intentionally thin after adding hot coffee or boiling water. This blooms the cocoa powder and unlocks deep flavor without a coffee taste.
One-bowl mixing and a thin batter that bakes up tender
- Natural cocoa powder teams with baking soda and a touch of baking powder for lift and a warm tint.
- Oil replaces butter in the batter to keep the crumb soft for days.
- Using one bowl cuts dishes and reduces overmixing, delivering consistent results even without special gear.
- Room temperature eggs and dairy mix smoothly, preventing tunnels and toughness.
- Vanilla ties flavors together for the best chocolate payoff with minimal fuss.
| Feature | Why it matters | Result |
|---|---|---|
| Thin batter | Allows even rise and moisture retention | Velvety, soft crumb |
| Natural cocoa + baking soda | Boosts lift and depth of color | Rich flavor and subtle reddish tint |
| Oil over butter | Stays moist at room temperature | Lasts longer and freezes well |
Ingredients that make or break the cake
The right pantry picks set you up for success. Use each ingredient to solve for texture, rise, or flavor. Small choices matter more than extra steps.
Dry ingredients to measure carefully
All-purpose flour gives structure; avoid cake flour here because it can become too fine with cocoa powder.
Natural cocoa powder pairs with baking soda to boost rise and classic flavor. Measure by the cup or, better, by weight.
Wet ingredients and flavor boosters
- Eggs and vegetable oil add structure and lasting moisture.
- Use buttermilk for acidity; or mix milk with a teaspoon of lemon juice or vinegar and wait 5 minutes.
- Vanilla extract and optional espresso powder amplify cocoa without tasting like coffee.
| Ingredient | Role | Tip |
|---|---|---|
| Flour (all-purpose) | Structure | Weigh for accuracy; prevents dry crumb |
| Cocoa powder | Flavor + color | Use natural powder with baking soda |
| Sugar & Salt | Sweetness and balance | Salt sharpens; don’t skip the pinch |
| Buttermilk / Milk | Acidity & moisture | Sub with milk + lemon for quick buttermilk |
Step-by-step: make the cake batter and bake
Start by setting the oven and pans so the batter gets an even rise and a consistent crumb. Preheat to 350°F. Grease two 9-inch cake pans, line with parchment rounds, then grease the parchment for easy release.

Prep pans and oven for even baking
Position a rack in the center and heat the oven fully before you fill the pans. Using identical pans keeps layers uniform.
Whisk dry, whisk wet, then combine
In a large bowl, whisk flour, cocoa, sugar, salt, and leaveners until blended. In a separate bowl, whisk eggs, oil, buttermilk, and vanilla until smooth.
Add hot liquid last to bloom cocoa
Pour the wet into the dry and whisk just until combined. Add hot coffee or boiling water last. The batter will be very fluid — that is correct and yields a moist crumb.
Divide, bake, and test
Divide batter evenly between the cake pans, tap to release air, and bake 23–35 minutes. Start checking near 23 minutes. The layers are done when a toothpick inserted in the center comes clean with a few moist crumbs.
“A thin batter bakes into the tender, even layers that hold frosting well.”
| Step | Action | Timing |
|---|---|---|
| Preheat & prep | 350°F, grease & line two 9-inch pans | 5–10 minutes |
| Mix | Whisk dry in one bowl; wet in another; combine | 5–7 minutes |
| Bake | Divide batter; bake until tester comes clean | 23–35 minutes |
Cool in pans 10–15 minutes, then turn out to cool completely to room temperature. Level domes with a serrated knife before frosting for stable, even layers.
Birthday cake chocolate frosting and finish
A silky buttercream turn brings the layers together and makes slicing easy.
Start by beating room-temperature unsalted butter in a bowl until creamy and pale. Add confectioners’ sugar and cocoa powder gradually to avoid lumps.
Mix in 3–5 tablespoons milk or cream for a smooth, pipeable texture. Stir in vanilla extract and a pinch of salt to brighten the flavor.

Silky chocolate buttercream: whip, adjust, and season
Adjust consistency by adding more sugar or cocoa powder to thicken, or a tablespoon of milk to loosen. Work with short beats to keep the frosting airy and manageable.
“A little salt and real vanilla make the buttercream taste like bakery frosting.”
Optional upgrades: ganache swirl or chocolate chips for triple chocolate
For extra indulgence, drizzle a quick ganache over the top or press chocolate chips onto the sides for a triple-chocolate finish. Chill the assembled dessert 30–60 minutes to set before slicing.
| Component | Amount | Why it matters |
|---|---|---|
| Unsalted butter | Room temperature, 1 cup | Provides structure and smooth mouthfeel |
| Confectioners’ sugar | 2–3 cups, to taste | Sweetens and thickens the frosting |
| Cocoa powder | 1/2–3/4 cup | Adds depth and chocolate flavor |
| Cream / milk | 3–5 tbsp | Controls spreadability |
Smart swaps, pan sizes, and variations
A few simple swaps and pan choices let this recipe fit many diets and formats without changing the method.
Gluten-free, dairy-free, and egg-free options
Gluten-free: Replace all-purpose with a 1:1 gluten-free flour blend and keep the rest of the ingredients the same to retain a moist, tender crumb.
Dairy-free: Use almond, oat, or coconut milk and stick with neutral vegetable oil to preserve softness and flavor.
Egg-free: Swap eggs for 2/3 cup unsweetened applesauce or a commercial egg replacer. Add a few extra minutes to bake time and test with a toothpick.
Buttermilk vs. sour cream and pan formats
For a firmer slice, reduce the hot water slightly and add full-fat sour cream alongside buttermilk. This gives extra structure for stacking or fondant.
Scale the batter to three 8-inch rounds, two 9-inch rounds, a 9×13 sheet (35–40 minutes), or cupcakes. The batter will be thin — pour from a spouted container for neat filling.
“Small swaps keep the same soft crumb while adapting the recipe to dietary needs and pan sizes.”
| Swap | Why | Timing / Note |
|---|---|---|
| 1:1 gluten-free flour | Keeps texture without extra steps | No formula change; same bake times |
| Almond/oat/coconut milk | Dairy-free option | Use neutral oil; no taste trade-off |
| Applesauce (2/3 cup) | Egg-free binder | Add a few minutes to bake; test early for cupcakes |
| Melted coconut oil | Oil substitute | Works like vegetable oil; butter yields denser crumb |
Pro baking tips for perfect results
Smart habits in measuring and timing make the biggest difference for consistent results. Follow a few focused steps and you avoid common problems that waste time and spoils.
Measure by weight and avoid over-mixing
Weigh flour and cocoa to prevent a dry crumb. Cups can pack differently; a scale fixes that in one step.
Mix only until the wet and dry ingredients come together. Over-mixing develops gluten and makes the crumb tough.
Room timing and quick fixes
Set eggs and dairy out so they reach room temperature before you mix. If short on time, warm eggs in a bowl of lukewarm water for a few minutes.
If your oven runs hot, use an oven thermometer and start checking doneness a few minutes early — layers are done when a tester comes clean.
Altitude, thin batter, and sinking centers
At high altitude, reduce leaveners slightly and add a splash more liquid to keep structure. Thin batter is normal with this recipe; slight sinking can happen with cocoa-rich batters. Level tops before stacking.
Freezing, storage, and serving
Cool layers completely, wrap tightly, and freeze up to 1–2 months. Store assembled desserts covered in a carrier and bring to room temperature before serving for best texture.
“Keep simple notes on minutes and rack position — the next bake will thank you.”
| Quick fix | Why it works | When to use |
|---|---|---|
| Weigh ingredients | Prevents dry crumb | Every bake |
| Short mixing | Keeps tender crumb | When combining wet + dry |
| Wrap & freeze | Locks moisture | Up to months |
Conclusion
This method gives you soft, stable layers that handle frosting and slicing with ease.
Simple steps, reliable results. Use natural cocoa powder, vegetable oil, and buttermilk in one bowl, bake at 350°F, and check that a tester comes clean to know the layers are done.
Finish with a classic buttercream or glossy ganache. Variations—gluten‑free, dairy‑free, or egg‑free—scale without changing the basic steps. Freeze wrapped layers for make‑ahead convenience, then bring to room temperature before assembling.
With a whisk, a sturdy bowl, and an oven you can follow this cake recipe again and again. Note small tweaks in a log and you’ll dial in the best chocolate results every time.