Simple and Savory Chicken Breast Recipes to Try
Surprising fact: more than 60% of home cooks say they avoid quick weeknight meals because they fear dry meat or bland flavour.
This Website contains affiliate links. That means I may earn a small commission if you purchase through my links, at no extra cost to you.
This post aims to change that by showing how a few pantry staples and simple techniques deliver a satisfying dinner in minutes. You’ll get clear, practical information that removes guesswork and saves time.
We map an easy path from choosing the right chicken breast to achieving juicy results with skillet, pan-roasted, and oven-baked methods. Each approach focuses on even thickness, smart seasoning, heat control, and resting so the protein stays moist.
Expect concise step-by-steps, quick cook times, and flexible swaps that match pantry realities. Simple side and sauce ideas are paired with each method so you can plate a balanced meal fast.
Key Takeaways
- Weeknight wins need few ingredients and reliable technique.
- Even thickness and proper heat are key to juicy results.
- Skillet, pan-roast, and oven-bake each deliver distinct textures.
- Short cook times and smart seasoning cut prep and stress.
- Built-in side ideas help you serve a full, nutritious dinner fast.
Why these chicken breast recipes work right now
These fast, dependable recipes match today’s need for quick meals without sacrificing taste. They rely on common pantry items and a few clear steps so dinner comes together in minutes.
Simple building blocks—salt, pepper, oil, and a quick sauce—do the heavy lifting. Searing and roasting create savory flavour and golden browning without long marinades or special gear.
Clear timings and visual cues help you manage heat and avoid overcooking. The methods respect lean protein by locking in moisture, so even thin cuts stay tender under high heat.
- Minimal prep and common tools: pan or oven only.
- Flexible: easy swaps for pantry gaps or taste preferences.
- Variety without complexity: sweet-savory sauces or herby roasts fit one household.
Note that this post gives practical timing, sauce ideas, and oil choices so you can finish cooking fast and serve a dependable, flavorful meal every night.
Essential tips for juicy, flavorful chicken breasts every time
A few reliable habits in the kitchen deliver moist, well-seasoned meat every time.
Pound even, season thoroughly
Pound to a uniform thickness so pieces cook at the same rate. This prevents dry edges and underdone centers and helps form a proper crust for any quick sauce to cling to.
Season on all sides with salt and pepper, then add dry spices or a light rub if you want extra depth without extra time.
Master time, temperature, and carryover
Start on high heat to brown, then lower the heat to finish gently. Watch visual cues—golden crust and a springy feel—alongside timing to avoid overcooking.
Pull the meat a few degrees shy of target doneness. Residual heat finishes cooking while keeping juices inside.
Pick the right pan, oil, and method
Use a heavy pan—stainless steel or cast iron—for even browning and consistent heat retention. Choose an oil with a suitable smoke point and avoid overcrowding; spacing prevents steaming.
Build a seared crust before adding any sauce. The crust improves texture and helps the glaze adhere. These same techniques work well for thighs; just allow extra cooking time for the thicker cut.
| Tip | Benefit | Quick cue | Timing |
|---|---|---|---|
| Pound even | Uniform cook | Same thickness | 1–2 minutes per side prep |
| Season well | Better flavor | Salt pepper on all sides | Immediate |
| High heat sear | Crust forms | Golden brown | 2–3 minutes per side |
| Rest before slicing | Juicier slices | Let sit 5 minutes | 5 minutes |
Honey Garlic skillet chicken breast recipe in about 12 minutes
You can get a glossy honey-garlic glaze on thin-cut pieces in roughly 12 minutes. This skillet method uses a hot pan, quick sear, and a five-ingredient sauce that clings and shines.
5-ingredient honey garlic sauce that clings and glazes
Simple mix: honey, light soy, apple cider vinegar, minced garlic, and a bit of butter. Measure with tsp or tbsp to keep balance between salty and sweet.
Quick step-by-step: dust, sear, simmer, turn heat, coat
- Split one chicken breast into four thin pieces and lightly dust with flour or cornstarch for a gluten-free crust.
- Heat a skillet with oil and a dab of butter until hot. Sear 2–3 minutes on the first side.
- Flip, sear about 1 minute, then move pieces and add garlic and the remaining butter.
- Stir in vinegar, soy, and honey; simmer ~1 minute until syrupy. Turn heat down if it threatens to burn.
- Turn the pieces to coat. Thin with a splash of water if the sauce gets too thick. Finish and serve immediately.
Smart swaps and quick notes
Swap maple syrup for honey, use clear vinegar if needed, and avoid dark soy. Cornstarch works well for gluten-free dusting.
“A short simmer builds a clingy glaze without long waits.”
Nutrition note: one serving example is ~323 calories with about 28g protein and small amounts of vitamin A and iron.
Pan-roasted chicken breast: stovetop sear to oven finish
Searing on the range and finishing in the oven locks in moisture and builds rich flavor fast.
Golden crust on the stove, then bake to perfect doneness. Season both sides with salt and pepper. Preheat the oven to 375°F.
Heat a splash of oil in a heavy pan over high heat until it lightly smokes. Add the piece, then immediately turn heat down to medium-high so you keep an active sear without burning.
- Sear about 3½–4 minutes until golden, flip, and transfer the pan to the oven for 10–12 minutes.
- Pull when internal temp reaches 155–160°F; rest 2–4 minutes so carryover brings it to serving temp.
- Resting keeps the meat tender and reduces juice loss when you slice.
Make a quick pan sauce
After the roast, use the fond to build flavor. Sauté shallot and garlic in the remaining fat 2–3 minutes.
Deglaze with white wine and reduce au sec. Add 1–2 cups stock and reduce 2–3 minutes to concentrate flavor.
Finish the sauce with a knob of butter, a few sprigs of thyme, and a pinch of salt and pepper. Spoon over sliced pieces to elevate the plate.
| Step | Action | Timing | Result |
|---|---|---|---|
| Season | Salt & pepper both sides | Immediate | Even flavor |
| Sear | High heat then reduce | 3½–4 minutes | Golden crust |
| Bake | Finish in oven at 375°F | 10–12 minutes | Juicy interior |
| Pan sauce | Shallot, garlic, wine, stock, butter, thyme | 6–8 minutes total | Glossy, balanced sauce |
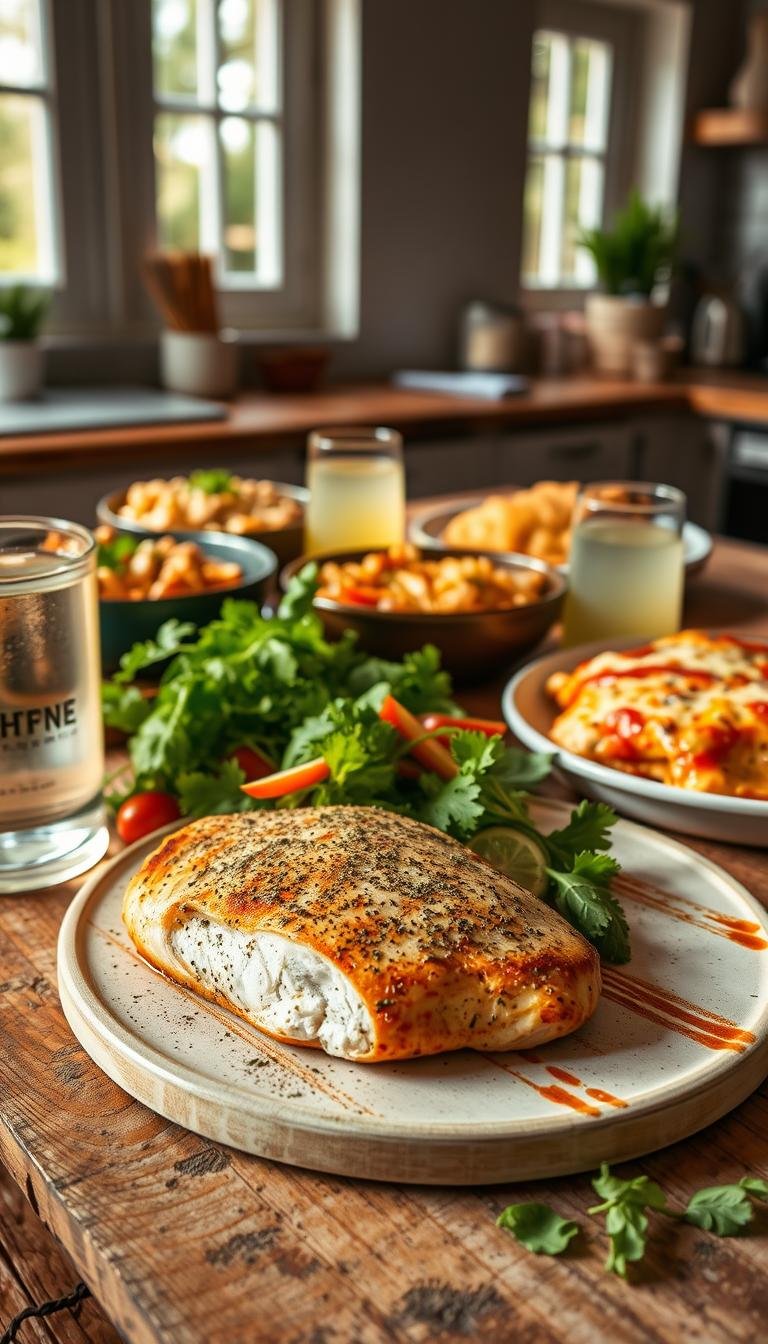
Juicy oven-baked chicken breast with a savory brown sugar spice rub
A brown-sugar spice rub and a hot oven deliver a caramelized surface and a tender interior in one simple step.
The seasoning blend
Mix: 2 tbsp brown sugar, 1 tsp paprika, 1 tsp oregano or thyme, 1 tsp garlic powder, and a pinch of salt and pepper. Use tsp and tbsp for steady results.
High-heat bake and resting
Pound each breast to even thickness so pieces cook uniformly and form a thin crust. Lightly drizzle oil, rub on the spice mix, then place in a hot oven at 425°F.
Bake roughly 18–20 minutes until the surface is caramelized and color cues show doneness. Use the crust and temperature as your guide rather than long guessing.
- Split very thick breasts horizontally to keep minutes consistent.
- Adapt to boneless thighs by increasing cook time; the same heat rule applies.
- Brush a little butter after baking for extra richness, or serve with a light pan sauce if you want more moisture.
“A quick sugar-spice rub and high heat give a lacquered finish without a separate sauce.”
Cook minutes, internal temperature, and meat thermometer know-how
Trusting a reliable thermometer beats counting minutes when doneness matters most. Use the probe to confirm progress rather than relying only on time or appearance.

Pull poultry at 155–160°F so carryover heat finishes the job. Rest 2–4 minutes to let the internal temperature rise to 165°F and keep the slices juicy.
Quick, practical pointers
- Use a calibrated meat thermometer and check the thickest point; avoid touching the pan or bone for an accurate read.
- Treat cook minutes as a guide. Pull between 155–160°F, then rest so the final temperature reaches 165°F without drying the breast.
- Pan searing then an oven finish at 375°F commonly needs 10–12 minutes in the oven after the initial sear, depending on thickness.
- If oil starts to roll smoke, lower the heat or refresh the pan; burnt oil ruins flavor.
- Don’t slice right away—rest so juices redistribute. If you still see pink or unclear juices, return the meat to gentle heat and recheck temperature.
| Check | Action | Why it matters |
|---|---|---|
| Probe placement | Insert from side into center | Most accurate temperature |
| Pull temp | 155–160°F | Carryover to 165°F for safe, juicy meat |
| Oven finish | 375°F for 10–12 minutes | Common timing after sear |
Ingredients that boost flavor without extra effort
A small shelf of go-to ingredients turns simple protein into a standout plate fast. Keep the list short so you can reach for the same items night after night.
Olive oil, butter, garlic, salt, pepper: the core lineup
Olive oil or butter, fresh garlic, and a steady pinch of salt and pepper are the fastest way to upgrade a pan sear or oven bake.
Use olive for a clean flavor and butter when you want richer browning. A tiny combo of both balances smoke point and taste.
Flavor upgrades: sun-dried tomatoes, parmesan, fresh thyme, simple sauce
Add strips of sun dried tomato and a handful of grated parmesan into pan juices to build an instant, glossy sauce.
Fresh thyme blooms quickly—toss it in at the end so the aroma stays bright.
Gluten-free flour and low-sugar tweaks
For a gluten-free dusting, swap flour with cornstarch; it helps sauces cling and keeps coatings light and crisp.
If you want less sugar, cut the sweetener by a bit or use a small drizzle of maple syrup and balance with a tsp of vinegar. Keep a small cup of low-sodium stock nearby to deglaze and stretch sauces.
| Ingredient | Use | Quick tip |
|---|---|---|
| Olive oil | Searing, pan sauce | Clean flavor, lower heat |
| Butter | Finish, browning | Add late for richness |
| Sun dried | Umami boost | Toss into pan juices |
| Parmesan | Finish, glossy sauce | Fold into resting juices |
Nutrition and protein perks of chicken breasts
Knowing the basic nutrition numbers helps you balance a plate without fuss. This short guide gives clear information so you can match portions to goals.

Lean poultry is a reliable source of protein with moderate calories. A typical honey-garlic skillet portion lands around 323 calories with about 28g protein, roughly 13g fat, and 21g sugar.
Fat totals shift with cooking fat and finishing choices. Use measured oil or a small knob of butter to control richness and macros.
Sugar in glazes drives calories quickly. Cutting honey or using less brown sugar helps keep the profile aligned with a plan.
Practical takeaways
- Breasts are dense in protein and fit many diets when portions are tracked.
- Small amounts of vitamin A and iron may appear depending on sides and sauce.
- Swap sides for vegetables and whole grains to add fiber and micronutrients.
| Nutrient | Example per serving | Why it matters |
|---|---|---|
| Calories | ~323 kcal | Portion control for weight goals |
| Protein | ~28 g | Satiation and muscle support |
| Fat | ~13 g | Choose fats to adjust richness |
“Calculate nutrition from your exact ingredients for best accuracy.”
Serving ideas, sides, and make-ahead, storage, and reheating tips
With the right sides and storage plan, one cook session can feed several dinners this week. Follow a few simple pairing and reheating rules to keep texture and flavor fresh.
Pairings for easy weeknight plates
Serve sliced protein over rice or quinoa so the grain catches any sauce. Leafy salads bring brightness and cut richness.
Roasted potatoes and seasonal vegetables make a heartier dinner when you want comfort. Add parmesan shavings or chopped sun dried tomatoes to sides for instant flavor lift.
Make-ahead, store, and reheat the right way
Cook to proper doneness, cool quickly, and store in shallow containers. Refrigerate up to 4 days or freeze up to 3 months. Thaw in the fridge overnight before reheating.
Reheat gently in the oven at 350°F for about 10 minutes, covered with reserved pan sauce. Add a tbsp or two of stock if needed to keep moisture.
If reheating on the pan, use a small cup of broth, a tsp of olive oil, and a pinch of salt. Warm over moderate heat so steam revives texture without drying the meat.
Safety note: always check with a meat thermometer after reheating. Ensure no raw pink remains and aim for a safe serving temperature while avoiding overcooking that can dry breasts.
“Batch-cook once, plate quickly all week—bright herbs and a splash of olive oil keep flavors lively.”
| Step | Action | Timing | Why it helps |
|---|---|---|---|
| Cool quickly | Shallow containers in fridge | 30–60 minutes | Prevents bacterial growth |
| Reheat — oven | Cover with sauce or broth | 350°F for ~10 minutes | Even heat, retains moisture |
| Reheat — pan | Add cup of stock + oil | Low–moderate heat, 5–8 minutes | Gentle steam revives texture |
| Freeze | Airtight container or bag | Up to 3 months | Keeps quality for make-ahead meals |
Quick tips: portion with sides so assembly takes minutes. Finish plates with fresh thyme or a squeeze of lemon and a drizzle of olive oil to lift flavors before serving.
Conclusion
These three reliable approaches—a quick honey-garlic skillet, a pan-roasted sear-to-oven finish, and a high-heat baked rub—give you go-to chicken breast recipes for any night.
Focus on even thickness, steady heat, and a short rest to keep the meat juicy every time. The honey-garlic method builds glossy sauce in minutes, the pan method yields a savory pan sauce, and the baked rub creates a caramelized finish without fuss.
Stock garlic, herbs, pantry acids, and a sweetener so you can finish plates fast. Use a good pan and a thermometer, scale the techniques for meal prep, and rotate sides to keep dinners varied and balanced—with a small boost of iron from sensible pairings.