Simple and Delicious Easy Chicken Breast Recipes Guide
Surprising fact: a fast skillet honey garlic method can finish in about 12 minutes using a five-ingredient glaze, turning weeknight dinner into a win for time-pressed cooks.
This Website contains affiliate links. That means I may earn a small commission if you purchase through my links, at no extra cost to you.
This short guide maps two fail-safe paths: a quick pan-sear with a butter-or-oil, garlic, vinegar, soy, and honey glaze, and a high-heat oven approach that uses a brown sugar and spice “magic” rub for caramelized flavor.
Dusting with flour helps the glaze cling and gives light crusting; a cornstarch slurry (1–3 tsp with 1 tbsp water) thickens sauce at the end. Pounding breasts to 0.6 inch or cutting into cubes speeds cook time and helps achieve juicy results.
What you’ll get: clear times and temps, simple ingredient lists, visual caramelization cues, and small-prep serving ideas from rice to quick vegetables. These methods use common pantry items and swap-friendly proteins so you can adapt flavors fast.
Key Takeaways
- Two core methods: quick skillet honey-garlic and high-heat oven-baked for different textures.
- Most options finish in minutes with short prep and common ingredients.
- Flour dusting or a cornstarch slurry helps sauces cling and boost texture.
- Pound or cube for even cooking; watch visual caramelization and rest before serving.
- Adjust seasoning and swaps like shrimp or tofu to vary meals without new techniques.
Why easy chicken breast recipes are perfect for quick weeknight dinners
Weeknight dinners hinge on fast, reliable methods that give flavorful results without fuss. The goal is a dependable finish every time using either a fast stovetop glaze or a high-heat oven rub. Both paths use few pantry items and clear timing so you can plan around minutes and avoid stress.
User intent and what you’ll learn today
This section teaches smart prep for even cooking, ideal temperatures, and simple doneness cues. You’ll get a repeatable flavor formula built from pantry staples: honey, soy, vinegar, butter or oil, and garlic.
Present-time tips for busy home cooks in the United States
Split pieces into 1/2-inch cubes for about 10 minutes on the stove, or bake at 425°F for 18–20 minutes for medium portions. Use low-sodium soy or tamari to control salt without losing depth. Watch color and internal temp, rest before slicing, and keep a lid handy to avoid overcooking.
“Cubing or pounding to even thickness and finishing with a concentrated glaze prevents dry, chewy results.”
- Pick the cubed skillet method when you have ~15 minutes.
- Choose the oven method for a set-and-forget approach.
- Check pantry first: honey, soy, vinegar, garlic, and butter/oil—no last-minute shopping required.
Essential ingredients and smart substitutions for juicy chicken
A handful of core ingredients and a couple of smart substitutions are all you need for reliably juicy results.
Breasts versus thighs: pick for speed or forgiveness
Chicken breasts cook faster and stay lean when pounded or sliced into cutlets. Keep pieces even so they finish in similar minutes.
By contrast, skinless chicken thighs bring deeper flavor and tolerate a slight overcook. Use thigh fillets for a richer result; bake them 25–30 minutes depending on size.
Seasoning, oil, and the role of brown sugar or flour
Salt and pepper early to season through the meat, then layer spices for surface flavor. A neutral oil with moderate smoke point helps searing and helps rubs adhere.
A touch of brown sugar in a 425°F rub draws surface moisture and speeds caramelization. For skillet glazes, a light flour dust creates a micro-crust that holds honey-garlic sauce.
Gluten-free and low-sodium swaps
Skip flour and finish sauces with a cornstarch slurry (1–3 tsp cornstarch + 1 tbsp water) for a gluten-free glossy finish. Choose low-sodium soy or tamari to cut salt without losing depth.
“Pat pieces dry before seasoning to improve browning and a cleaner sear.”
- Use fresh garlic in skillet glazes; prefer garlic powder for oven rubs to avoid scorching.
- Balance sweet glazes with a splash of apple cider vinegar or clear vinegar to cut richness.
- These simple choices keep the process pantry-friendly and flavor-forward.
Pan-seared honey garlic method: a fast, flavorful skillet staple
A brief, focused pan approach builds color and a glossy glaze in under 15 minutes.
Prep and even thickness for quick, even cooking
Cut a large chicken breast in half to make four thinner pieces. Season with salt and pepper, and pat dry so pieces sear cleanly.
Tip: Lightly flour each piece to help the sauce cling and to form a light crust.
Five-ingredient honey garlic sauce that clings
Heat a film of oil or butter in a wide pan. Place chicken without crowding and sear 2–3 minutes until deep golden.
Flip chicken and cook about 1 minute on the second side, then make space to add a small knob of butter and minced garlic.
When to add garlic, vinegar, soy, and honey for a glossy glaze
Immediately stir in vinegar, light soy, and honey. Simmer about 1 minute, turning the pieces to coat as the sauce reduces to a syrupy sheen.
If it thickens too fast, add a splash of water and stir to loosen the glaze.
Optional thickening with a cornstarch slurry
For gluten-free thickening, mix 1–3 teaspoons cornstarch with 1 tablespoon water and stir it in during the last 1–2 minutes. Cook until the sauce is glossy, then spoon over the pieces and serve.
- Start with even pieces and season.
- Sear, flip chicken, then add garlic and remaining butter.
- Add vinegar, soy, honey; simmer, adjust with water or slurry as needed.
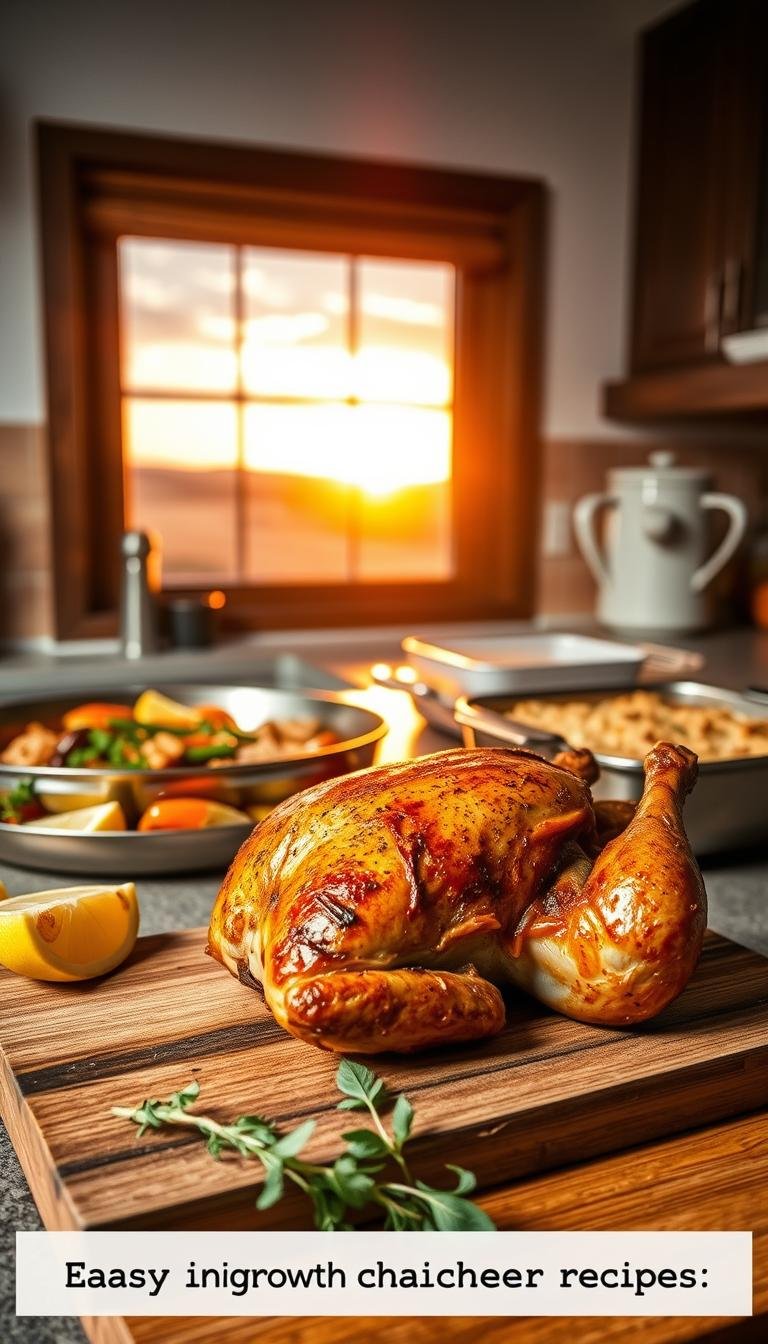
Oven-baked juicy chicken breast made simple
A high-heat oven turns simple seasoning into a fast, reliably juicy main in under twenty minutes.
Why 425°F works: High heat seals surface moisture and speeds caramelization. That brown, slightly crisp exterior signals a tender interior without long cook times.

“Magic” seasoning and prep
Mix brown sugar, paprika, oregano or thyme, garlic powder, salt, and pepper for a sweet-savory rub. Lightly brush each piece with a bit of oil so the blend sticks.
Pound for even thickness and bake
Pound each breast to about 0.6 inch or slice large portions into thinner steaks. Preheat the oven to 425°F and bake for 18–20 minutes for medium pieces.
- Watch for deep golden color and light sizzling at the edges.
- Rest 3–5 minutes before slicing to keep juices inside.
- For very large portions, cut horizontally or add a few extra minutes while monitoring color.
| Step | Temp | Time |
|---|---|---|
| Preheat oven | 425°F (220°C) | – |
| Pound to even thickness | 0.6 inch target | – |
| Bake on lined sheet | 425°F | 18–20 minutes |
| Rest and serve | Room temp | 3–5 minutes |
“Aim for a deep golden surface — it’s the clearest cue that the interior is cooked through without drying out.”
Step-by-step: cook time, temperature, and doneness cues
Use these practical time checks and visual cues to finish meals confidently and quickly.
Skillet timing for cubes and cutlets
For 1/2-inch cubes, heat a hot pan and sear 3–4 minutes on the first side. Flip, add the honey-garlic glaze, then cook 4–5 more minutes until pieces turn opaque and spring back when pressed.
For cutlets, sear 2–3 minutes until deep golden on the first side. Cook about 1 minute on the second side, then finish in the sauce as it reduces to a glossy sheen.
Oven timing for medium and larger pieces
Preheat the oven to 425°F. Medium chicken breast pieces bake roughly 18–20 minutes. Larger pieces or thicker breasts may need 25–30 minutes, or slice to even thickness before roasting to save time and ensure even cooking.
Internal temperature and resting for juiciness
Always confirm the thickest point reads 165°F to know the chicken cooked safely. Pull it as soon as the thermometer hits temperature to avoid carryover overcooking.
Rest 3–5 minutes off the heat so juices redistribute. Visual cues—deep golden browning, opaque centers, and clear juices—help you decide even before thermometer confirmation.
“Move pieces from the hot pan or sheet to a room-temp plate while resting to control carryover heat.”
- In saucy pans, lower heat or add a splash of water if the glaze reduces too fast.
- Use a quick step checklist on your phone or video for timing: sear, flip, glaze, check temp, rest.
Techniques for the juiciest results every time
Small technique changes at the stove make the biggest difference in final juiciness. These steps focus on surface control, timing, and quick fixes so your meat finishes tender and flavorful.

Dusting to help the glaze cling
Lightly dust seasoned pieces with flour before searing to build a delicate crust that grips the sauce and adds subtle crispness.
Keep the dusting thin. A heavy coat blocks browning and can gum up the pan.
Manage heat, flip, and loosen tight glaze
Use medium-high heat so the pan sizzles without burning sugars. Sear 2–3 minutes on the first side, then about 1 minute on the second before you finish in the sauce.
When sugars tighten too fast, add a teaspoon of water and stir to re-emulsify the glaze and return to a gentle bubble.
“Sear for color, flip only once, and finish in the glaze so the center hits temp as the sauce becomes glossy.”
- Maintain even thickness by pounding or slicing to avoid overcooking thin edges.
- Use just enough oil to coat the pan; excess oil dilutes the glaze.
- Season with salt and pepper before searing, and adjust flavor with the sauce rather than over-salting early.
- Remove from heat promptly at doneness and rest briefly; slice against the grain for a softer bite.
- Taste and tweak acidity or heat in the pan—more vinegar brightens, red pepper flakes add warmth.
| Technique | Why it matters | Quick tip |
|---|---|---|
| Flour dusting | Helps glaze adhere and creates light crust | Use a light dust; shake off excess |
| Heat control | Prevents burning of sugars in honey-based glazes | Keep medium-high; lower if smoking |
| Flip timing | Retains sear and encourages even cooking | Flip once, when deep browning shows |
| Sauce management | Keeps glaze glossy and spoonable | Add a splash of water if it tightens |
| Resting and slicing | Preserves juices and improves texture | Rest 3–5 minutes; slice against grain |
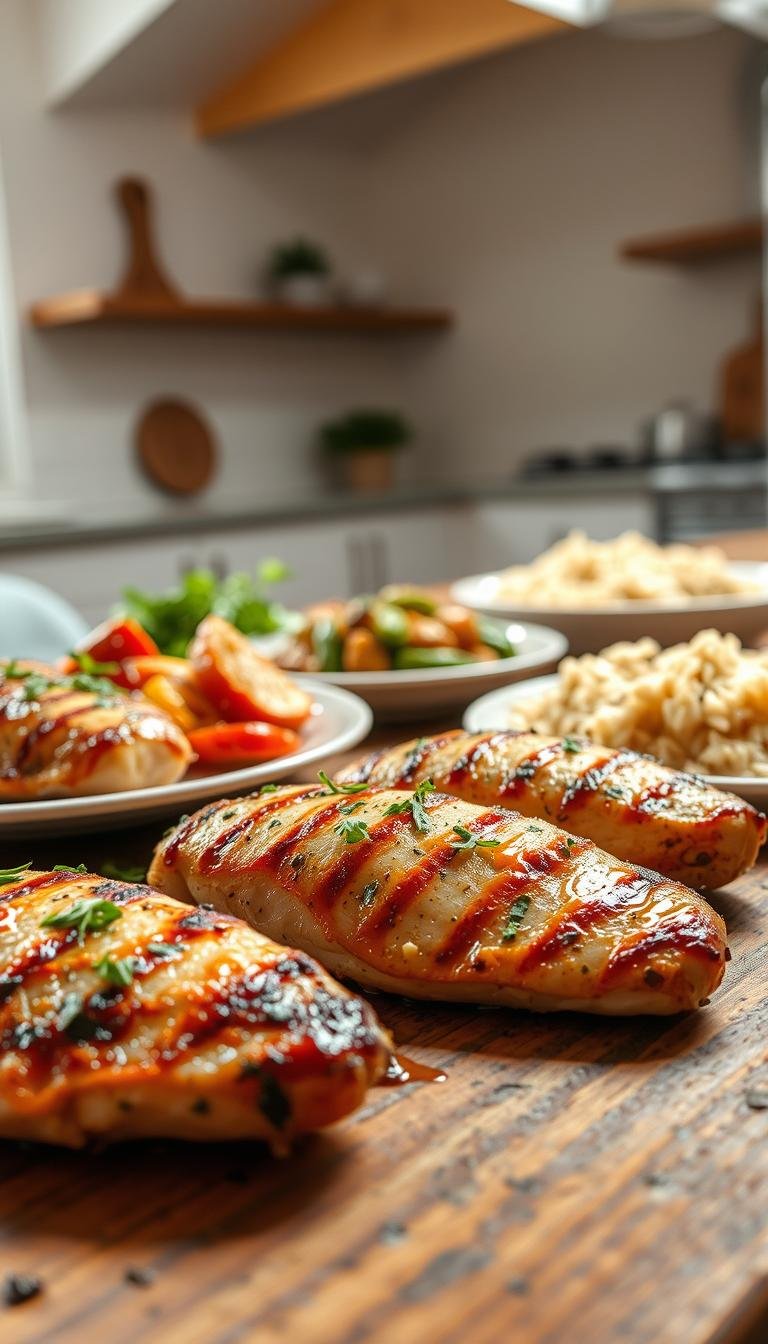
Easy chicken breast recipes
Pick a quick pan route for sticky glaze or a high-heat roast for browned edges and tender slices.
Quick honey garlic in 12–15 minutes
Skillet method: Cube the meat so pieces brown in 3–4 minutes. Flip, add a glaze of honey, low-sodium soy, minced garlic, and red pepper flakes. Cook 4–5 minutes more until the sauce coats each piece in a sticky finish.
Tip: Double the sauce if you like extra drizzle over rice or vegetables.
Reader‑favorite baked at 425°F
For the oven option, rub with brown sugar, paprika, oregano or thyme, garlic powder, salt, and pepper. Pound to even thickness, then roast at 425°F for 18–20 minutes. Rest 3–5 minutes before slicing for juicy results.
| Method | Temp | Time | Finish |
|---|---|---|---|
| Skillet honey garlic | Medium-high pan | 12–15 minutes | Sticky glaze, serve with rice |
| Oven rub | 425°F (220°C) | 18–20 minutes | Caramelized crust, rest 3–5 min |
| Scalable prep | – | Same timing per batch | Meal prep friendly |
“Slicing across the grain and spooning sauce over the top makes for photo-ready plates and tastier bites.”
Finishing ideas: a squeeze of lime, chopped green onions, sesame seeds, or toasted peanuts for crunch. Use low-sodium soy or tamari to keep salt sensible while preserving bold flavor.
Sides and serving ideas to make it a complete dinner
Pairing a saucy main with simple grains and crisp veg makes dinner feel complete and balanced. These side choices keep prep short and let the glaze or rub stay the star of the plate.
Grains and bases: Steamed white or brown rice soaks up pan sauces and keeps the bowl satisfying. Cauliflower rice is an excellent lighter swap that still catches the glaze. Thin rice noodles or quick Asian-style noodles work well for a heartier serving that pulls sauce into every bite.
Fast vegetables that finish in minutes
Steam or blanch broccoli, green beans, or snow peas so they finish while the main rests. Toss with a little butter or oil and a pinch of salt to stay bright and tender.
Add a cool cucumber salad to balance a honey-forward glaze. The crispness cleans the palate between rich bites.
Fresh finishes and plating tips
Finish plates with lime wedges, sliced green onions, sesame seeds, or chopped peanuts for texture and lift. Parsley or cilantro brightens the whole dish at the top.
Slice the breasts against the grain, spoon sauce over the top, and arrange sides so they catch any drips. Start longer-cooking grains first, then cook the main and steam veg in the last few minutes for a smooth timing plan.
“Leftovers reheat well—stir in extra sauce and heat gently for a next-day bowl that tastes freshly made.”
Nutrition, sodium, and protein notes
Small swaps and smart timing keep meals flavorful while trimming excess salt and fat. This section explains how simple ingredient choices and proper cooking preserve nutrition without losing taste.
Choosing low-sodium soy and seasoning smart with salt and pepper
Use low-sodium soy or tamari in glazes and pan sauces to lower total sodium without flattening flavor. Taste before adding more salt so you don’t over-season.
Finish with a pinch of black pepper and brighteners like vinegar or citrus to boost depth instead of more salt.
Protein-packed meals with balanced carbs and healthy fats
Oven-baked breasts with a simple rub deliver a lean, high-protein portion and modest amounts of fat. Skillet versions vary: olive oil keeps saturated fat lower, while butter adds richness and slightly more saturated fat.
Pull at 165°F and rest briefly to lock in juices; this prevents dryness so you won’t need extra creamy toppings to feel satisfied.
- Choose low-sodium soy/tamari to control overall sodium and allow precise seasoning.
- Pair portions with whole-grain rice or plenty of vegetables for balanced carbs and fiber.
- Opt for olive oil over butter to lower saturated fat while keeping a good sear.
- Rely on bold spices and a well-reduced sauce for perceived richness without heavy additions.
“Resting preserves juices and gives a more satisfying bite while keeping nutrition intact.”
Simple, transparent ingredients make it easier to track nutrition for weekly meal planning. Plate with extra vegetables for volume, steady energy, and a balanced meal that tastes full-bodied without excess calories.
Make-ahead, leftovers, and quick variations
Prep a batch and keep a simple plan to turn one cook session into several quick meals.
Storage and reheating with sauce for best texture
Store cooled portions in airtight containers with extra sauce. Leftovers stay good for 4–5 days in the refrigerator.
Reheat gently on the stovetop over low heat, stirring in any accumulated juices. You can also microwave in short bursts, stirring between each burst so the glaze refreshes and the meat stays moist.
Doubling sauce and swapping proteins
Double the honey-garlic sauce during the initial cook if you want extra drizzle for bowls or lunches. That extra glaze also keeps reheats moist and flavorful.
Swap in thighs when you need richer meat; bake those for 25–30 minutes depending on size. Large shrimp take a brief sear, and firm tofu should be pan-crisped before saucing. These simple swaps keep the core recipe flexible.
From skillet to slow cooker or grill
For hands-off cooking, combine honey, soy, garlic, and a splash of vinegar in a slow cooker and finish by thickening the liquid. On the grill, cook to temp away from direct flame, then toss in warmed glaze off heat to avoid burning sugars.
| Use case | Storage / Reheat | Timing / Note |
|---|---|---|
| Refrigerated portions | Airtight + extra sauce | Keep 4–5 days; stir before reheating |
| Thighs | Store same way | Bake 25–30 min; check temp |
| Shrimp or tofu | Sauce separately | Sear shrimp briefly; crisp tofu first |
| Slow cooker | Finish sauce on stovetop | Low 3–4 hrs; thicken at end |
“Portion with grains and veg right after cooking so weekday bowls come together in one quick step.”
- Store cooked pieces with sauce to lock moisture.
- Reheat gently, stirring in juices or a splash of water.
- Adjust cook times when you swap proteins; watch visual and temperature cues for best texture.
Conclusion
Conclusion
You can rely on two tested methods to deliver juicy results with little fuss. The quick pan approach builds a glossy honey-garlic sauce in about 12–15 minutes, while the 425°F oven method gives a caramelized rub and tender slices in 18–20 minutes.
Keep pieces even, season smartly, and pull at 165°F. Rest 3–5 minutes so juices settle. A light flour dust helps the pan glaze cling; a brown sugar rub speeds caramelization in the oven.
Pair with rice, steamed veg, and bright finishes for a complete serving. Both methods scale well for meal prep and simple variations, letting you cook chicken confidently on busy weeknights.