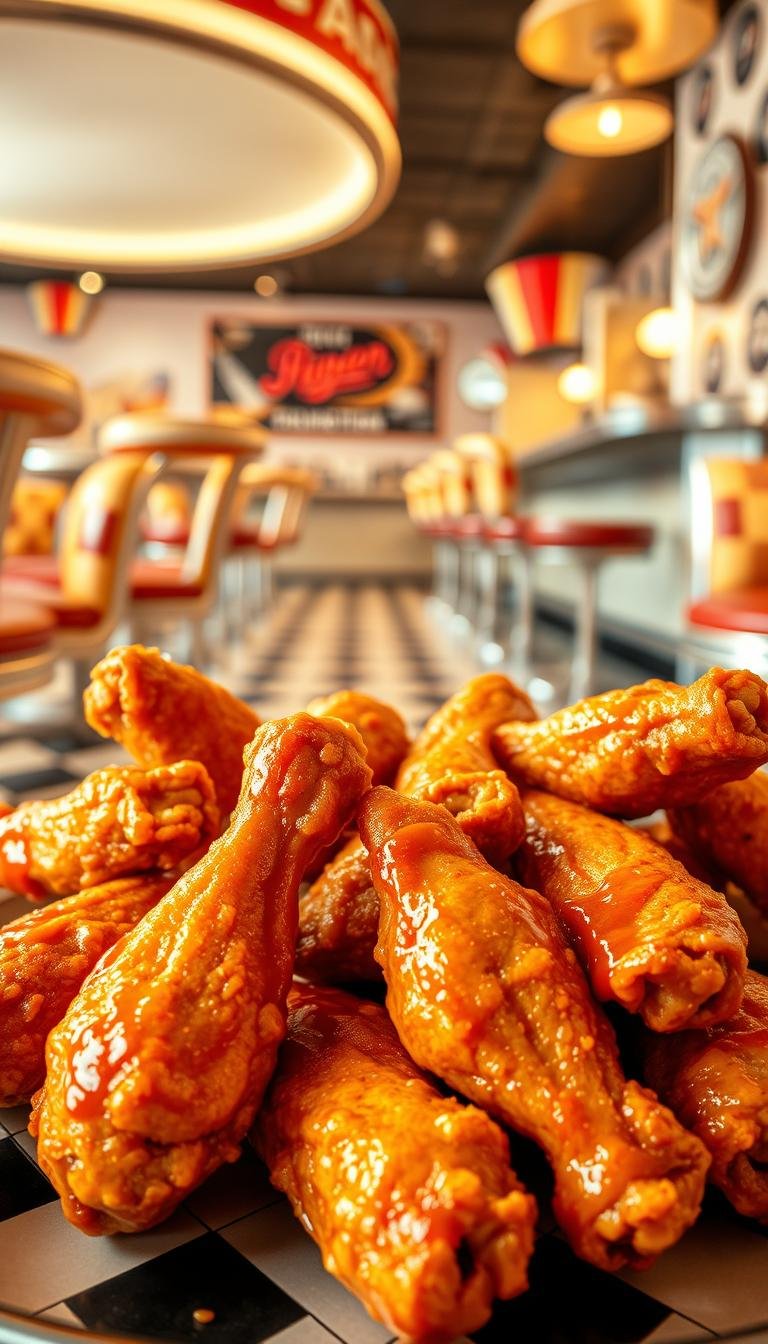
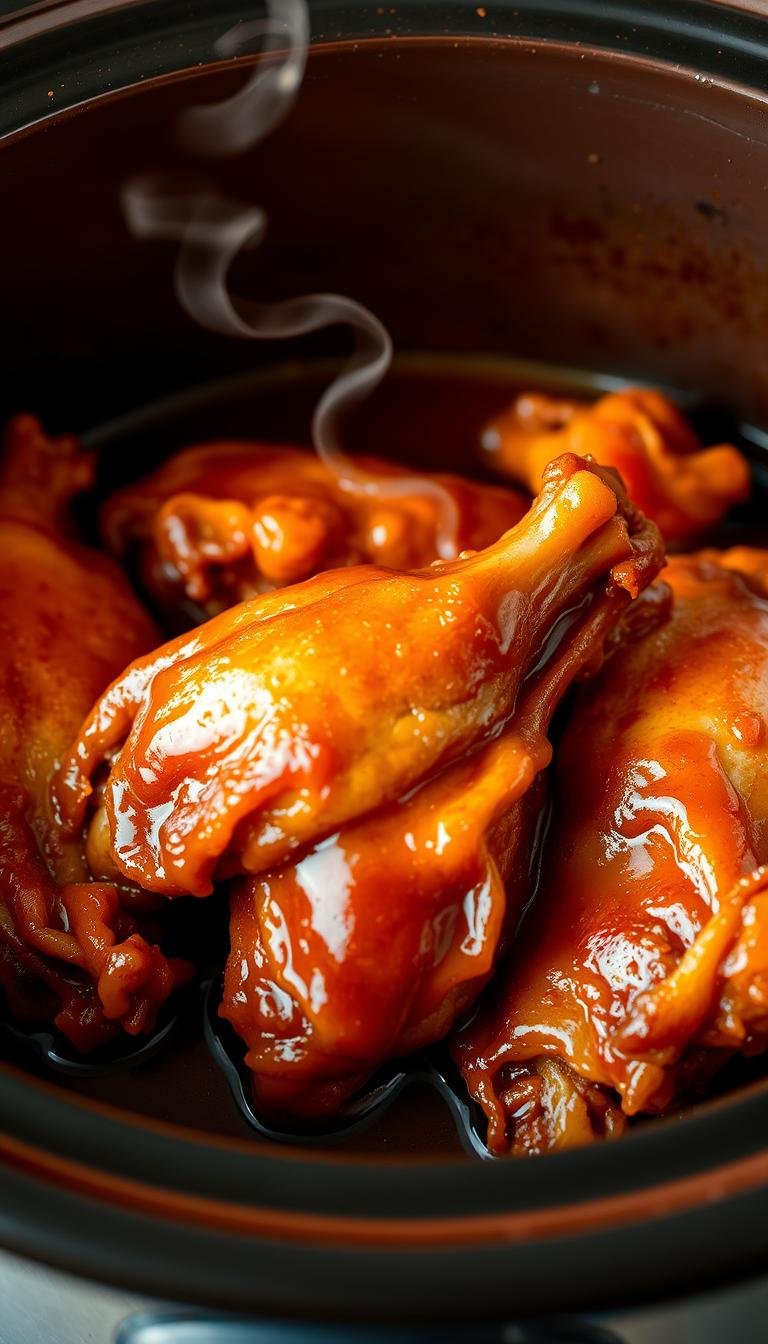
Retro Guide to Making Delicious Chicken Wings
Fact: a no-fry oven method can deliver a 30% crispier skin than traditional baking when set at the right temp and rack position.
This guide shows a retro, reliable way to get that fried texture without deep-frying. The trick starts with drying pieces well, using aluminum-free baking powder, and setting the oven to 425°F on the upper-middle rack.
Season simply with salt, black pepper, paprika, and garlic powder. Place items on a foil-lined pan with a wire rack, skin side up, and flip every 20 minutes until browned. Total time can be up to an hour, then rest five minutes before tossing in a classic Buffalo sauce made from Frank’s-style hot sauce and light brown sugar.
Why this recipe works: airflow from the rack helps crisp the skin while aluminum-free baking powder creates a crackly finish. It’s an easy oven method that scales for a crowd on game day.
Key Takeaways
- Set the oven to 425°F and use the upper-middle rack for best browning.
- Dry thoroughly and use aluminum-free baking powder for crisp skin.
- Flip every 20 minutes and rest five minutes before saucing.
- A simple spice mix and a wire rack give repeatable, fried-like results.
- This recipe scales well for game day and crowds.
Why this retro method still wins on game day
High heat and a wire rack made it easy to get that crackly exterior and moist meat for a crowd.
Test kitchen notes praised the balance of spice and tang in sauce finishes while tasters noted a pub-style bite without greasiness. A Food52 Wing-Off result backed the claim that baked pieces could rival fried texture and flavor.
- Dry oven heat renders fat under the skin for a satisfying snap.
- Timing stayed predictable, so trays came out hot right on schedule for game day.
- Tossing in sauce after a short rest preserves crisp skin and adds bright flavor.
“Baked wings served at parties were praised for texture and spice without feeling greasy.”
| Feature | Retro oven method | Deep-fry |
|---|---|---|
| Crisp texture | High — rack and heat combine for crackle | High — oil creates immediate crisp |
| Cleanup & safety | Low mess, safer for home cooks | More splatter, higher risk |
| Scalability | Easy — bake multiple trays | Harder for large batches |
Bottom line: This oven way produced consistent results — crisp skin, juicy meat, and zero fryer mess — making it ideal for serving flavorful pieces to a crowd fast and reliably.
Step-by-step: the retro baked chicken wings method
Prep makes the difference. Pat each piece until the skin feels dry, then split into drumettes and flats. Use paper towels so the wings dry fully; this helps the skin render and crisp instead of steam.
Seasoning — in a small bowl combine salt, black pepper, garlic powder, paprika, and aluminum-free baking powder. Toss gently to evenly coat each piece so the mix clings during baking.
Adjust the oven to 425°F and move the rack to the upper-middle position. Line a tray with foil, place a wire rack on top, and spray the rack.
Arrange the pieces in a single layer, skin side up, with space between each. Bake, flipping every 20 minutes, watching color in the last minute or two of each interval. Total time ranges from about 40 to 60 minutes depending on size.
After you remove oven, let rest 5 minutes. Transfer to a clean bowl and toss with Buffalo sauce made from Frank’s-style hot sauce, light brown sugar, and a splash of water for even coverage. Add a pinch of cayenne or extra salt to taste.
Oven vs air fryer: best ways to bake chicken
Choose your appliance based on batch size and how quickly you want a crisp finish.
Oven at 425°F for fried-like texture without grease
The oven set to 425°F on the upper-middle rack excels for large batches. It delivers even browning across a full sheet and renders fat so the skin crisps without oil.
Preheat a foil-lined tray with a wire rack or a preheated pan to jumpstart color. Avoid crowding so juices evaporate and browning happens steadily.
Air fryer option for smaller batches and shorter cook time
An air fryer is great for staged batches. Circulating hot air shortens overall cook time and gives a convection effect similar to frying.
Use single layers only and adjust minutes by size. Smaller pieces often need fewer minutes than a full tray in the oven.
When to broil for extra snap on the skin
For extra color, finish under the broiler for a brief minute or two. Watch closely to prevent scorching and never broil parchment or paper left on the pan.
- Why oven: steady high heat keeps texture uniform across many pieces.
- Why air fryer: faster for small batches, good for quick parties.
- Pro tip: preheat the pan or rack and leave space between pieces to encourage crisp skin.
Seasonings and sauces that make wings sing
Bright sauces and bold rubs lift simple oven-baked pieces into true party fare.
Classic Buffalo
Frank’s-style Buffalo
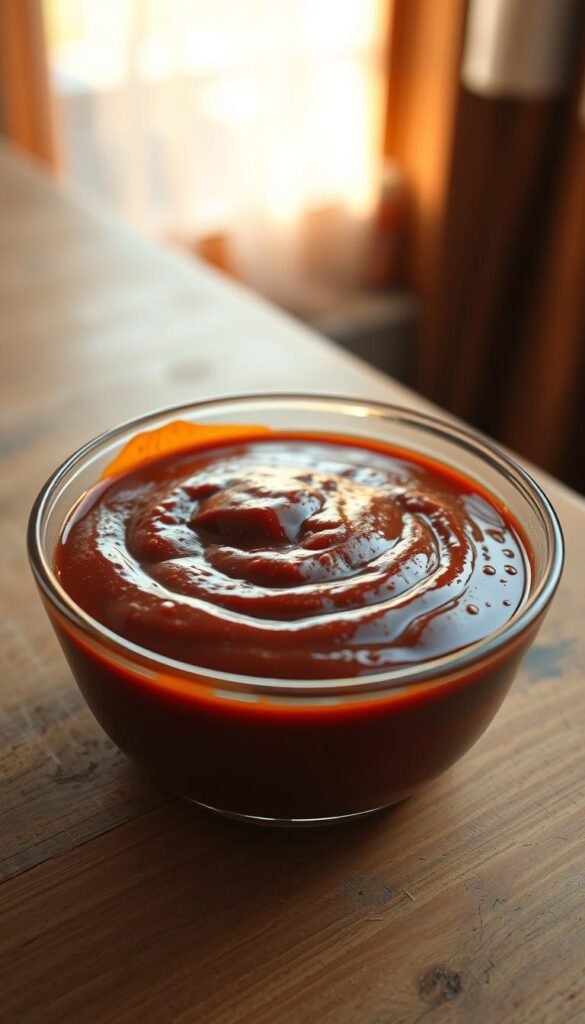
Combine Frank’s-style hot sauce with light brown sugar and a splash of water in a small pan. Simmer until the sugar dissolves, then cool slightly before tossing so the sauce clings and shines.
Sweet-heat Creole
Mix paprika, dried thyme, oregano, garlic powder, onion powder, brown sugar, salt, black pepper, and cayenne in a small bowl. Coat pieces in two stages, then baste with melted garlic butter while baking. Basting at 30 and 40 minutes deepens color and flavor.
Sticky glazes and dry rubs
For honey BBQ or honey garlic, warm honey with BBQ sauce or minced garlic and a touch of sugar in a pan, then cool. Dry rubs benefit from thorough mixing of spices so coverage is even across a tray.
| Sauce / Rub | Key ingredients | Best use |
|---|---|---|
| Buffalo | Frank’s-style hot sauce, light brown sugar, water | Toss after resting for glossy, spicy coating |
| Creole rub + garlic butter | Paprika, thyme, oregano, cayenne, brown sugar, garlic butter | Baste mid-bake for savory, caramelized finish |
| Honey glazes | Honey, BBQ sauce or garlic, touch of sugar | Apply at end for sticky shine without soggy skin |
| Dry rubs | Salt, pepper, smoked paprika, garlic/onion powder | Use before baking for crisp, seasoned crust |
Serving tips: Offer cool ranch or blue cheese for dipping, and taste before plating so salt and cayenne match the crowd. Plan seasoning amounts per batch to keep flavor consistent across a full tray.
Texture science and troubleshooting for baked wings
Small changes in chemistry and heat control make the difference between limp skin and a crisp, crackly finish.
The baking powder trick: why aluminum-free matters
Aluminum-free baking powder raises skin pH slightly, which promotes browning and tiny blistering on the surface. This creates that crackle without a metallic aftertaste.
Use a light dusting in your seasoning mix so the powder does its work without making the crust gritty.
Combat watery tray juices: don’t crowd, reduce juices, then baste
If the tray collects watery juice from crowding, weak heat, or partially thawed pieces, remove the pieces and return the tray to the oven for 3–5 minutes. This concentrates the juices so they brown faster.
After that short pan-only bake, put the pieces back, baste with sauce or garlic butter, and finish cooking. A quick broil for under a minute can add color if needed—watch closely.
Evenly coat spices: staged tossing for full coverage
Mix seasonings in a small bowl and toss pieces with half the blend first. Let them rest briefly, then add the rest and toss again.
Finish with melted garlic butter last; it helps seasoning stick and promotes browning without softening the crust. Salt carefully to avoid drawing excess moisture during bake time.
- Key tips: space pieces on the tray, preheat the pan, and monitor the final minutes—one minute can mean the difference between pale and perfect.
- Use aluminum-free powder for crisp skin and no off flavors.
chicken wings
In Food52’s Wing‑Off, staff slightly favored drumettes, yet both pieces earned praise for texture and flavor.
Drumettes vs flats: lessons from Wing‑Off tasting notes
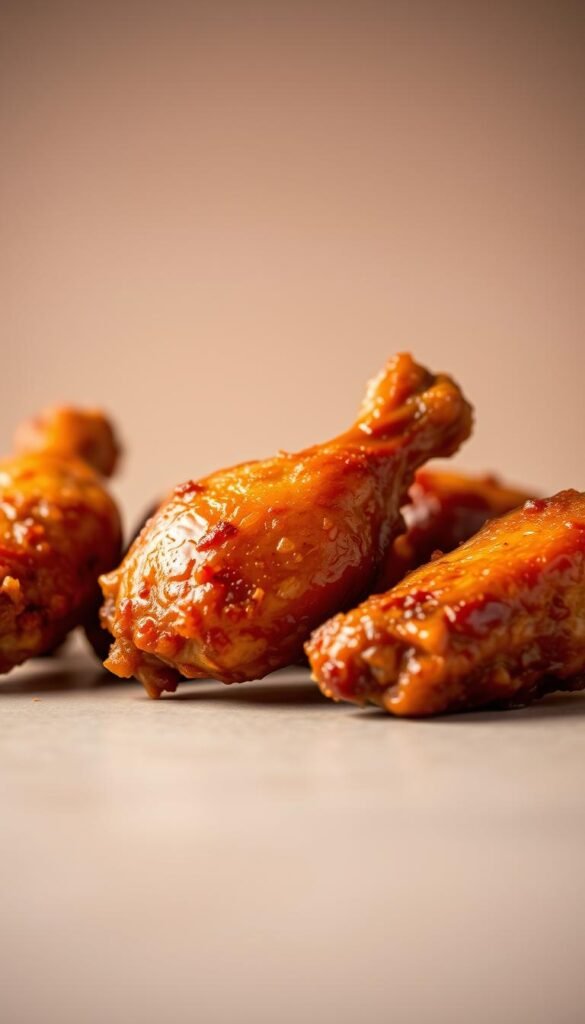
Drumettes stood out for a meaty bite and easy handling at parties. They feel substantial and hold sauce well.
Flats drew compliments for a higher skin-to-meat ratio and crisp surface. Tasters loved the crackle with each bite.
Serving ideas for game day: trays, napkins, and sauces on the side
Arrange baked wings on a warm tray and place bowls of ranch, blue cheese, and extra sauce at one end. Label each sauce as mild, medium, or hot so guests pick their heat level.
- Split batches between drumettes and flats to satisfy both camps.
- Keep a backup tray warm in a low oven so fresh pieces rotate to the table without losing crispness.
- Provide plenty of napkins and a discard bowl for bones to keep the serving area tidy.
| Item | Why it helps |
|---|---|
| Warm tray | Keeps texture optimal during service |
| Labeled sauces | Makes self-service smoother and reduces questions |
| Recipe card or book reference | Sparks conversation and shares the method with guests |
Time, temperature, and doneness cues
Timing and heat control are the real tricks that turn a good tray into great, crackly results.
Target the oven at 425°F on the upper-middle rack and flip every 20 minutes until skin is golden and crisp. Smaller pieces often finish closer to 40 minutes; larger ones may need up to an hour.
Watch for visual cues: a deep golden-brown surface and slightly reduced tray juices mean the meat is rendering and the juice is concentrating. If color lags in the last minute or two, use a brief broil to finish without overcooking.
After baking, rest the batch for about 5 minutes so the meat holds its juice before you toss it in sauce. Use that pause to taste one piece and tweak seasoning or heat levels for the full tray.
- Keep the oven steady at 425°F and avoid opening the door often; each open adds unnecessary minute adjustments.
- Plan the amount per tray so pieces sit in a single layer with space to brown evenly.
- Test one piece before saucing the whole batch to confirm texture and seasoning.
Conclusion
Close with the core routine. Dry pieces thoroughly, use aluminum-free baking powder in the seasoning, set the oven to 425°F on the upper-middle rack, and bake on a foil-lined tray with a wire rack. Flip every 20 minutes and finish in under an hour depending on size.
This recipe gives repeatable, crispy results with minimal mess. Rest five minutes, then toss in your favorite sauce — Buffalo or a Creole garlic-butter glaze work well. Keep a mixing bowl and a spare tray handy to coat pieces without softening the crust.
Save a printed copy in your favorite book of recipes and note preferred minutes and seasoning tweaks. A pinch more salt, a touch of sugar, or a dash of cayenne will help you tailor flavor fast.
