Red Velvet Cupcakes: A Classic Southern Dessert Recipe
Surprising fact: a standard tray baked at 350°F often yields 14–16 tender treats, which makes these an ideal choice for gatherings large and small.
This Website contains affiliate links. That means I may earn a small commission if you purchase through my links, at no extra cost to you.
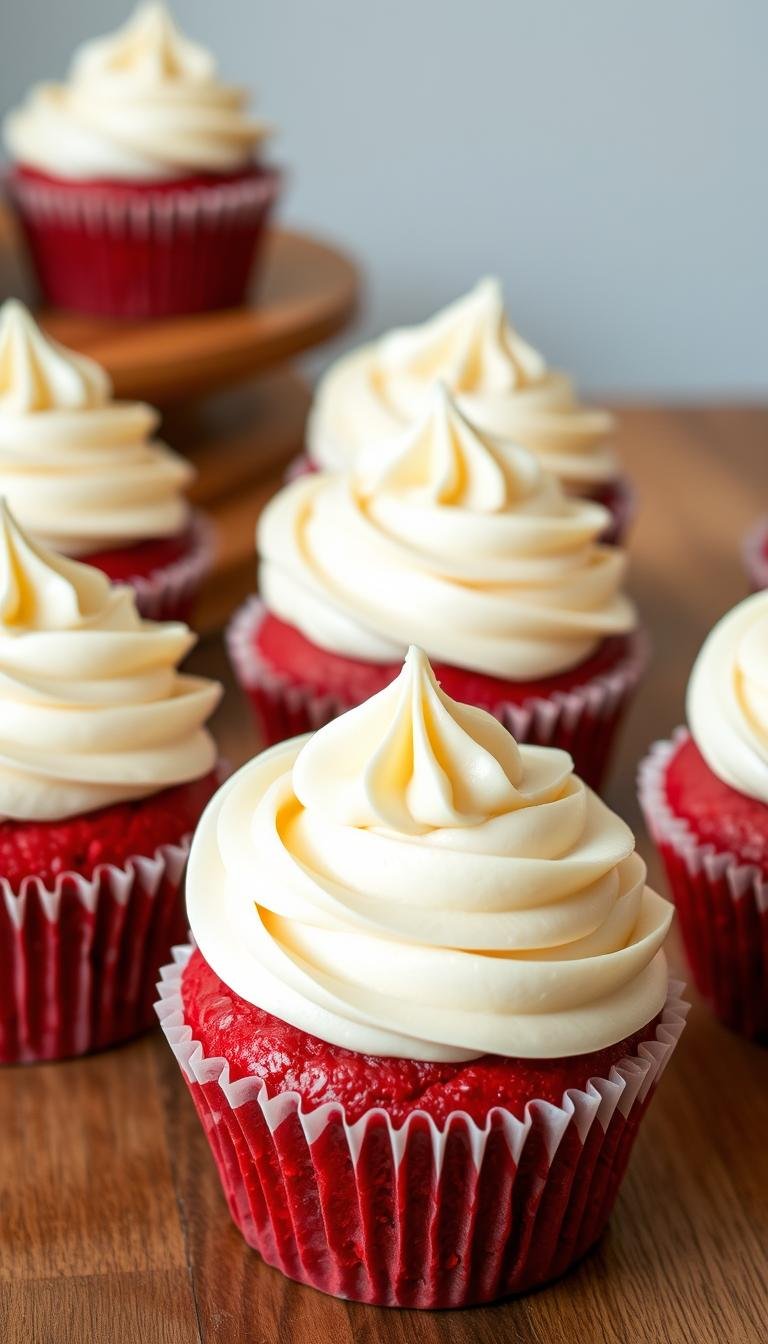
Red velvet cupcakes pair buttery vanilla with a whisper of chocolate to create a subtly flavored, moist crumb. Buttermilk and a touch of vinegar lift the batter and brighten the hue while keeping the texture soft.
The classic finish is cream cheese frosting, made with cream cheese, butter, confectioners’ sugar, and vanilla for a tangy, silky top. Use cake flour or a DIY blend (all-purpose flour plus cornstarch) to get a finer crumb.
Liquid or gel food coloring controls the signature shade; start with 1 tablespoon and adjust for depth. This recipe is approachable for weeknight baking and polished enough for holidays and celebrations.
Key Takeaways
- Balance of vanilla and mild cocoa gives a gentle chocolate note without overpowering the cake.
- Buttermilk and vinegar help keep the crumb moist and improve rise.
- Cream cheese frosting complements the tender base with tang and creaminess.
- Bake at 350°F for about 14–16 cupcakes per standard recipe.
- Use cake flour or sifted blends and measure accurately for the best texture.
- Adjust food coloring to reach the desired hue for special occasions.
Why Red Velvet Stands Out: Flavor, Texture, and That Signature Tang
More than color, this dessert owes its identity to a soft, tangy crumb and subtle chocolate notes. The flavor leans vanilla-forward with a buttery warmth and only a whisper of cocoa, so it is distinct from a straight chocolate cake. This gentle balance makes the bite feel indulgent without heavy chocolate intensity.
Acidity matters. Buttermilk adds tang and tenderness, and a splash of vinegar reacts with baking soda to lift the crumb and deepen the hue. Those reactions also help the batter stay moist and airy.
Using both butter and oil gives the best texture: butter for flavor and aeration, oil for lasting moisture. A small amount of cocoa powder adds complexity without stealing the vanilla spotlight. Salt and measured sugar keep sweetness in check and let the tang and cocoa notes shine.
| Ingredient | Primary Role | Effect on Texture/Color |
|---|---|---|
| Buttermilk | Tenderness & tang | Soft crumb; reacts with baking soda |
| Baking soda + Vinegar | Leavening reaction | Lift and finer, velvety crumb; deeper tones |
| Butter + Oil | Flavor and moisture | Richness plus lasting tender texture |
| Cocoa powder | Background chocolate note | Complexity without overpowering vanilla |
- The result is a plush, light crumb that pairs perfectly with cream cheese frosting.
- Acidity plus minimal cocoa creates the classic “velvet” mouthfeel that defines this recipe.
- Color is both visual and chemical: acids and cocoa interact to make tones pop and help you make red more vivid.
Ingredients You’ll Need for Authentic Red Velvet Cupcakes
Start with quality staples to build the signature tender crumb. Below are the core ingredients and simple swaps that give you consistent results.
Dry ingredients
Flour: use cake flour for a fine crumb or make DIY cake flour by sifting 1 cup all-purpose flour with 2 tbsp cornstarch.
Include 2–4 tsp natural cocoa powder so the taste stays vanilla-forward.
Add 1 tsp baking soda, a pinch of salt, and granulated sugar. Sift the dry mix to avoid lumps and to ensure even texture.
Wet ingredients
Use room-temperature eggs, unsalted butter, and a neutral oil. Measure buttermilk for tang and tenderness. Stir in vanilla and 1 tbsp white vinegar (or lemon juice) to help lift the batter.
Food coloring and quick swaps
For color, 1–2 tbsp liquid food coloring or a few drops of gel lets you make red shades from bright to deep.
Quick buttermilk: mix milk with 1 tbsp lemon juice or white vinegar and rest until slightly curdled.
- Weigh flour in a bowl for accuracy and sift for a lighter crumb.
- Fresh leaveners and granulated sugar keep flavor clean and reliable.
- These ingredients pair perfectly with cream cheese frosting and a touch of cream cheese on top.
How to Make red velvet cupcakes Step by Step
Get started: preheat oven to 350°F and line 12-cup pans with cupcake liners. Expect about 14–16 finished pieces; bake any extra batter in a second round.
Mixing choice matters. Use the creaming method by beating butter and sugar in a bowl until light, then add oil, eggs, vanilla, vinegar, and coloring.
Mixing methods and speed
If you use a stand mixer, set medium-high for creaming, then drop speed when adding eggs, oil, and dry ingredients. This keeps the batter tender and avoids overworking gluten.
Building the batter
Alternate dry ingredients with buttermilk, beginning and ending with dry. Add food coloring a little at a time, scraping the bowl for an even hue and consistent batter.
Bake and cool
Portion batter into liners about half to two-thirds full. Bake 15–21 minutes until tops spring back and a toothpick comes out clean.
Cool in the pan for a few minutes, then transfer to a rack to cool completely before applying cream cheese frosting. Frosting a warm cake can cause melting and weeping.
Troubleshooting
- High domes: likely from overfilled liners or too-hot oven—reduce fill and confirm temperature.
- Sinking centers: often underbaked or overmixed—check doneness and mix gently.
- Dry texture: usually from overbaking or too much flour—time carefully and spoon/level flour.
“Even heat and gentle mixing are the two easiest ways to get a tender, even crumb.”
| Step | Key Action | Timing / Cue |
|---|---|---|
| Prep | Preheat to 350°F; line pans with cupcake liners | Immediate |
| Mix | Cream butter & sugar or reverse cream; control mixer speed | 3–5 minutes creaming |
| Build batter | Alternate dry with buttermilk; add vinegar and food coloring | Combine until just blended |
| Bake | Portion, bake | 15–21 minutes; tops spring back |
| Cool | Cool in pan briefly, then cool completely on rack | Cool 20–30 minutes before frosting |
Silky Cream Cheese Frosting That Complements the Velvet Crumb
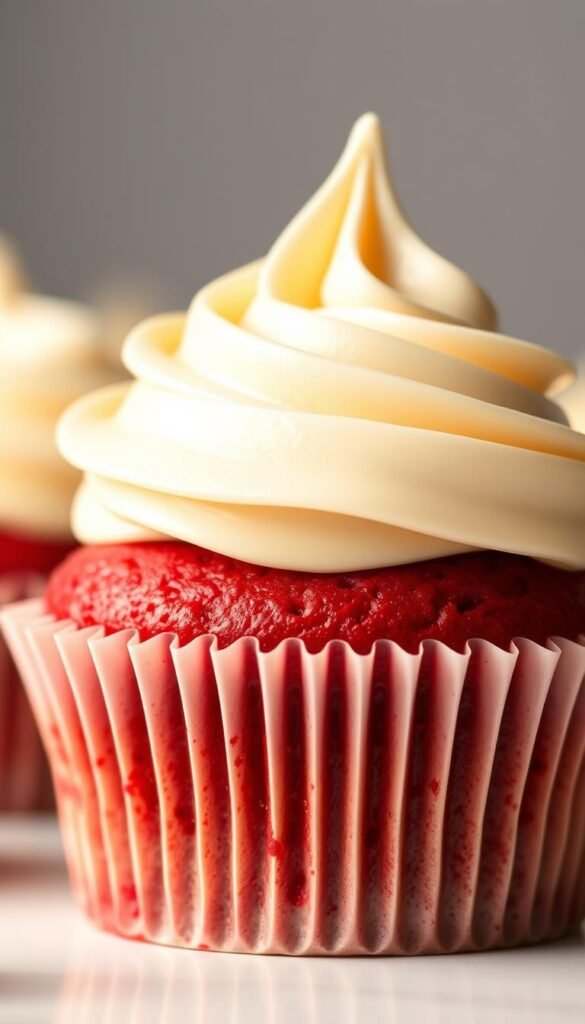
The right frosting makes each bite sing, balancing sweetness with a touch of tangy cream. Use block-style cream cheese and unsalted butter for the cleanest flavor. Keep both at room temperature so the texture is lump-free and silky.
What to use
In a bowl, combine block-style cream cheese, unsalted butter, confectioners’ sugar, a splash of vanilla, and a pinch of salt. These few ingredients create that classic tangy finish.
How to beat it
Cream the butter first in a stand mixer or hand mixer for lightness. Add the cream cheese and beat until smooth, then add sugar gradually until desired thickness. Scrape the bowl often to ensure even mixing.
Piping and texture tips
For softer swirls choose a round tip; pick a star tip if the frosting is stiffer or slightly chilled. To firm the mix, add more confectioners’ sugar or chill briefly. Save one small cake crumb and sprinkle it on top for a signature garnish.
“Room-temperature dairy and gentle beating are the secrets to a silky, stable finish.”
The Baking Science: Buttermilk, Cocoa, and a Touch of Vinegar
Understanding the role of buttermilk and a dash of vinegar helps you bake bakery-quality results at home. Acid and base reactions are the backbone of a tender crumb and reliable rise.
How acid and leavening lift the crumb
Buttermilk plus a little vinegar react with baking soda to produce carbon dioxide bubbles. Those bubbles expand in the oven and give a delicate, even texture.
Bonus: the same acidity helps pigments appear brighter, so your red velvet shade looks more vivid when you add food coloring.
Fats: why use both butter and oil
Creaming unsalted butter traps air and adds flavor and structure. Oil keeps the cake moist for days, so the crumb stays soft between servings.
Flour choice for a softer texture
Cake flour has lower protein, which limits gluten and yields a fine crumb. If you don’t have cake flour, mix all-purpose flour with cornstarch to mimic that effect.
Room temperature ingredients and mixing
Bring eggs, butter, and milk to room temperature so emulsions form smoothly. A properly warmed bowl prevents curdling and creates a glossy batter.
Use a mixer at the right speed: incorporate enough air without overworking gluten or deflating the mix. Sift powder ingredients and fully dissolve sugar in creamed butter for the most tender results.
“Small adjustments in ingredients and mixing lead to repeatable, bakery-style rise and texture.”
Variations, Personalization, and Serving Ideas
A few careful swaps and size changes make this recipe flexible for parties and flavor tests. You can scale the batter, deepen chocolate notes, or adjust color to match a theme without losing the signature tang.
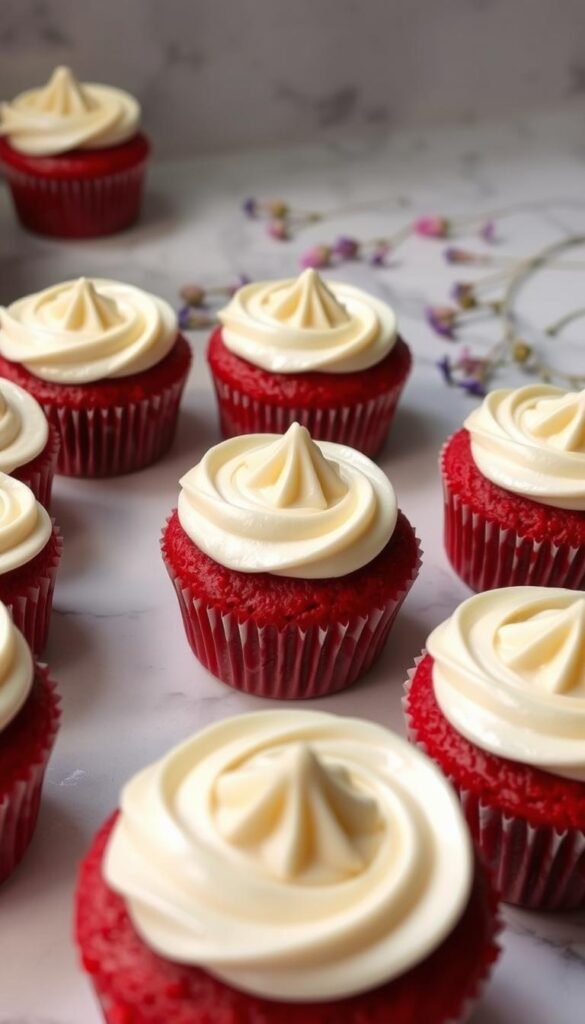
Mini sizing and bake time
Mini cupcake guidance: fill mini liners and expect about 36 small bites. Bake at 350°F for roughly 12–13 minutes and watch for springy tops.
Always preheat oven fully and use the same gentle mixing so minis keep the tender crumb of their larger counterparts.
Richer chocolate option
To intensify cocoa, add up to 2 tablespoons of cocoa powder and stir in 1 tablespoon of milk for moisture. More cocoa deepens flavor but can mute bright color.
Color, occasions, and serving
Customize hue with 1–2 tablespoons liquid color or a few drops of gel to make shades from deep crimson to bright scarlet. Dress treats with crumb garnish, seasonal sprinkles, or themed liners for Christmas, Valentine’s Day, or the 4th of July.
- Pair minis with a matching red velvet cake or cookies for a cohesive dessert table.
- Keep the classic tangy frosting to balance sweeter or more chocolate-forward versions.
- Offer a mix of standard and mini sizes so guests choose portions.
“Small tweaks preserve the velvet texture while letting you play with size, color, and cocoa.”
Helpful Tools and Equipment for Bakery-Style Results
Good tools make bakery-style results feel within reach for every home baker. The right gear cuts mistakes and speeds up prep.
Essentials
Start with a sturdy 12-count muffin pan, quality cupcake liners, and several mixing bowls. Use a reliable electric hand mixer or a stand mixer for efficient creaming and even texture.
Nice-to-haves
A fine-mesh sieve removes lumps from flour and confectioners’ sugar. A kitchen scale helps you weigh ingredients like flour and sugar for consistent cake results.
- Reusable or disposable piping bags and tips for neat frosting swirls.
- A cooling rack to let air circulate and prevent soggy bottoms.
- Spatulas and a scoop to portion batter cleanly and scrape the bowl.
Control the mixer speed: high for creaming, low when adding dry ingredients. Keep a tidy room workspace and wipe food coloring drips right away.
“Simple, reliable tools make it easier to bake professional-looking red velvet cupcakes at home.”
Make-Ahead, Storage, and Freezing
Smart storage preserves the soft crumb and tangy frosting without extra fuss. Proper timing and airtight containers keep these treats tasting fresh for events and weeknight desserts.
At room temperature: unfrosted timeline
Unfrosted cupcakes can sit covered at room temperature for about 1–2 days. Make sure to cool completely before covering to avoid condensation and soggy tops.
Refrigerate or freeze: cream cheese and frosted items
Because cream cheese frosting is perishable, store frosted items in the refrigerator in an airtight container for up to 3–4 days.
For longer storage, wrap unfrosted pieces tightly and freeze up to 2–3 months. Freeze frosting separately in a sealed container; thaw and briefly re-whip before use.
Thawing and serving: keep that tender crumb
Thaw frozen goods at room temperature for 30–60 minutes or overnight in the fridge. Let items warm slightly before serving so the texture and flavor recover.
- Label containers with dates to track freshness.
- A fresh dusting of crumbs or a light re-pipe of frosting can refresh appearance.
- DIY buttermilk (milk + 1 tbsp lemon juice) is handy when planning the recipe in advance.
“Airtight storage and cool completely handling are the simplest ways to keep your treats moist and ready.”
Conclusion
A great batch comes down to balance: measured ingredients, steady mixing, and careful baking yield consistent results.
Use cake flour or all-purpose plus cornstarch, a touch of cocoa powder, buttermilk, and a splash of vinegar to create that fine, tangy crumb. Combine unsalted butter for flavor and oil for moisture, then bake at 350°F until tops are springy.
Finish with a classic cream cheese frosting and cool fully before piping to keep swirls neat. This recipe adapts well—try minis, a richer chocolate tweak, or color adjustments for any celebration.
With precise measuring and mindful minutes of active work, your velvet cupcakes will be tender, flavorful, and photo-ready.
