Red Velvet Cheesecake Recipe: A Classic Dessert to Impress
Nearly 70% of home bakers say a show-stopping dessert wins more praise than an elaborate dinner, and this striking cake delivers both look and flavor.
This Website contains affiliate links. That means I may earn a small commission if you purchase through my links, at no extra cost to you.
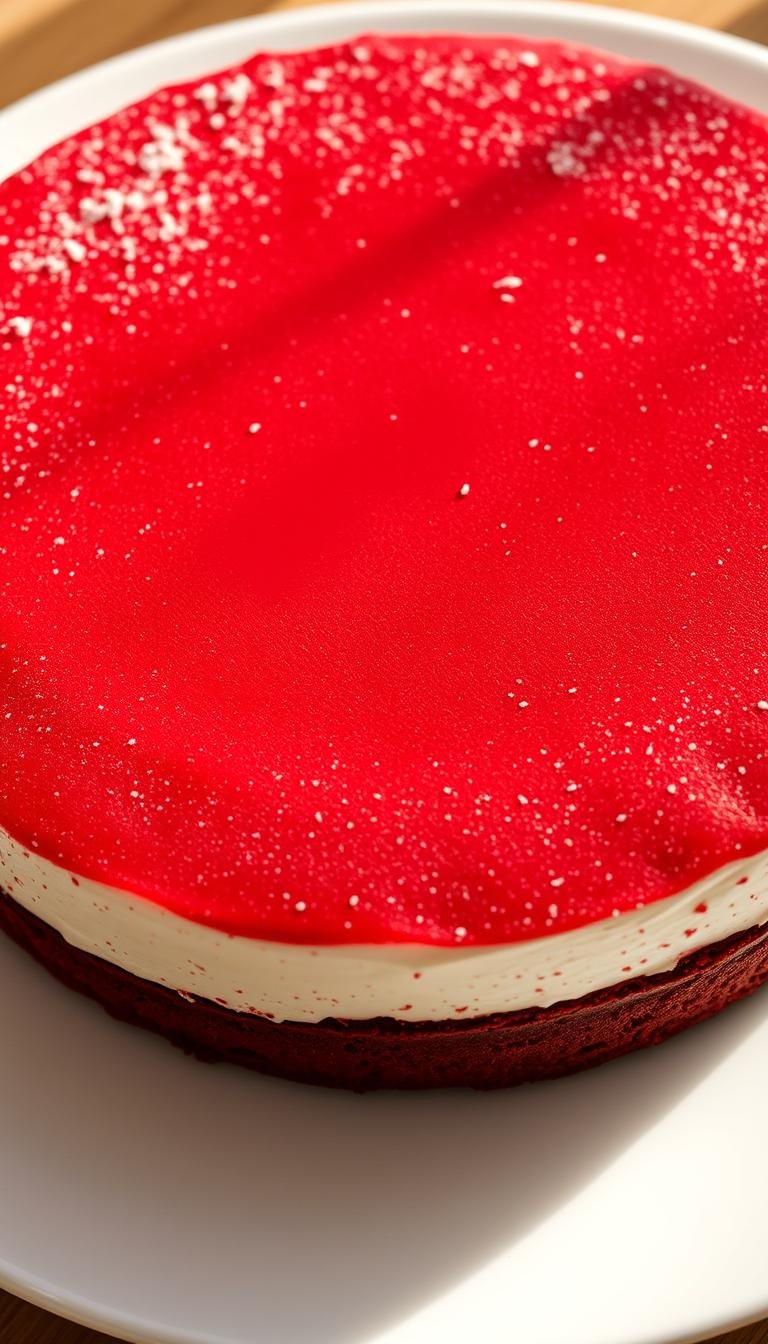
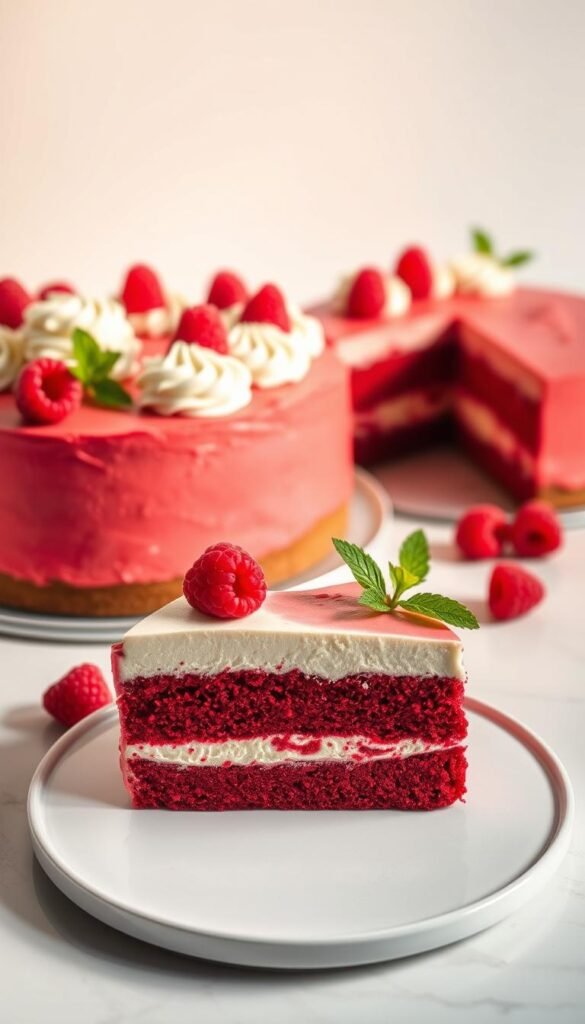
This red velvet cheesecake blends a crisp Oreo crust with a smooth, tangy cream cheese filling.
The filling mixes cream cheese, sugar, a touch of cocoa and vanilla, sour cream, eggs, a splash of vinegar, and food coloring. Press the crust into a 9-inch springform pan and bake briefly, then lower the oven temperature and finish the cheesecake in a water bath for a creamy, crack-free top.
Chill the cake for at least 5–6 hours or overnight for clean slices. Finish with a light cream cheese whipped topping or a thicker frosting and optional white chocolate shavings to accent the top layer.
Plan your time and tools: a springform pan, heavy-duty foil, a roasting pan for water, a reliable mixer, and a sturdy bowl will make the process smooth and consistent.
This recipe rewards patience with a classic profile: subtle chocolate notes, gentle tang like buttermilk, and that signature, vibrant layer that impresses every holiday table.
Key Takeaways
- This recipe pairs an Oreo crust with a velvety cream cheese filling for a striking cake.
- Use a water bath and low oven temperature to prevent cracks and ensure a creamy texture.
- Chill the dessert several hours or overnight for clean slices and a neat top layer.
- Finish with whipped cream cheese topping or thicker frosting and optional white chocolate curls.
- Essential tools: springform pan, roasting pan, heavy-duty foil, mixer, and bowl.
What Makes This Red Velvet Cheesecake Special
This cake earns its reputation through texture, flavor balance, and a bold visual finish. The structure comes from high-quality cream cheese, a touch of sour cream, and a careful, low-heat bake that keeps the center silky.
Velvety Texture
Use full-fat cream cheese and stir the filling on low speed. Mixing slowly limits air in the batter, which helps prevent puffing and cracking.
A water bath around a foil-wrapped springform pan and slow cooling in the oven finish the set for a creamy, crack-free slice.
Signature Flavor
A light hit of cocoa, classic vanilla, and a splash of vinegar give that subtle tang that echoes buttermilk. Measured sugar and a consistent cocoa choice keep the chocolate notes balanced.
Show-Stopping Look
One to two ounces of liquid or a small amount of gel food coloring creates the vivid interior. That bold hue contrasts beautifully with a pale cream topping, making the cake ideal for entertaining.
- Scrape the bowl so no streaks remain.
- Keep a steady mixer setting to protect texture.
- Plan extra chill time for clean slices.
Ingredients You’ll Need (and Smart Substitutions)
Collect and measure ingredients to keep mixing quick and prevent lumps in the batter. This checklist covers the crust, the filling, and the topping plus simple swaps that keep flavor and texture intact.
Oreo Cookie Crust
Crust basics: 24–30 regular Oreos (do not remove the creme), crushed to about 2–2½ cups. Stir in 4–5 tablespoons melted butter, press firmly across the bottom and 1–2 inches up the sides of a 9-inch springform pan. Bake 10 minutes for structure.
Filling Essentials
Use 24–32 oz full-fat brick cream cheese, 1–1⅓ cups sugar, 3–4 tbsp cocoa, 1 cup sour cream, optional ¼ cup buttermilk, 4 large eggs, 2 tsp vinegar, 2 tsp vanilla, and 1–2 oz red food coloring. Mix on low speed and add eggs last, mixing only until combined.
Topping and Substitutions
For the finish choose a light cream cheese whipped cream (cream cheese, cold heavy cream, powdered sugar, vanilla) or a thin cream cheese frosting for a richer layer.
| Ingredient | Amount | Substitution/Note |
|---|---|---|
| Oreos | 24–30 (2–2½ cups crumbs) | Use chocolate sandwich cookies; keep creme |
| Cream cheese | 24–32 oz | Full-fat for best texture; room temp |
| Cocoa | 3–4 tbsp | Dutch-processed = smoother; natural = brighter chocolate |
| Buttermilk | ¼ cup (optional) | Omit if using sour cream + vinegar |
| Food coloring | 1–2 oz | Gel = concentrated; liquid = easier to measure |
Tools, Pan Prep, and Room-Temperature Essentials
Start by preparing your equipment and bringing dairy and eggs to room temp; this step prevents lumps and saves time.
Springform pan setup: Line the bottom of a 9-inch springform pan with parchment paper and grease the sides if you like. Wrap the outside base twice in heavy-duty foil to create a leak barrier.
Place the wrapped springform inside a larger roasting pan. Set the pan so you can pour hot water to reach about halfway up the sides. Have a cup or kettle of hot water ready to add once the pans are positioned.
Bring ingredients to room temperature: Let cream cheese, sour cream, and eggs sit in the room for about an hour. Warm ingredients mix smoothly and cut mixing time, yielding fewer lumps in the batter.
- A tight latch on a 9-inch springform helps release the cake cleanly.
- Keep a bowl needed for melting butter and another bowl for beating the filling.
- Preheat the oven to the recipe temperature so the water bath and pan go in promptly.
| Tool | Purpose | Quick Tip |
|---|---|---|
| 9-inch springform | Hold crust and filling | Use a pan with tall sides for thick layers |
| Parchment paper | Prevent sticking | Cut to fit the bottom, then press flat |
| Heavy-duty foil | Seal against water | Wrap base twice for a reliable barrier |
| Roasting pan | Water bath support | Choose one large enough for a half-inch water rise |
How to Make Red Velvet Cheesecake
Follow these steps for a smooth bake and a clean slice.
Preheat oven and prepare the pan
Start by preheating your oven to 325°F and lining a 9-inch springform with parchment paper. Grease the sides so the cake releases easily.
Make and bake the Oreo crust
Pulse 24 Oreos to about 2 cups of crumbs. Stir in 4 tablespoons melted butter until evenly moistened.
Press the crumb mix firmly into the pan bottom and up the sides 1–2 inches. Bake 10 minutes, then reduce the oven temperature to 300°F.
Mix the filling on low speed
Beat cream cheese, sugar, and cocoa on low with a mixer until smooth. Add sour cream and optional ¼ cup buttermilk.
Add eggs one at a time on low speed. Stop to scrape sides of the bowl so the batter is even.
Stir in vinegar, vanilla, and 1–2 oz food coloring to tint the layer.
Bake in a water bath and cool
Wrap the pan in heavy-duty foil and set it inside a larger pan. Pour hot water to reach halfway up the sides for a gentle, moist bake.
Bake about 1 hour 45 minutes until edges are set and the center jiggles slightly. Turn the oven off and let the cake rest 30 minutes with the door closed, then crack the door for 20–30 minutes.
Chill and remove from the springform
Chill the cake at least 5–6 hours or overnight. Run a thin knife around the sides before unlatching the springform to preserve a smooth top.
| Step | Time/Temp | Key Tip |
|---|---|---|
| Preheat & prep pan | 325°F, parchment round | Grease sides for easy release |
| Crust bake | 10 minutes at 325°F → reduce to 300°F | Press crumbs up sides 1–2 inches |
| Bake in water bath | About 1 hr 45 min at 300°F | Wrap in foil; water halfway up sides |
| Cool & chill | 30 min resting, 5–6 hours chilling | Use thin knife around sides before unlatching |
Water Bath, Mixing Speed, and “Scrape the Sides”: Pro Tips & Troubleshooting
A reliable water bath and gentle mixing make the difference between a crack-free top and a repaired finish. Wrap the springform pan base in two layers of heavy-duty foil or slide it into an oven bag to build a leakproof water barrier. Place it in a larger roasting pan and pour hot water halfway up the sides for even heat.
Mix on low speed to limit air in the batter. Add eggs last and blend only until just combined. Stop periodically to scrape sides and the bottom of the bowl so cocoa and sugar fully incorporate before the eggs go in.
Color and Cooling Control
After the base is smooth, stir in food coloring. Start with about 1 ounce and add slowly; baking can mute the tone slightly.
When baking is done, turn the oven off and keep the door closed 30 minutes, then crack it for 20–30 minutes before chilling. This gradual drop in temperature cuts thermal shock and helps prevent cracks.
Slicing and Final Touches
“For clean slices, warm a knife between cuts and wipe it dry—repeat until all pieces are neat.”
Run a thin knife around the sides before unlatching the springform. Use a hot, dry knife and wipe between cuts for sharp layers. If minor cracks appear, hide them under the cream topping; flavor and texture come first.
| Issue | Likely Cause | Quick Fix |
|---|---|---|
| Cracked top | Too much air or sudden cooling | Mix slower, use water bath, slow oven cooldown |
| Pale color | Underused food coloring or baking fade | Add food coloring after cocoa; start with 1 oz and adjust |
| Uneven slices | Cold center or dull knife | Bring to near room temp briefly; use hot wiped knife |
Decorating Ideas, Toppings, and Classic Cream Cheese Finish
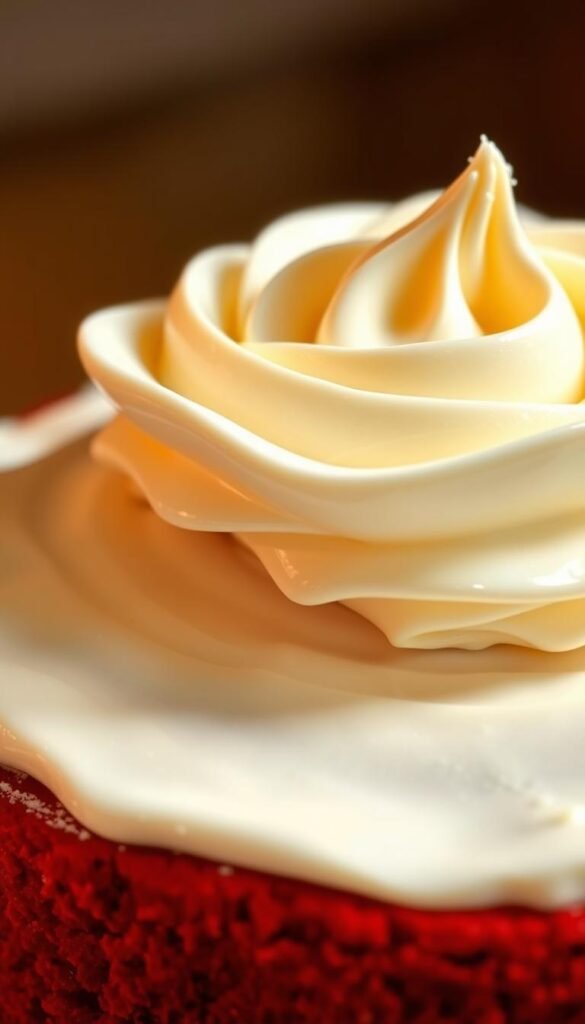
The final layer ties the look and flavor together. Choose a light whipped cream topping for an airy finish or a classic cream cheese frosting for a richer top. Both styles highlight the cake’s cocoa notes and keep presentation neat.
Pipe or Spread
For a cream cheese whipped topping: beat cream cheese until smooth in a bowl. Whip cold heavy cream with powdered sugar and vanilla to stiff peaks. Fold the whipped cream into the cream cheese gently and spread or transfer to a piping bag.
Apply the topping while the cake is well chilled so the layer sets quickly. If piping, chill the topping a few minutes to firm so rosettes hold sharper ridges.
White Chocolate Shavings
Soften a block of white chocolate in the microwave for about 15–30 minutes, then use a vegetable peeler to create curls. Hold the small bowl with shavings close and tilt it to slide the curls onto the top gently to avoid crumbs.
For a clean finish, smooth the topping with an offset spatula rather than a full crumb coat. A thin perimeter ring of piped topping gives contrast and guides slices for tidy servings.
- Beat cream cheese until silky to avoid lumps.
- Add vanilla to lift cocoa notes without extra sugar.
- Keep the cake on the springform base while decorating for stability.
- Rest the decorated cake in the fridge a few minutes to lock the layer.
| Decoration | Method | Key Tip |
|---|---|---|
| Cream cheese whipped topping | Fold whipped cream into smooth cream cheese | Chill topping briefly before piping |
| Classic cream cheese frosting | Spread with offset spatula for smooth surface | Apply on chilled cake to hold edges |
| White chocolate shavings | Soften then peel curls with a vegetable peeler | Transfer from a small bowl to avoid fingerprints |
Storing, Freezing, and Make-Ahead Guidance
Smart storage keeps your dessert tasting fresh and looking pristine. Follow a few clear steps so the cream layer stays silky and the crust keeps its crunch.
Refrigeration
Keep the cake covered and refrigerated. Store the cheesecake in the pan or on a serving board wrapped snugly to protect the sides and topping.
Enjoy within 3–4 days for best texture and flavor. Use a tray underneath when moving the pan to avoid spills.
Freezer Tips
For longer storage, flash-freeze the cake uncovered for about an hour to firm the top. Then wrap tightly in plastic and add an outer layer of foil for protection.
You can freeze the whole cake or slice it first. If you slice, place strips of parchment paper between pieces so layers and any chocolate or decor do not stick.
Thawing & Serving
Thaw wrapped overnight in the refrigerator so the cream and layers rehydrate evenly. It is fine to let the cake sit at room temperature for about an hour before serving so flavors open up.
If you remove cheesecake from the base, use two wide spatulas to transfer and work quickly to protect the bottom crust. Label frozen portions with date and flavor if you plan to keep them for up to 1–3 months.
- Wrap in foil and plastic for airtight protection.
- Use parchment paper between slices to prevent sticking.
- Plan time to thaw overnight, then bring to room temperature about an hour before service.
Conclusion
strong, A dependable finish comes from tempo—slow mixing, a gentle bake, and a long chill for clean slices.
This red velvet cheesecake pairs an Oreo crust with a cocoa- and vanilla-kissed filling accented by sour cream, vinegar, and food coloring. Use a 9-inch springform pan lined with parchment and wrapped in foil for a leakproof water bake.
Mix on low speed in a bowl, scrape the sides, and bake in a water bath until the edges set and the center still jiggles. Cool slowly, then chill at least 5–6 hours or overnight for neat layers.
Finish with a cream cheese whipped topping or a thin frosting, slice with a hot knife, and store covered in the fridge for 3–4 days. You can also freeze slices; thaw overnight before serving.
Final thought: follow the cues, plan your time, and use steady technique to make a memorable cake that looks as good as it tastes.
