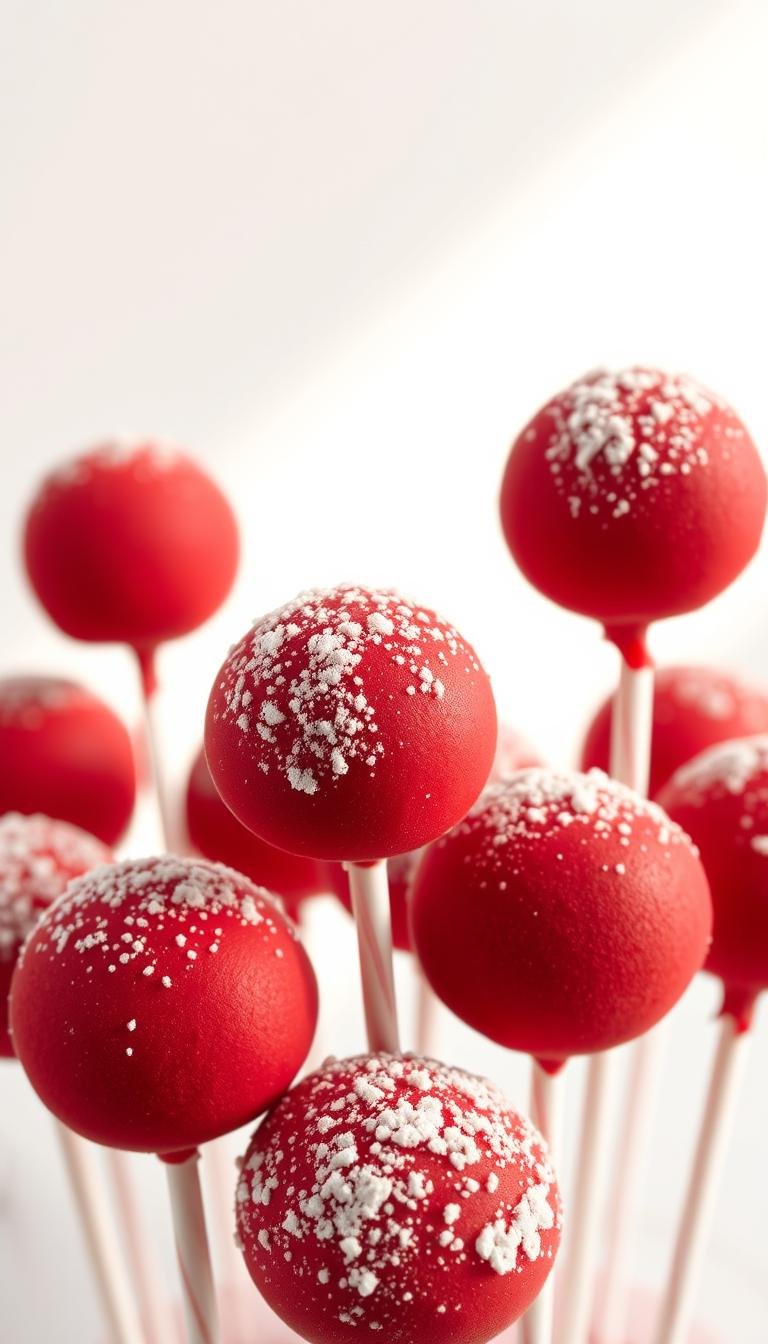
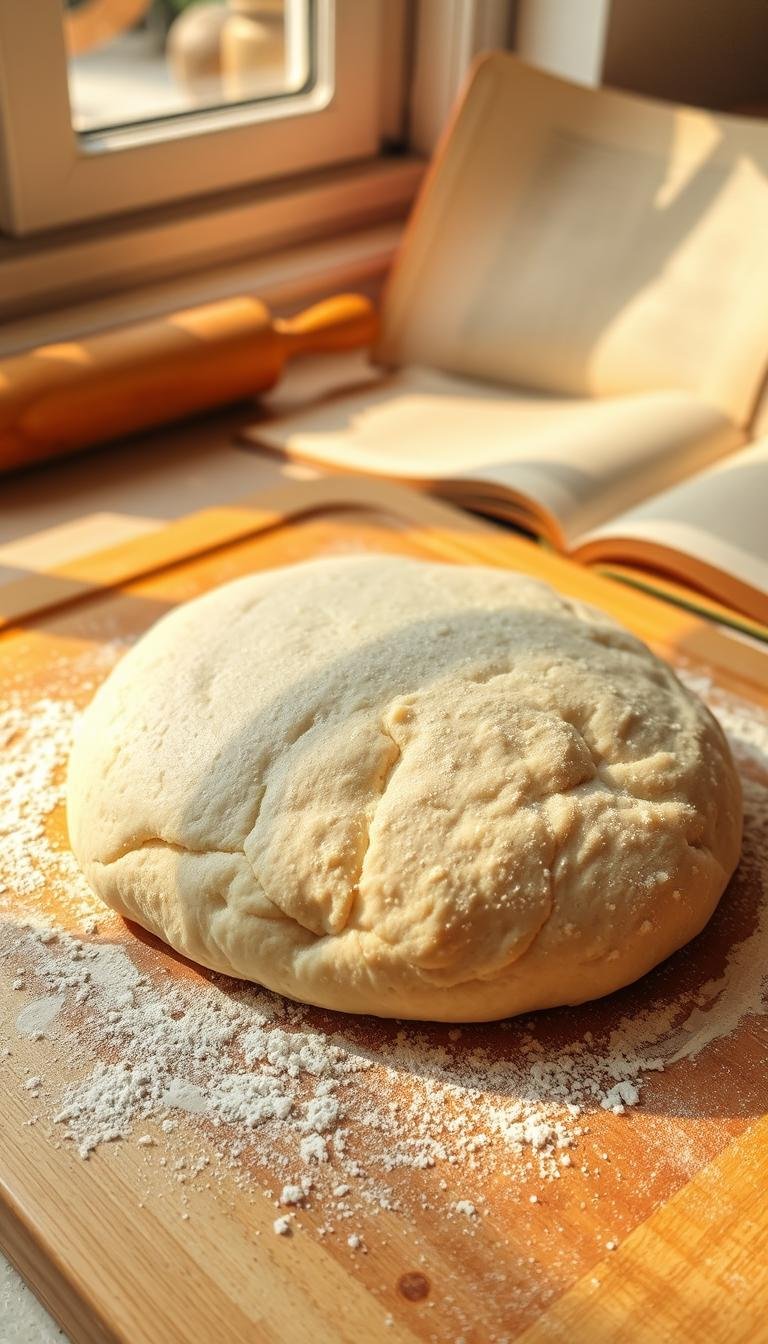
Red Velvet Cake Pops Recipe: Perfect for Celebrations
Surprising fact: nearly half of home bakers say bite-sized treats on sticks get eaten first at parties, making these little confections a show-stealing dessert.
This Website contains affiliate links. That means I may earn a small commission if you purchase through my links, at no extra cost to you.
This recipe shows two clear routes: a from-scratch base with classic flavor, or a speedy box-mix method for busy hosts. Both finish as moist centers blended with tangy cream cheese frosting and a crisp white chocolate shell.
Expectations: you’ll form uniform balls, chill until firm, then dip using sticks for better hold. Almond bark melts easily in short microwave bursts, while white chocolate needs careful temperature control for a smooth finish.
Tools are simple: mixing bowls, pans lined with parchment, a cookie scoop, microwave-safe cup, and pop sticks or a stand. Prep ahead—components can be chilled and finished up to three days for easy serving.
Key Takeaways
- Two paths: authentic from-scratch or quick box-mix for speed.
- Moist centers mixed with cream cheese hold shape when chilled.
- Almond bark is more forgiving than white chocolate for coating.
- Dip sticks in melted coating to secure each treat before decorating.
- Store in an airtight container in the fridge for up to five days.
Why Red Velvet Cake Pops Are the Ultimate Party Treat
Bite-sized truffles transform any gathering into a hands-down crowd favorite. Their one-bite format means guests can snack while mingling, so no plates or forks are needed.
The signature flavor combines a hint of cocoa with tangy cream cheese frosting, then gets a crisp, smooth chocolate shell for contrast. This layered texture makes each bite memorable and visually striking.
- Perfect for parties: easy grab-and-go service for dessert bars and favors.
- Presentation flexibility: classic round styles, truffle bites, or molded shapes to match themes.
- Gifting-friendly: compact boxes (four-piece sets are popular) travel well and look premium with simple drizzles or sprinkles.
- Host-friendly prep: bake, crumble, bind, and chill ahead; finish coatings the day of for fresh shine.
- Scalable: make a small 10-piece batch or a full-pan yield with the same simple steps.
These treats adapt to birthdays, showers, holidays, and graduations—delivering a familiar profile in a tidy, crowd-pleasing format.
Ingredients and Tools You’ll Need for Authentic Red Velvet Flavor
With the right ingredients and a reliable pan, you’ll get consistent texture and taste every time.
Core ingredients for the batter
Dry: all-purpose flour, a touch of cocoa powder, baking soda, and salt. These define crumb and body for any good cake.
Wet: neutral oil, buttermilk for tenderness, an egg white for lift, red food coloring, vanilla, and white vinegar to react with baking soda.
Binding and coatings
Bind crumbled cake using softened cream cheese plus powdered sugar until you reach a dough-like, rollable mix. This keeps centers moist and easy to shape.
For coating, almond bark is forgiving while white chocolate gives a thin, glossy shell. Use tempered white chocolate for shine or melting wafers for speed.
Equipment checklist
Gather a large mixing bowl, a 9×13 pan lined with parchment paper, a baking sheet, cookie scoop, microwave-safe bowl or cup, and cake pop sticks.
Use a cake pop stand or a small styrofoam block to keep dipped treats upright while the shell sets. Optional tools: silicone heart or truffle molds for themed shapes.
Red Velvet Cake Pops: From-Scratch Method with Cream Cheese Frosting
Start by whisking dry ingredients in one bowl while you beat the wet mix in another for a smooth, even batter.
Whisk flour, cocoa, baking soda and salt in a dry bowl. In a separate bowl, beat oil, sugar, buttermilk, an egg white, red food coloring, vinegar, and vanilla until blended.
Make the cake
Combine wet and dry just until mixed to keep a tender crumb. Pour into a 9×13 pan and bake at 350 F for 20–22 minutes, or until a tester comes out clean.
Crumble and bind
Cool the baked slab fully to avoid softening the binder. Crumble the cooled cake finely into a bowl.
Beat in softened cream cheese and powdered sugar until the mixture forms a pliable dough that holds together without cracking.
Chill time and shaping
- Portion with a cookie scoop and roll between palms to make even balls.
- Place on a parchment-lined tray and refrigerate at least 4 hours; longer chill improves dipping.
- Start melting coating during the final minutes of chilling so the chocolate shell sets fast without warming centers.
| Step | Key temp/time | Tip |
|---|---|---|
| Mix batter | 2 bowls, 10 minutes | Combine gently to avoid overmixing |
| Bake | 350 F, 20–22 minutes | Cool fully before crumbling |
| Chill centers | 4+ hours | Firm centers dip cleaner |
Quick Box Mix Route: Velvet Cake Mix and Store-Bought Frosting
A boxed approach shortens prep and keeps results consistent for large batches and last-minute events.
Preheat the oven to 350 F and line a 9×13 pan with parchment paper along the bottom and long sides.
Whisk a 15.25 oz velvet cake mix with eggs, oil, and water per the box instructions. Bake 20–25 minutes and test with a toothpick; a few moist crumbs are ideal.
Trim crusts if you like, then crumble the baked cake into a large bowl. Start stirring in 1/4 cup cream cheese frosting.
- Add up to 1/2 cup only until the mixture compresses into a ball without sticking.
- For less greasy results, reduce or omit extra oil called for by some mixes.
- Chill the mix 30–60 minutes before scooping so the balls hold shape.
“Using a boxed mix gets dependable crumbs that bind well with a small amount of frosting.”
Portion uniformly, roll, and chill briefly again before inserting sticks and finishing your cake pops. This route saves time and still yields bakery-style treats.
Coating Like a Pro: White Chocolate, Almond Bark, and Dipping Tips
A smooth shell starts with proper melting and a quick, confident dip. Use gentle heat and steady motion to get a glossy finish without thick, lumpy coatings.
Melting methods and timing
Microwave: chop almond bark into 1-inch pieces and heat at medium power in 30-second bursts, stirring between, until smooth. Microwaving is fast and reliable for almond bark.
Double boiler: use this for delicate chocolate to avoid seizing and to achieve thinner flow. Thin with a touch of coconut oil if chips thicken.
Compare coatings
| Coating | Behavior | Best use |
|---|---|---|
| Almond bark | Forgiving, resists seizing | Beginners, quick batches |
| White chocolate wafers | Glossy, thin shell | Polished finish, fine drizzle |
| Chocolate chips | May thicken | Thin with oil, use double boiler |
Dipping, drainage, and finish
Dip sticks after anchoring tips in melted coating. Tap gently and rotate to remove excess. Set on a parchment-lined baking sheet or in a stand to set.
Drizzle reheated coating for lines, then add sprinkles within 30–60 seconds so they stick. Keep centers cool but not frozen to prevent cracks.
Shaping, Sticks, and Styling Ideas for Celebrations
Simple shaping tricks turn a bowl of mix into party-ready bites in minutes. These methods help you get clean edges, steady sticks, and a polished display.
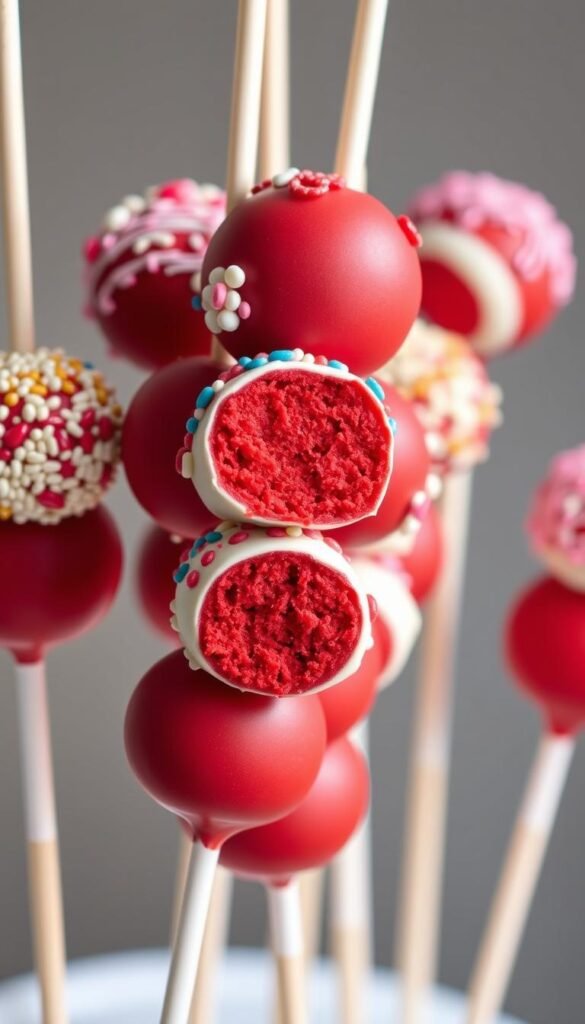
Forming hearts, rounds, and truffle-style pieces
For defined hearts, press the mixture into silicone molds in thin layers and compact firmly. This gives crisp edges and consistent weight for each piece.
Classic rounds work best with a small cookie scoop. Roll between slightly cool palms to smooth each ball into neat, even balls.
Offer some truffles without sticks to vary texture and presentation on a dessert table.
Stick technique and chill timing
- Anchor sticks: dip each stick in melted chocolate and insert about 1/4 inch for a solid bond.
- Chill only 5–10 minutes after inserting sticks so the bond sets without over-cooling the centers.
- Align sizes so they stand evenly in a stand and coat at the same rate for uniform results.
“Dip the stick first — it’s the small step that prevents wobbles and cracks.”
Style tip: finish with thin chocolate drizzles and minimal accents to match your celebration theme for a refined look.
Variations, Decorations, and Serving Suggestions
Small changes—like colored shells or a marshmallow-cream filling—turn simple bites into showstoppers.
Create festive boxes by dyeing half the batch green and leaving the other half classic. Arrange them in mini gift sets so colors contrast and get noticed at first glance.
Decoration tips and topping timing
Elevate finishes with fine crushed crumbs, sprinkles, or edible glitter. Apply toppings 30–60 seconds after dipping while the shell is tacky so they stick cleanly.
Use white chocolate or colored candy melts to match holidays, weddings, or school colors. Two-tone drizzles and speckles add depth and a premium look.
Flavor twists and serving ideas
Swap canned frosting for a blend of softened butter, cream cheese, and marshmallow creme to reduce sweetness and add chew. This combo keeps centers smooth for shaping.
- Offer seasonal boxes with half classic and half green-dyed truffles for festive contrast.
- Present on tiered stands or in lined mini boxes to prevent smudging.
- Create tasting flights by pairing with coffee, hot cocoa, or dessert wines at events.
“Small decoration changes make themed treats simple to produce and easy to gift.”
Make-Ahead, Storage, and Troubleshooting
A little planning goes a long way—finish dipping a day ahead to avoid last-minute rushes and keep finishes glossy. Plan backward so you have time to set, box, and transport treats calmly.

Store cooled treats in an airtight container in the fridge. For small batches, make up to 3 days ahead; box-mix batches can store up to 5 days. Layer with parchment or wax paper between tiers to protect decoration.
Allow dipped items 5–10 minutes to set on a stand or on a lined baking sheet before boxing. Avoid freezing-cold centers when dipping; brief chilling prevents cracking without causing breaks.
Quick fixes and tips
- If coating thickens, reheat chocolate in short bursts and stir until pourable.
- Trim crusts or crumble hot cake for finer crumbs and smoother texture.
- Keep frosting minimal—too much makes mixtures greasy and causes sliding off sticks.
- Strengthen sticks by dipping tips in coating, then let set a few minutes before inserting fully.
Follow these instructions and you’ll save time, protect finishes with paper or parchment, and store confidently until serving.
Conclusion
From small batches to large trays, this approach delivers consistent, crowd-pleasing results.
This recipe covers both authentic from-scratch and speedy mix routes so you can pick time or technique. Both methods yield rich red velvet cake centers bound with cream cheese and finished in glossy white chocolate or almond bark.
Key goals: a cohesive center with just enough frosting, a crisp shell, and steady sticks. Pro tips: dip the stick first, chill briefly, and keep coating warm but not hot for smooth coverage.
Plan chilling and packing time. Store in airtight containers with separators for up to 3–5 days and transport without smudges. Once you master the rhythm, these treats become a fast, repeatable favorite for any celebration.
