Plan a Strawberry Shortcake Birthday Party: Step-by-Step Guide
Surprising fact: using a complete printable kit can shave up to 10 hours off planning time for a themed celebration.
This Website contains affiliate links. That means I may earn a small commission if you purchase through my links, at no extra cost to you.
Start with a clear plan: pick a cohesive theme, map a realistic prep timeline for the week before the event, and set a budget that fits your family. A robust printable package from Dimple Prints anchors invitations, banners, labels, and signs so everything looks professional without design work.
Focus on age-appropriate choices to engage a range of ages. Keep activities and portions simple for preschoolers and add a few games for early elementary kids. Promise a Berry good time on your invites to set a playful tone that draws friends in.
Quick wins matter: pre-print labels, stage decor the day before, and assemble favors via an assembly line. If weather permits, host outdoors to create a charming kids’ table and a relaxed place for snacks and cake.
Key Takeaways
- Use a cohesive printable kit to save design time and stay consistent.
- Build a week-long timeline to avoid last-minute stress.
- Choose activities and portions that match the guests’ ages.
- Pre-print labels and prep favors to maximize time with friends.
- Consider an outdoor place for added charm and easy cleanup.
Set the Scene: Theme, Invitations, and Budget-Friendly Prep
Pick colors and key pieces first — then build invitations, outfits, and signs around them. Use a palette of pink, red, and fresh green to make every corner feel intentional. Add a Dimple Prints kit to keep fonts and labels unified across stations.
Pick a “berry” sweet palette
Berry-forward hues connect the entrance sign to the dessert table. Spray dollar store frames red, add paper tops to leftover lollipops to look like little fruit, and tie in banners from your printable kit.
Invitations and outfits
Write playful invites with clear times and activity notes for all ages. For attire, pair a handmade dress with green-and-white ruffle pants from Momi Boutique for a strawberry shortcake-inspired look that photographs well.
Weekend prep and money-saving moves
Map a simple weekend plan: Friday print-and-cut; Saturday spray and assemble; Sunday set place settings. Pack labeled bags for helpers so setup is quick and calm.
| Task | When (week) | Cost-saver |
|---|---|---|
| Print invitations & labels | Friday | Use Dimple Prints templates |
| Spray frames & assemble signs | Saturday | Dollar store frames + spray paint |
| Set tables & pack extras | Sunday AM | Pre-bag utensils & stickers |
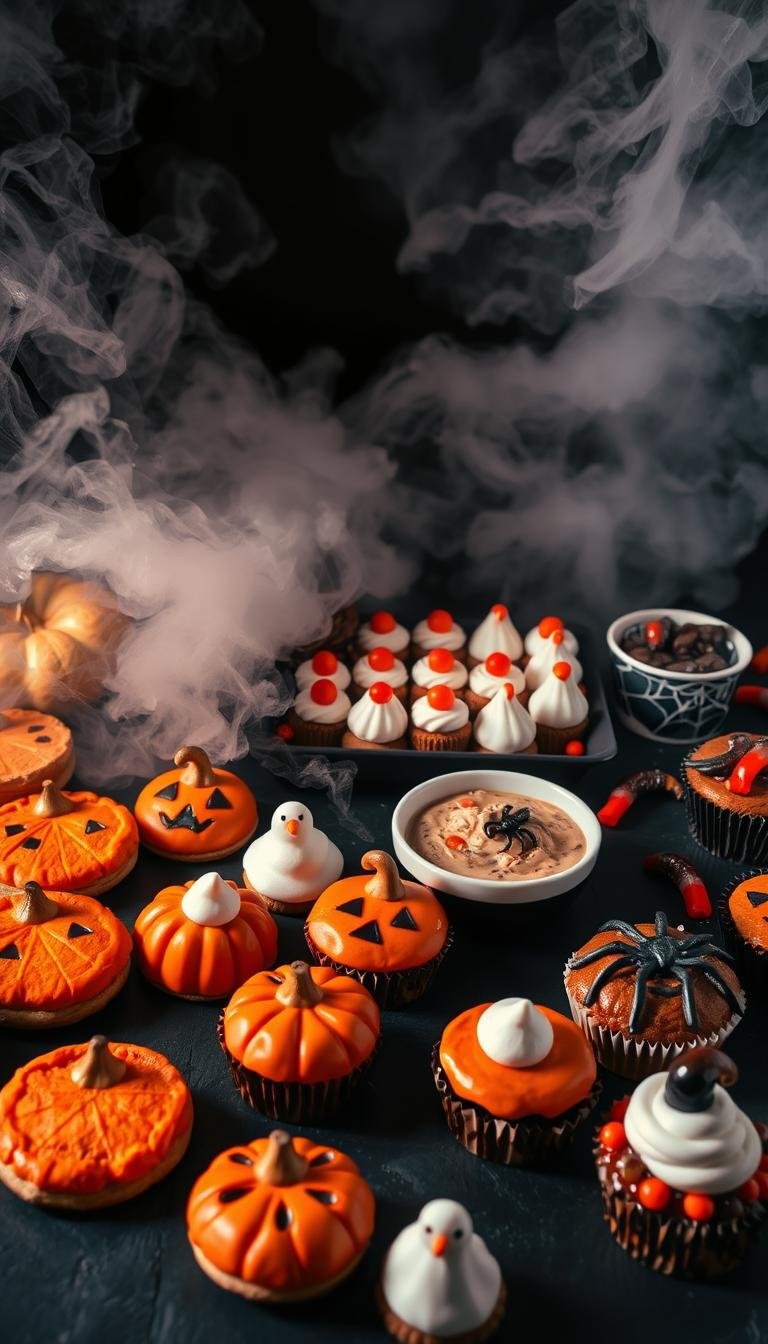
Strawberry Shortcake Birthday Party Decor and Menu Ideas
Anchor the dessert table with a focal piece, then layer smaller touches for charm. Start with clusters of pink and red tissue pom poms overhead to add volume. Mix sizes to frame the sweets table and kids’ place settings.

Decorations: pom poms, framed signs, and “berry” cute centerpieces
Spray-paint inexpensive frames red and insert printable menus and welcome signs for a polished feel. Tin buckets make low-cost centerpieces; fill them with candy and oversized lollipops dressed as little fruits using paper leaves.
“Small details like matching ribbons and printable labels make homemade décor look store-bought.”
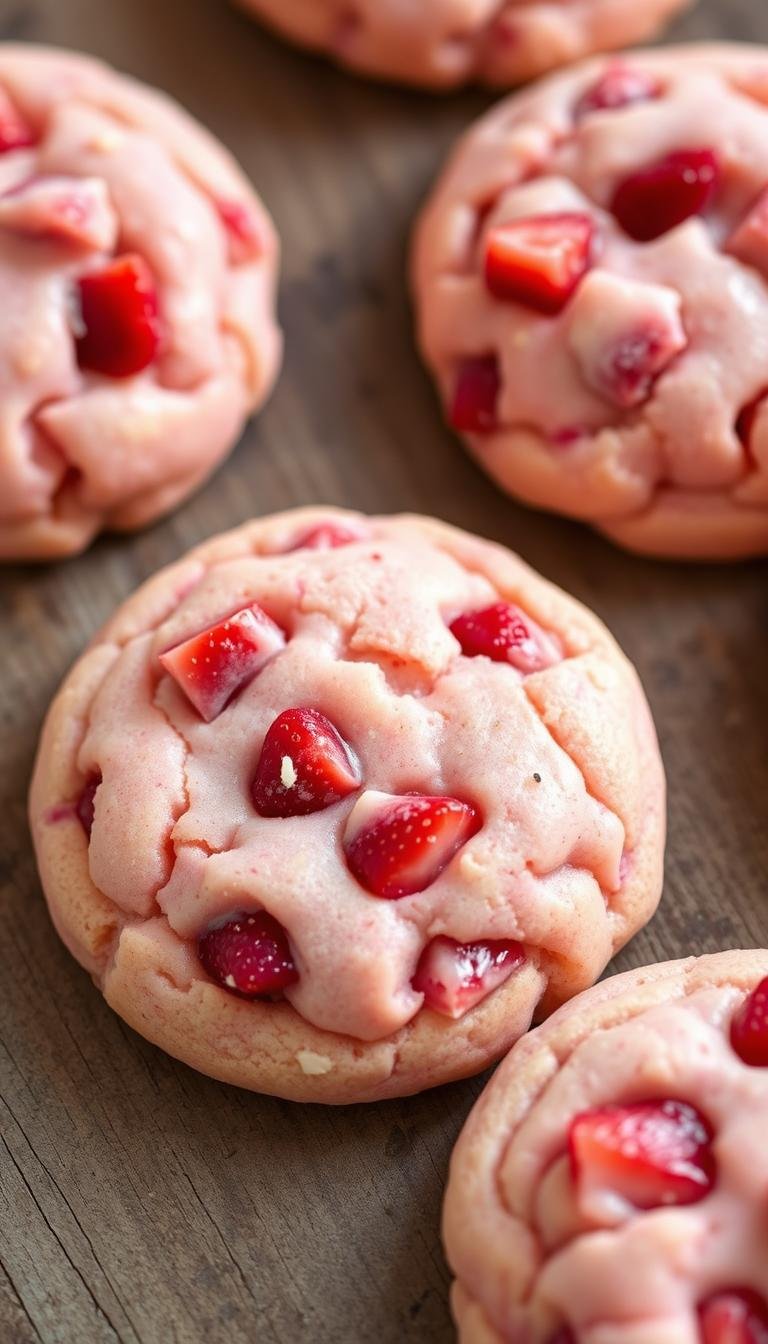
Menu made simple: PB&J, strawberry parfaits, cookies, and strawberry lemonade
Keep food kid-friendly and easy to serve. Offer PB&J triangles, creamy parfaits layered with fresh berries, and soft cookies labeled with printable cards.
Set out chilled lemonade in bottles or a dispenser and pre-stage cups, napkins, and straws so lines move quickly during the week of the event.
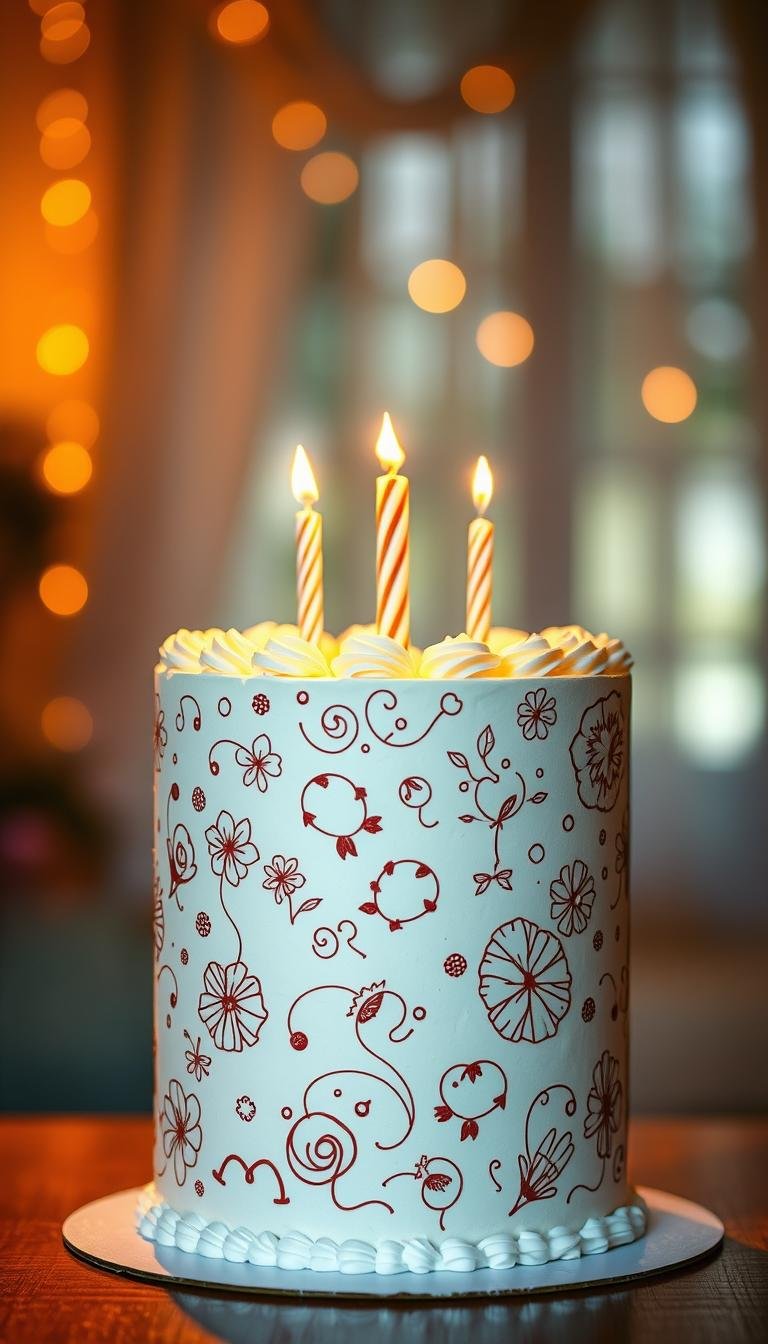
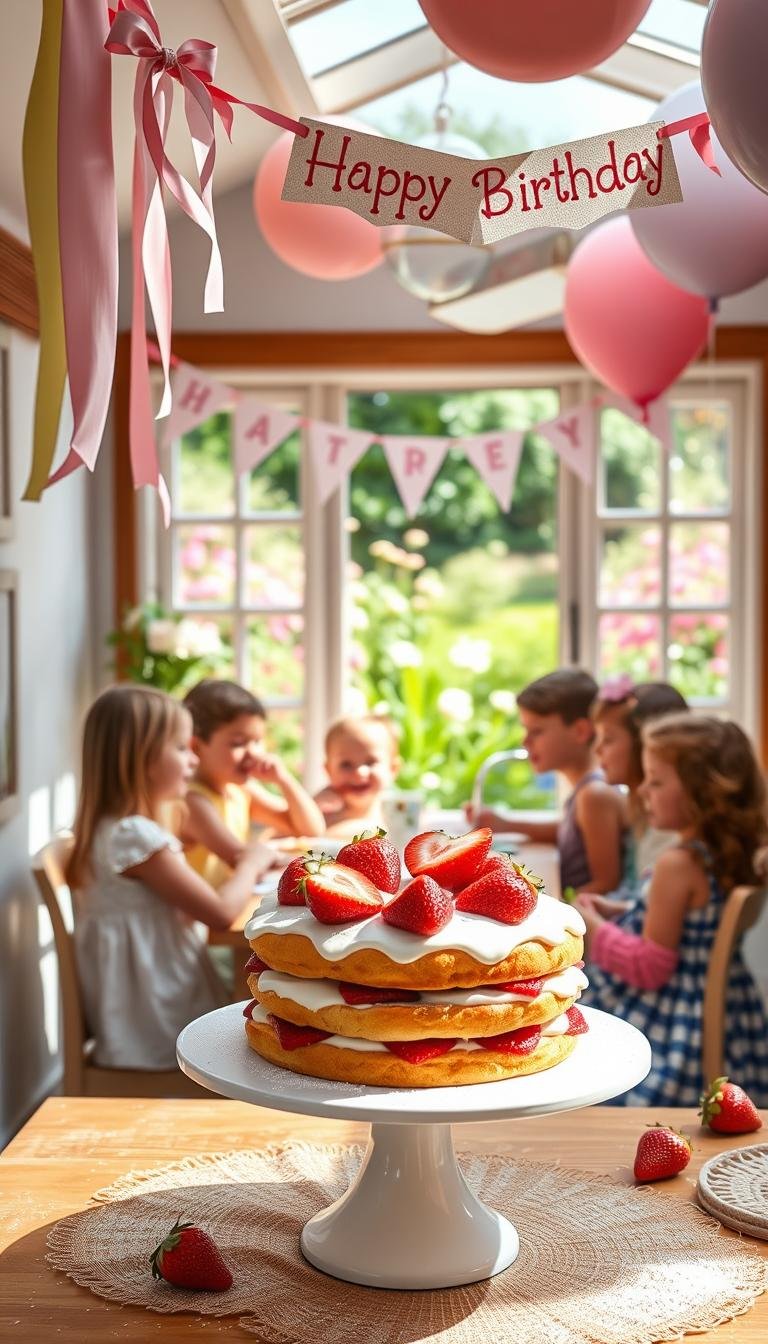
Statement sweets: fondant-topped cupcakes and classic cake with berries
Showcase fondant-topped cupcakes with small blossoms or leaves and balance them with a classic cake crowned in fresh berries for a photo-worthy focal point. Use matching banners and food labels for a cohesive look.
- Create overhead color with clusters of pom poms.
- Polish signs using red-spray frames and printable inserts.
- Assemble candy-filled tin buckets and dress lollipops with paper leaves.
- Label foods like cookies and parfaits for easy self-serve.
| Element | When (week) | Cost tip |
|---|---|---|
| Decor clusters & frames | Saturday | Dollar store frames + spray paint |
| Food prep & labels | Friday–Sunday | Pre-print labels and pre-bag servings |
| Final setup | Event day AM | Arrange centerpieces & chill drinks |
Activities, Favors, and a Stress-Free Party Timeline
Build a smooth schedule that balances hands-on stations and free play so every child stays engaged. Split the group into two rotating teams to avoid crowding and keep the energy up.

Hands-on jam making with aprons
Set a freezer jam station with pre-washed berries, measured sugar, mashers, funnels, and labeled jars. Let one group mash and fill while the other decorates.
Provide embroidered aprons with each child’s name to reduce mess and make cleanup simple. The apron doubles as a take-home keepsake.
Active fun: beanbag toss using fabric bags
Sew strawberry-shaped beanbags from dress fabric scraps and mark throwing lines by ages so success feels fair. Rotate groups every 15–20 minutes so every kid gets a turn to play and win small prizes.
Take-home goodies and quick decorating
Personalize $1 buckets with vinyl names cut on a Cricut. Let children decorate with a curated mix of stickers and then fill their buckets with jars of jam and small candy treats.
Assemble favors ahead in the week so handoff at pickup is fast. Include the embroidered apron, the bucket, a jar, and a paper strawberry filled with candy.
- Structure rotations: jam station ↔ decorating/game station.
- Jam setup: pre-measured sugar, mashers, funnels, and labeled jars for young ages.
- Movement: beanbag toss with age lines to balance challenge and confidence.
- Decorating table: vinyl-name buckets, stickers, and quick adhesives.
- Timeline: 10 min arrivals, 15–20 min rotations, 20 min snacks, plus buffer time.
| When (day) | Activity | Duration |
|---|---|---|
| Event day AM | Set stations & jam supplies | 30 min |
| Event start | Arrivals & intro | 10 min |
| Mid-event | Rotations (jam / games / decorating) | 15–20 min each |
| End | Snacks, free play, handoff | 20–30 min |
“Clear rotations and pre-packed favors make the day feel calm and keep the fun high.”
Conclusion
Close out your plan by double-checking essentials: printables from Dimple Prints ready, outfits set (Momi Boutique ruffle pants), pom poms and red frames prepped, and the menu finalized with PB&J, parfaits, cookies, lemonade, cupcakes, and a simple cake.
Confirm activity kits (freezer jam supplies, beanbag toss) and label personalized buckets with a Cricut. Pack a small bin with signage, serving tools, extra bags, and cleaning wipes to simplify teardown.
Keep an eye on ages and energy so each kid feels included; adjust rotation times during the day and build in buffers across the weekend timeline. Save reusable pieces and note what worked best in a short discussion with helpers for next year.
Encourage dessert-time photos to capture jam jars and custom bags, then celebrate the team effort that turned a busy week into a sweet, memorable birthday party.