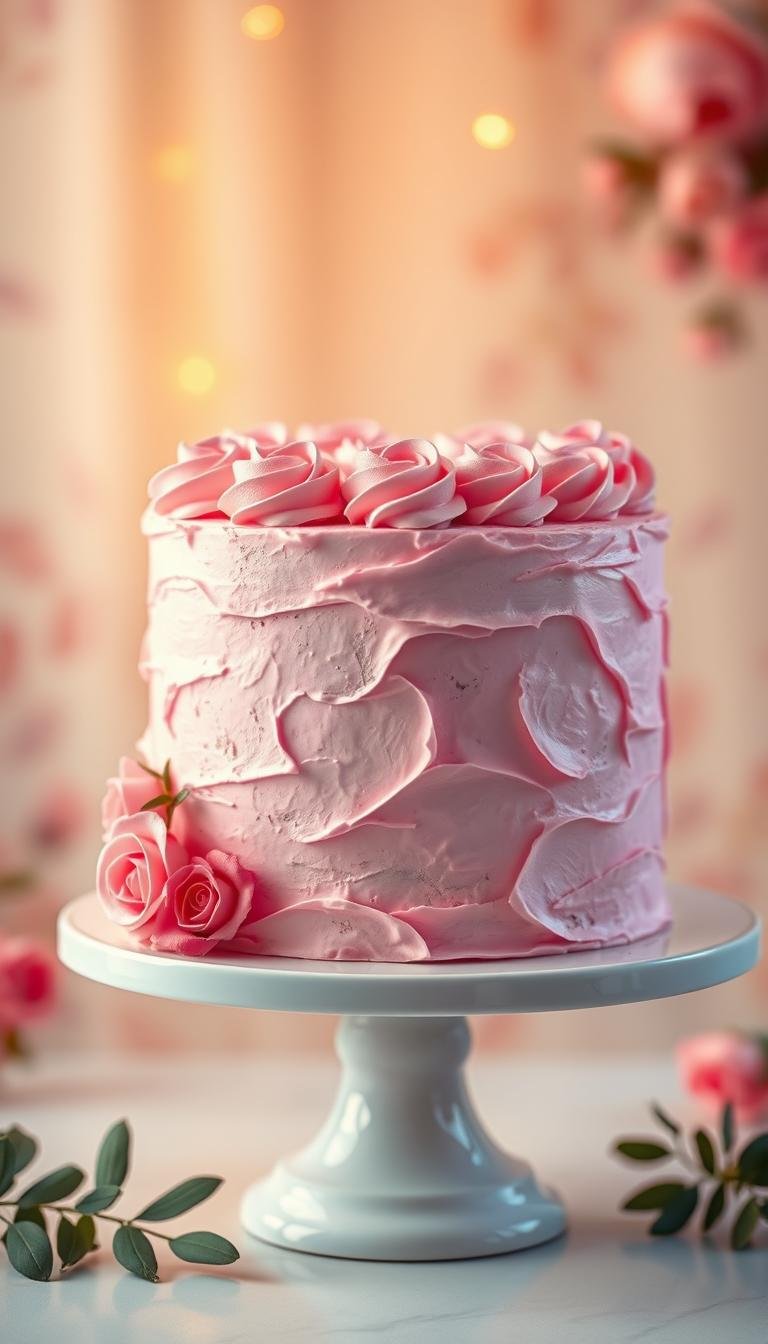
Pink Birthday Cake Recipe: A Future Celebration Treat
Surprising fact: more than 40% of home bakers try layered desserts for special events, but most say texture and sweetness are the hardest parts to balance.
This Website contains affiliate links. That means I may earn a small commission if you purchase through my links, at no extra cost to you.
This recipe presents a future-ready, showstopping pink birthday cake that balances a moist crumb with a smooth, not-too-sweet cream finish.
You can bake graduated layers in gentle hues for a rainbow-inspired look, or save time by tinting the frosting and slicing one thicker layer horizontally.
Two buttercream paths are covered: a lighter cream cheese buttercream for less sweetness, and a classic American buttercream for firmer piping. Expect step-by-step guidance on greasing an 8 in/20 cm pan, preheating to 350°F/175°C, dividing batter into thirds, and baking about 15 minutes per thin layer.
Pro tips include cooling layers upside down for flat tops, using cake strips for even rise, crumb coating and chilling 30–60 minutes, and simple decorating tricks to get sharp edges with minimal fuss.
Key Takeaways
- Choose graduated layers or tint the frosting for a faster finish.
- Light cream cheese buttercream tames sweetness; American buttercream holds shape.
- Cool layers upside down and use cake strips for flat, moist layers.
- Crumb coat, chill 30–60 minutes, then apply the final coat for clean sides.
- Make the base or full cake a day ahead; leftover slices freeze well.
Why this pink birthday cake is perfect for future celebrations
When you split tasks across days, this pink birthday cake turns complex baking into a simple, calm process. Bake the layers a day before and finish frosting on event day to save valuable time and keep flavors fresh.
The moist base uses Greek yogurt, whole milk, or sour cream to create a tender crumb and a light fluffy texture that holds up between multiple layers. Coloring the cream instead of the batter shortens active prep.
Follow clear phases—mixing, baking, cooling, crumb coating, and final buttercream—to pace work your way. Use cake strips and cool layers upside down for even rise and minimal trimming.
- Less-sweet options: cream cheese or Italian meringue buttercream for balanced flavor.
- Structure: even layers and a firm outer coat make candle placement and clean slicing easy.
- Scales well: adapts to different pan sizes and party needs with simple tools and a few reliable tips.
Ingredients and tools you’ll need for light, fluffy layers and pink buttercream
Start by gathering the exact ingredients and tools so you can shop once and bake with confidence. Below are the core items and measured basics to hit consistent results in every recipe.
For the cake layers
Core ingredients: 300 g all-purpose flour, 180 g granulated sugar, 210 g butter, 3 eggs, 1 tsp baking powder, 1 tsp baking soda, and about 210 g Greek yogurt or whole milk plus ~100 ml milk. Measure by weight when possible; cups work too for convenience.
For the frosting
Choose between an American buttercream (butter + confectioners’ sugar + vanilla + a splash of cream) or a cream cheese buttercream (butter + powdered sugar + full-fat cream cheese). Use granulated sugar in the batter and powdered sugar for smooth frosting. Vanilla extract or paste adds balanced aroma.
Equipment
- 6–8 inch pans (three 6-inch at ~340°F or one 8-inch at 350°F, baked in batches)
- cake strips, reliable oven thermometer, mixing bowls, measuring cups and scales
- piping bags, star tips, offset spatula, bench scraper, and optional sprinkles or gel tint
Mixing the batter: the simple way to make soft, light, and fluffy cake
Heat the oven and ready your pans so every layer bakes consistently and with a soft crumb. Sift flour, baking powder, and baking soda into a bowl for an even rise and a light, fluffy texture.
Preheat oven, prep pans, and sift dry ingredients
Preheat oven to 340°F for 6-inch pans or 350°F for larger pans. Grease and flour pans, then sift dry ingredients together. This step removes lumps and helps the batter stay airy during baking.
Cream butter and sugar, then add eggs, vanilla, milk, and yogurt
Beat room-temperature butter and sugar until pale and airy. Add eggs one at a time with vanilla, scraping the bowl so the emulsion stays stable.
Alternate the dry mix with milk and yogurt, starting and finishing with the dry ingredients. The batter should fall from a spoon with slight resistance—this is the cue you want.
Fold, portion, and color batter for graduated layers
If you see tiny butter specks, warm the milk and yogurt slightly to help emulsify. Divide the batter into thirds for graduated layers.
Add gel food coloring a drop at a time to make pink shades from soft to saturated. Portion by weight or by cup so each pan bakes predictably; adjust minutes as needed for a single thicker bake.
- Pro tip: Keep your buttercream plan in mind—the batter texture affects how neatly layers stack and how the frosting adheres.
Baking and cooling cake layers for an even, moist crumb
Bake with intention: matching pan size and oven temperature gives the most consistent layers. For three 6-inch pans, preheat oven to about 340°F and plan for roughly 25–30 minutes. For an 8-inch gradient bake, set the oven to 350°F and watch shorter 15-minute turns.

Bake times, doneness cues, and using cake strips for flat layers
Check doneness a few minutes early. Look for a springy center, edges pulling from the pan, and a tester that shows only a bit of moist crumb.
Use cake strips to reduce doming and cut down on leveling work. Rotate pans midway if your oven browns one side faster.
Cooling upside down, leveling, and handling the second layer and beyond
Release layers, then cool upside down on a rack so steam escapes and the top flattens naturally.
Level gently with a serrated knife only when needed. Brushing off crumbs and chilling layers 30–60 minutes makes the crumb coat cleaner and simplifies stacking the next cake layer.
- Track actual heat with an oven thermometer—10–25°F variance changes minutes and texture.
- Lean slightly under rather than overbake; carryover time keeps the crumb moist.
Buttercream basics: American, cream cheese, and how to make pink
Mastering two simple frostings gives you control over sweetness and structure. Choose the style that suits your filling and the day’s temperature, then tune texture with a teaspoon of cream or a dusting of powdered sugar.
American buttercream: quick vanilla frosting that’s easy to pipe
Beat room-temperature butter until fluffy. Add sifted confectioners’ sugar, vanilla, and a splash of cream until spreadable.
This version is fast, holds shape in a piping bag, and works well when you need crisp borders or bold rosettes.
Cream cheese buttercream: lighter-tasting frosting with full-fat cream cheese
Whip butter and powdered sugar first to a light texture. Briefly fold in cold, full‑fat cream cheese to keep the frosting stable and slightly tangy.
Use this when you want less sweetness; it pairs well with fruit flavors and large slices.
Food coloring tips: gel colors, soft pink shades, and natural coloring
For a delicate, soft pink tone, add gel food coloring drop by drop. Gel gives strong color with minimal liquid so your cream stays stable.
Natural coloring can fade and may need more volume, so prefer it for the frosting rather than the batter. For two‑tone piping, fill one small bag with white and one with colored frosting, then place both inside a larger bag for blended swirls.
- Less-sweet option: consider Italian meringue buttercream for a silky, lower-sugar finish.
- Flavor balance: a dash of vanilla paste or extract rounds out the profile without masking color.
birthday cake pink assembly and decorating tips
A steady hand and the right tools turn stacked layers into a neat, modern centerpiece. Start by placing the bottom cake layer centered on a turntable. Pipe a thin dam of buttercream around the edge to hold filling and spread a level layer across the side to prevent bulges.
Stack gently: add the next cake layer, press lightly to settle, and rotate the turntable to check that each cake layer stays aligned from every side.
Stacking and filling
Use a piping bag or an offset spatula to distribute filling evenly. Keep the buttercream thin between layers so the structure stays stable and the top remains flat.
Crumb coat and chill
Apply a thin crumb coat to lock in stray crumbs, then chill 30–60 minutes. The surface firms so the second layer of buttercream goes on cleanly.
Piping bag techniques
For two-tone piping, fit one bag with white and one with soft pink, then place both inside a larger bag. Pipe alternating rings up the side and across the top, then smooth with a bench scraper for banded stripes.
Finishing touches
Add a star-tip border along the top edge for consistent shells. Press sprinkles at the base while slightly tacky so sugar sticks without sliding. Chill briefly between steps to set details.

| Step | Action | Minutes / Tip |
|---|---|---|
| 1 | Center bottom layer and pipe an edge dam | 2–3 minutes; prevents fill bulging |
| 2 | Fill and stack next layer, check level | 2–4 minutes; rotate to verify |
| 3 | Crumb coat and chill | 30–60 minutes; firms surface |
| 4 | Apply second coat, smooth sides, pipe border | 5–10 minutes; use bench scraper and star tip |
Timeline, make-ahead, and storage for a future-ready birthday
A little planning ahead saves many frantic minutes on event day. Split work into two short sessions: Day 1 for baking and cooling, Day 2 for final assembly and decor. This approach keeps texture and flavor at their best and reduces last-minute stress.
Plan ahead: day-before bake, chill, and day-of decorating
Bake layers and let them cool fully, then apply a thin crumb coat. Chill 30–60 minutes so the crumb coat firms and the final coat glides on without dragging crumbs.
For a faster route, make pink by tinting only the frosting. Bake one taller layer, chill, then slice horizontally to create stacked layers the next day. This saves oven time and simplifies assembly.
Storing leftovers and freezing slices the right way
Wrap cooled layers tightly in plastic and chill or freeze to lock in moisture. For leftovers, slice, wrap each piece in a bag, and freeze. Thaw in the refrigerator before finishing or serving to avoid condensation.
Label containers with the date and course notes. When transporting, chill the finished dessert until firm and box it snugly to prevent sliding. Thoughtful timing keeps the focus on celebrating, not fixing.
Variations, swaps, and pro tips to customize your cake
Adjusting dairy and frosting choices is an easy way to customize flavor and stability. Use small swaps to control tenderness, moisture, and finish without altering the final look.
Whole milk, yogurt, sour cream, and fat balance
Whole milk lightens batter slightly and keeps crumb tender. Whole milk yogurt adds moisture and a mild tang similar to sour cream.
Increase the fat a bit—more butter or higher-fat yogurt—for a richer crumb. Balance liquids so layers hold shape during assembly.
Color the cream, not the batter, for speed
For a faster process, tint the buttercream rather than the batter. Bake one taller layer, chill, then slice horizontally to create tiers quickly.
This way you save oven time and get consistent shades with minimal waste.
Try Italian meringue buttercream for less sweetness
If you prefer a silkier, less-sweet finish, use Italian meringue buttercream. It pipes cleanly, suits sharp edges, and stays stable in warm rooms.
- Use cake strips for flat, moist layers.
- Measure by weight as well as by cup for better consistency.
- Keep frosting at a steady spreading temperature for smooth results.
| Swap | Result | When to use |
|---|---|---|
| Whole milk → Yogurt | More moisture, slight tang | When you want tenderness and deeper flavor |
| Extra butter or high-fat yogurt | Richer, denser crumb | For generous, indulgent slices |
| Color cream vs. batter | Faster, consistent colors | When time or oven space is limited |
| Italian meringue buttercream | Silky, less sweet, stable | For elegant finishes and warmer venues |
Pro tip: For two-tone piping, fill one small bag with white and one with tinted frosting, then nest both into a larger bag. Chill briefly between steps to get clean smoothing and help decorations adhere without sliding.
Conclusion
A reliable final routine turns good layers into a professional-looking centerpiece.
Bake at 340–350°F depending on pan choice, use cake strips, and cool layers upside down for flat tops. Measure by weight or by cup, and confirm oven heat to protect texture during baking.
Choose cream cheese for a lighter tang or American buttercream for firm piping. Tint gel a soft shade to make pink buttercream in just a few minutes, then crumb coat, chill, and apply a second coat for clean sides and a sharp edge.
Two-tone piping with nested bags adds visual impact without extra tools. Finish with sprinkles or a subtle border, chill briefly to set, and wrap or freeze leftovers for later. With these steps your birthday cake or buttercream cake is ready to shine from first slice to last crumb.