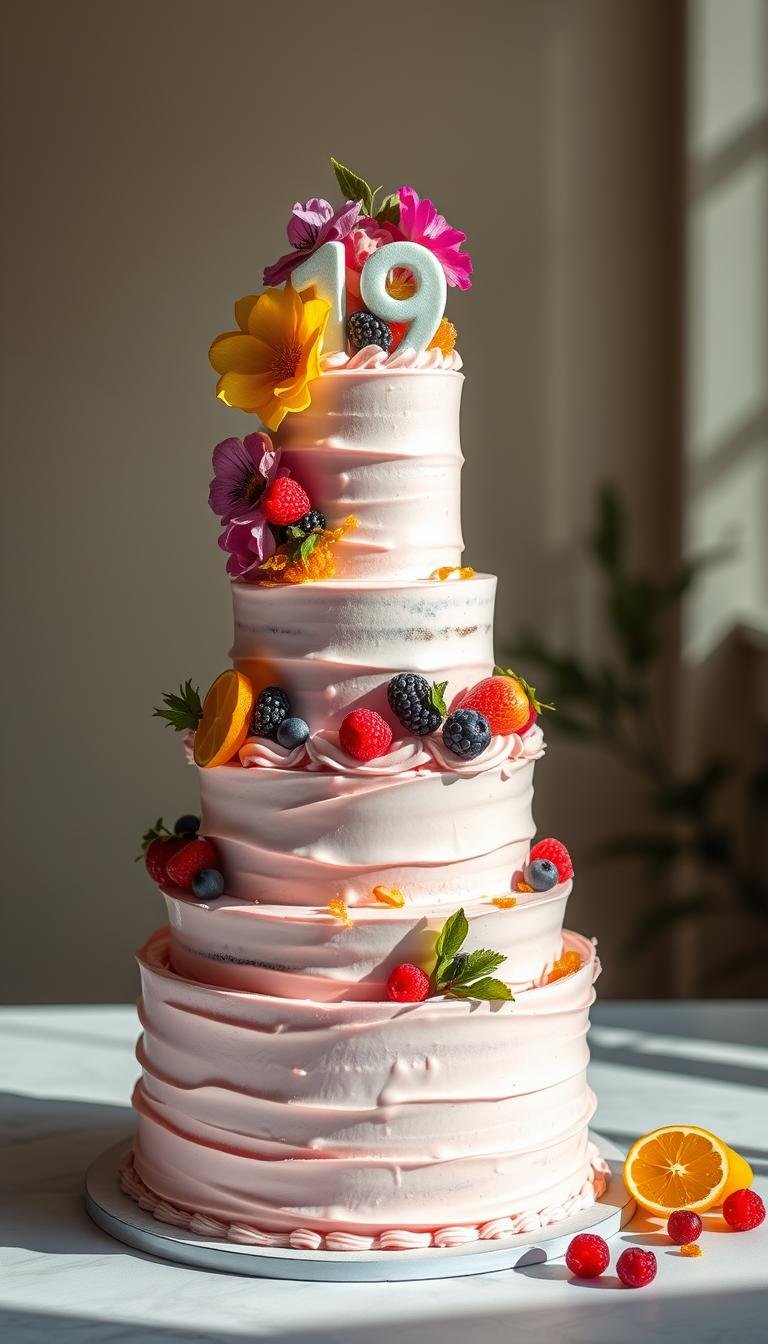
Mini Birthday Cake Recipe: Perfect for Future Parties
Surprising fact: one small-batch vanilla formula can yield three 4-inch layers or two 6-inch layers, so you can serve 2–4 people without waste.
This Website contains affiliate links. That means I may earn a small commission if you purchase through my links, at no extra cost to you.
This compact approach lets you scale for intimate gatherings while keeping results bakery-level. The batter uses a reverse-creaming style for a tender crumb and can be mixed by hand with a whisk, so no heavy equipment is required.
The guide covers the right pans, reliable timing, and cues for doneness to avoid dry results. You’ll get clear steps for portioning batter, quick cooling, and basic decorating so you can finish ahead of a small celebration.
Practical perks: options include three 4-inch layers, two 6-inch layers, or punching rounds from an 8×8 pan to make a charming stacked version. Storage and make-ahead tips help spread work over days while keeping flavor and texture intact.
Key Takeaways
- One batch yields three 4-inch or two 6-inch layers—ideal for 2–4 guests.
- Reverse-creaming produces a tender vanilla cake with a simple hand-whisk option.
- Use the right pan sizes and timing to keep layers even and moist.
- Make-ahead, freeze, and storage tips save time without losing flavor.
- Adapt into round layers or punched rounds from a square pan for different looks.
Why a mini birthday cake is perfect for future celebrations
Small-format desserts give you party-ready portions without the extra leftovers that follow large recipes. This approach keeps the treat festive while trimming waste, cost, and prep time.
Tested small-batch vanilla recipes from Sugar & Sparrow and Chelsweets yield three 4-inch layers or a compact 6-inch layer that serves about 2–8 people, depending on slice size. Sam’s buttermilk punch-out method from an 8×8 pan creates four little rounds for 2–4 guests.
Small-batch joy: less waste, more celebration
Going tiny cuts leftovers and ingredient waste. You get just enough dessert for an intimate group while keeping the classic birthday look with vanilla, sprinkles, and neat layers.
Informational overview: flavor, texture, and timing
Smaller pans bake faster and cool quicker, so you spend less time waiting and more time serving a fresh dessert. Thin layers set evenly and stay moist, producing a soft crumb and consistent slices.
- Faster bakes and shorter chill times mean you can schedule the dessert closer to the event.
- Using less batter makes it easy to make cake by hand with a whisk—less cleanup, less setup.
- Mini layer cake builds still look impressive with clean sides and tidy piping, yet use far less buttercream.
Ingredients and tools you’ll need for this mini vanilla cake
Assembling the right ingredients and basic tools upfront speeds the process and keeps results consistent. Below are measured components and the essential equipment to bake small layers without surprises.
Dry and wet ingredient essentials
Dry: flour, sugar, baking powder, and fine salt. For all-purpose flour use 125 g per cup to keep the crumb tender. Add sprinkles only if you want color inside the batter.
Wet: melted and cooled unsalted butter for flavor, a splash of neutral oil for softness, one large egg for structure, 1/2 cup milk or buttermilk for tenderness, and 1 tsp vanilla extract for aroma.
Buttercream and small add-ins
Buttercream basics: 3/4 cup unsalted butter, 3 cups powdered sugar (375 g), 2 tsp vanilla, a pinch of salt, and about 20 g cream or milk to reach pipeable texture.
Tip: Swap in cake flour or add 2 Tbsp sour cream for a softer crumb, as Sugar & Sparrow suggests.
Equipment checklist
Prepare light-colored 4-inch or 6-inch cake pans lined with parchment, an electric mixer or whisk, a sturdy bowl, a small offset spatula, and a bench scraper for clean edges.
| Item | Typical Amount | Why it matters |
|---|---|---|
| All-purpose flour | 1 cup (125 g) | Keeps crumb tender without extra structure |
| Granulated sugar | 1 cup (200 g) | Sweetness and crumb texture |
| Unsalted butter | 1/4 cup melted (plus 3/4 cup for buttercream) | Flavor and richness; control salt level |
| Buttermilk / milk | 1/2 cup | Acidity and moisture for tender layers |
| Tools | 2 pans, mixer/whisk, bowl, spatula | Even baking and tidy finishes |
How to make tender cake layers (4-inch or 6-inch pan options)
Getting even, tender layers begins with the right pan choice and a steady 350°F oven. Prep matters: line and grease light-colored aluminum pans so heat distributes evenly and edges stay light.
Prep and oven temperature for even baking
Preheat the oven to 350°F and set racks center. Use parchment rounds and a thin smear of butter to release each layer cleanly.
Light pans cut hot spots and keep browning low. Avoid opening the oven early to protect rise.
Mixing the batter: achieving a smooth, light crumb
For a tender crumb, whisk dry ingredients including baking powder and powder salt first. This evens leavening in a small batch.
Chelsweets favors reverse-creaming: whisk dry, then add melted butter, oil, egg, and dairy. Sugar & Sparrow notes a thin batter made by creaming butter and sugar, then adding egg, vanilla, sour cream, dry, and milk.
Use a bowl and whisk or a mixer on low. Scrape sides so no flour pockets remain.
Portioning and baking time for 4-inch and 6-inch pans
Divide batter by weight so each layer bakes in the same minutes. Three 4-inch layers often bake 18–22 minutes for shallow pans, or up to 32–35 minutes if taller.
A single 6-inch layer typically needs 24–28 minutes; two deeper 6-inch layers may reach 32–35 minutes. Check with a toothpick for a few moist crumbs.
“Let layers rest 10 minutes in the pan, then cool fully; a brief chill firms the crumb for neat trimming and stacking.”
| Pan | Typical bake minutes | Depth note | Tip |
|---|---|---|---|
| 4-inch (shallow) | 18–22 minutes | Quick set, thin layers | Weigh batter per pan |
| 4-inch (tall) | 32–35 minutes | Longer time for taller rise | Check center with toothpick |
| 6-inch (single) | 24–28 minutes | Mid-depth layer | Rotate if oven has hot spots |
| 6-inch (double/tall) | 32–35 minutes | Deeper, denser layers | Rest 10 minutes before unmolding |
Vanilla buttercream that’s smooth, pipeable, and not overly sweet
Well-made vanilla buttercream balances sweetness with light aeration to avoid a cloying finish. Start with room temperature unsalted butter and whip until very light; 3–5 minutes in a mixer gives a pillowy base. Adding vanilla extract and a pinch of salt before sugar helps the flavor spread evenly.
Beating to aerate
Place butter in a clean bowl and beat on medium. Stop after about five minutes per Sugar & Sparrow to reach a pale, airy texture. Add 2 tsp vanilla and 1/4 tsp salt, then incorporate 3 cups powdered sugar slowly on low to avoid grit or large pockets of air.
Adjusting consistency
Stir in about 20 g cream (add 1 tsp at a time) until the frosting spreads without tearing the layer. Chelsweets recommends these measures so piping holds its shape but still melts on the tongue.
Pro tips: Use organic powdered sugar with tapioca starch for a less chalky bite. Mix on low for a couple more minutes after all ingredients join to smooth bubbles. Keep a small offset spatula and bench scraper on hand for neat finishing.
Assembling your layer cake: from first cake layer to smooth sides
A tidy finish begins the moment you set the first cake layer on your board with a small dab of frosting. Anchor that base so the stack does not slide as you build.
Chill briefly to make trimming easier. Follow Chelsweets: pop baked layers in the freezer for about 20 minutes to firm the crumb before leveling with a serrated knife.
Chilling, leveling, and stacking
Level each cake layer so the stack stays even. Use a light, steady sawing motion and remove only what’s needed.
Place a thin, even layer of buttercream between layers. Check alignment at the sides as you add each one so the tower runs straight from bottom to top.
Crumb coat, chill time, and final coat
Apply a thin crumb coat to lock in stray crumbs. Chill for 5–20 minutes until the exterior is firm to the touch.
Finish with a final coat of buttercream and smooth the sides with a bench scraper while rotating the board. Wipe the scraper often to prevent streaks.
- If buttercream softens, chill briefly and continue smoothing once it firms.
- Pipe a simple top border for a polished look on a petite mini serving.
- Add nonpareil sprinkles after smoothing so decoration adheres cleanly.
| Step | Action | Why it helps |
|---|---|---|
| Chill layers | Freeze 20 minutes | Firms crumb for clean leveling |
| Anchor base | Dab of buttercream | Prevents sliding during stacking |
| Crumb coat | Thin layer, chill 5–20 minutes | Locks crumbs and firms sides |
| Final smoothing | Bench scraper while rotating | Creates sharp edges and even sides |
mini birthday cake pan sizes, servings, and timing
Choose the right pan size early; it shapes bake time, layer height, and servings.
Batter yield: One small batch typically fills three 4-inch pans or two 6-inch pans. Chelsweets notes this can serve about eight people when slices are modest. Sugar & Sparrow reports three 4-inch shallow layers often bake in roughly 18–22 minutes, while a single 6-inch shallow layer needs about 24–28 minutes.
Depth matters: deeper layers from the same batter may require 32–35 minutes. Sam’s buttermilk method bakes an 8×8 at 325°F for 30–35 minutes, then punches rounds for tall micro stacks that serve 2–4.
Servings and timing tips
- Yield: one batch → three 4-inch or two 6-inch layers.
- Bake minutes: 18–22 (shallow 4-inch); 24–28 (shallow 6-inch); 32–35 for taller layers.
- Servings: a petite three-tier serves ~6–8; punched rounds serve 2–4.
- Tip: weigh batter per pan and use toothpick and spring-back cues rather than only minutes.
| Pan / Method | Typical minutes | Serves |
|---|---|---|
| 4-inch shallow pans (×3) | 18–22 minutes | 6–8 |
| 6-inch single shallow | 24–28 minutes | 4–6 |
| 4-inch tall or deeper pans | 32–35 minutes | 6–8 (taller slices) |
| 8×8 punch-out rounds (3.5″) | 30–35 minutes at 325°F | 2–4 (tall micro stacks) |
Oven note: dark pans brown faster; light aluminum gives even results for layers. Adjust time if your oven runs hot and rely on doneness cues over strict minutes.

Smart substitutions and swaps for cake and buttercream
Smart ingredient swaps help you adapt a small-batch recipe without losing flavor. These options keep texture and make the baking process flexible when pantry items or diets require a change.
Cake layer swaps: flour, oil, and buttermilk alternatives
Use all-purpose flour for a dependable crumb. For a softer crumb, swap to cake flour or make DIY cake flour by replacing 2 Tbsp per cup with cornstarch and sifting well, per Sugar & Sparrow.
Any neutral oil — canola, vegetable, or sunflower — keeps layers moist without adding flavor. If you lack buttermilk, thin full-fat yogurt or sour cream with milk, or use whole milk or non-dairy milks like almond or oat.
Egg and dairy alternatives
Replace a whole egg with a flax egg (1 Tbsp ground flax + 3 Tbsp water) or a commercial replacer to maintain structure in a small batch.
Vegan butter works in both batter and frosting. If you use salted butter instead of unsalted butter, skip added salt to balance seasoning.
Buttercream flex and flavor swaps
Adjust frosting liquid with milk or cream one teaspoon at a time to reach spreadable consistency. Swap vanilla extract for vanilla bean paste when you want a stronger, fresher aroma.
- Keep sugar and leavening ratios stable—changing them can hurt rise and texture.
- For a whiter crumb, use egg whites and clear vanilla for confetti-style layers.
- Test one small layer first when trying a new substitute so the final stack meets expectations.
Gluten-free and dietary notes for a reliable mini vanilla cake
Gluten-free baking needs small but specific changes to match the texture of a wheat-based recipe. Use a cup-for-cup blend and pay attention to weight, mixing, and resting so each layer stays tender and stable.

Using a gluten-free flour blend: weights and cup-for-cup tips
Measure by weight. With many blends, one cup is about 120 g—King Arthur’s cup-for-cup is a good reference. Weighing limits variance and keeps the crumb consistent.
Over-mix and rest: two key GF techniques for tender layers
Mixing builds structure. Unlike wheat batters, whisk gluten-free batter vigorously for a couple of minutes to help rise and cohesion.
Then rest at room temperature. Let the batter sit about 30 minutes so the blend hydrates and grit fades. This brief time improves texture before baking.
“Resting gluten-free batter allows starches to absorb liquid and yields a smoother crumb.”
- Use a quality cup-for-cup gluten-free flour at ~120 g per cup.
- Whisk batter for a few minutes to encourage better rise.
- Rest the batter ~30 minutes at room temperature before baking.
- Watch oven cues rather than strict minutes; blends can change bake time.
- Choose lighter pans to avoid over-browning while the center reaches temperature.
- If the blend lacks xanthan gum, add a pinch to improve slice integrity.
- Weigh ingredients and chill layers briefly before leveling and assembly.
Decorating ideas, storage tips, and make-ahead timeline
Finish and store your small-format dessert with a few simple steps that keep flavor and texture fresh. A tidy exterior and smart timing mean less stress on the day you serve.
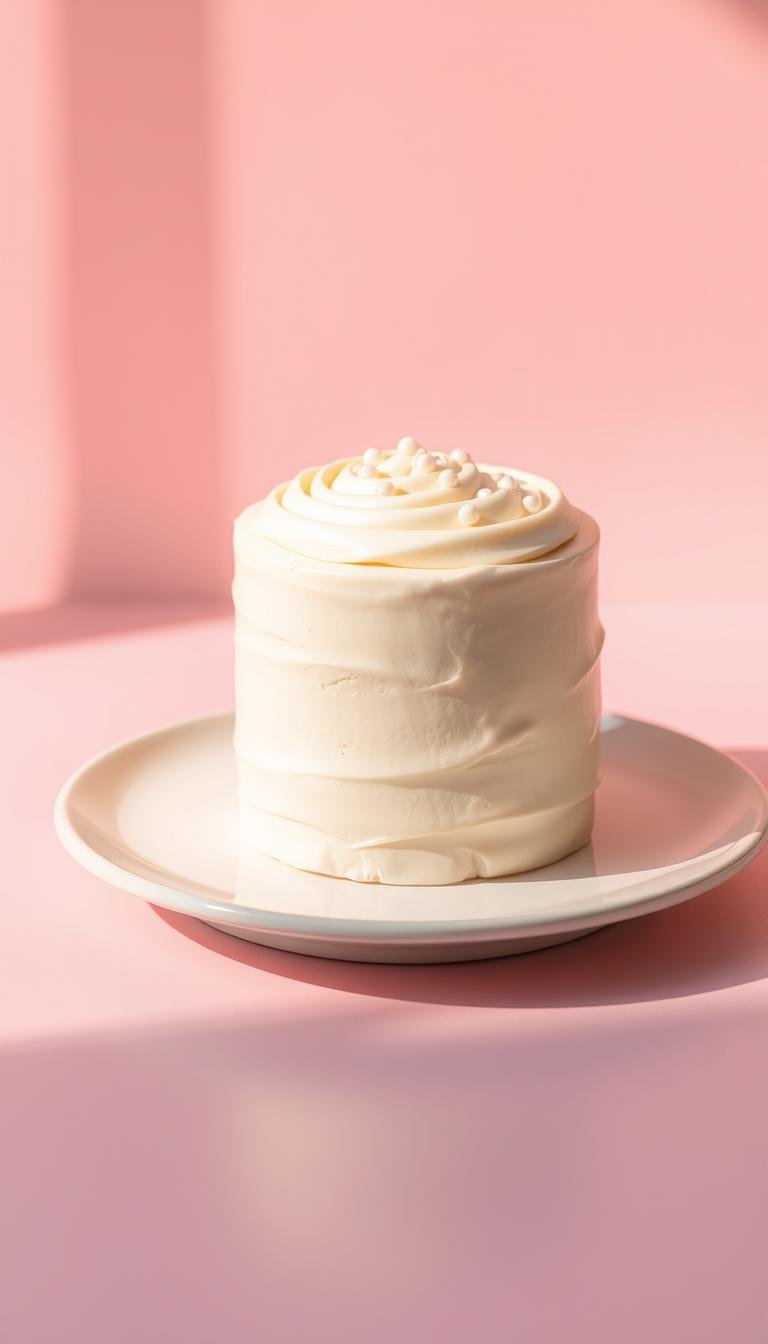
Textures, smooth sides, and quick buttercream swirls
Use a small offset spatula to create soft textures and a bench scraper for smooth sides. Pipe short swirls on top and add light sprinkles for a clean, festive look.
Make-ahead plan
Wrap unfrosted layers tightly and freeze up to 3 months. Thaw in the fridge, then bring to room temperature for a short time before trimming and stacking.
Storage and leftovers
Store buttercream in an airtight container in the fridge up to two weeks; rewhip at room temperature with a splash of cream before using. Frosting also freezes well up to 3 months in an airtight container.
- Frosted desserts last about one week in the fridge or one month in the freezer when protected by their buttercream shell.
- Cover cut surfaces with extra frosting to lock in moisture.
- Keep chill steps to a few minutes to set crumb coats and speed decorating.
“Freeze layers well wrapped for long-term convenience; thaw until pliable for cleaner trimming.”
Conclusion
A clear plan for ingredients, timing, and simple technique makes small-format baking reliable and stress-free. Follow weight-based portions, keep eggs and milk at room temperature, and use a light-colored pan so layers bake evenly in the oven.
This vanilla cake recipe adapts well: choose three 4-inch rounds, two 6-inch layers, or punch rounds from an 8×8. Level the first cake layer, apply a thin crumb coat, and chill between coats for tidy sides.
Make the vanilla buttercream to your taste, adjust cream by teaspoons, and store extra frosting in an airtight container. Freeze wrapped layers for quick assembly later and rely on tested minutes and toothpick cues for doneness.
With basic tools—a bowl, whisk or mixer, offset spatula, and bench scraper—you can make a polished, moist mini vanilla cake that serves a small group without waste.