How to Make Spooky Halloween Cupcakes Guide
Surprising fact: more than 40% of home bakers say a simple pipe and a bright gel color turn plain cake into a party hit.
This Website contains affiliate links. That means I may earn a small commission if you purchase through my links, at no extra cost to you.
Set the stage by choosing a base you love and planning frosting and decorating steps so you finish on time without smudges. Use a sturdy vanilla buttercream for sharp lines and lasting dimension. Americolor gels like Orange and Super Black give vivid hues that deepen as the frosting rests.
Prep tools—a mixer, bowl, piping bag, couplers, and Wilton tips #21, #125, and #4—so swapping tips is quick. Start decorating only when the cakes are completely cooled; tiny beginners’ tips like a toothpick test and feeling the center help you know when to pipe.
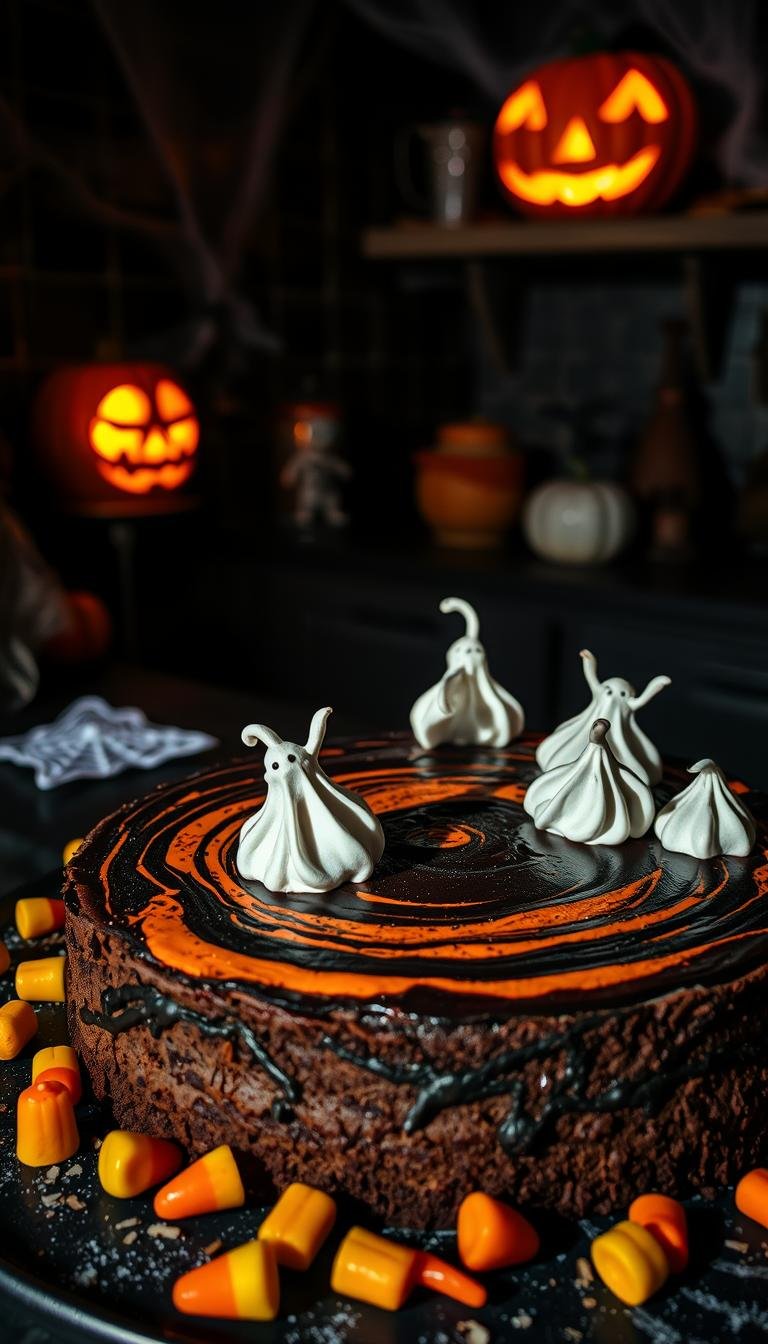
Simple decorations make big impact: pipe spider webs in black or white, use mini Oreo halves for spider bodies, or drizzle a thin red icing for a “bloody” effect on red velvet. Keep finished treats uncovered for a few hours, refrigerate leftovers up to five days, and transport in a cupcake carrier.
Key Takeaways
- Choose sturdy vanilla buttercream for clean piping and strong flavor.
- Use Americolor gels and expect colors to deepen over time.
- Couplers and three common tips speed up design swaps.
- Decorate only when cupcakes are fully cooled to avoid slumps.
- Simple candies and mini Oreos create striking decorations quickly.
- Store frosted treats at room briefly; chill leftovers and transport safely.
Why These Spooky Cupcakes Belong at Your Halloween Party
High-impact designs set the mood fast. With a few Wilton tips and steady vanilla buttercream you can pipe monsters, pumpkins, and webs that look pro with little practice.
Mix flavors freely: pair chocolate, vanilla, or red-tinged bases while keeping the same frosting for a cohesive display. The result is vibrant on the plate and balanced in flavor.
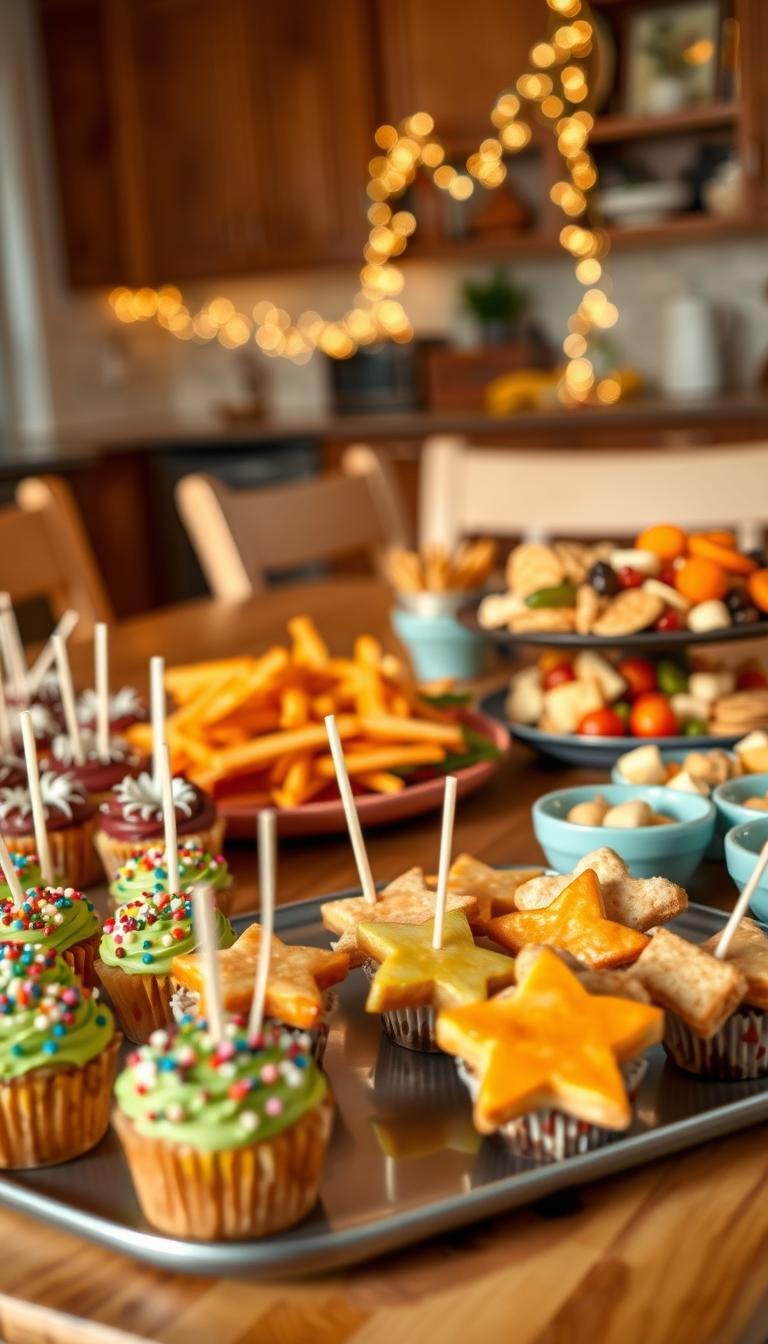
Simple decorations—mini Oreos, candy eyeballs, and sprinkles—turn each cupcake into a conversation piece. Spider designs use mini Oreos and tiny eyes for instant effect.
Party-day tip: decorate the morning of your event so details set but stay glossy for transport. Readers say the instructions are easy to follow and repeatable year after year.
| Design | Tools | Active time |
|---|---|---|
| Monsters | Open star tip, candy eyes | 5–7 min per dozen |
| Jack-o’-lanterns | Petal and small round tips | 6–8 min per dozen |
| Webs & spiders | Round tip, mini Oreos | 8–10 min per dozen |
Ingredients and Tools You’ll Need for Cupcake Success
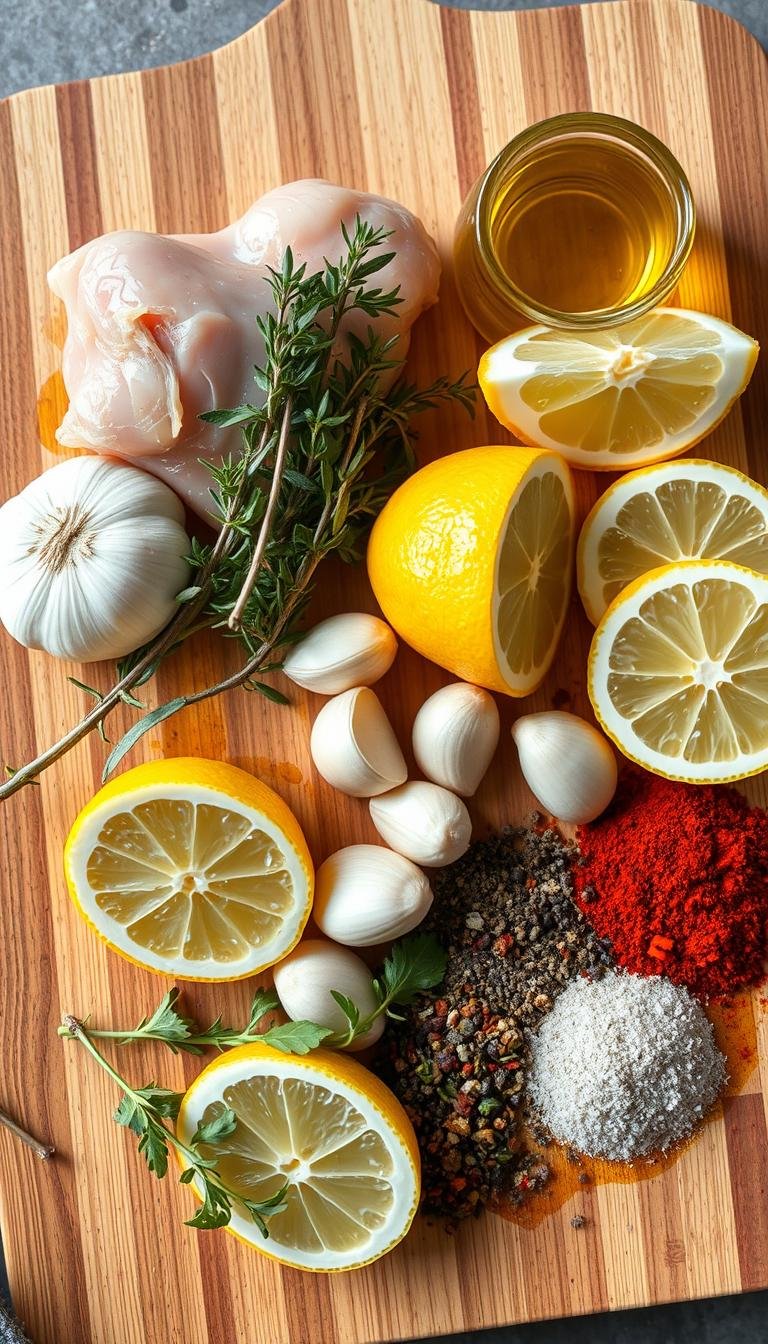
Start by organizing the ingredients and gear so every step flows without last‑minute runs to the store.
Core ingredients: stock butter, sugar, eggs, milk, vanilla, cocoa, salt, and flour. Measure flour with dry measuring cups and liquids with a cup marked in ounces or milliliters to keep batter consistent.
Frosting essentials
For sturdy piping, use butter and confectioners’ sugar with heavy cream and vanilla for buttercream.
For tang, swap in cream cheese and icing sugar. If powdered sugar is lumpy, sift 1–2 times for a silky finish.
Tools and piping gear
Use a mixer to cream fat and sugar, then scrape the bowl to avoid dense spots. Keep dairy at room temperature to prevent grainy frosting.
- Piping kit: a piping bag with couplers and tips #21, #125, and #4 speeds design swaps.
- Have extras like candy eyes and mini Oreos on hand to finish fast.
“Keep colours concentrated: gel food colors like Americolor give vivid results without thinning your frosting.”
| Item | Purpose | Tip |
|---|---|---|
| mixer | Blend batter and frosting | Smooth at medium speed; scrape the bowl |
| bowl | Mix dry and wet components | Use separate bowls for colors |
| piping bag & coupler | Decorating and quick tip swaps | Test pressure on a spare cup before piping |
Choose Your Base: Chocolate, Vanilla, or Red Velvet Cupcakes
Start by deciding whether you want deep chocolate, bright vanilla, or the silky tang of red velvet as your cake foundation.
Chocolate gives bold contrast to bright frosting. Balance cocoa, sugar, and fat so the crumb stays moist and holds up under heavy decorating.
Vanilla offers a clean flavor that lets tinted buttercream and fine details shine. It’s ideal when you want colors to pop.
Red velvet tips and baking basics
Red velvet uses less cocoa than a typical chocolate cake and relies on sour cream for that classic velvet texture and subtle tang.
- Preheat oven to 350°F and bake about 20–25 minutes.
- Check doneness with a toothpick — it should come out clean from the center.
- Fill each liner about three-quarters full for a nice dome.
- Bring dairy and eggs to room temperature before mixing to improve texture.
- Mix dry and wet ingredients in a bowl just until combined to avoid toughness.
- Lightly spray liners to reduce sticking for cocoa-rich batters and red velvet cupcakes.
Cool completely on a rack before frosting so the buttercream or cream cheese finish won’t melt as you decorate.
Frosting That Holds Shape: Buttercream vs. Cream Cheese Frosting
A stable frosting base makes intricate piping and clean details possible even for beginners.
Vanilla buttercream is sturdy, pipe-able, and tint-able. It holds crisp lines for webs, pumpkin ridges, and other defined shapes. Use a mixer to whip butter and add confectioners’ sugar slowly for control.
Cream cheese frosting offers a tangy finish that flatters red velvet. Its softer structure blurs edges, so avoid a star tip when you need sharp ridges. Swiss meringue is an option if you want less sweetness with a softer edge tradeoff.

- Keep dairy at room temperature so fats emulsify and texture stays smooth.
- To thicken, add extra confectioners’ sugar in small increments; to thin, add cream by teaspoon.
- Stir by hand to remove air bubbles for a glossy finish before piping from a small bag with a coupler.
- Keep a recipe card with your preferred ratios and notes on cups of sugar or cream used.
| Frosting | Best for | Texture notes |
|---|---|---|
| Vanilla buttercream | Detailed piping, colored designs | Sturdy, tint-able, holds shape |
| Cream cheese frosting | Red velvet and tangy pairings | Softer, avoid star tip for sharp lines |
| Swiss meringue | Less-sweet finish | Smoother flavor, softer edges |
Color Like a Pro: Gel Food Coloring, Shades, and Finish
Use gel food coloring to preserve structure while achieving deep, even hues. Gel pigments like Americolor Orange, Leaf Green, Super Black, Fuchsia, and Violet give bright results without thinning your icing or frosting.
Gel vs. liquid: gels are concentrated, so your icing stays stiff and your details hold. Avoid liquid dyes that can make frosting soft and hard to pipe.
Plan ahead: black and red darken over time. Mix slightly lighter in the bowl and let the color develop before adding more.
“A micro-dot of black on a toothpick mutes neon tones without overworking the batch.”
- Use the tip of a toothpick for tiny black additions and then mix well.
- Split frosting into small bowls to keep shades clean and prevent muddying.
- For vanilla buttercream, gels distribute evenly; add cream sparingly since it can soften color.
- If working on a chocolate base, boost saturation a touch for contrast.
- Work at room temperature and label each bag so piping goes faster and truer to shade.
Decorating Tutorials: Monsters, Jack-o’-Lanterns, and Spiders
A few focused techniques let even beginners create bold monster, pumpkin, and spider designs. Work one style at a time and keep cooled cakes on a rack so buttercream holds shape.
Purple monsters
Fit a piping bag with Wilton #21. Use an open star motion to pipe small stars across the top.
Press small candy eyeballs into several stars and sprinkle for texture. Short bursts make the surface look full without extra sugar.
Green monsters
Again use #21. Pipe a spiral from the sides into the center and leave a space for one large candy eye.
To mute Leaf Green, add a micro-dot of black gel in a bowl, mix, then fill your bag. A grass tip like Wilton 233 makes fun fur in quick, short taps.
Jack-o’-lanterns & spiders
For pumpkins, use #125 for vertical ridges, switch to #21 for the stem, and a #4 with black icing for faces.
For spiders, spread white buttercream, pipe three crossing web lines with #4, join arcs, set half a mini Oreo for the body, add tiny eyes, then pipe eight legs.
“Keep pressure steady and wipe the tip between colors to keep lines crisp.”
Bloody Red Velvet Cupcakes with Cream Cheese Frosting
Give red velvet a dramatic finish by pairing tangy cream cheese with a glossy crimson drizzle. These red velvet cupcakes balance soft texture and eye-catching color in a few clear steps.
Make the frosting and red icing
Beat cream cheese and butter until smooth. Add vanilla, a pinch of salt, then sift in icing sugar to make the cream cheese frosting.
For the “blood” icing, whisk icing sugar with milk in a bowl until thin. Add red food color by the teaspoon until you get a deep crimson that drips slowly.
Assemble and decorate
Bake red velvet at 350°F for about 20–25 minutes and cool completely before frosting. Avoid star tips with this softer frosting; use a knife or a small round tip for a smooth mound.
- Knife-spread the frosting and press in novelty knife decorations blade-down after dipping them in the red icing.
- Drizzle more icing in thin streams so it runs over edges for a realistic effect in just a few quick passes.
- Contrast with chocolate shavings or dark crumbs to make the red pop without adding sweetness.
“Let the bases cool fully — that single step prevents melted frosting and messy results.”
Store frosted treats in the fridge up to 5 days, or freeze unfrosted bases and thaw at room temperature before following these instructions. One cupcake tip: keep portions consistent for even chilling and presentation.
Timing, Storage, and Transport for Cupcakes de Halloween
Plan your timeline so each decorated treat has time to cool, set, and travel without smudges. Let bases cool completely before any frosting goes on; this protects texture and keeps colors true.
Room temperature vs. refrigerator: leave finished items at room temperature uncovered for a few hours before service. Buttercream holds best at room temperature for short periods. For longer storage, refrigerate leftovers up to 5 days.
Cream cheese frosting stays softer. Chill these in the fridge until firm to the touch, then bring them back to room for serving. Candy eyes and delicate food details last longest when added close to serving time.
Transporting frosted treats safely
- Give frosting at least 20–30 minutes at room to set before moving.
- Use a cupcake carrier with snug wells; avoid stacking or compressing the box.
- During transit, place the carrier on a flat surface and avoid sudden stops; keep napkins and a small spatula for quick fixes.
- If chilled, allow refrigerated items 15–20 minutes at room before serving for best mouthfeel.
“Let frosting set slightly and use a snug carrier—small steps save minutes of touch-ups at the party.”
| Stage | Action | Suggested minutes |
|---|---|---|
| Cooling bases | Cool on rack until room temperature | 30–60 minutes |
| Setting frosting | Let buttercream or icing firm at room | 20–30 minutes |
| Chill for transport | Refrigerate cream cheese or warm-weather batches | Until firm (variable) |

Troubleshooting and Pro Tips for Flawless Results
A few simple checks can rescue a runny or grainy frosting and save decorating time. Start with ingredient temps and a quick test in a small bowl before you fill piping bags.
Runny or grainy finishes
If frosting is runny, add sifted confectioners’ sugar a cup at a time until it holds peaks. If it’s too stiff, add milk or room-temperature heavy cream by the teaspoon.
Graininess usually means cold fat or unsifted sugar. Bring butter and cream to room temperature and sift sugar 1–2 times. Stir by hand to deflate air bubbles for a smooth finish.
Fixing color and shade problems
Mix color in a separate bowl and let it rest. Colors, especially black and red, deepen as they sit. Add gel in micro amounts so you can build shade without over-coloring.
Piping bag strategies and pressure control
Use a coupler to swap a tip without refilling the piping bag. Hold pressure at the top with your dominant hand and guide the tip with the other to keep lines steady.
If the center of a swirl slumps, chill decorated bases 5–10 minutes and resume. Cream cheese frostings are softer — avoid star tips for crisp detail.
“Keep brief notes on ratios and ambient temperature—small tweaks unlock consistent results.”
| Problem | Quick fix | When to use |
|---|---|---|
| Runny frosting | Add sifted sugar by the cup; or add cream by teaspoon | Warm kitchen or thin batch |
| Grainy texture | Bring fats to room temp; sift sugar 1–2x; stir by hand | Cold butter or lumpy sugar |
| Over-dark color | Mix lighter, rest, then add micro-dots of gel | Black or red hues |
| Slumping swirls | Chill 5–10 minutes; check base center for warmth | Soft frosting or warm base |
Conclusion
Finish strong: finish by arranging timing, storage, and a simple recipe card so every batch looks consistent and tastes bakery-level.
Lean on sturdy vanilla buttercream for defined lines and reserve cream cheese for red velvet or velvet cupcakes where tangy flavor shines.
Use gel colors sparingly; let shades deepen before final tweaks. Cool fully, let frosting set briefly, and transport in a snug carrier to protect peaks and decorations.
A pinch of salt, real vanilla, and good butter lift the overall flavor. With a few cups of tinted buttercream, the right tools, and this short recipe approach, your trays will be party-ready and repeatable for future events.