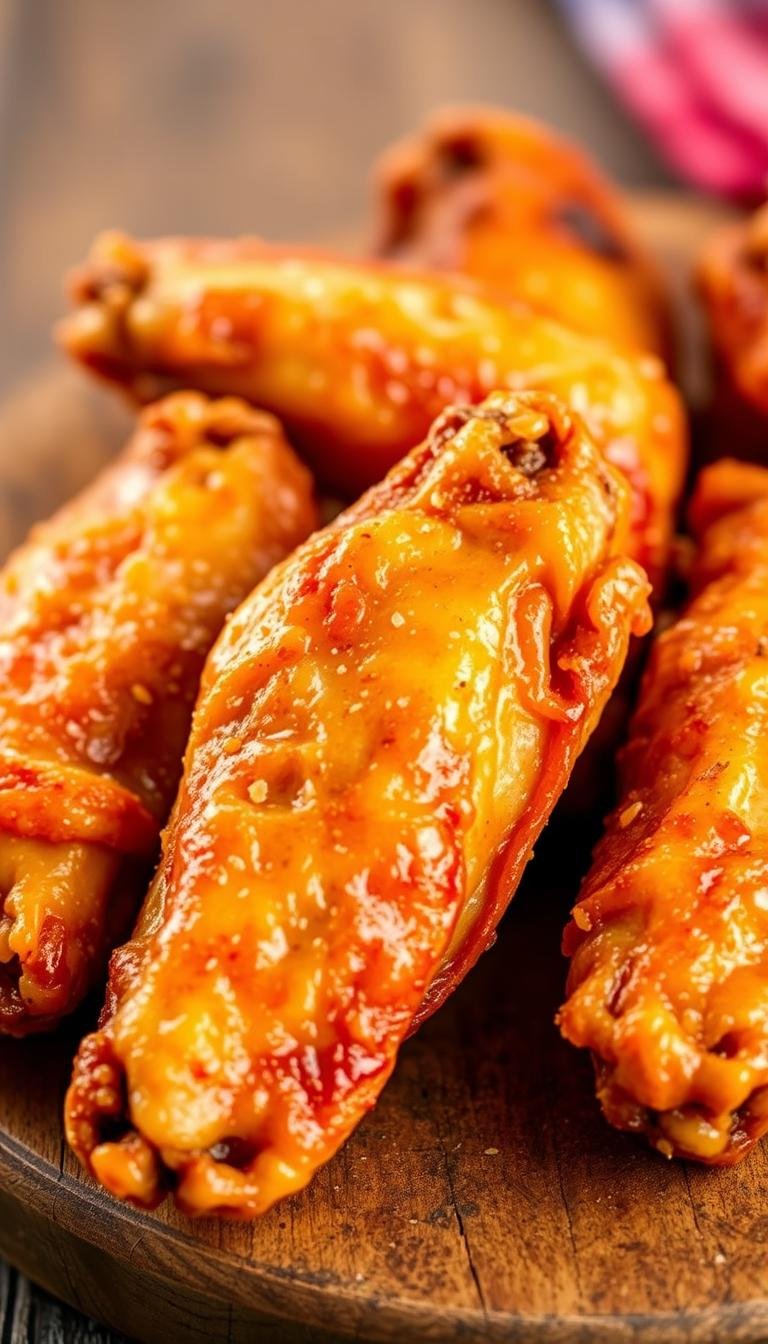
How to Make Perfect Air Fryer Chicken Wings
Surprising fact: nearly 70% of home cooks say crisp texture is the top goal when making this popular snack.
This Website contains affiliate links. That means I may earn a small commission if you purchase through my links, at no extra cost to you.
This guide shows a fast path to golden, juicy results using a simple seasoning and precise timing. Start at 400°F for 10 minutes, flip, then finish with 8 minutes for consistent crispness.
Arrange pieces in a single, spaced layer so hot air circulates and skin crisps without deep frying. A light toss in oil, garlic powder, onion powder, paprika, salt, and pepper builds big flavor with little effort.
Food safety tip: cook to 165°F internal temperature and check with a quick-read thermometer. Leftovers keep in the fridge up to 3 days and reheat at 400°F for 3–4 minutes. For frozen, reheat at 375°F—10 minutes, flip, then 8–10 more.
Key Takeaways
- Use 400°F: 10 minutes, flip, then 8 minutes for reliable crispness.
- Single, spaced layer ensures even cooking and a crunchy finish.
- Simple seasoning delivers bold flavor with minimal steps.
- Verify doneness at 165°F with a quick-read thermometer.
- Store refrigerated up to 3 days; freeze up to 3 months with clear reheating times.
- Oven alternative: 400°F on a rack over a sheet pan for comparable results.
Why Air Fryer Chicken Wings Are a Game-Changer Right Now
A fast convection method turns ordinary pieces into crunchy, snack-ready bites with minimal oil. You get the fried crunch you love in about 10 minutes at 400°F, flip, then 8–12 minutes depending on size.
This approach trims added fat compared with deep frying while keeping meat juicy. Preheat quickly, then cook in a single, spaced layer to let hot air circulate and form blistered skin.
“Less mess, faster results, and reliable crispness make this technique ideal for weeknight menus and party platters.”
- Rapid circulation shortens total cook time and reduces hands-on work.
- Single-layer spacing and flipping ensure even browning every batch.
- Toss with sauce right after cooking for glossy, saucy results or keep dry for extra crunch.
| Benefit | Why it matters | Typical timing |
|---|---|---|
| Speed | Fast results for weeknights | 10 + 8–12 minutes |
| Less fat | No submerging in oil, crisp skin retained | Reduced compared to deep frying |
| Consistency | Even browning across batches | Single-layer, flip midway |
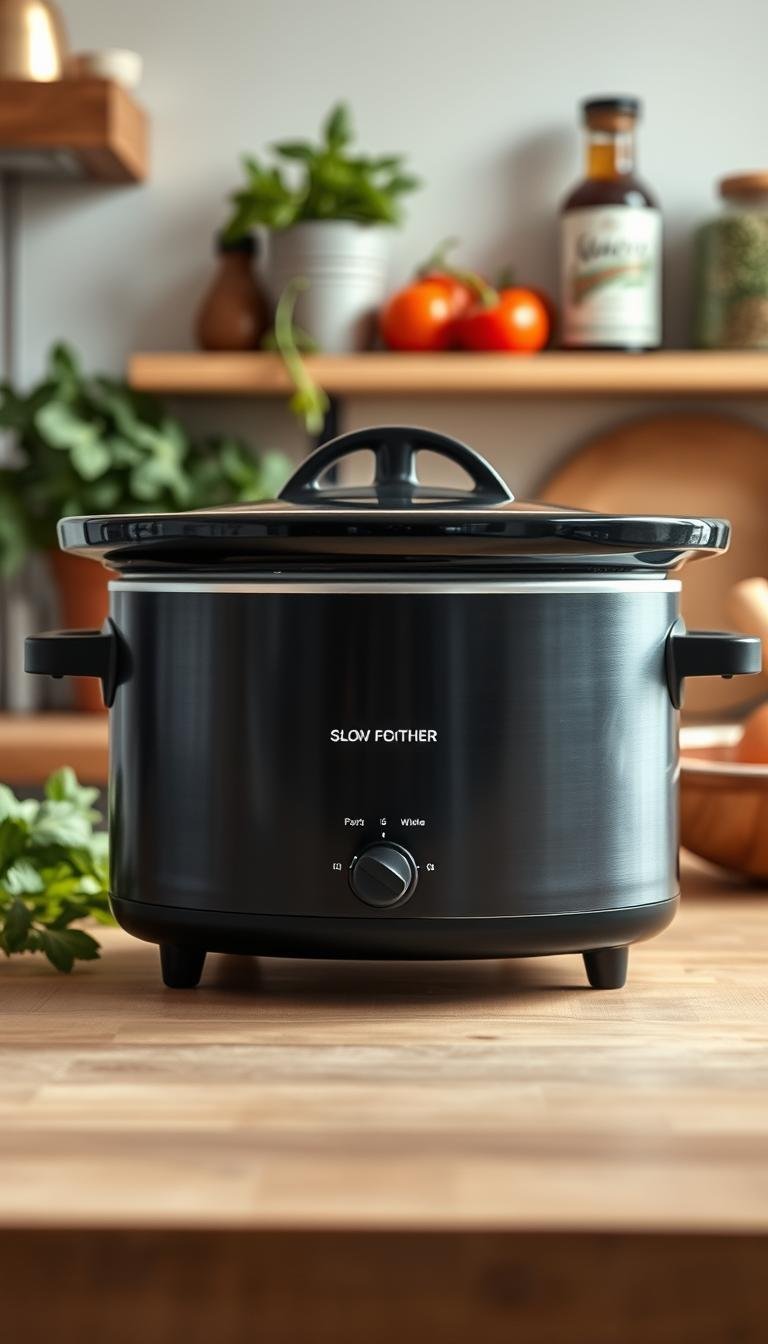
Air Fryer Chicken Wings: Tools, Ingredients, and Prep Essentials
Good prep starts with the right gear. Choose a unit with a roomy air fryer basket and a steady temperature dial. A rack insert improves circulation, while tongs and a quick-read thermometer make flipping and doneness checks simple.
Ingredients to have on hand: chicken wings or separated drum and flat pieces, a neutral oil such as avocado or canola, kosher salt, white or black pepper, garlic powder, and optional baking powder for extra crisping.
Make sure whole pieces are fully defrosted. Separate drums and flats and save tips for stock or discard them. Trim loose skin that could block airflow.
Pat dry each piece thoroughly with paper towels to remove surface moisture. A dry surface helps seasonings stick and promotes better browning.
In a mixing bowl, toss pieces with oil first, then add salt, pepper, garlic powder, and paprika so spices cling to the skin. If using baking powder, mix it with the spice blend to promote blistered skin; avoid baking soda.
Preheat the air fryer for about 2 minutes at 400°F. Arrange pieces in a single layer in the basket with gaps so hot air flows around each piece. Keep a thermometer handy and aim for a 165°F internal temperature in the thickest part without touching bone.
| Item | Why it matters | Quick tip |
|---|---|---|
| Basket / rack | Promotes even circulation | Use a rack insert if you have one |
| Tongs & thermometer | Safe handling and accurate doneness | Check the thickest part for 165°F |
| Mixing bowl | Even seasoning distribution | Toss oil first, then spices |
| Seasonings | Builds flavor and texture | Salt, garlic powder, pepper; add baking powder for extra crisp |
Step-by-Step: Crispy Wings in the Air Fryer, Start to Finish
Start by tossing pieces in a mixing bowl so every surface gets a light coat of neutral oil. Add salt, pepper, garlic powder, onion powder, paprika, and a small amount of baking powder. This blend helps the skin blister and crisp as moisture leaves.
Seasoning and prep
Coat pieces evenly in the bowl so spices adhere. Pat dry first for best browning.
Space and placement
Arrange in a single layer inside the basket with gaps between pieces. Proper spacing lets hot air move around each piece for even color and crunch.
Temperature and timing
Preheat to 400°F for about 2 minutes. Air fry 10 minutes, then flip with tongs and cook another 8–12 minutes based on size. Expect the skin to look pale after the first cycle; it will brown during the second.
Doneness and finishing
Make sure the internal temp reads 165°F in the thickest part without touching bone. Toss hot pieces in sauce if desired, or return sauced pieces to the basket for 1–2 minutes to set the glaze.
| Step | Temp | Time | Tip |
|---|---|---|---|
| Preheat | 400°F | 2 minutes | Start hot to render fat |
| Cook 1 | 400°F | 10 minutes | Skin will look pale |
| Cook 2 | 400°F | 8–12 minutes | Flip once; check temp |
Mastering Texture: Baking Powder vs. No Baking Powder
A tiny change in pH can turn soft skin into a thin, glassy crust after cooking. Baking powder reacts with the skin by raising pH and creating microscopic bubbles. Those bubbles help dehydrate the surface and form a crisp outer layer when exposed to high heat.
Use aluminum-free baking powder and mix it with salt, pepper, and other spices in a bowl so it distributes evenly. A light coat of oil helps spices stick, but keep oil modest so evaporation isn’t blocked.
When to skip powder and how to compensate
If you skip baking powder, pat dry thoroughly and make sure the skin is moisture-free. Let pieces rest uncovered in the refrigerator briefly to intensify surface drying.
- Expect to add a few minutes to the second cook cycle to reach similar crispness.
- Monitor texture rather than the clock; extend in 2-minute increments while confirming 165°F internal temperature.
- For ultra-crackly results, chill on a rack uncovered before cooking.
| Method | Key action | Benefit |
|---|---|---|
| With baking powder | Mix powder with spices in a bowl | Faster, glassy crisp with micro-bubbling |
| Without baking powder | Pat dry, chill uncovered, add time | Comparable crunch with more drying time |
| Both methods | Light oil; monitor texture and temp | Safe, crispy result; verify 165°F |
Timing Guide by Wing Size and Air Fryer Model
Start with a hot burst, then tailor the second stage based on piece size and basket space. Begin at 400°F for 10 minutes, flip, and follow the size-based finish times below.
Smaller pieces
Plan: 10 minutes at 400°F, flip, then another minutes of 7–8. This hits crispness and 165°F without drying the interior.
Larger pieces
Plan: 10 minutes at 400°F, flip, then 10–12 more minutes so the meat reaches temperature as skin browns.
Adjusting for model and crowding
Different units heat and move hot air at different rates. Basket size, wattage, and fan strength change browning speed. Use color and texture as cues in addition to time.
- Avoid crowding; arrange in a single layer with visible gaps so hot air can circulate.
- If you must batch cook, keep early batches on a rack to avoid steam softening the crust.
- Lightly oiled, well-seasoned pieces crisp more predictably; powder speeds surface browning slightly.
- When unsure, check several pieces with a thermometer and confirm 165°F. Rest briefly before serving to preserve peak crackle.
| Size | Stage 1 | Stage 2 |
|---|---|---|
| Small pieces | 400°F — 10 minutes | 400°F — 7–8 minutes |
| Large pieces | 400°F — 10 minutes | 400°F — 10–12 minutes |
| Tips | Preheat 1–2 minutes if needed | Check color, texture, and 165°F |
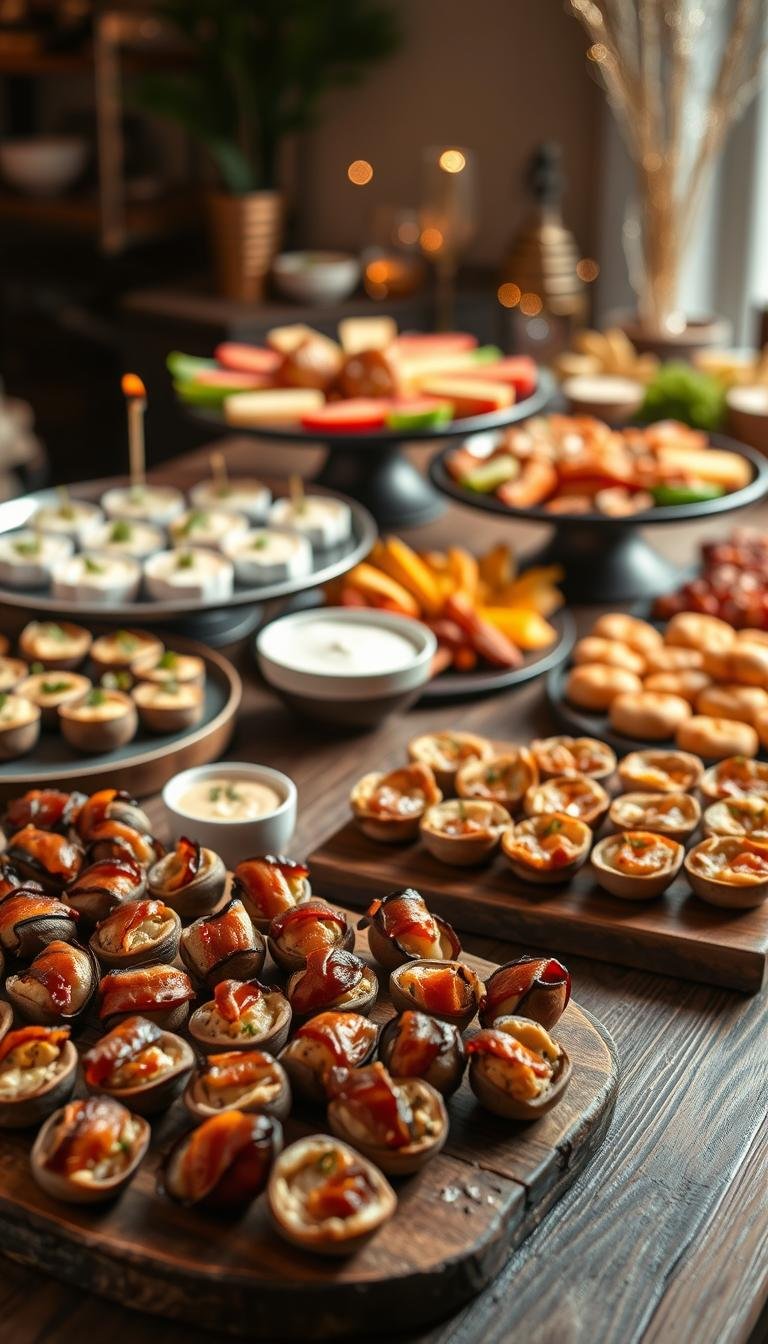
Serving Ideas: Sauces, Seasonings, and Sides
Choose either a saucy finish or a dry rub to protect crisp skin while adding bold flavor. Keep saucing quick and serve right away so the crust stays intact.
Classic finishes include buffalo sauce for heat, ranch dressing for cooling contrast, and blue cheese dressing for tangy richness.

Dry rubs and simple tricks
For the crunch-first crowd, use a dry rub of garlic powder, black pepper, and salt or try lemon pepper for brightness.
Lightly oil pieces before seasoning so spices adhere, then finish with an extra dust of rub after cooking for a bold hit without soggy skin.
- Toss fresh with buffalo sauce for a spicy glaze, or serve dry with ranch dressing or blue cheese dressing for dipping.
- Offer a sampler: half the batch dry-rubbed, half sauced, so guests can compare texture and flavor.
- Pair with crisp sides like fries or a simple salad to balance richness and add contrast.
- Garnish with chopped parsley or green onions for a fresh pop that won’t overpower the seasoning.
Storage, Reheating, and Freezer Tips
A quick cool-down on a wire rack keeps the crust crisp when you refrigerate or freeze.
Refrigerate: Cool leftovers on a rack, then transfer to an airtight container. Store in the fridge up to 3 days to preserve texture and food safety.
Reheat: Use a preheated appliance set to 400°F and heat for 3–4 minutes. Arrange pieces in a single, spaced layer in the fryer basket so hot circulation restores crispness without overcooking.
Freeze: Chill fully cooled pieces before packing. Use freezer-safe bags or containers, separating layers with parchment so pieces don’t stick. Proper packing prevents ice crystals and sogginess. Freeze up to 3 months.
Reheat from frozen: Preheat to 375°F. Cook 10 minutes, flip, then 8–10 more minutes until the interior is hot and the skin sizzles. Keep batches small so the basket circulates heat evenly.
- Avoid microwaving; it steams skin and makes it rubbery.
- If pieces are sauced, re-crisp dry pieces first and add sauce after reheating for best serving texture.
- When in doubt, extend by 1–2 minutes and confirm the center is hot and steamy before serving.
| Action | Temp | Minutes |
|---|---|---|
| Reheat (refrigerated) | 400°F | 3–4 |
| Reheat (frozen) | 375°F | 10 → flip → 8–10 |
| Storage | Refrigerator / Freezer | Up to 3 days / Up to 3 months |
Oven Alternative and Lower-Fat Notes
If your countertop unit is busy or you need to cook a crowd, the oven is a reliable backup that still trims added fat compared with deep frying.
Oven-baked method: preheat to 400°F and position pieces on a rack set over a foil-lined baking sheet in a single layer. This lets hot air reach all sides and encourages even browning without submerging in oil.
Plan for 30 minutes, then flip and continue for another 15–30 minutes depending on size and desired crispness. Use convection if available to mimic strong circulation and shorten total minutes.
- Place a foil-lined sheet under the rack to catch drips and reduce cleanup.
- Pat pieces dry and season well; the rack setup develops deep roasted flavor without frying.
- For extra blistered skin, finish with a brief broil while watching closely to prevent scorching.
- Always verify doneness with a thermometer — aim for 165°F in the thickest part.
| Method | Temperature | Time | Best for |
|---|---|---|---|
| Oven (rack over sheet) | 400°F | 30 → flip → 15–30 minutes | Large batches, reduced fat, even roast |
| Convection oven | 400°F | 30 → flip → 12–20 minutes | Mimics rapid circulation; faster browning |
| Quick broil finish | High broil | 1–3 minutes | Extra blistering; watch closely |

Conclusion
Follow a short checklist—dry, space, season, and heat—to get consistent, crunchy results every time. Use a simple recipe: pat pieces dry, season in a bowl, then cook at 400°F for 10 minutes, flip, then 8–12 minutes until the interior reads 165°F.
For extra crisp, add baking powder to the seasoning mix. If you skip it, dry the skin well and add a few minutes. Keep seasoning balanced with salt, black pepper, and a touch of garlic.
Reheat refrigerated pieces at 400°F for 3–4 minutes, or from frozen at 375°F (10 minutes, flip, then 8–10). Use the oven at 400°F on a rack for large batches if needed.
strong, small habits—preheat, a single layer, and a quick-read thermometer—make this recipe repeatable. Try related recipes and sauce finishes like buffalo sauce or blue cheese for variety.