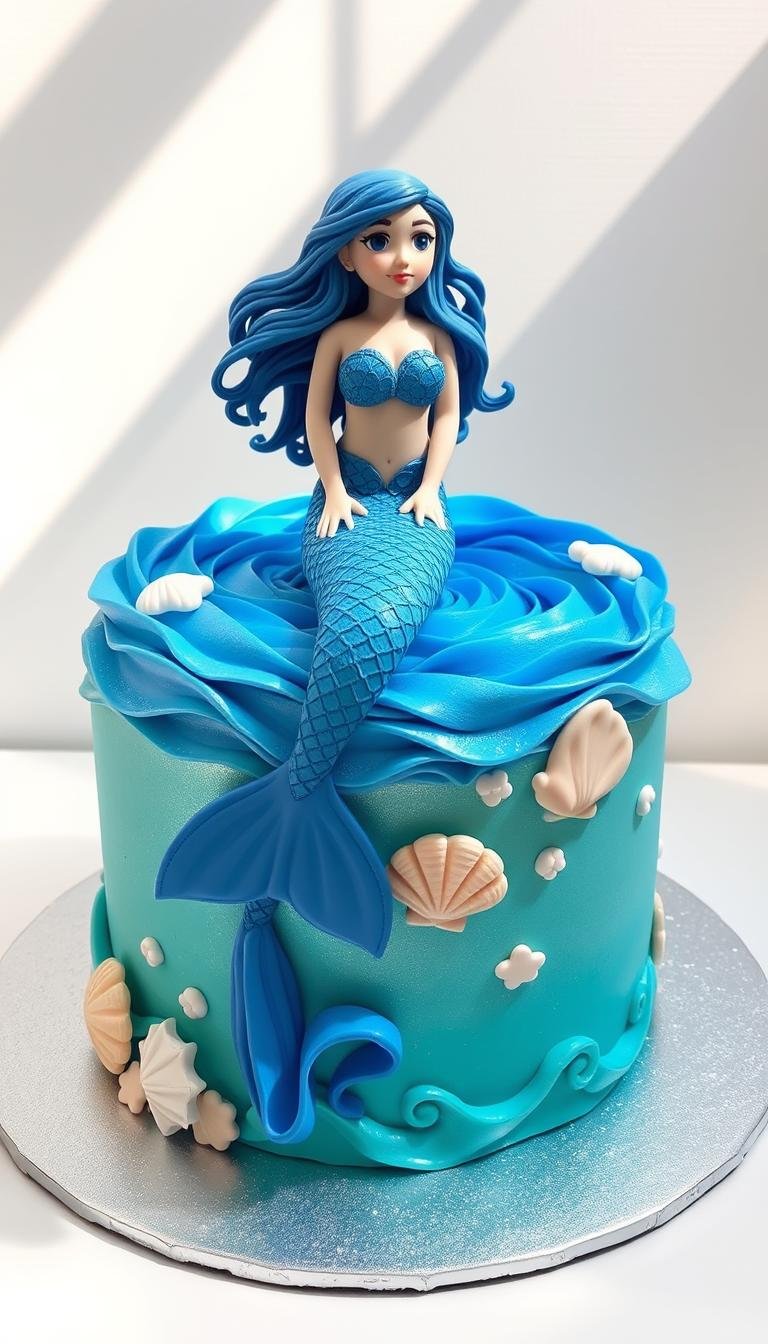
How to Make a Mermaid Birthday Cake: Step-by-Step Guide
Surprising fact: a four-layer 6-inch cake baked in four pans reached perfect even layers when the batter was weighed to within 5 grams — that tiny detail changed everything for home bakers.
This Website contains affiliate links. That means I may earn a small commission if you purchase through my links, at no extra cost to you.
This guide walked readers through a reliable plan to bake a fluffy, even cake and create ocean-inspired textures that looked professional yet were achievable at home.
You learned why the reverse creaming method gave an ultra-tender crumb, how weighing batter produced neat stacks, and why Swiss meringue buttercream was heated to 160°F before whipping for safety and silkiness.
The tutorial showed simple steps for layering, crumb coating, and an ombré finish, plus a tri-color swirl technique using one piping bag with teal, pink, and violet tones.
Key Takeaways
- Reverse creaming creates a tender crumb and cleaner edges.
- Weigh batter for even 6″ layers and use leftovers for cupcakes or a loaf.
- Heat Swiss meringue to 160°F, then whip to a stable, silky texture.
- Use a tri-color fill in one bag for a seamless swirl effect.
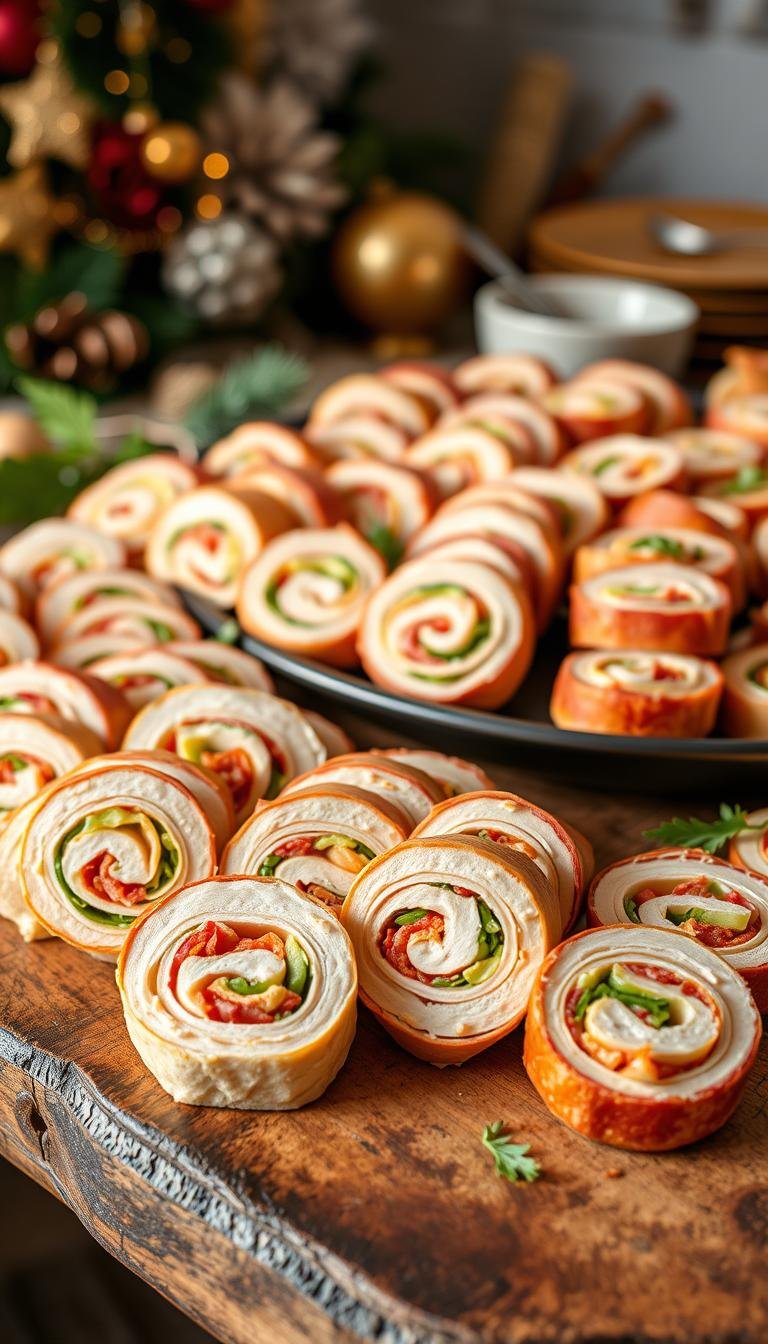
- Pair a small 6-inch centerpiece with cupcakes for easy serving at a birthday.
Before You Bake: Ingredients, Tools, and Party-Ready Prep
Prep first. Gather measured, room-temperature ingredients and all tools before you start. Use the listed weights for the vanilla batter and Swiss meringue buttercream to keep results consistent and reduce guesswork.
Essential ingredients: 2¾ cups (380 g) cake flour, 1¾ cups (380 g) sugar, 7 oz (200 g) butter, 5 egg whites plus 1 whole egg, 1½ cups (366 g) milk, and 2 tsp vanilla. For the buttercream, weigh sugar, 5 egg whites, and 15 oz (425 g) butter; heat the meringue to 160°F before whipping.
Tools and timing
Line four 6-inch, 2-inch-high pans with parchment and use a kitchen scale to split batter evenly. Bake at 350°F for 24–28 minutes, rotating pans halfway.
Party planning tips
- Make 1.5× buttercream if you plan tri-color piping or cupcakes.
- Day 1: bake and cool layers. Day 2: whip buttercream, crumb coat, chill, then finish decorating.
- Transport on a non-slip mat in an insulated carrier; bring an offset spatula and extra sprinkles for touch-ups at the birthday.
Step-by-Step Baking for a Fluffy, Even Cake Base
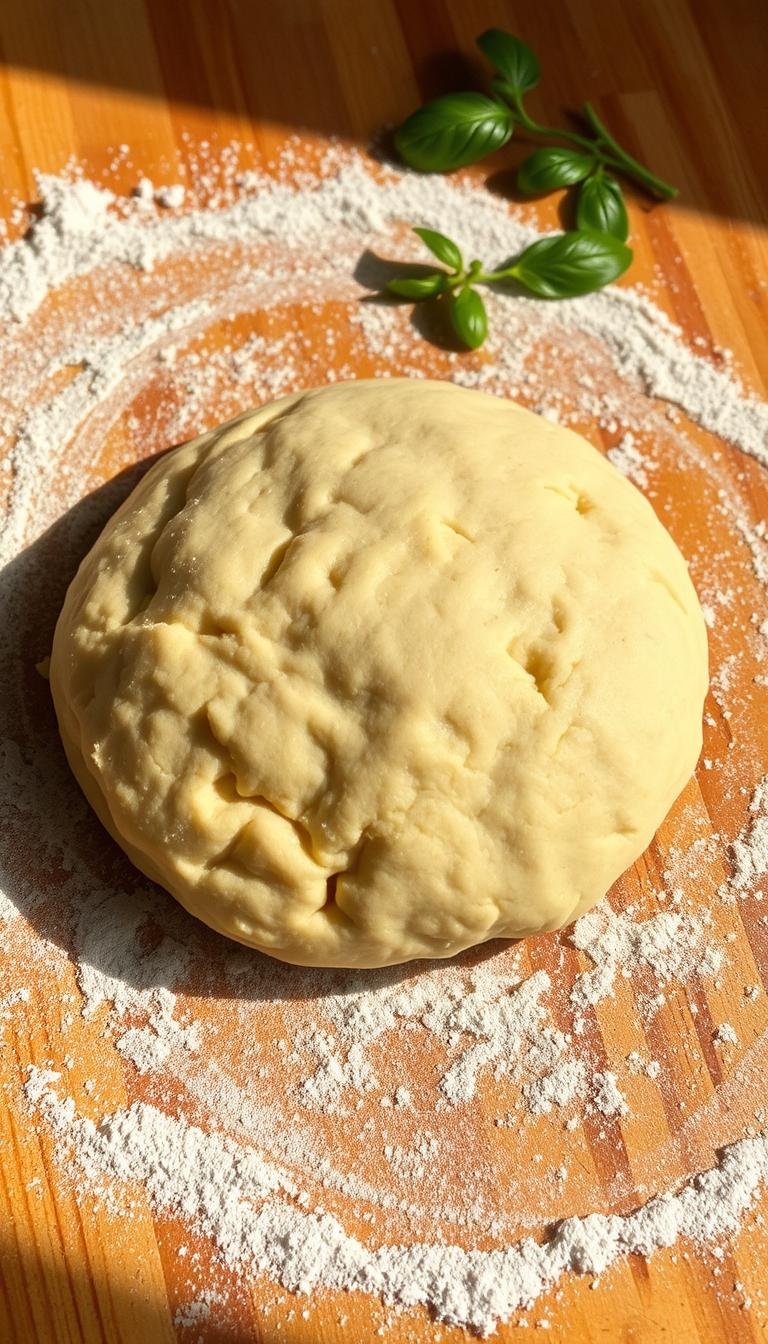
Start the bake by preparing the batter with a reverse creaming method to lock in tenderness and even rise.

Reverse creaming method for tender vanilla layers
Whisk cake flour, sugar, baking powder, and salt in the mixer bowl. Add room-temperature butter and beat with the paddle until the mix looks like damp sand.
Add egg whites one at a time, then the whole egg for richness. Stream the milk-vanilla mixture in three additions, mixing just until incorporated.
Weigh total batter and divide evenly among four prepared 6‑inch pans. Bake at 350°F for 24–28 minutes, rotating once so color and rise stay even. Cool in pans 20 minutes, then invert to racks and cool completely.
Silky Swiss meringue buttercream: temperature and texture tips
Heat egg whites and sugar over a bain-marie, whisking until glossy and the thermometer hits 160°F. Whip about 5 minutes to cool the meringue, then switch to the paddle and add butter slowly on low.
Beat medium-high 6–10 minutes until the frosting becomes very thick and smooth. Stir in vanilla and a touch of almond, then tint as needed and cover the surface with plastic to prevent a crust.
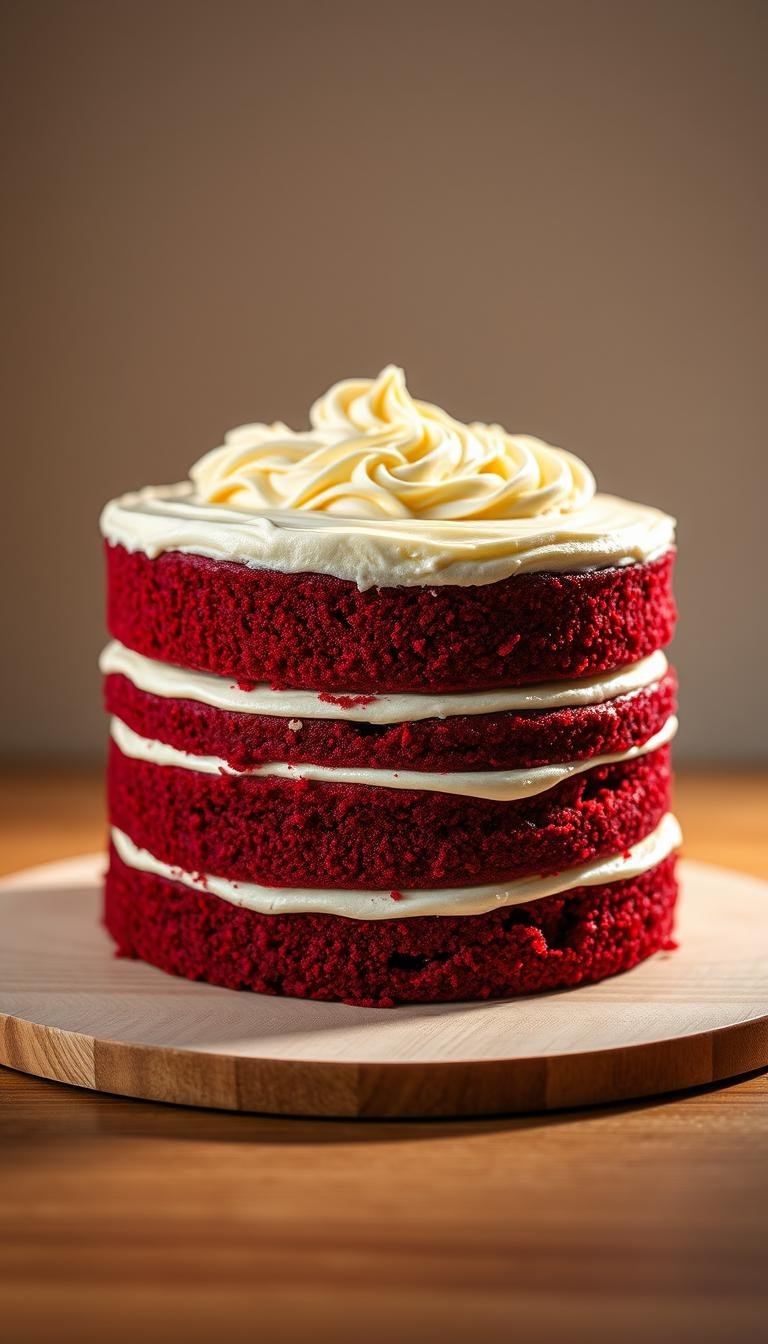
Layering, leveling, and crumb coat setup for clean sides
Level domes sparingly, then stack with an even layer of buttercream between each. Press gently to remove air pockets and keep layers true.
Apply a thin crumb coat and refrigerate about 1 hour to firm. After chilling, add a final coat and smooth with a bench scraper or offset spatula, ready for color and texture work on your mermaid themed centerpiece.
Decorating Your Mermaid Birthday Cake: Colors, Textures, and Finishing Touches
Finish the look by layering soft ocean tones, textured ripples, and pearl accents for a polished seaside centerpiece.

Creating an ocean ombré effect on a 6-inch, four-layer cake
Divide buttercream into at least three shades from teal to seafoam. Apply the darkest band at the base, a medium band in the center, and the lightest at the top.
Smooth with a bench scraper to blend transitions without stripping color. Keep the crumb coat chilled about one hour so the final colors glide on cleanly.
Tri-color swirl frosting technique for cupcakes and accents
For a three-color plume, tint buttercream pink, teal, and violet. Spoon stripes into one piping bag so the colors run from top to tip, then test on parchment.
Use the same bag for small shells or borders on the main cake to tie cupcakes and the centerpiece together.
Sprinkle placement with mermaid-inspired medleys
Press Sweetapolita Vintage Kitten medley along the base as a border. Cluster larger pieces near a focal point and scatter smaller bits upward to mimic rising bubbles.
Choosing toppers and mermaid details that wow
Pick a statement topper—silhouettes or a name from Etsy—and echo its palette in your frosting and sprinkles.
If you add molded details, keep them small for a 6-inch build and attach with dabs of chilled buttercream to prevent sliding.
Serving, storage, and make-ahead tips for birthday timing
Serve at cool room temperature. Remove from the fridge 45–60 minutes before slicing and use a hot, dry knife for clean layers.
Make ahead: bake layers up to 2 days refrigerated or 1–2 months frozen. Prepare buttercream 1–2 days ahead and rewhip briefly. Crumb coat the day before and finish decorating the morning of the event.
| Task | Timing | Key Tip |
|---|---|---|
| Bake and cool layers | Day 1 | Wrap airtight if not assembling same day |
| Prepare buttercream | 1–2 days ahead | Heat meringue to 160°F for safety, then chill |
| Crumb coat & chill | Night before or morning of | Chill ~1 hour before final color work |
Conclusion
Wrap up with a quick checklist to keep layers tender and colors vivid on party day. Use reverse creaming, bake at 350°F for 24–28 minutes, and heat the Swiss meringue to 160°F before whipping for a stable, silky frosting.
Assemble the four 6‑inch layers with an even spread of buttercream, apply a crumb coat, and chill about 1 hour. Finish with an ocean ombré and tri-color swirl, then add curated sprinkles and a custom topper.
For a stress-free celebration, pair the centerpiece with cupcakes for extra servings and plan transport on a flat, chilled surface. A well-timed prep schedule keeps edges clean and colors bright when guests arrive.
Final note: a single mermaid birthday cake centerpiece, made with these steps, brings a polished look and reliable results for any birthday celebration.