How to Make a Bluey Birthday Cake: Easy Steps
Surprising fact: more than 60% of parents say themed desserts make a party feel complete, yet many worry they lack the time or skill to pull one off.
This Website contains affiliate links. That means I may earn a small commission if you purchase through my links, at no extra cost to you.
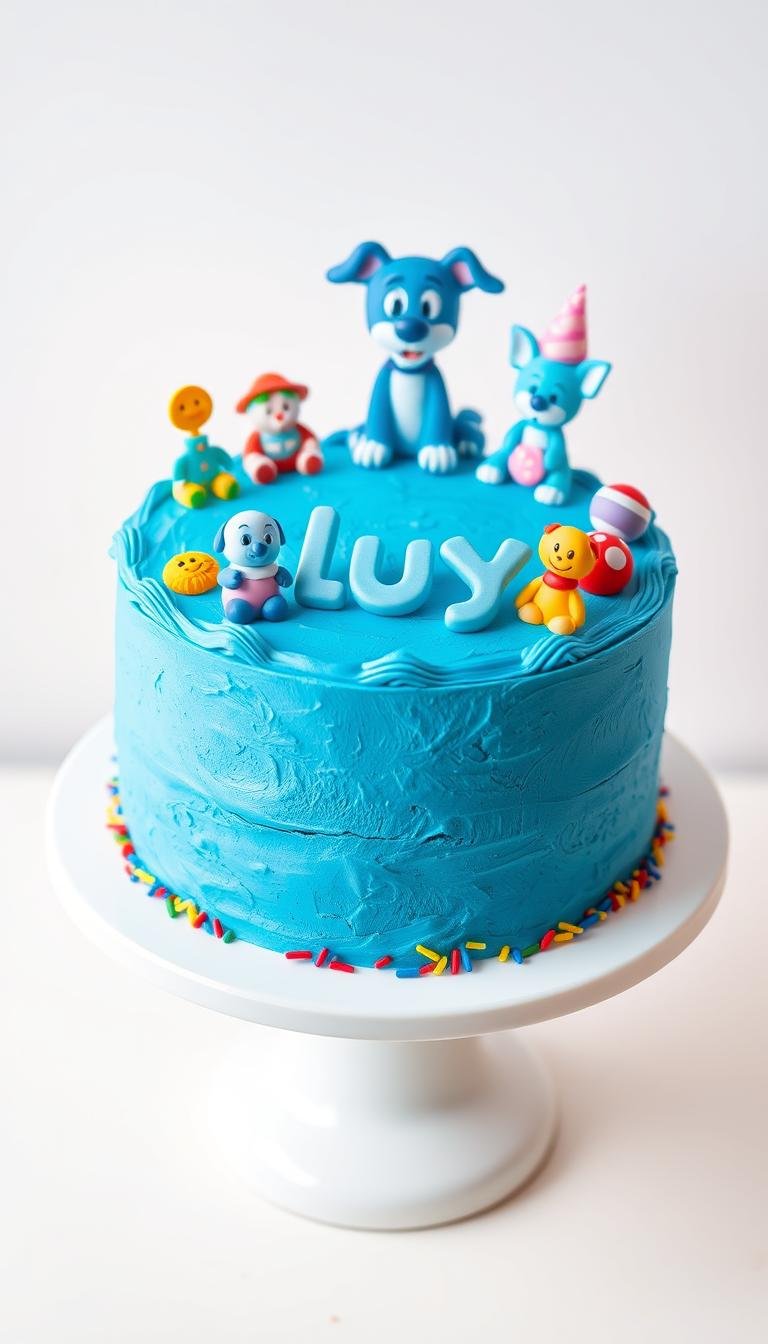
This post shows a stress-free way to make a recognizably fun character cake at home. You can choose simple routes like a pull-apart cupcake layout or a classic round cake with a fondant face. These options work well for busy families and still look great in photos.
We cover easy tools, time-saving prep, and premade toppers that give big impact with little fuss. Expect clear tips on color mixing, basic piping pressure, and whether to DIY or order from a bakery. Follow this guide and you’ll have a practical plan for a memorable kids party dessert that serves cleanly and holds up through the celebration.
Key Takeaways
- Pick a simple layout: pull-apart cupcakes or a round design for easy serving.
- Use premade decorations like edible toppers to save time and keep the look true.
- Prep parts ahead and plan baking time to reduce day-of stress.
- Basic color mixing and piping tips improve photos and presentation.
- Compare DIY versus bakery options based on budget and timeline.
Start Here: What You’ll Make and Why It’s Perfect for a Bluey Birthday Party
Pick a format first. Decide between a simple round cake with the character’s face, a sheet version, or a pull-apart cupcake layout. Each option fits different timelines and serving styles, so choose what matches your schedule and guest list.
Fast finishes include edible image toppers of the Heeler family. These save time and give a polished look on frosted cakes when you’re short on time.
The design scales easily. A single round or sheet serves small gatherings, while a cupcake cake makes serving quick at larger parties. Transport is simpler with flatter sheets or boxed cupcakes.
- Large shapes and bold color blocks make decorating forgiving for first-timers.
- Key face elements—balanced eyes, a clean muzzle, neat ears—help the design read well in photos.
- Easy upgrades like sprinkles or a topper make even basic cakes look party-ready.
By the end of this section you should know which format to use. That decision makes the rest of the steps straightforward and stress-free for busy parents and caregivers planning a party for kids.
Tools and Ingredients You’ll Need for a Stress‑Free Bake
A tidy workspace and a small set of reliable tools will speed up every step. Below are the must-haves for a pull-apart project or a simple layered treat.
Essential tools
Tools: a sturdy cake board (about 19 x 14 inches for 25 cupcakes), a stand mixer, an offset spatula, a standard spatula, a cookie scoop, and a set of piping bags with a coupler.
You’ll want piping bags (1–5) and a small star tip so dots stay tidy and even. Include scissors, a Sharpie, thin paper for a template, and pointy toothpicks to transfer outlines cleanly.
Key ingredients
Vanilla buttercream recipe: 3 cups chilled unsalted butter, 9 cups powdered sugar, 1/4 tsp scant salt, 3 tsp vanilla, and 1/3–1/2 cup heavy cream. Beat in a stand mixer until smooth and pipeable.
Use Wilton Color Right gels plus a separate violet for strong tones—gel food adds saturation without thinning the frosting. Keep a cup of plain buttercream aside to fix color shifts without re-mixing the whole batch.
Bluey Cake Design Options to Fit Your Time and Skill
Match the design to how much time you have: quick formats give great results with minimal fuss. Below are approachable ideas for every skill level so you can pick the best way to proceed.
Pull-apart cupcake tutorial (no fondant, all buttercream)
Fast and friendly: arrange cupcakes on a board, crumb-coat with one buttercream surface, then pipe the character elements. This pull-apart bluey cupcake approach makes serving and transport easy.
Classic face on sheet, round, or number cakes
A simple Bluey face reads well on round or sheet formats. Use basic piping for eyes, muzzle, and ears. Number cakes work great with a star tip and small toppers for clean details.
Going big: tall or tiered cakes and when to order
Tall or tiered designs can include a drip, fondant accents, or abstract buttercream for dramatic impact. These require more chilling, stacking, and time—consider a bakery if your schedule is tight.
Buttercream and Color Mixing: Getting Bluey’s Light Blue and Dark Blue Right
Start with a silky vanilla buttercream. Whip chilled butter and powdered sugar until the mix shifts from pale yellow to creamy white. This base makes color blending smooth and keeps piping edges clean.
Whiten and tune: add a tiny bit of violet gel food to neutralize warm tones. Mix thoroughly and test under indoor light before you tint whole bowls.
For light blue and very light blue, work in small cup frosting portions. Lean toward violet with just a hint of blue. Mix very light shades separately instead of diluting a darker bowl; each half drop changes undertones.
Build deep blue/violet accents with violet, blue, and a touch of black. Let these bowls rest so the hue deepens before final tweaks. Keep plain buttercream on reserve to fix shifts with a frosting half drop.
- Create tan for the muzzle with less than a half drop of brown and a whisper of yellow.
- Test black on a ceramic plate with water; if it looks green, add blue + yellow to correct.
- Aim for medium consistency—adjust with tiny cream additions so stars hold shape.
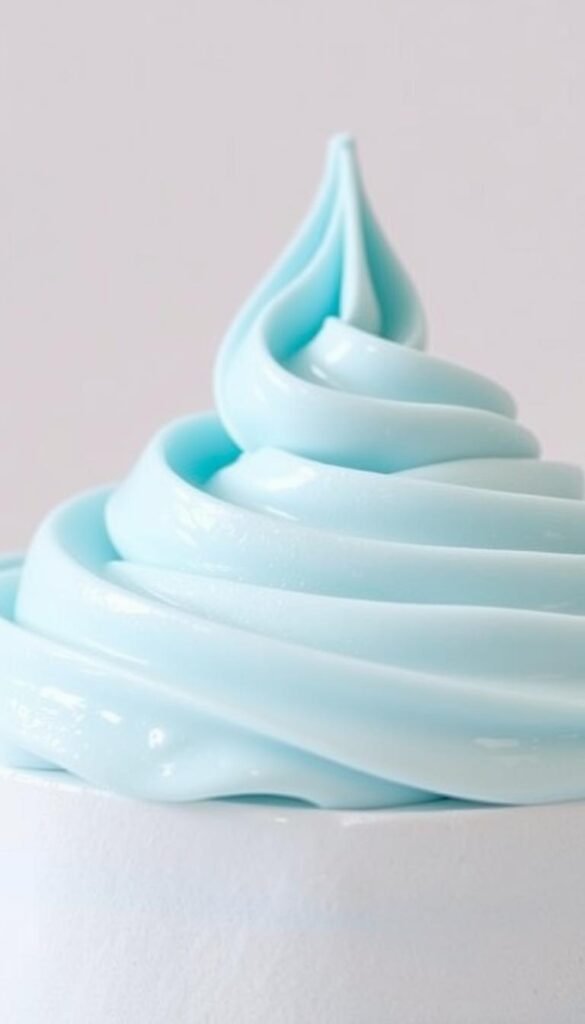
| Shade | Gel Mix | Notes |
|---|---|---|
| Very light blue | Mostly violet + tiny blue (mix in cup frosting) | Mix separately; use half drop increments |
| Light blue | Violet + hint of blue | Tests under indoor light for true match |
| Dark blue / deep violet | Violet + blue + small black | Rest bowl to allow color development |
bluey birthday cake Step‑by‑Step: From Template to Piping
A full-size paper template makes it easy to map features onto 25 cupcakes without guessing. This saves time and keeps proportions true when you move to piping.
Print, trace, and place your template
Print the hand-traced Bluey template on thin paper. Tape pieces together and cut precisely so lines match the cupcake grid.
Arrange and secure cupcakes
Lay out 25 cupcakes on a 19 x 14 inch board. Secure each with a tiny dot of buttercream so they don’t shift while you work.
Base coat, transfer, and chill
Scoop a measured cup of base frosting onto each cupcake. Use an offset spatula to smooth a single continuous top. Chill 10–15 minutes so the paper won’t stick.
Outline transfer and star piping technique
Place the template, then poke guide holes with a toothpick along every line. Remove the paper and follow holes to outline before filling.
- Fit a small star tip onto one piping bag and practice on a plate.
- Outline details first (eyes, nose, brows), then fill with steady pressure and a clean release.
- If you need fewer bags, use plastic-wrap pods of color and load them into a single bag, purging until the color runs true.
| Step | Tool | Why it helps |
|---|---|---|
| Template transfer | Thin paper & toothpicks | Keeps proportions accurate across the whole design |
| Base smoothing | Offset spatula | Creates an even surface for clean piping |
| Star piping | Small star tip & piping bag | Produces tidy dots that fill quickly and hold shape |
Work in short batches and take brief chill breaks. You’ll want steady hands and enough time to keep borders crisp as you complete this friendly tutorial and recipe for a festive home bake.
Finishing Touches: Ears, Face Details, and Cake Toppers
Finish strong by locking key facial features in place before you fill larger color fields. Start with the elements that make the character instantly recognizable and then add decorative items that lift the overall look.
Eyes, brows, nose, and inner ears
Define the eyes first with bright white and crisp black pupils so the face reads from a distance.
Add brows and the nose next; these small marks make the bluey face unmistakable before you complete broader areas.
Pipe inner ears in lighter tones and outer ears in deeper accents. Keep the ear tips sharp to frame the face and improve recognition.
Topper options and small decorations
Place a “Happy Birthday” cake topper at the top center or slightly back to add height without hiding facial details.
Use rings and themed sprinkles around the edges to fill negative space while keeping the main face uncluttered for photos.
Smooth tiny frosting gaps with pinpoint dots and keep color transitions crisp where the muzzle meets the face.
- Test an edible image topper with Bluey and Bingo on a spare cupcake before placing it on the main board.
- Mirror small sprinkle clusters near the ears and bottom corners so the eyes remain the focal point.
- Add candles last and angle them away from delicate inner ears and brows to avoid heat softening.
| Finish | Why it helps | Quick tip |
|---|---|---|
| Facial anchors | Makes the design readable | Do eyes, brows, nose first |
| Topper placement | Adds height without obscuring | Top center or slightly back |
| Edge decor | Fills space, keeps focus on face | Use rings & sprinkles sparingly |
Time and Budget: DIY vs Bakery Order
A clear plan—DIY or pro order—lets you lock in pickup times, flavors, and who handles party-day tasks.
DIY timeline and time-saving tips. Bake and cool layers or cupcakes the day before to free up morning prep. Refrigerate overnight so decorating is faster the next day.
Batch a large bowl of vanilla buttercream, then divide into small bowls for colors. That saves time versus re-mixing each shade.
Switch colors quickly using plastic-wrap “pods” inside one piping bag. Purge between shades to keep lines clean without extra bags.
Ordering a custom option
Local bakeries offer ready-made choices when you need a reliable finish. For example, Crumbly Cafe & Bakery starts a 6-inch three-layer at $115. A 9-inch adds $45 and a 2-tier for 35+ servings is $225.
| Item | Price | Notes |
|---|---|---|
| 6″ three-layer | $115 | 3 layers, from-scratch |
| 9″ upgrade | +$45 | More servings |
| 2-tier | $225 | 35+ servings |
| Flavor upgrades | +$5 | Red Velvet or Funfetti |
| Fillings | $5–$7.50 | Strawberries or Dulce de leche |
Lead time and add-ons. Orders are typically ready in 48–72 hours. Matching cupcakes and cakepops extend servings without a second full cake (6 cupcakes $25; 12 $48; cakepops 6 for $18).
- Mix DIY and pro: bake at home, buy an edible image topper to save finishing time.
- If your family schedule is full, ordering the main dessert frees you to handle other party ideas.
- For tall or tiered looks, a bakery ensures structure and saves stress on the big day.
Troubleshooting, Storage, and Make‑Ahead Tips
Simple corrections and proper storage protect hours of decorating work. Follow a few quick fixes for color, piping, and texture so you don’t waste time remaking parts of the project.
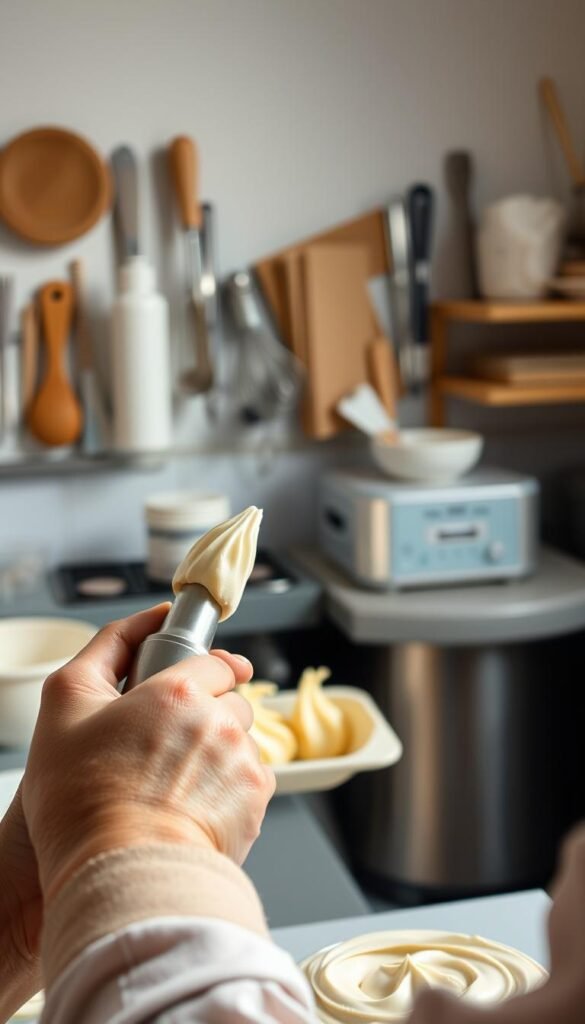
Fixing color, piping fatigue, and frosting texture
When a shade drifts, add a frosting half drop of gel at a time and mix fully before rechecking on a plate. Tiny increments prevent overcorrection and keep your colors consistent.
If black looks green, add a touch of blue and yellow and test a tiny smear under bright light. For too‑stiff frosting, beat in small half drop amounts of cream; for too‑soft frosting, add a spoon of powdered sugar and chill the bowl briefly.
Piping fatigue causes wobble. Take short hand breaks, rotate the board, and switch hands for broad fills. Keep a cup of plain vanilla buttercream on hand to lighten or fix small bowls without thinning other batches.
Short‑term refrigeration and long‑term freezing
For short‑term storage, refrigerate the finished cake wrapped in plastic wrap. Remove the wrap when you pull it from the fridge so it can temper for serving and the buttercream softens evenly.
For long‑term storage, set the buttercream in the fridge first, then freeze the entire board tightly wrapped for a good seal. Thaw in the fridge, then bring to room temperature so piped details keep their shape.
- Use the plastic‑wrap “pod” method to swap colors in one bag; purge onto a plate until the next color runs clean.
- If the surface smudges, chill 10–15 minutes and resume—offset tools glide over a slightly firm base.
- Work in short batches to save time and preserve steady piping pressure.
| Problem | Quick fix | Why it helps |
|---|---|---|
| Shade drift | Add frosting half drop increments; test on plate | Prevents overcorrection and preserves color balance |
| Too-soft frosting | Add powdered sugar, chill briefly | Restores pipeable stiffness without changing flavor |
| Piping fatigue | Rotate board, rest hands, switch hands | Keeps lines steady and details crisp |
| Short-term hold | Refrigerate wrapped; remove wrap when tempering | Protects surface and readies dessert for serving |
Conclusion
Finish confidently. Use the printed template, arrange 25 cupcakes on a 19 x 14 inch board, and follow the toothpick outline transfer to map the face and ears precisely.
Color and fill with vanilla buttercream tinted using gel food. Mix light blue and very light bowls leaning violet, let deep tones rest, and use star piping to fill sections cleanly.
Keep a small cup of plain frosting on hand and swap shades through one bag to save time. For speed, add an edible image or a neat cake topper, or order a custom bluey cake with 48–72 hour lead time (starting near $115).
Use this recipe and workflow to balance time, budget, and detail. Prep ahead, chill between steps, and pipe steadily for repeatable, photo-ready results.
