How to Make a Birthday Cake Topper Printable: A Simple Guide
Surprising fact: thousands of parents download free template sets each month to turn a plain dessert into a themed centerpiece in minutes.
This Website contains affiliate links. That means I may earn a small commission if you purchase through my links, at no extra cost to you.
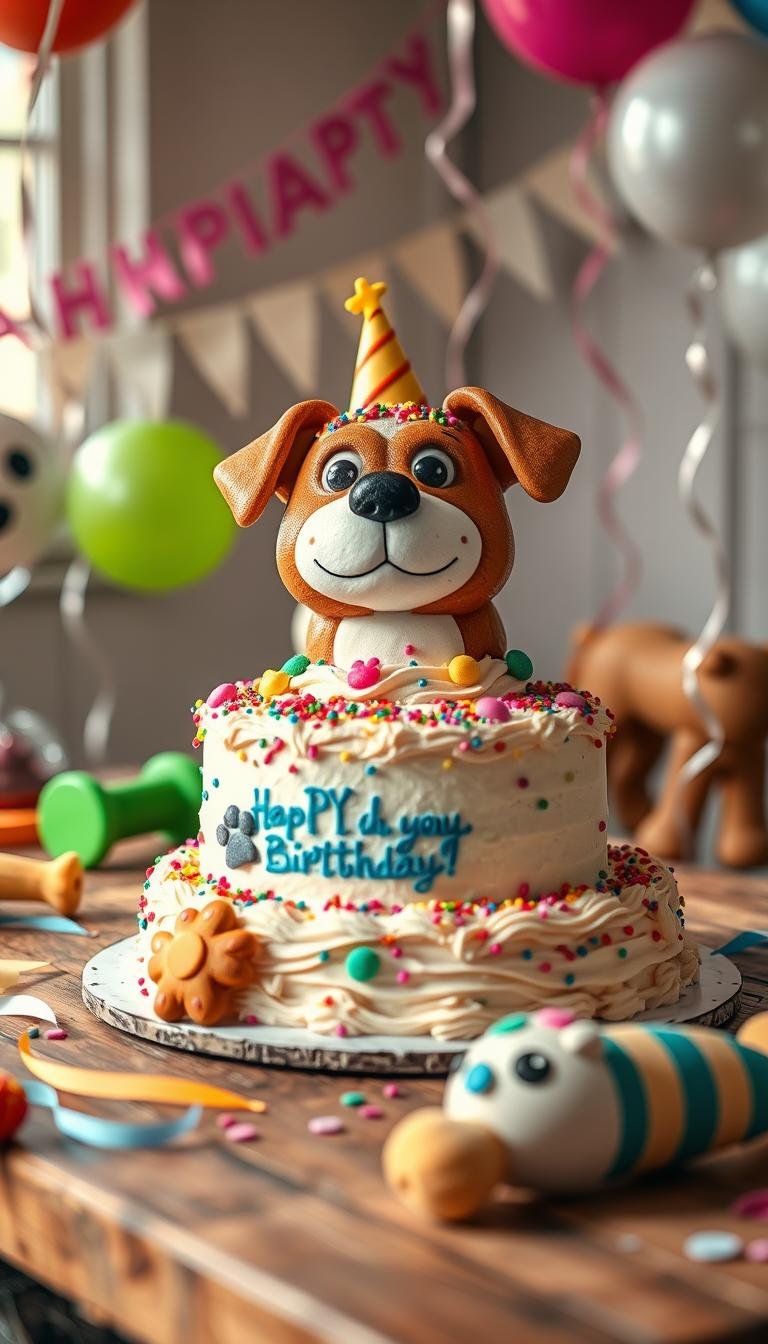
This guide shows an easy, affordable way to craft a custom topper that instantly upgrades any birthday cake. You’ll use free templates, basic white cardstock, a home printer, and simple tools like scissors and sticks.
Why it works: printable designs save time and money compared with custom bakery pieces. Many sets include a “Happy Birthday” banner, balloons, hats, and blank pages you can personalize with a name or age.
What to expect: a quick tool checklist, step-by-step printing and assembly, food-safe tips, and creative ideas you can scale into cupcake picks or table signs. With a little craft glue and imagination, you can make a polished look that matches your party theme.
Key Takeaways
- Free template downloads let you craft a themed cake topper fast and affordably.
- Use sturdy white cardstock and simple sticks for a stable, food-safe result.
- Printable designs can be personalized with a name, age, or photo.
- One template can scale to cupcake picks, mini banners, or table signs.
- Next: tool list, assembly steps, safety tips, and creative ideas.
Getting started with DIY birthday cake topper printables
Begin with a free file and basic supplies. Choose a download that includes a banner, balloons, and small hats so you can craft matching decorations fast.
Why this saves money: Print once and make multiple accents. That cuts custom fabrication costs and avoids rush fees. A single set can dress a whole table and create a coordinated look.
Essentials you’ll need:
- White cardstock or sturdy paper for clean edges and strength.
- Home color printer and scissors or a craft knife for precise cuts.
- Adhesives: clear tape, glue dots, or a hot glue gun; sticks like paper straws or wooden skewers for food-adjacent use.
For extra flair, add glitter, mini pompoms, rhinestones, or ribbon. Kids can help color simpler pieces while adults handle cutting and hot glue. Protect surfaces with a cutting mat and test-print at draft quality to check size before the final run.
| Item | Purpose | Tip |
|---|---|---|
| Cardstock | Stability for toppers | Use 65–110 lb for best results |
| Printer | Color and detail | Test at draft, then print final in high quality |
| Sticks (skewers) | Food-safe support | Trim to size; sand rough ends |
| Embellishments | Texture and shine | Apply after glue sets |
Step-by-step: Make your birthday cake topper printable at home
Turn a downloaded design into a sturdy, photo-ready cake accent using cardstock and basic tools. The short steps below walk you through downloading, printing, customizing, and mounting a finished piece that suits your party theme.

Download a free printable template and choose a style
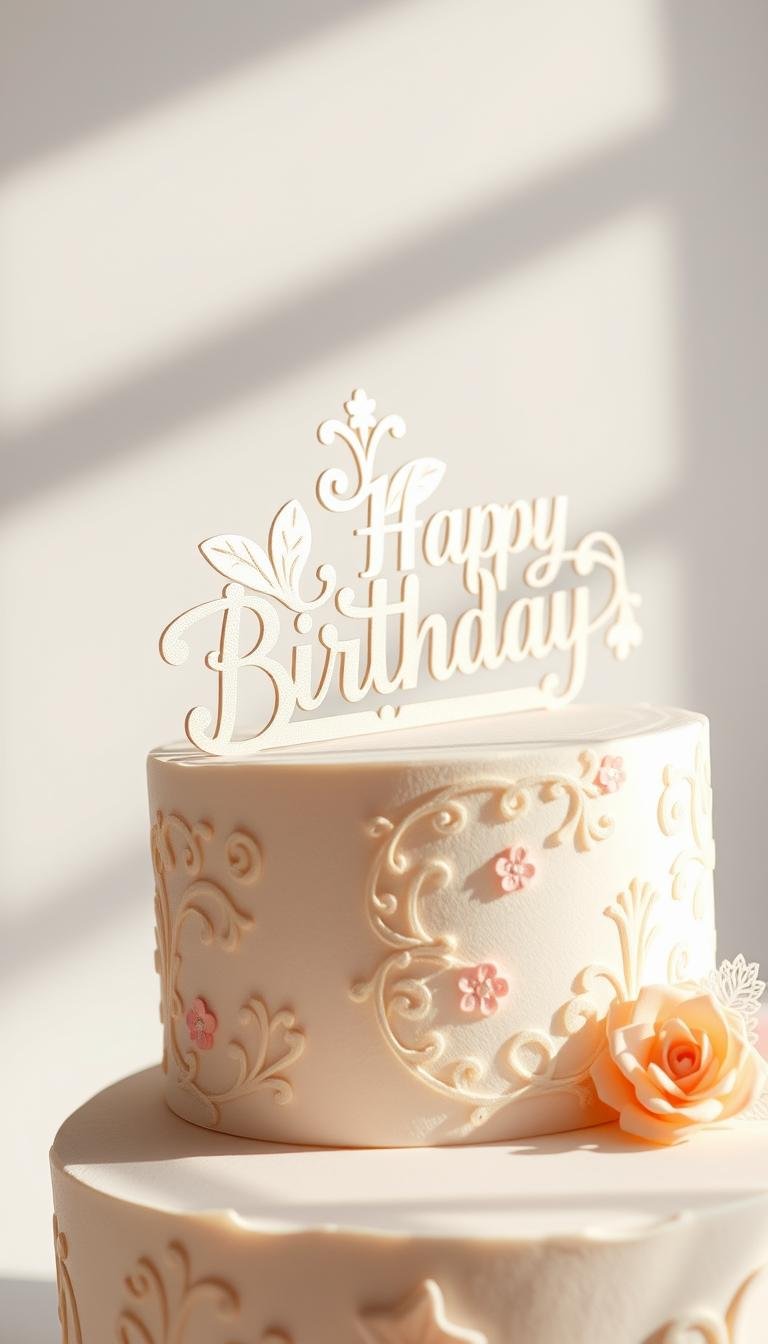
Pick a free file that matches your theme — banners, balloons, or party hats work well. Save the PDF to keep sizing accurate and confirm the license is for personal use.
Print on white cardstock and customize
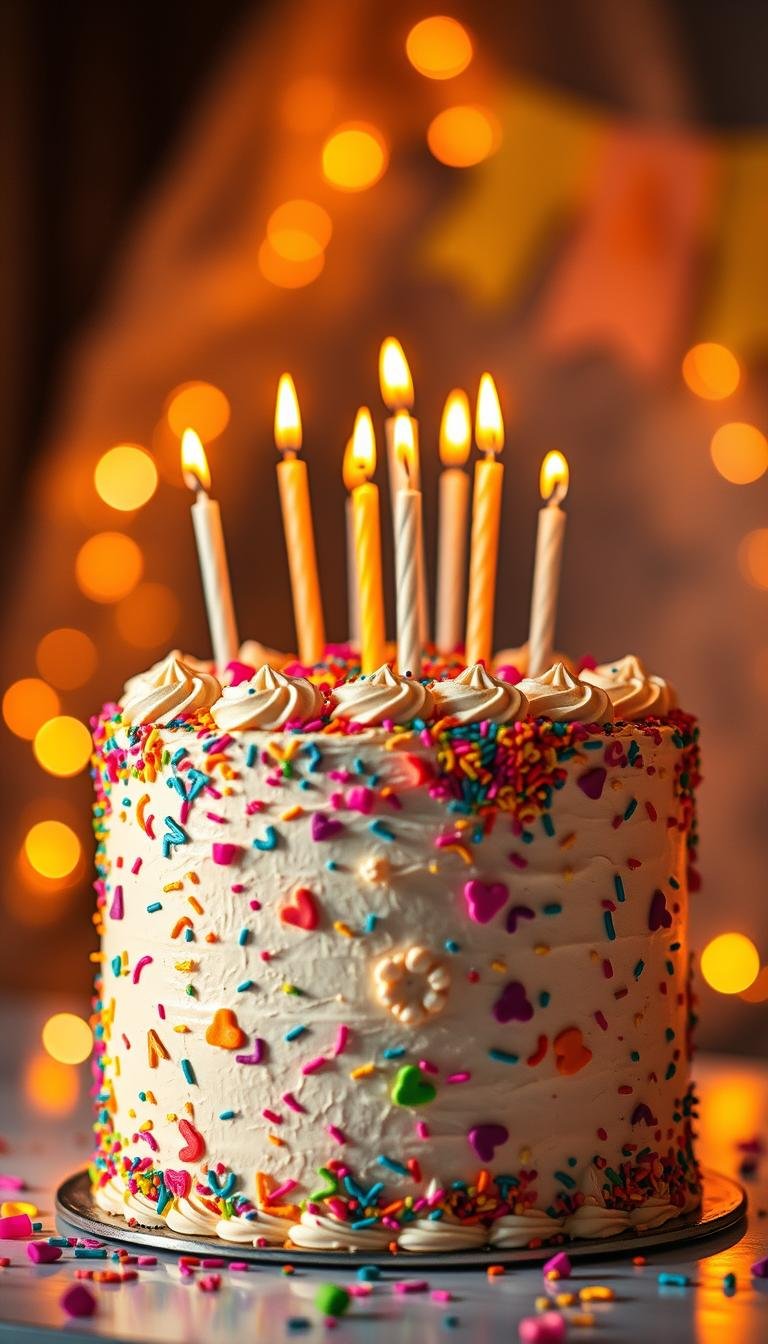
Use heavy cardstock and set your printer to high quality. Color with markers or add a small photo and a touch of glitter for extra special flair.
Cut, reinforce, and mount
Cut precisely with scissors or a craft knife. Back delicate pieces with a second layer of cardstock for firmness. For mounts, choose cocktail sticks, paper straws, or wooden skewers; use a glue gun or strong tape to attach and press until set.
Safe assembly tips
Avoid placing paper directly in frosting. Trim sharp skewers and leave a small gap between the decoration and icing. Store finished pieces flat in a dry box until party time to prevent curling.
Creative cake topper ideas and printable themes to try
Use seasonal accents to make each month feel special. Try mini pompoms for January and glitter trims for February. April shines with multicolored rhinestones and June works well with popsicle motifs and tiny disco balls.
Mix in character sets and graphic looks. Consider a purple October monster, an August whale with ribbon, or a yodeling yeti for winter whimsy. Alternative sets include banner flags, birthday blooms, rockets, and milestone numbers.
Personalize with names, ages, or a small photo. Use blank files to hand-letter a name or pair a word topper with numbers. For stability on wider designs, mount on two wooden skewers; use paper straws or toothpicks for cupcake toppers and small picks.

- Build a matching suite: scale designs to cupcake toppers, mini banners, and favor boxes.
- Add safe sparkle: a thin line of glitter glue or self-adhesive rhinestones reduces shedding.
- Respect terms: most free printable files are for personal use—tag creators if they ask for credit.
Conclusion
Finish strong: print your chosen design on sturdy white paper or cardstock, color and cut, then back delicate pieces for support.
Attach the design to a cocktail stick, paper straw, or wooden skewers using tape or a glue gun for a firm hold. A small dot of glue at stress points keeps the piece stable.
Personalize with a name, age, or small photo and use two mounting points for wider items so the display sits straight. Scale matching picks for cupcakes and table markers to tie the party together.
Keep files for personal use and share photos if creators invite it. Gather tools and finish these diy birthday accents close to serving time so paper stays crisp on the cake.