Happy Birthday Cake Ideas: Delicious Recipes for the Future
Surprising stat: Almost one in three home bakers say they plan to test a new dessert method this year, making small celebrations bigger with fresh recipes and simple tricks.
This Website contains affiliate links. That means I may earn a small commission if you purchase through my links, at no extra cost to you.
This guide presents two cornerstone approaches for future festivities: a from-scratch vanilla butter option and a quick mix-based chocolate version layered with cookies-and-cream frosting.
Why it matters: precise ingredient ratios, reliable bake times, and the toothpick test help you get tender crumb and even layers every time.
We also cover tools and step-by-step methods to cut prep time and reduce errors. Expect clear tips on creaming butter and sugar, alternating wet and dry ingredients, and simple finishes like white chocolate drips and nostalgic toppings.
Make-ahead notes explain how to cool, wrap, refrigerate, or freeze layers so your celebration day stays calm and organized.
Key Takeaways
- Choose scratch or shortcut based on time and skill.
- Follow ingredient ratios for reliable texture.
- Use the toothpick test to check doneness every time.
- Simple decorations add big visual impact with little fuss.
- Wrap and freeze unfrosted layers for stress-free prep.
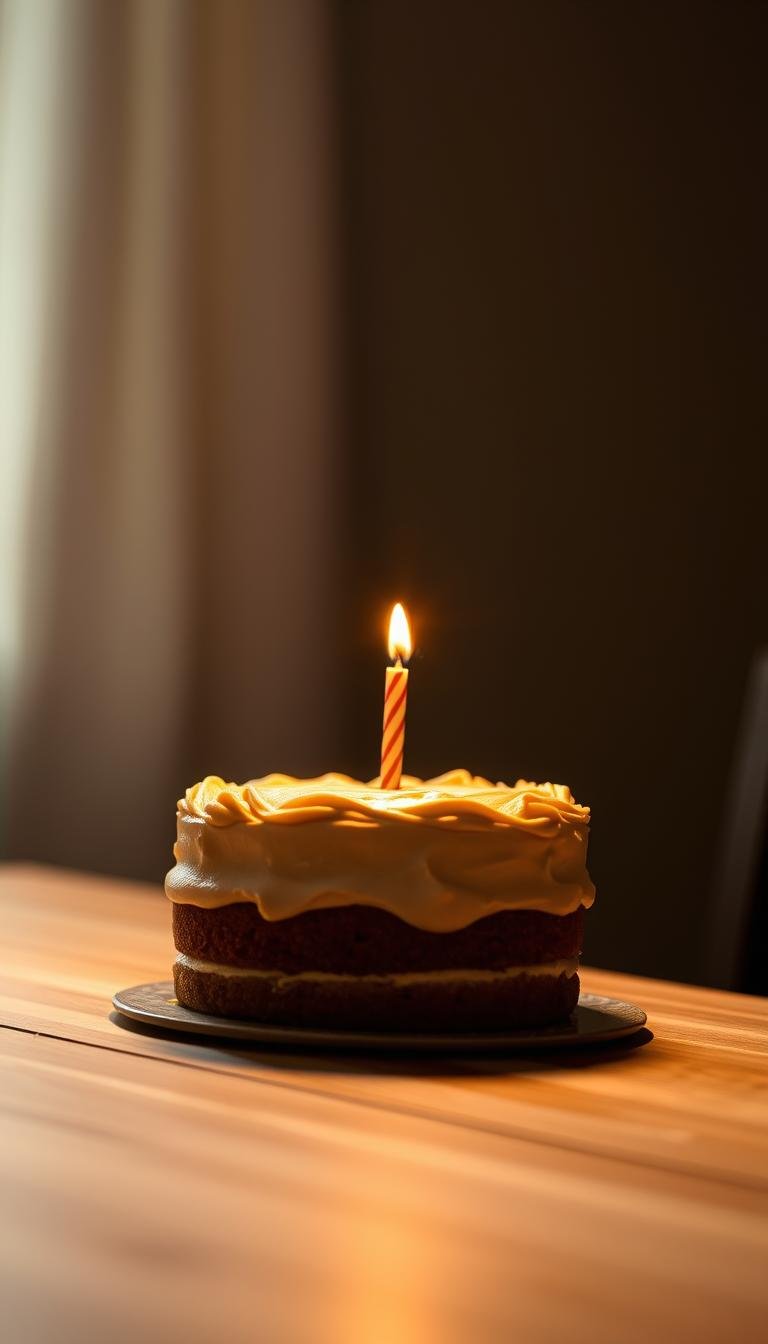
Why a happy birthday cake sets the tone for future celebrations
A memorable dessert blends taste, texture, and presentation to create an instant highlight. A fluffy, moist vanilla crumb or a rich chocolate base with smooth buttercream tells guests the event is special.
User intent matters: people want flavor they recognize, a tender bite that stays moist, and an appealing top that looks good in photos. Follow reliable bake times—vanilla at 350°F for 30–35 minutes, chocolate 25–28 minutes—and cool pans 10 minutes before unmolding.
Plan backward to reduce stress. Bake and wrap cake layers one to two days ahead. Let layers cool completely before frosting. Chill briefly if you will add a white chocolate drip so the drizzle sets neatly on the top.
User intent and what makes a birthday cake unforgettable
- Deliver flavor guests crave and a moist crumb that holds up when sliced.
- Keep visuals simple: swirls, a sprinkle band, or a clean white chocolate drizzle create a striking top.
- Choose a cake recipe that fits the guest of honor—vanilla for nostalgia, chocolate for richness.
Planning ahead: timeline for stress-free party bakes
| Task | When to do it | Why it helps |
|---|---|---|
| Mix and bake layers | 1–2 days before | Reduces day-of workload and evens texture |
| Cool completely and wrap | After baking | Prevents dryness and locks in moisture |
| Frost and decorate | Morning of event | Keeps frosting fresh and decorations secure |
Essential tools and pantry: large mixing bowl to cake pans
A tidy work station and a few reliable tools are the secret to consistent layers and neat finishes. Gather basics before you mix so the bake moves smoothly from start to top.
Must-haves for a smooth bake
Large mixing bowl, a good mixer (hand or stand), and two sturdy cake pans form the core kit for this recipe. Use two 9-inch rounds for classic layer builds.
Keep measuring cups and spoons, parchment circles, an offset spatula, and a serrated knife within reach. A second mixing bowl helps you sift dry ingredients and alternate additions without overmixing the main bowl.
Prep smart
- Preheat the oven 350°F so temperature is stable when batter goes in.
- Prepare pans with cooking spray and line bottoms with parchment to avoid sticking.
- Set wire cooling racks nearby to cool layers quickly and level the top once they are room temperature.
From-scratch birthday cake recipe: buttery vanilla layers with classic buttercream
A dependable from-scratch vanilla builds the backbone for future decorating experiments.
Ingredients: 2 1/4 cups all-purpose flour, 1 1/2 cups sugar, 1/2 cup unsalted butter (room temp), 3 teaspoons baking powder, 1 teaspoon salt, 1 teaspoon vanilla, 1 1/2 cups milk, 3 eggs.
Method overview
Cream sugar and softened butter in a large mixing bowl with a hand mixer or stand mixer until fluffy.
Whisk flour, baking powder, and salt in a separate bowl. Combine eggs, milk, and vanilla in another bowl.
Alternate adding wet and dry to the creamed mixture until the cake batter is smooth. Gently fold sprinkles if you like.
Divide cake evenly into two 9-inch pans or one 9×13 sheet. Bake minutes at 350°F—typically 30–35 minutes—until the center comes clean when tested with a toothpick.
Rest layers 10 minutes in pans, turn out, and cool completely on racks before frosting.
Pan options & pro tips
| Pan type | Fill & prep | Bake minutes |
|---|---|---|
| Two 9-inch rounds | Divide cake batter evenly; line with parchment and use cooking spray | 30–35 minutes; test center until it comes clean |
| 9×13 sheet | Use full batter; grease and parchment for easy release | 30–35 minutes; edges lightly golden, center springs back |
| Pans that stick | Grease and flour in addition to spray; cool 10 minutes before unmolding | Helps protect cake layer edges and speeds release |
Quick tips: Pull butter to room temp so softened butter creams easily. Trim domes with a serrated knife for level stacking. For buttercream, beat butter, add sugar slowly with milk and vanilla, then whip until fluffy and spreadable.
Chocolate happy birthday cake with cookies-and-cream frosting and nostalgic toppings
Fast upgrades turn a boxed base into a memorable layer cake. Use one box devils food cake mix and a handful of pantry swaps for richer texture and flavor.
Quick base
In a large bowl, stir 1 box devils food cake mix with 4 large eggs, 1/2 cup canola oil, 1/2 cups milk or heavy cream, 1/2 cup sour cream, and one 3.4-ounce instant chocolate pudding mix until cake batter is smooth.
Divide into two prepared pans and bake at 350°F for 25–28 minutes until a toothpick comes clean. Let each cake layer cool completely before assembly.
Cookies-and-cream frosting
Beat 2 sticks butter with 3 1/2 cups powdered sugar, add 2–3 tablespoons milk for spreadable texture, then fold in 6 crushed Oreos for visible speckles.

Top cake finishes & assembly flow
- Place bottom cake layer on a stand and spread frosting evenly.
- Add the second layer and level if needed.
- Melt one bag Ghirardelli white melts and pour over the top cake to drip slightly.
- Arrange Oreos, 4 Nutty Buddy Bars, 1 halved Star Crunch, and 2 halved Cosmic Brownies on top; chill briefly to set.
- Slice with a hot knife and store covered in the refrigerator up to 3 days.
| Component | Amount | Notes |
|---|---|---|
| Base | 1 box + pudding | Bakes 25–28 minutes; pulls when it comes clean |
| Frosting | 2 sticks butter, 3 1/2 cups powdered sugar | Add 2–3 tbsp milk; fold in crushed Oreos |
| Toppings | Ghirardelli melts + bars | Arrange after drip; chill to set |
Frosting and finish: buttercream fundamentals for birthday cakes
The right frosting can rescue small flaws and create a clean, bakery-style finish with little fuss. Start with room-temperature butter and a reliable mixing bowl so the texture builds evenly.
Classic buttercream method: cream 2 sticks of butter with about 1 cup powdered sugar, add half the milk, then beat in the remaining sugar and flavoring (vanilla or butter flavoring) until fluffy. Add more milk in tiny splashes to reach spreadable consistency.
Texture targets
Aim for a fluffy, smooth cream that glides across the top without pulling crumbs. Use a mixer on medium speed to fold air in, and scrape the sides of the mixing bowl so the frosting is uniform.
Color and flavor twists
- Add cocoa powder for a chocolate variation; increase milk slightly to keep it spreadable.
- Use gel tint for vivid hues without thinning the frosting.
- Swap vanilla for almond or lemon extract for a bright, complementary flavor that pairs well with vanilla or chocolate cake.
| Step | Why it helps | Quick tip |
|---|---|---|
| Room-temp butter in mixing bowl | Ensures smooth creaming and even texture | Beat until pale and creamy before adding sugar |
| Add sugar in stages with milk | Prevents grainy or thin frosting | Start with half the milk, then adjust |
| Chill and re-whip if needed | Restores structure for piping and clean finishes | Cold frosting: chill 10–15 minutes, then whip briefly |
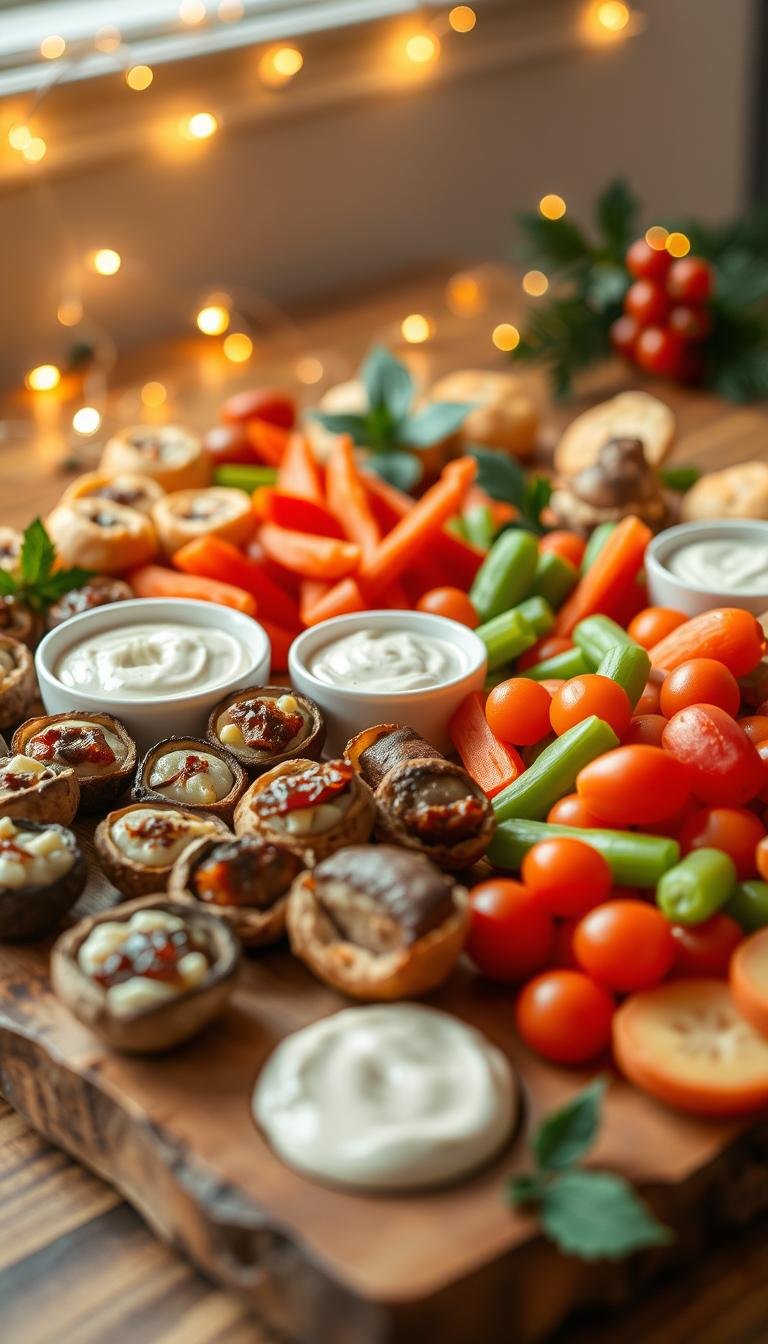
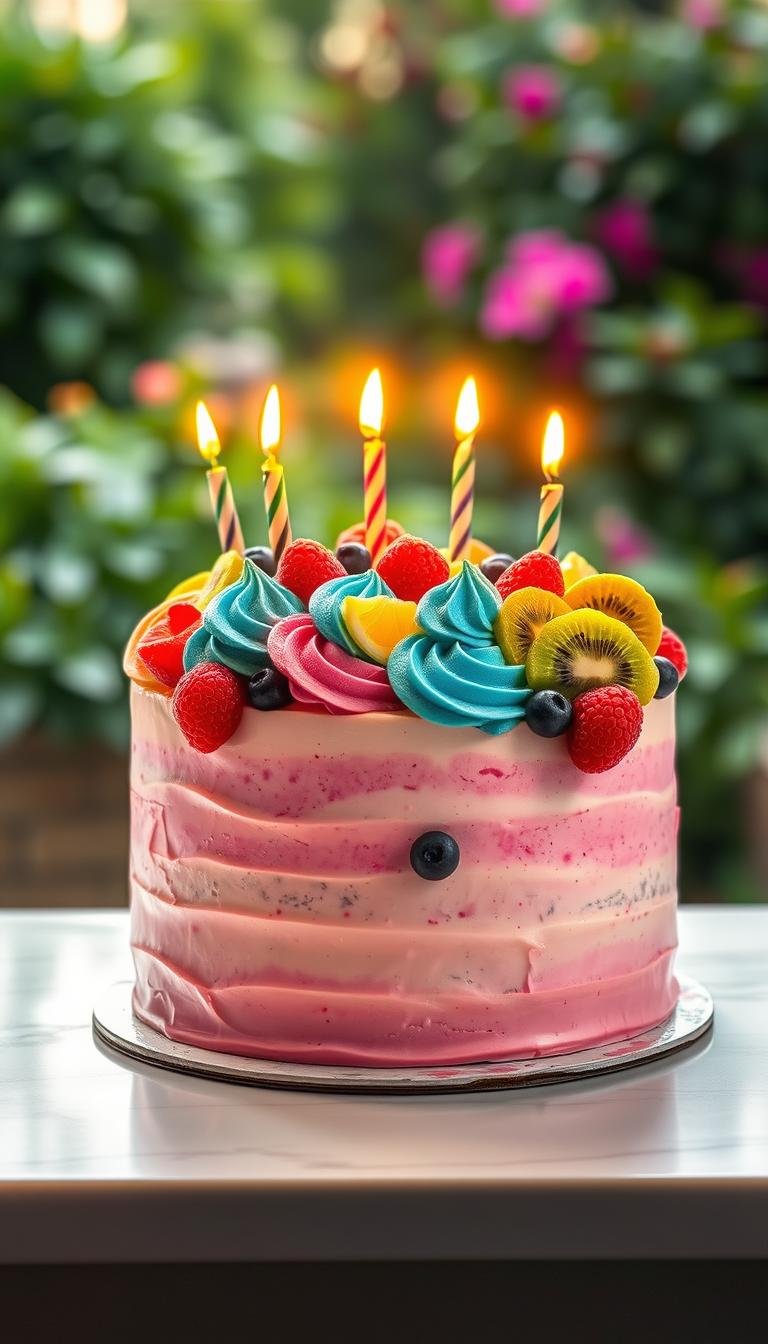
Decorating ideas that shine: sprinkles, drips, and simple swirls
A few well-placed swirls, drips, and sprinkles instantly lift a plain dessert into something festive. Use small, deliberate moves so the finish looks intentional rather than overworked.

Keep it homemade
Embrace visible swirls. Leave joyful swoops in the frosting to signal a homemade touch. Add sprinkles while the surface is still soft so they stick and hold through serving.
Drizzle drama
Chill the frosted cake briefly before a white chocolate drip. Melt and pour slowly at the center, nudging small amounts over the edge to create even droplets. This controlled method prevents runs that soak the cake layers.
“A chilled surface and patience make the cleanest drips and the crispiest sprinkle band.”
- Concentrate larger toppings toward the back and center to balance weight and showcase the front top.
- Add a thin rim border with a spoon or small spatula to frame the design and hide small level differences between cake layers.
- Choose one or two sprinkle colors to keep a cohesive look instead of a chaotic mix.
- Pair a white chocolate drip with dark cookies or brownie pieces on the top cake for contrast and height.
- Wipe tools frequently so areas you want smooth stay smooth and textured spots remain deliberate.
| Technique | When to do it | Why it helps |
|---|---|---|
| Sprinkle while frosting is soft | Immediately after spreading | Sprinkles embed and stay put through slicing |
| Chill before drip | 5–10 minutes in fridge | Limits melt-through and gives controlled drips |
| Concentrate toppers | After drip sets | Creates visual height and preserves the front top for photos |
Make-ahead, storage, and future-proofing your birthday cakes
Planning storage gives you flexibility and calm on party day. Bake layers in advance, let them cool completely, then wrap to lock in moisture. This saves prep time and keeps slices tender when you slice.
Store smart: airtight container and refrigerator guidelines
Place a finished cake in an airtight container and refrigerate. Vanilla buttercream cakes hold best up to 4 days. Rich chocolate cakes maintain quality for about 3 days.
Chill the assembled cake until firm before transport. Keep the top free of tall decorations until final placement to avoid damage in transit.
Freeze strategy: double-wrap unfrosted cake layers and thaw before icing
To freeze, cool completely, then double-wrap unfrosted layers tightly in foil. Freeze up to 3 months to protect against freezer aromas and ice crystals.
Thaw overnight in the refrigerator, then bring layers to room temperature for 30–60 minutes before you frost. Allow 10–15 minutes to unwrap and blot any condensation so frosting adheres smoothly.
- Refrigerate leftover frosting and re-whip briefly before use to restore volume.
- If you need to make cake components now, store them and assemble later for a fresh finish.
- Keep extra frosting on hand to touch up dings after travel or to pipe a neat rim along the edge.
Conclusion
Finish strong by turning technique and timing into dependable party-ready results. Use the vanilla from-scratch recipe for a buttery crumb (2 1/4 cups flour, 1 1/2 cups sugar, 1/2 cup butter, 1 1/2 cups milk, 3 eggs) baked at oven 350 for 30–35 minutes, or choose the chocolate mix path for a faster, moist result in 25–28 minutes.
Tools and simple steps matter: cream softened butter and sugar in a mixing bowl, alternate wet and dry, divide cake between prepared pans treated with cooking spray and parchment. A hand or stand mixer speeds mixing and leveling.
Store finished treats in an airtight container in the fridge for 3–4 days, or freeze unfrosted layers up to 3 months. Log your minutes, pans, and finishes so each future birthday dessert matches the look and flavor you want.