Halloween Kuchen Ideas for a Spooky Sweet Treat
Surprising fact: 65% of hosts pick a store-bought base and spend the last 30 minutes decorating it for parties.
This Website contains affiliate links. That means I may earn a small commission if you purchase through my links, at no extra cost to you.
This guide flips the usual recipe routine. Instead of baking, we focus on decor-first torte and cake ideas that are no-bake and last-minute friendly. You’ll learn how to choose a pre-baked base so you can invest your precious min in fun finishes, not oven time.
We list essential zutaten and tools—fondant, couverture chocolate, cookies, marshmallows, piping tips, and skewers—so you avoid emergency store runs. Follow thawing tips for frozen cakes to plan enough minutes before the party.
Expect kid-friendly motifs like funny ghosts and spider webs, and adult-ready looks with darker palettes or mummy wraps. This piece offers quick rezepte, smart ideen, and time-saving staging so you can assemble a crowd-pleasing dessert in under 30–60 minuten.
Key Takeaways
- Pick a pre-baked base to save time and stress.
- Stock simple zutaten—fondant, candies, and couverture chocolate—for big impact.
- Most designs take under 30–60 minuten from start to finish.
- Kid and adult themes are easy swaps with a few toppers.
- Follow thawing and prep instructions for frozen torte to avoid soggy layers.
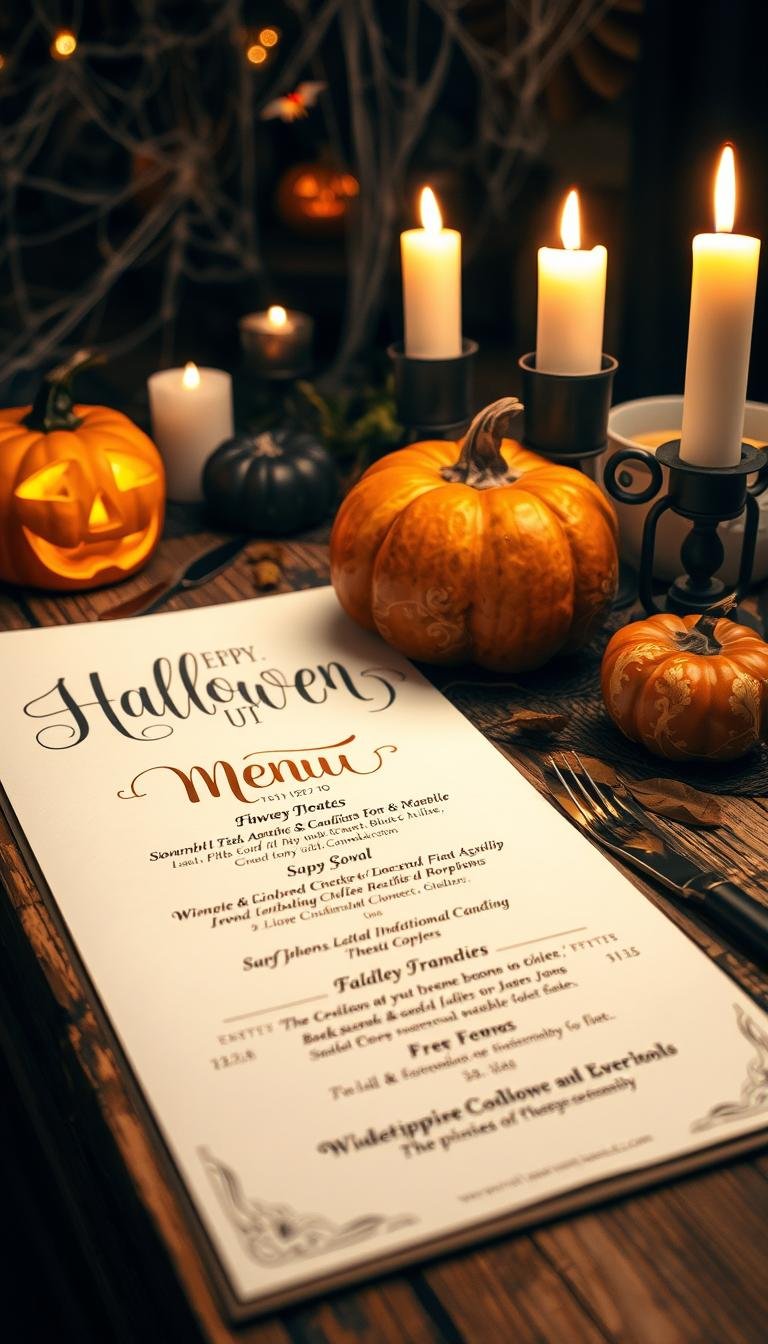
Set the Spooky Scene: Easy, Decor-First Halloween Cakes and Tortes for Your Party
When time is tight, clever toppings turn a simple cake into a spooky showstopper. No-bake, decor-first projects let you skip oven time and spend your minutes on fun finishes that guests will notice first.
Why no-bake and last-minute decorations work for busy hosts
Choose a pre-baked base and plan the workflow: 10–15 min for thawing/setup, 15–20 min for frosting and color, and 10–15 min for finishing touches. Follow manufacturer thawing instructions so slices hold shape and decorations stick without sliding.
Match the scare level: light-and-fun for kids or full-on spooky for adults
For kids, use bright colors, big candy eyes, gooey greenslime, and silly spinnen made from licorice and pretzels. For grown-ups, pick black and deep-purple tones, mummy-style fondant wraps, and metallic sprinkles for dramatic photos under dim lights.
Quick toolkit and zutaten: keep a piping tip, sharp knife, mixing bowl, and wooden skewers handy. Stock fondant, couverture chocolate, cookies, marshmallows, and candies so you can add last-minute cutouts or edible gravel in minutes.
halloween kuchen Inspiration: Simple, Kid-Approved, and Party-Ready
A ready-made base gives you the freedom to focus on fast, eye-catching decor. Start with a pre-baked round, sheet kuchen, or classic torte and plan each step in short min blocks.
No-bake wins: pre-baked bases you only decorate
Top idea: Tint frosting, add fondant shapes, and press candies into place. Fondant, food color, couverture chocolate, cookies, and marshmallows create big impact in very few min.
Kid-friendly crowd-pleasers
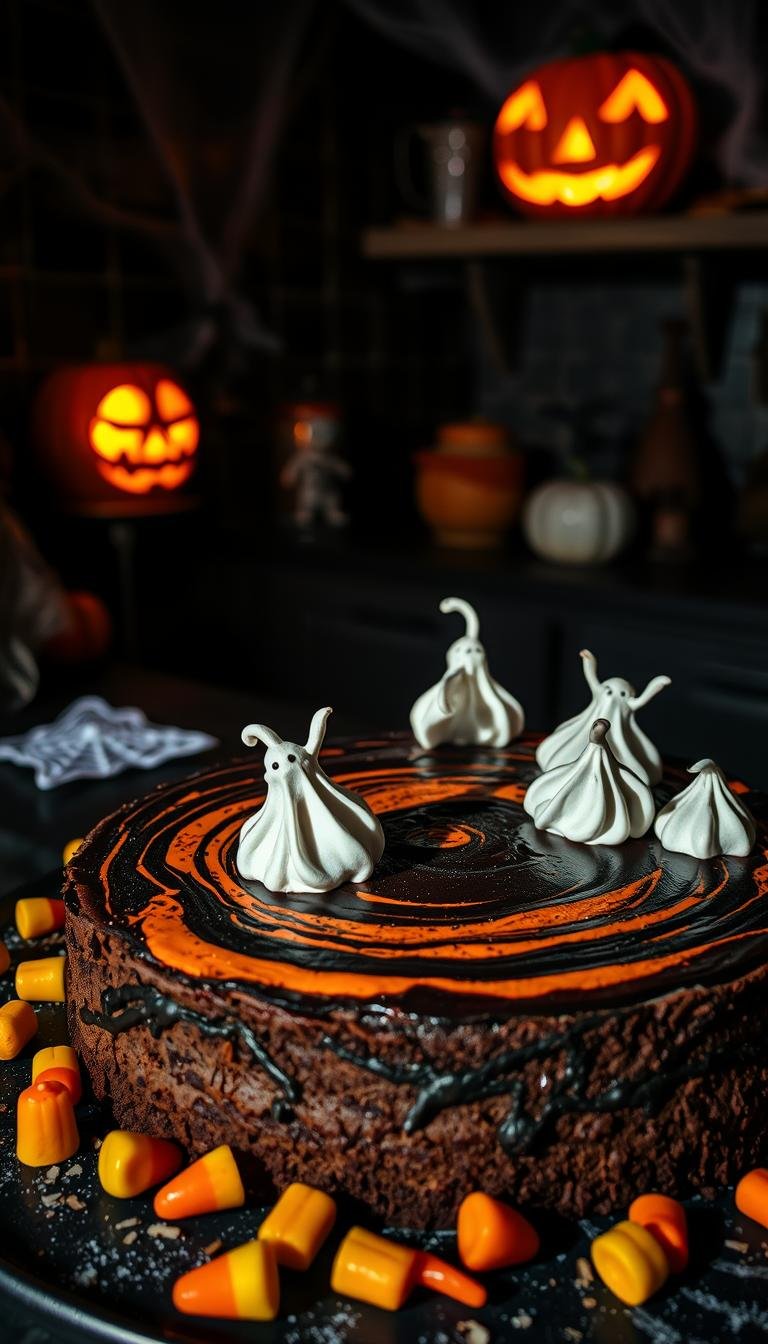
Try ghost cakes with smooth white coats and fondant eyes or monster faces with marshmallow eyes and ragged buttercream. For spinnen themes, pipe a chocolate web and use cookie truffles for bodies. Most designs take under 20–30 min to finish.
Essential ingredients and tools
Keep basic pantry zutaten like mehl, zucker, eier, backpulver, and weiche butter ready if you switch to a quick bake. For decorate-only projects, stock fondant, food color, chocolate, cookies, and marshmallows. Tools you likely have: a piping tip, sharp knife, mixing bowl, and wooden skewers.
Time check for future parties
- Thaw/setup: 10–15 min.
- Base coat and color: 10–15 min.
- Final decor: 10–20 min.

From Batter to Boo-tiful: Step-by-Step Tips to Mix, Bake, and Decorate
A well-made batter sets the stage for quick decorating and steady slices. Follow a simple workflow so your torte or kuchen finishes clean and photo-ready within your available min.

Make the batter right
Start by creaming soft butter and zucker until pale and fluffy. Add eier one at a time to keep the emulsion stable.
Sift mehl with backpulver and a pinch of salz. Fold the dry mix into the teig gently to avoid a tough crumb.
Bake smarter
Prep pans by greasing and lining, then preheat the ofen to the recipe temperature before you begin. Avoid opening the door for the first two-thirds of the bake to keep heat steady.
Test doneness with a skewer — crumbs should be moist but not wet. Cool completely on a rack so frosting grips and decorations hold their shape.
Decorate like a pro
For fast finishes, pipe chocolate webs and add cookie-truffle bodies for spinnen, or wrap thin fondant strips like a mummy and add candy eyes.
- Min milestones: 10–15 min mixing, 20–35 min backen, ~60 min cooling, 15–25 min decorating.
- Use wooden skewers to anchor tall toppers and a warm sharp knife for clean slices.
- If using a pre-baked base, follow thawing instructions so buttercream spreads evenly and fondant won’t slide.
Conclusion
, Finish strong with a simple plan that makes party desserts look effortless. Stage a tiny decor station with a bowl, piping tip, sharp knife, wooden skewers, and a heatproof topf for melting chocolate.
Choose a pre-baked base or quick torte rezept to skip the ofen and save minutes. Follow thawing tips for frozen bases so decorations hold and texture stays right.
Mix kid-friendly faces and green slime with darker mummy styles for adults. Track which rezepte and ideen worked best and note min for each step.
Tip: Watch portions—candies and butter add richness, so smaller slices keep guests happy and the spread balanced.