Halloween Birthday Cakes: Top Picks for Future Parties
Surprising fact: nearly 40% of October hosts say the dessert table defines the party vibe, so your centerpiece matters more than you think.
This Website contains affiliate links. That means I may earn a small commission if you purchase through my links, at no extra cost to you.
Get your spooky on with a compact list of showstoppers and simple wins for seasonal celebrations. This guide pairs dramatic designs—like fault-line illusions and 3D striped treats—with easy pan bakes you can finish in an afternoon.
Expect clear notes on skill level, timing, and tools. We highlight standouts from an Evil Eyes fault line to a jack-o’-lantern piñata cake and mini pumpkin-and-ghost sweets.
Practical tips show how store-bought candy and sprinkles lift a basic cake into something photo-ready. You’ll also get staging ideas and chilling hacks to keep calm as the weekend approaches.
Key Takeaways
- Quick wins and showstoppers are both covered for any skill level.
- Many designs use simple candy add-ons for big visual impact.
- Notes on tools and timing help match projects to your schedule.
- Staging tips make the dessert table cohesive and camera-ready.
- Ideas map to ages and vibes so the guest of honor feels seen.
Plan Ahead: How to Use This Listicle to Nail Your Next Halloween Birthday
Lay out a few time-saving steps to make an impressive centerpiece without heavy carving. Start by picking one hero halloween cake that matches your skill level and the party vibe. Then build simple sides to support it.
Many projects here use clever shortcuts: unmold skulls from a tube pan, bake jack-o’-lanterns in a fluted pan, or top a brownie slab with cookie tombstones. Striped and fault-line designs rely on bold buttercream, not sculpting, so they save hours.
- Schedule: bake layers 1–2 days ahead; chill or freeze, then decorate the day before.
- Choose time-smart builds—pan-shaped forms, brownie graveyards with cookies, or strong buttercream looks.
- For kids, favor sturdy desserts that travel well, like striped bat cakes, emoji cupcakes, or candy bucket options.
- Pre-shop candy eyeballs, Candy Melts, and seasonal sprinkles and store them at room temperature for quick assembly.
Finish smart: do ganache drips and place fresh fruit or candy right before serving, while buttercream accents can be done earlier and refrigerated. This keeps flavors bright and the table running smoothly.
Monstrous & Eye-Popping Cakes
Pick one bold eye-themed showpiece to anchor your dessert table. A single hero lets smaller sweets support the look without clutter. Two quick options work well for varied skill and time.
Evil Eyes fault line cake uses a dramatic break band, candy eyeballs, black jimmies, and blood-red decorating gel for an optical illusion that feels high-end but is simple to execute.
Monster Eyeball shag cake leans playful. Pipe multicolored buttercream in a consistent shag texture, then tuck candy eyes into the fur for a whimsical centerpiece that photographs beautifully.
Stock candy eyeballs and red gel ahead of time. Chill before slicing so textured layers cut cleanly. For outdoor service, use heat-stable buttercream and cool packs for transport.
| Feature | Evil Eyes Fault Line | Monster Eyeball Shag |
|---|---|---|
| Look | Optical, dramatic | Playful, colorful |
| Key supplies | Candy eyes, red gel, black jimmies | Multiple buttercream colors, candy eyes |
| Skill level | Intermediate | Beginner–intermediate |
| Best tip | Define the fault line band for contrast | Pipe uniform shag rows for photo-ready texture |
- Shortlist one showpiece to anchor the table.
- Keep partyware simple—black and lime green let the centerpiece shine.
Batty and Boo-tiful: Bats, Ghosts, and Spiders
Small flourishes can change a simple stack into a scene. Think bright banded layers, a pair of mid-air candy bats, and a glossy web drip to make every slice a reveal.
Spooky Bat cake with bright stripes and 3D candy bats
Design tip: use bold stripes on the outside and matching colored layers inside for a dramatic cross-section.
Top with pre-made candy bats that stand slightly off the surface. The 3D bats create motion and depth so the centerpiece reads lively from across the table.
Ghost cake that’s stacked, iced, and party-ready
Stack two or three tiers, smooth in white icing, and add simple black eyes and a mouth. A quick piped border finishes the look without sculpting.
Pro trick: keep accents on a small side plaque if you want inscriptions so the character stays uncluttered.
Spider Web ganache drip with Candy Melts webs
Pour a glossy ganache drip and then pipe geometric webs with Candy Melts for clean lines that set fast.
Add fondant spiders climbing the side and pair the slice with chocolate-dipped pretzel “legs” or tombstone cookies for a cohesive display.
“Pre-make candy bats and webs days ahead and store them flat; final assembly then feels fast and calm.”
- Choose stripes plus 3D accents for motion and depth.
- Prep decorative elements ahead to save time when the weekend gets busy.
- Use contrasting interior layers (orange, purple, black) for a surprise reveal.
Pumpkins, Jack-o’-Lanterns, and Fall Vibes
Use shape and color to sell a seasonal centerpiece without heavy sculpting. A fluted pan or bold piping gives instant autumn character while keeping prep simple. Focus on warm tints, textured buttercream, and a single statement topper for the best visual return.
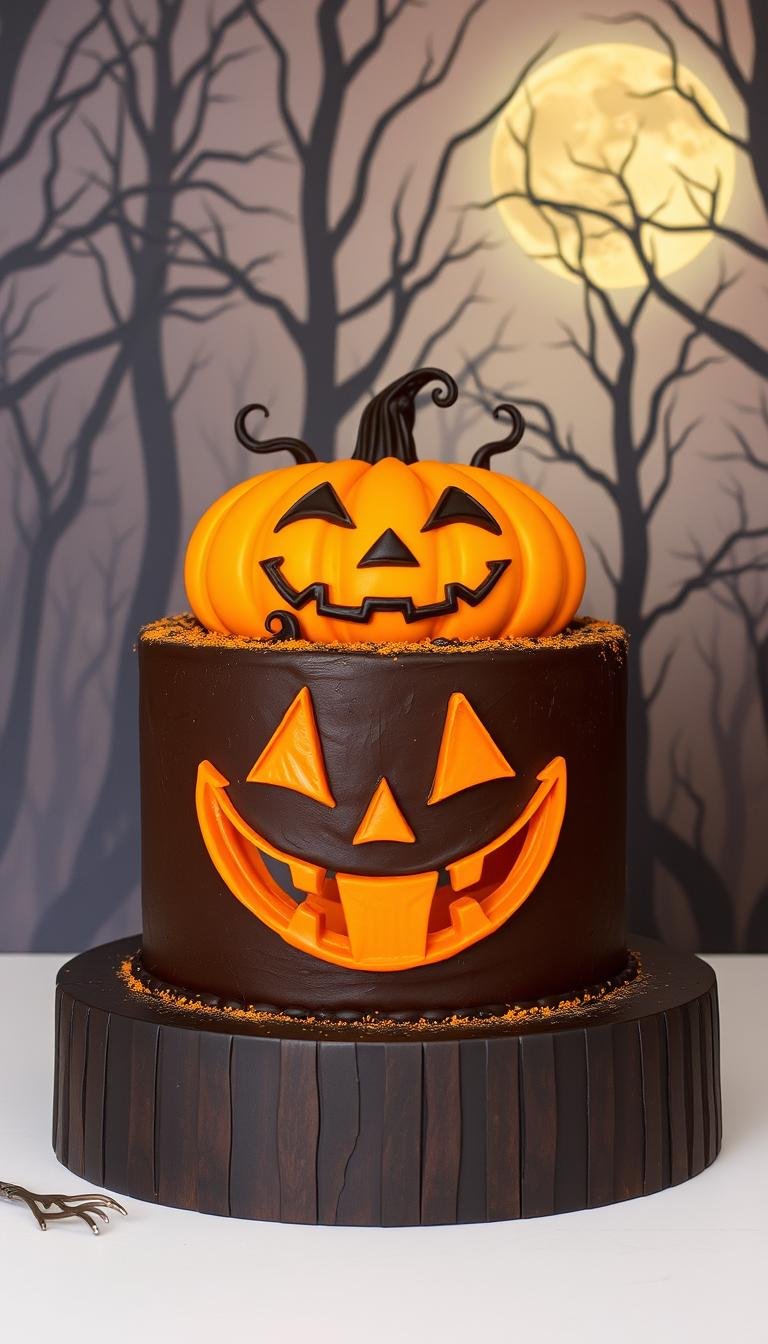
Jack-o’-Lantern fluted-pan
Quick build: bake in a fluted pan for instant form, smooth on orange icing, and add black and orange candy for eyes and accents. Tint layers with warm spices so each slice nods to the season.
Piped pumpkin centerpiece
Pipe vertical ridges in buttercream to read like a real gourd. This texture works for a cozy fall dessert and suits both kids and grown-up guests.
Pumpkin Shadows statement
Opt for a black-and-white palette with a fondant-covered pumpkin topper for a modern, elevated look. Use sturdy boards and dowels when the topper is tall or filled.
- Add matte black or orange candles to match the palette.
- Balance spice (cinnamon, nutmeg) with cream cheese or vanilla buttercream.
- Bake layers ahead and tint batter for fast assembly.
Stripes, Fault Lines, and Optical Illusions
Bold banding and deliberate gaps turn a simple stack into a visual trick that wows at the first slice.
Use clean stripes, metallic seams, and a hidden silhouette to make your centerpiece feel custom-made. These techniques scale for larger guest lists and slice neatly for easy plating.
Boo-tiful striped cake with topper and creepy-crawlies
Boo-tiful Striped Cake pairs bold stripes with a minimalist “Boo” topper and tiny creepy accents. The banded colors lead the visual story so small critters read as details, not focal points.
Striped Bat cut-out cake that hides a fun surprise
The Striped Bat Cut-Out looks simple outside but reveals a bat silhouette at the first slice. Plan internal color placement and chill between layers for a crisp reveal.
Enchanted Energy cake with golden fault lines and candy crystals
The Enchanted Energy Cake uses metallic fault lines and sparkling candy crystals to mimic a gemstone geode. Pre-tint all buttercreams and use a bench scraper for crisp edges.
- Stripe techniques offer repeatable steps: bench-scrape and level chill between colors.
- Fault lines pop with metallics; gold seams and crystals read luxe on camera.
- These tall designs serve crowds well—uniform slices speed up plating.
Graveyards, Skulls, and All Things Spooky
You can get maximum creep factor from a tube pan or a brownie sheet with just a few smart accents.
Creepy Skull cake: Bake the skull in a tube pan so it unmolds ready for monochrome detailing. Chill briefly, then paint features in white and black icing for crisp lines. This quick method gives a dramatic dessert that needs little sculpting.
Graveyard brownie cake: Use a sheet of brownies as your base. Stand hand-lettered cookie tombstones upright and scatter candy bones for texture. Dust cocoa powder or crushed cookies as “dirt” and pipe a small border to keep crumbs tidy on the table.
- If you want big impact with minimal work, the skull tube pan is the fastest route.
- Pair the spread with a dozen themed cupcakes for extra portions and easy handouts.
- Display with low LED lights to cast eerie shadows without risking melts.
“Chill the skull cake before painting features so lines stay sharp and finishes transport cleanly.”
halloween birthday cakes for Kids
Make kid-friendly sweets the star of the table with playful shapes and easy assembly. Pick a single showpiece and add lots of smaller treats so little hands can grab and go. Simple, bright decorating wins every time.
Candy Bucket cake uses fondant candies or the child’s favorite store-bought candy to create an overflowing pail effect. Swap in gummy worms, chocolate favorites, or wrapped treats to personalize the look.
Candy Bucket cake with fondant or store-bought candy
Pick the Candy Bucket cake for an instant crowd-pleaser—use the birthday child’s favorite candy for a personal touch. Decorate with fondant sweets if you want a polished finish, or save time and pile on store-bought pieces.
Halloween Emoji cupcakes: ghosts, pumpkins, Dracula, and more
Emoji cupcakes let you serve many kids fast. Make a mix: ghost, pumpkin, Dracula, Frankenstein, and goofy zombies. Keep faces simple with round cutters and circle tips so helpers of all ages can join.
- Favor buttercream over heavy fondant for softer bites kids prefer.
- Pre-box cupcakes in carriers with inserts for safe transport to school or parties.
- Label flavors—vanilla, chocolate, funfetti—so parents and kids can choose with confidence.
“Simple tools and bold candy make snack-time decorating fun for kids and adults.”
Mini Bites: Halloween Mini Cakes, Cake Pops, and Cupcakes
Mini desserts make it easy to serve a crowd while keeping the look cohesive and photo-ready.
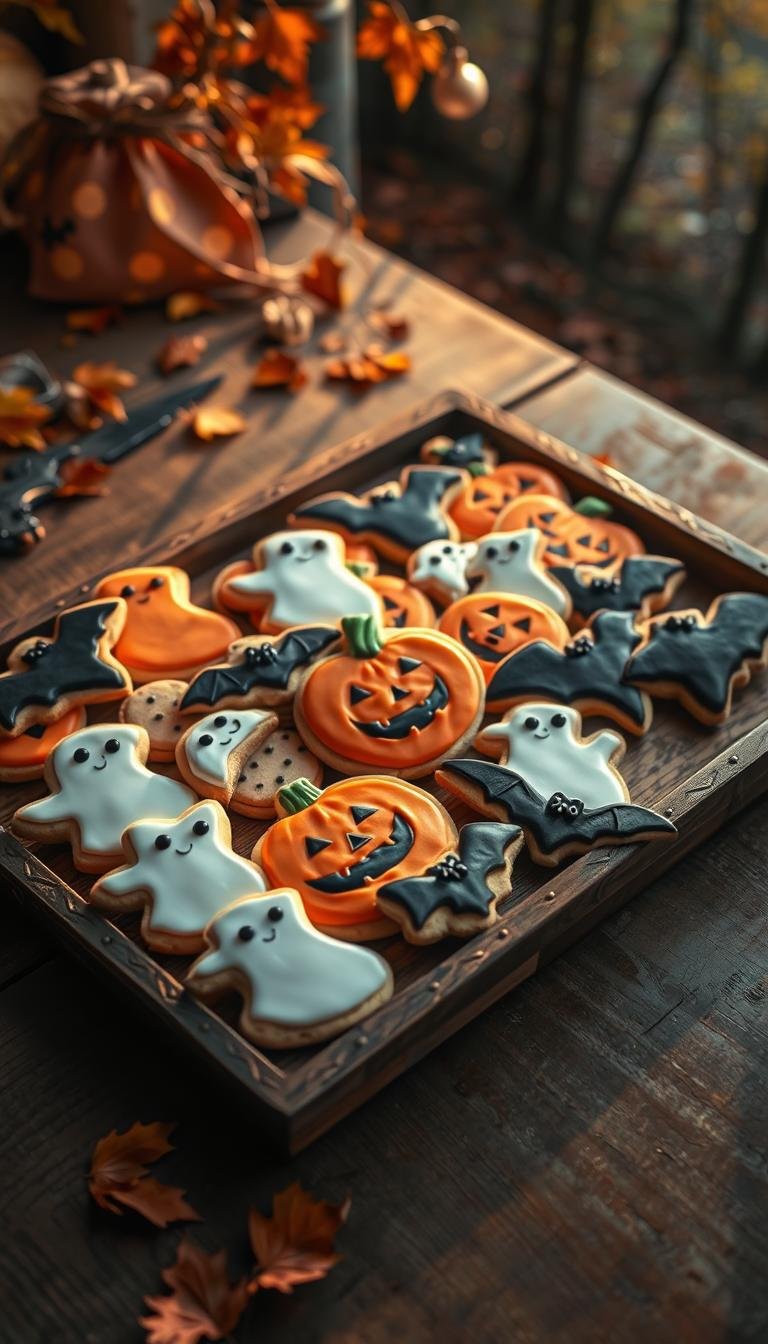
Ghost and pumpkin mini cakes bake fast in themed molds. Use brownie or mini cake batter, tint icing, and add small candies for eyes and stems. These are quick to stack on a platter and work well for grab-and-go service.
Ghost and pumpkin mini cakes for easy party sharing
Decorate while warm or chill for neat icing. White buttercream ghosts and piped pumpkin ridges read clearly at small scale. Package extras in mini boxes for take-home favors.

Halloween Cake Pop Toes for a playful fright
Make toe-shaped cake pops using molds or hand-shape rolled cake. Dip, add red gel at the base, and stick on paper straws for a jump-scare effect. Set up a dip station to speed assembly.
Zombie Brain cupcakes as a gory-good dessert
Pipe concentric brain lines with a small round tip over tinted buttercream. Finish with a glossy glaze for shine and a single candy eye for drama. These cupcakes steal the show on a mixed dessert table.
- Offer mini portions to let guests try more flavors and stretch your budget.
- Prep sticks and dip stations in advance to crank out cake pops quickly.
- Keep a consistent color palette so minis echo the main centerpiece.
- Pack in clamshells or mini bakery boxes for easy transport and favors.
| Mini Type | Key Steps | Speed |
|---|---|---|
| Ghost & Pumpkin mini | Use molds, tint icing, add candy accents | Fast |
| Cake Pop Toes | Shape, dip, add “blood” gel, chill on sticks | Moderate |
| Zombie Brain cupcake | Tint buttercream, pipe brain lines, glaze | Moderate |
“Small-format sweets let you offer variety with less waste and more wow.”
Candy-Forward Creations
Go bold with sweets: let candy do the decorating so the visual punch comes fast.
These builds turn a stash of wrappers into a vibrant dessert centerpiece. Pick one where the candy leads the look and small accents support it.
Candy Covered Cake using trick-or-treat spoils
Candy Covered Cake is tiled from top to bottom in chocolate pieces and colorful rounds. The texture reads loud on the table and takes little tempering skill.
Tile sides and the top to hide imperfect crumb coats. Chill before slicing so the candy stays set and the slice holds its shape.
Trick or Treat piñata cake filled with candy and sprinkles
Piñata-style cake has a carved cavity between layers packed with mixed halloween candy and sprinkles. Seal the gap, frost, then cut for a surprise spill.
- Use sturdy fillings: M&M’s, candy corn, and sprinkles that won’t dissolve.
- Chill the assembled cake to stop a candy avalanche when slicing.
- Balance sweetness with a lightly salted chocolate or vanilla buttercream for a craveable dessert.
- Label candies for guests with allergies and keep a non-nut slice option on hand as a thoughtful treat.
“Clear out your stash by tiling the sides and top of a Candy Covered cake for instant texture and color.”
Candy Corn Classics
Color-blocked layers are an easy way to create visual drama without sculpting. These builds lean on bold batter tints and simple assembly to give a seasonal centerpiece that looks specialist but bakes in a home oven.
Candy Corn layer cake with tinted batter and frosting
Tip: tint three batters in yellow, orange, and white and stack them for a surprise cross-section. Mirror the interior with frosting bands so each slice reads like the candy’s signature trio.
Add a thin white chocolate drip for shine. Chill the stack between layers for neat, crisp edges.
Candy Corn cheesecake using a checkerboard pan
Use a checkerboard pan to make a color-block cheesecake that slices into striking wedges. This method avoids complex piping and keeps prep fast.
- Layer inside and out—tint batter and match frosting bands.
- Checkerboard pans make bold wedges with minimal effort.
- Serve tall, clear slices so guests can choose their favorite wedge.
- Pair with black plates to make the bright hues pop in photos.
“Tinting the batter is a small step that turns ordinary dessert into an instant showpiece.”
Chocolate Lovers’ Halloween Desserts
Go deep on cocoa when you want a showpiece that reads rich and slices clean. Dark bases act as a neutral stage for bright toppers and sculpted details.
Chocolate ganache tart topped with Halloween candy
Halloween Candy Ganache Tart is a dark ganache poured into a cookie crust and finished with favorite seasonal sweets and sprinkles. Chill fully so each slice holds a glossy edge.
Rich chocolate bases for monsters, bats, and ghosts
Many creature builds sit best on dense chocolate layers. The deep color makes bright icing and fondant pop and hides crumbs during service.
- Add a chocolate showpiece that slices cleanly: a ganache tart in a cookie crust satisfies cocoa fans.
- Balance sweetness with a pinch of espresso or sea salt in the ganache for adult palates.
- Pre-cut tart slices to keep the dessert line moving and plating tidy.
- For gory “brain” textures, use chocolate bases under pinks and reds for dramatic contrast.
“A dark ganache tart is simple to build and rich enough to please both kids and grown-ups.”
| Item | Best use | Speed |
|---|---|---|
| Ganache Tart | Glossy showpiece topped with halloween candy | Moderate (chill time required) |
| Chocolate Layer Cake | Base for monsters, bats, ghosts | Moderate (assembly and crumb coat) |
| Brownie Slab | Quick base for piped details or cookie tombstones | Fast |
Black Cats, Lanterns, and Iconic Symbols
A bold silhouette or a soft glow can make a simple layer feel like a themed centerpiece. Focus on clean shapes and small accents to get maximum impact with minimal fuss.
Black Cat silhouette with sprinkles
Turn a two-layer cake into an instant icon using a cookie-cutter stencil and dark buttercream. Press the stencil against the chilled surface, fill with fine sprinkles, then lift for a crisp cat shape.
Pro tip: use sanding sugar or a few metallic dragees to catch light and add subtle sparkle during the birthday song.
Lantern-inspired jack-o’-lanterns with safe glow
Carve shallow panels and blend gradient orange icing to mimic a glowing pumpkin. Finish with small candles placed in wells or, for safety, LED candles near delicate frosting.
Create mini lantern cakes for favors; they travel well and make sweet place settings.
- Use a cat silhouette stencil and sprinkles over dark buttercream for crisp imagery.
- For lantern-style treats, add a soft glow with gradient icing and placed candles.
- Choose LED options around frosting when kids are present to keep the table safe.
“Small motifs and smart lighting turn a simple cake into a memorable focal point.”
Elegant and Artsy Halloween Cakes
Choose an art-forward centerpiece when you want color and refinement over fright. These designs favor painterly details and refined piping so the table reads as curated, not chaotic.
Statement Flower is bright swirls and dot work in saturated colors. Pipe joyful swirls, then add small dots and petal accents for movement. The look reads modern and festive and works well as a single refined dessert on the table. Practice swirls on parchment, then transfer confident strokes to the cake surface.
Statement Flower cake with bright swirls and dots
Art-forward color lets you skip gore and still make an impact. Use three bold colors and a small candy accent or jeweled sprinkle cluster to tie the palette to smaller treats.
Fall Leaves cake with leaf vine embroidery on black buttercream
Pipe delicate leaf vines over smooth black buttercream for a dramatic, adult-friendly presentation. Metallic accents—tiny gold dragees or a brushed seam—lift the look for evening events. This three-layer cake pairs well with candles or a short spooky message on a side plaque.
“Keep textures smooth and lines confident; practice leaf piping on parchment before committing to the cake surface.”
- Choose artsy over eerie to serve a refined treat alongside playful minis.
- Present on a matte black pedestal for a gallery-ready photo moment.
- Keep a small candy accent to unify the dessert table palette.
Beginner-Friendly Halloween Cake Ideas
Begin with straightforward shapes and bold accents to get a festive centerpiece fast. These two starter projects focus on easy piping, simple color, and candy details so new decorators can feel proud with minimal stress.
Frankenstein monster with candy eyes
Frankenstein is a friendly first project. Stack two layers, smooth a green buttercream base, and add straight-line hair with a star tip.
Place a few candy eyes for instant personality. Use a black round tip for simple mouth and bolt marks. This builds confidence without sculpting.
Quick jack-o’-lantern pan cakes for last-minute parties
For a fast finish, bake pan-shaped pumpkin forms and tint icing bright orange. Add a dark stem and a few candy accents to create a classic look in under an hour.
Pro tips:
- Keep a basic toolkit: offset spatula, bench scraper, star and round tips.
- Tint one large batch of buttercream, then split into small bowls for accents.
- Practice faces on parchment before decorating the final surface.
“Simple shapes and a few candies make a standout dessert without the fuss.”
Decor Mashups: Cookies, Cupcakes, and Cakes Together
Use height, texture, and color to turn separate pastries into one cohesive party scene. Start with a single showpiece and design smaller sweets to echo its look. That way the spread reads as an intentional display, not a random table of treats.
Graveyard cakes topped with cookie tombstones and cupcake critters
Graveyard cakes make an ideal anchor. Press iced cookie tombstones into crumbled brownie “soil” and add piped paths to guide the eye. Surround the main cake with themed cupcakes dressed as critters or characters to build depth and whimsy.
- Anchor the scene with a layered graveyard cake, then scatter decorated cookies for texture.
- Vary heights using stands so cupcakes and the centerpiece form steps that serve easily from any side.
- Mix crumbly “soil,” smooth icing paths, and crunchy cookie accents for an immersive look.
- Bake cookies and cupcakes ahead; assemble the final display on the party day for crisp texture.
- Color-coordinate frosting across every item to unify the dessert table into one intentional story.
“A few well-placed cookies and a ring of cupcakes make a single cake feel like a full scene.”
Future Party Planning Tips for the U.S.
Plan your prep like a short-run production: schedule, chill, and pack artfully so the day runs without surprises. A little advance work reduces stress and keeps service smooth on a busy holiday weekend.
Prep timelines: baking, chilling, and decorating before weekend
Bake layers midweek and wrap them tightly. Chill or freeze finished layers so they slice cleanly and take less hands-on time the day before.
Fast-build reminders: use pans that bake to shape—fluted jack-o’-lantern pans or a skull tube pan—to skip carving and speed decorating. Ganache tarts set quickly and are best assembled a day ahead for stable slices.
Using store-bought seasonal candy and cookies for fast decorating
Rely on shelf-stable halloween candy and pre-baked cookies to finish looks fast. These items hold at room temperature and let you assemble toppers or tile sides the day before without fuss.

- Bake midweek, chill or freeze wrapped, and decorate 24 hours before to avoid last-minute stress.
- Choose shaped pans (fluted or tube) to save carving time and speed final touches.
- Buy shelf-stable treats early; store them in a dry spot to avoid sellouts and moisture issues.
- If traveling, mount ganache tarts and cookie-topped brownie graveyards on sturdy boards and move them in coolers to protect structure.
- Create a simple plating station with a sharp knife, towel, and serving utensils to keep slicing efficient during the birthday rush.
- Have a backup: extra cupcakes or mini cakes ready if guest counts grow or slices run short.
“Small scheduling choices—bake early, chill well, and finish simple details last—make for a calm party day.”
Conclusion
Wrap up your dessert plan by choosing one hero halloween cake and a few quick sides that match your time and skill.
Mix cute, creepy, and elegant elements — think Evil Eyes and Monster Eyeball showpieces, a striped bat or Boo-tiful striped design, or a smooth spider web ganache drip that reads polished on camera.
Round out the spread with candy corn colorways, a dense chocolate ganache tart or checkerboard cheesecake, and playful cupcakes or halloween mini treats like ghost and pumpkin minis, Cake Pop Toes, and Zombie Brain bites.
Plan backward from party day: bake, chill, and finish with room-temp candy and cookie accents. Stage mini pieces around the centerpiece for layered photos and lasting memories.