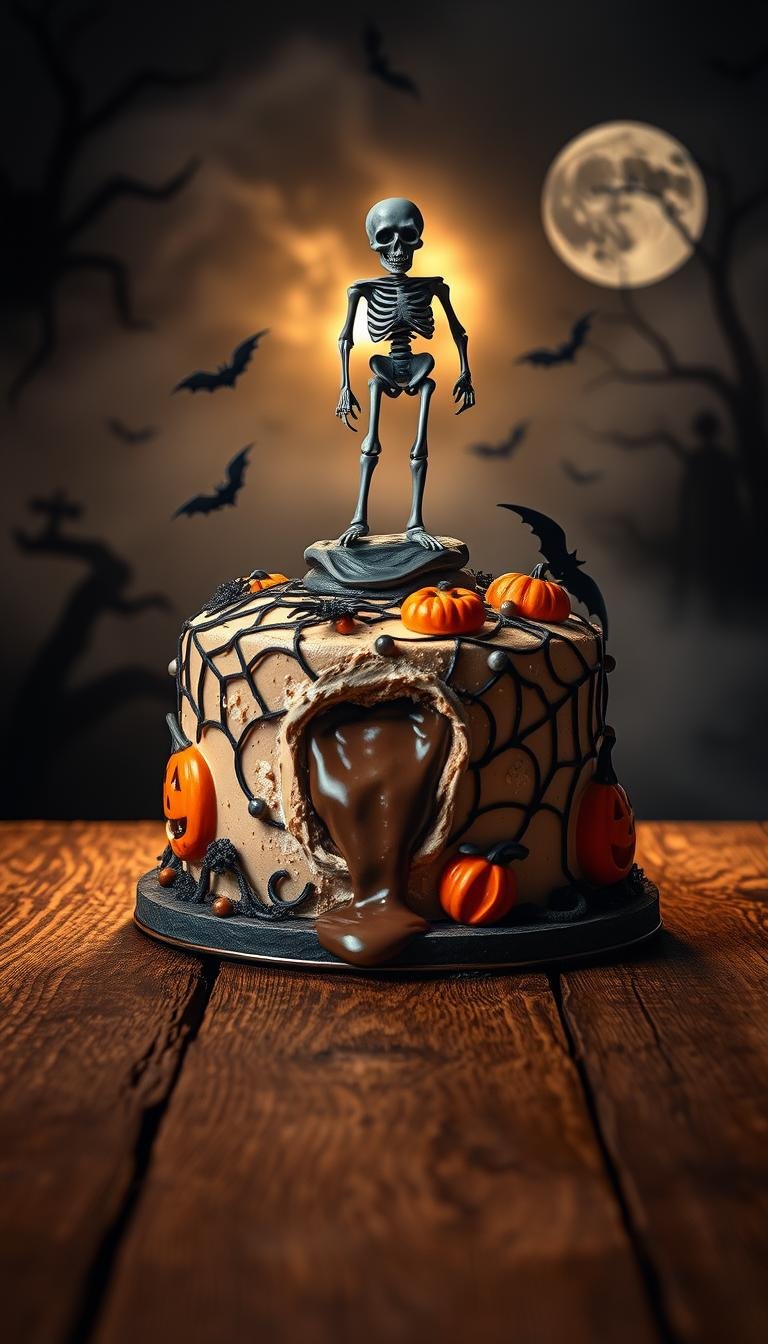
Halloween Birthday Cake Designs and Recipes for Future Parties
Nearly 70% of home bakers say a dramatic black dessert makes a party feel unforgettable. That’s why a dye-free Black Velvet version is gaining traction for future celebrations.
This Website contains affiliate links. That means I may earn a small commission if you purchase through my links, at no extra cost to you.
This all-black Black Velvet uses pure black cocoa for both the layers and the buttercream, so you get deep chocolate notes without artificial dyes. The Cocoa Trader black cocoa is often named in reviews for the richest, inky hue.
The batter bakes at 350°F in two 8-inch pans for 30–35 minutes and will be thin because of one cup of hot coffee. That coffee boosts chocolate flavor without a coffee taste. Frosting blends salted butter, shortening, black cocoa, powdered sugar, vanilla, and warm coffee for a glossy, silky finish.
Practical tips: shop early for specialty black cocoa, cool layers fully, whip a stable buttercream, and store the assembled dessert airtight up to five days. The recipe scales well and suits minimalist or playful designs for future parties.
Key Takeaways
- Pure black cocoa creates a natural, dye-free inky crumb and frosting.
- Bake in two 8-inch pans at 350°F for 30–35 minutes; thin batter is normal.
- Use The Cocoa Trader black cocoa for the deepest color, per reviews.
- Frosting mixes butter, shortening, black cocoa, powdered sugar, vanilla, and warm coffee for gloss.
- Recipe is make-ahead friendly and stores airtight up to five days.
- Flexible styling: from stark black minimalism to sprinkle-topped looks.
Why This Halloween Birthday Cake Belongs at Your Future Parties
Start by mapping realistic steps: sourcing specialty ingredients, baking, chilling, then finishing. That simple plan cuts stress and keeps your final design crisp. A clear schedule also helps you highlight the cake’s deep color and chocolate flavor without last-minute fixes.
Planning ahead: timelines for baking and decorating
Shop specialty black cocoa 5–10 days ahead to avoid substitutions. Bake layers 1–2 days before the event and cool completely on racks after 10 minutes in pans.
- Bake: 30–35 minutes at 350°F; cool, wrap, and chill overnight.
- Decorate: reserve 60–90 minutes for filling and smoothing, plus 30 minutes for piped borders to set.
- Transport tip: chill briefly before travel to firm the buttercream and preserve the design.
How this recipe keeps things spooky, elegant, and dye-free
Black cocoa gives a natural, jet-black crumb and silky frosting without food coloring. The result reads sophisticated or dramatic depending on your design choices.
Coffee boosts chocolate intensity but bakes away, so the flavor stays family-friendly. For a lacquered finish, use edible glaze or a black spray for high gloss.
Lessons from years of commissions: use room-temperature ingredients for faster mixing and chill layers before stacking to avoid crumbs. Follow the timeline and you’ll avoid day-of rush and serve a stable, stunning dessert.
Ingredients and Tools You’ll Need for a Standout Halloween Cake
Collect the right ingredients and reliable tools first to keep assembly smooth and stress‑free.
Black cocoa vs. regular cocoa: flavor, color, and where to buy
Black cocoa is heavily alkalized, which cuts acidity and yields an almost black crumb and a deep, Oreo‑style flavor. It creates rich color without food coloring and a different, almost roasted taste than natural cocoa.
Where to buy: order specialty black cocoa online. The Cocoa Trader ranks high in reviews for the deepest black. Most other staples—sugar, flour, eggs, and vanilla—are supermarket items.
Pan sizes, mixers, and must-have tools for clean results
Use two 8-inch round pans and line them with parchment for neat release. Expect a thin batter because of hot coffee; pour from a spouted bowl or measuring cup to divide evenly.
- Mixing bowls and reliable hand or stand mixer
- Parchment rounds, spatula, offset spatula, bench scraper
- Turntable for clean edges and a set of round cake pans
Shopping list for cake, frosting, and decorations
Base: sugar, all‑purpose flour, black cocoa, baking powder, baking soda, salt.
Wet: eggs, full‑fat buttermilk, vegetable oil, vanilla, hot coffee or hot water.
Frosting: salted butter, shortening, black cocoa, powdered sugar, vanilla, warm coffee or water.
“Parchment lining is insurance—fewer crumbs and faster layer release.”
Optional decor includes themed sprinkles, marshmallows for cobwebs, piping tips, or silicone Lambeth‑style molds for vintage borders. Choose full‑fat buttermilk and pure vanilla for the best texture and rounded flavor in this dramatic dessert.
Black Velvet Cake Base: Deep Chocolate Flavor, No Food Coloring
An even dry mix sets the stage for deep chocolate flavor and clean layers. Whisk sugar, all‑purpose flour, black cocoa, baking powder, baking soda, and salt until uniform. This helps the batter rise evenly and produces a consistent crumb.
Dry mix and wet mix
Blend the wet ingredients separately—beat eggs, full‑fat buttermilk, neutral vegetable oil, and vanilla into the dry mix for about two minutes. That short, steady beat develops structure without overworking the batter.
Stir in one cup of hot coffee to bloom the black cocoa and make the batter pourable. Expect a thinner texture that bakes into flat, moist layers reminiscent of the chocolate in classic sandwich cookies.
Bake time, doneness cues, and cooling
Preheat the oven to 350°F and prepare two 8‑inch pans with cake release and parchment. Divide the batter evenly and bake 30–35 minutes.
- Check doneness with a toothpick or by tapping for spring.
- Edges should pull slightly from the pan when ready.
- Cool in pans 10 minutes, then invert to racks and cool completely.
“Wrapped and chilled layers are easier to stack and give fewer crumbs while frosting.”
Make‑ahead tip: Once cool, wrap layers tightly and chill. Chilled layers slice and stack cleaner, and they reduce crumb transfer during frosting.
Silky Black Buttercream Frosting with Black Cocoa
Make a black buttercream that spreads like satin and pipes with precision by tuning fats and liquids carefully.
Formula: salted butter + shortening + black cocoa + vanilla + powdered sugar. Thin with warm coffee or water, adding one tablespoon at a time until glossy and spreadable.
Butter vs. shortening: structure, gloss, and stability
Butter gives authentic dairy flavor and a natural gloss. Shortening adds structure and stability for sharp edges and firm piped details.
Adjusting consistency with warm coffee or water
Cream the fats until smooth, stir in vanilla, then beat in powdered sugar slowly. Fold in black cocoa last and test the texture.
Aim for a satin sheen that spreads without tearing the crumb and holds soft peaks for borders and shells. Coffee deepens the chocolate note without tasting like coffee.
- If frosting is dull or stiff, add warm liquid by the tablespoon.
- If too loose, add powdered sugar in small increments.
- For piping in warm rooms, chill the bowl briefly, then re-whip to regain texture.
Tip: keep frosting covered at cool room temp for short rests; re-whip briefly if it sits over 30 minutes.
halloween birthday cake
Finishing a layered cake cleanly starts with calm prep and chilled components. Work on a cool surface, keep tools nearby, and follow a simple order: level, fill, crumb coat, chill, then finish.
Stacking, filling, and smoothing for a flawless finish
Stack cooled layers with black buttercream and use a thin filling layer to avoid bulging. Level each chilled layer if needed and add a buttercream dam to hold filling in place.
Apply a thin crumb coat to lock in crumbs. Chill 15–30 minutes, then use an offset spatula and a bench scraper while rotating on a turntable for even sides.
Make-ahead strategies to reduce party-day stress
- Assemble the main stack a day before and refrigerate briefly to set the buttercream.
- Pipe borders after the final coat firms, then add sprinkles last to prevent color drag.
- Use dowels and cake boards for tiers and pack a small repair kit for touch-ups at the venue.
Pro tip: gently heat your scraper with hot water, dry it, then smooth for a glass-like finish.
Design Ideas: From Minimalist All-Black to Candy Corn Accents
Work from the largest shapes to the smallest details: smooth the sides first, then add molded borders, then finish with sprinkles or marshmallow webs.
Minimalist option: keep the sides satin-smooth for a modern, all-black look that reads bold at formal events and casual parties alike. A crisp top rim makes the silhouette pop.

Lambeth piping and molded borders for vintage drama
Use Lambeth silicone molds or the Katy Sue shell border mold to create raised buttercream details without fondant. These add ornate texture while keeping assembly dye-free.
Oreo-inspired textures and cookie crumble edges
Lean into the black cocoa’s Oreo-like profile by pressing cookie crumbs along the base or a side panel for rustic contrast and faint chocolate crunch.
Sprinkles, candy corn, and cobweb marshmallow effects
Place candy corn and a few sprinkles as small color pops. Stretch mini marshmallows into cobwebs that cling to buttercream for instant spooky texture.
Going glossy: edible glaze and black spray for a chic sheen
For a runway finish, apply a light edible glaze spray, then a black edible spray for high gloss. Test each technique on a chilled board first to avoid smudges.
Pro tip: add one focal technique per design—height, vintage piping, or glossy finish—to keep the overall look balanced.
Flavor Variations and Substitutions for Every Sweet Tooth
Small adjustments in cocoa and frosting let you match flavor to your guests without changing the build process.
Half-and-half cocoa: swap 50% black cocoa with natural cocoa to add familiar chocolate notes and slightly lighten the crumb. This keeps depth while easing intensity for some palates.
Frosting swaps that work
Try tangy cream cheese for a bright contrast, classic American buttercream for extra sweetness, or a peanut butter frosting to echo the deep cocoa base.
Contrast and texture ideas
Bake vanilla layers and finish with black buttercream for a dramatic slice that still reads clean and modern.
Fold crushed chocolate sandwich cookies into the filling for cookies-and-cream appeal and extra texture. If you use natural cocoa, taste and tweak liquid and sugar slightly to balance hydration and sweetness.
- Keep layers chilled and frostings covered; re-whip before assembly.
- Choose vanilla for daytime events and deeper chocolate for evening service.
- Preserve structure so each slice cuts tidy and presents well.
Pro tip: small swaps deliver big flavor shifts without adding complexity to the bake timeline.
Pro Tips to Nail Color, Texture, and Taste
Small adjustments in prep yield big improvements in color, texture, and flavor. These final pro tips focus on simple habits that make the finished product look professional and slice cleanly.
Room-temperature ingredients and parchment insurance
Bring key ingredients to room temp — eggs, buttermilk, and butter mix more evenly when warm. That helps the batter emulsion and produces a tender crumb.
Line pan bottoms with parchment for reliable release and crisp edges. Cleaner edges make frosting and stacking faster and reduce wasted sugar and batter during trimming.
- Whisk dry ingredients well to spread leaveners and prevent tunnels.
- A trusted black cocoa from reviews helps deliver a consistent, dark hue.
- Avoid overmixing after adding hot liquid to keep slices neat and soft.

Why coffee amplifies chocolate without tasting like coffee
Hot coffee blooms cocoa compounds, deepening the chocolate note while the espresso-like aroma bakes away.
- Add coffee hot and fold gently to limit gluten development.
- Adjust buttercream with warm liquid by tablespoons; pause to test texture.
- Chill the filled cake briefly before the final coat to reduce drag marks.
Pro tip: rest between adjustments—small pauses reveal whether more sugar, vanilla, or liquid is needed to reach the right balance for your food presentation.
Serving, Styling, and Party Presentation
Set the scene by staging your centerpiece on risers so guests spot it from every angle. A tidy display makes a dramatic, dark dessert read intentional and elegant. Bring the assembled cake to room temperature 30–60 minutes before slicing for a plush crumb and silky buttercream.
Slice size, plating, and dessert table styling
Plan serving sizes — cut 1-inch by 2-inch party slices or 2-inch by 2-inch dessert portions. Warm a clean knife in hot water and wipe between cuts for tidy slices. Plate on white or metallic dishes to contrast the matte or glossy finish and keep the table photo-ready.
Theme ideas and styling that travel well
Work themes that adapt: a playful halloween birthday look with toppers, a chic blackout mood with metallic accents, or a sophisticated black wedding presentation with restrained piping. Build height with risers and staggered stands so the cake stays the focal point among candies and smaller cakes.
- Offer complementary treats like salted caramels or monochrome cookies to echo flavors.
- Use candy sparingly for modern styling or add candy corn and seasonal sprinkles for nostalgia.
- Coordinate linens and backdrops so photos and social shares look polished.
Storage note: assembled and covered, this dessert keeps airtight up to five days; add a glossy edible glaze or black spray for a show-stopping exterior.
Storage, Leftovers, and Make-Ahead Guidance
A simple storage plan turns leftovers into reliable make-ahead wins for future events. Treat wrapping and temperature as part of the recipe. That protects texture, controls sugar balance, and keeps slices appealing for guests.
Wrapping, room temp vs. refrigerating, and freshness window
Wrap cooled layers tightly in plastic, then foil or an airtight container before chilling. For long holds, double-wrap and freeze; this guards against freezer odors and moisture loss.
Finished cakes stay best when covered in a cake box or carrier. Bring to room temperature 30–60 minutes before serving to restore a soft crumb and glossy buttercream.
- Store leftovers airtight; expect freshness up to five days before drying.
- Choose room temp in cool homes; refrigerate briefly in warm climates to keep icings stable.
- Chill the assembled dessert before transport to protect edges and piping.
- Label and date packages so you can track what worked over the years.
- Keep perishable fillings and toppers (including corn-based decor) separate until assembly to preserve crispness.
“Proper wrapping and simple labeling save more time than last‑minute repairs.”
Conclusion
, With black cocoa and clear timing, this dye‑free halloween birthday cake delivers an ultra‑black crumb and glossy buttercream without artificial color.
Versatile and reliable: bake at 350°F for 30–35 minutes, use hot coffee to deepen flavor, and chill layers for easy stacking. The method scales from minimalist matte finishes to ornate piping or a dramatic wedding centerpiece.
The flavor leans Oreo‑like and pairs well with vanilla, nuts, or richer frostings. Try contrast layers, cookie crumbles, or subtle candy accents to make each design your own.
Next step: source a trusted black cocoa, map your timeline, and bookmark this guide so future parties and desserts turn out polished and predictable.