Expert Tips for Beautiful Strawberry Cake Decorations
Did you know that a simple fruit accent can lift a dessert’s appeal by over 60% in event photos and customer reviews? That surprising stat shows why small design choices matter for birthdays, weddings, and summer gatherings.
This Website contains affiliate links. That means I may earn a small commission if you purchase through my links, at no extra cost to you.
This how-to guide walks you through proven, step-by-step ways to turn a humble bake into a centerpiece for any celebration. Expect clear advice on pairing fresh berries with whipped cream, chocolate drips, glazed fruit, fondant accents, and tasteful toppers.
We also cover planning: palette, tools, and timing. Learn which items to prep—piping bags, picks, and brushes—so your process stays organized at home or in a small business kitchen.
Practical tips include adding fruit just before serving, choosing fresh over frozen for shape retention, and using chilling and crumb coats to get a polished finish. Read on this page for concise techniques that help both beginners and experienced bakers deliver consistent, photo-ready results.
Key Takeaways
- Fresh fruit and timing make the biggest visual and flavor impact.
- Prep tools and items ahead to keep decorating efficient.
- Simple finishes—glaze, drips, and toppers—create party-ready results.
- Chill and crumb-coat for a business-level polish.
- Match design to event color and theme for cohesive presentation.
Plan Your Strawberry Cake Design: Themes, Colors, and Essential Tools
Choose a unifying theme early to keep colors, textures, and items cohesive. A clear plan saves time and helps every detail support the final look. Sketch one simple page of inspiration so you don’t drift while decorating.
Choose a celebration theme
Pick birthday, summer picnic, or an elegant party as your starting point. Each theme suggests different accents: vibrant candles and sprinkles for birthdays; gingham touches for picnics; edible flowers and sleek toppers for formal events.
Build a color palette around the fruit and cream
Anchor two to three colors—reds from berries, whites from whipped cream, plus a soft pink or green. Match board ribbons, ribboned decor, and small accents so the color story reads cleanly in room lighting.
Tools and items to prep at home
- Piping bags, tips, and small offset spatulas for neat borders and texture.
- Food-safe brushes for glazing and cocktail-style picks to place delicate elements.
- Confirm topper scale and mark candle placement so final decorations don’t crowd the top.
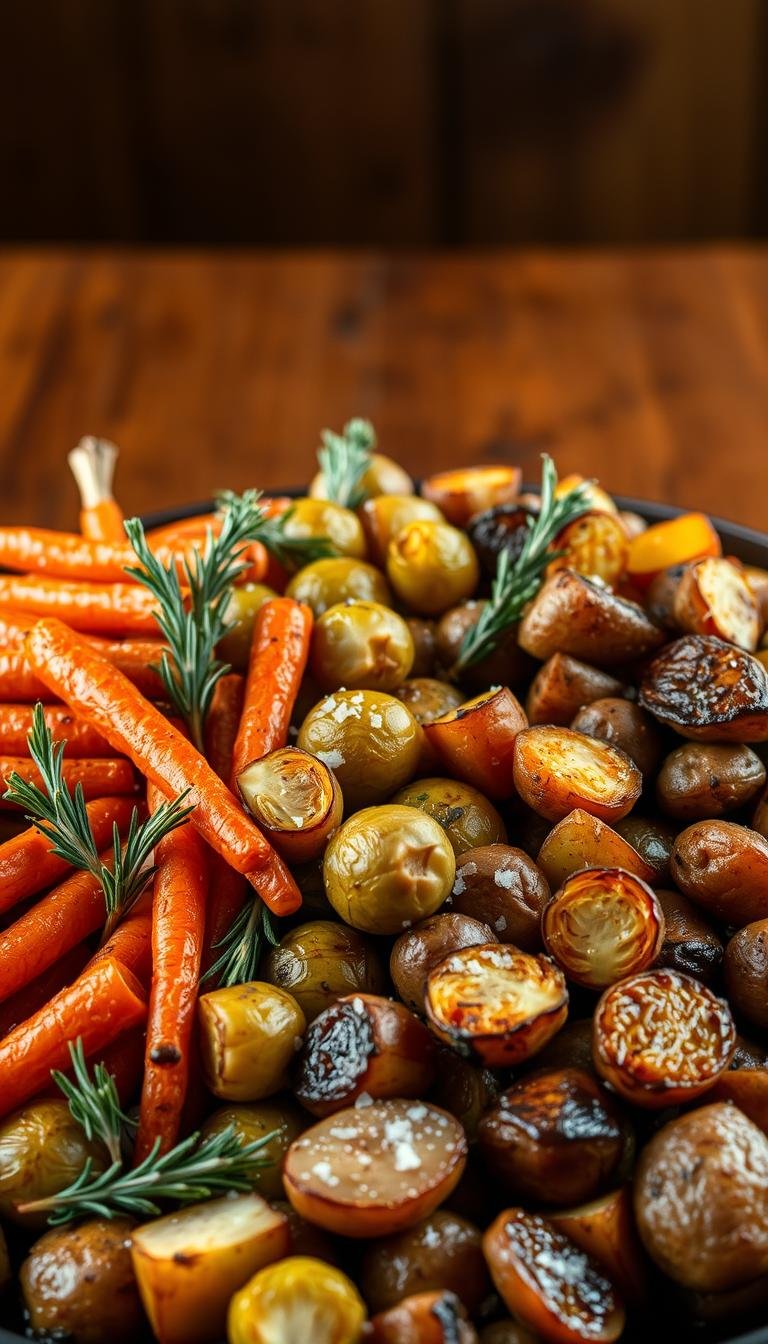
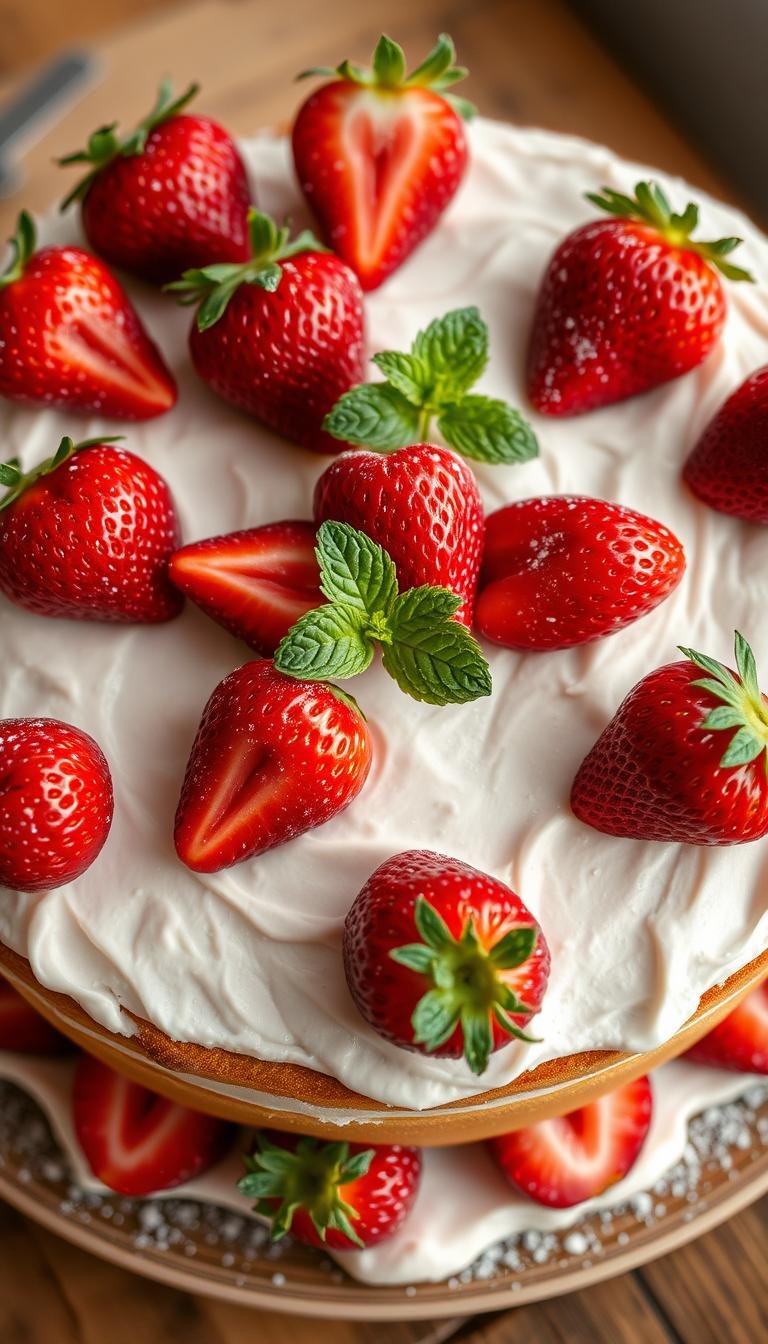
Fresh Strawberries, Whipped Cream, and Strawberry Sauce: Step-by-Step Finishes
A bright fruit layer instantly signals freshness and lifts a dessert’s visual appeal. Use whole berries for bold texture or thin, fanned slices for a refined petal effect. Plan final placement so the top reads cleanly in photos and on the serving plate.
Prep and timing matter: rinse, dry, and hull berries fully to avoid extra moisture. Whip cream to medium peaks, chill briefly, then spread a thin base. Pipe a low border to help hold fruit in place.
Make a quick sauce by simmering chopped berries with sugar until slightly thickened. Cool completely before drizzling so the cream stays stable. Apply the drizzle in thin passes to control flow and color contrast.
- Reserve final fruit placement for serving time to keep sheen and shape.
- Use ripe and just-ripe tones for better colors and depth; add tiny mint leaves for green accents.
- If using frozen fruit, drain well to prevent weeping and expect a softer look.
Chocolate Drizzle and Glazed Strawberries for a Luxe Look
A glossy chocolate drip paired with shiny fruit makes a dessert feel upscale and photo-ready.
Choose your chocolate by contrast: dark for dramatic lines against cream, milk for warm tones, and white for a bright finish on the top of a frosted cake.
Thin chocolate with a teaspoon of neutral oil or a splash of cream until it runs smoothly. Test the flow on a chilled glass to get the right viscosity before working on the cake.
Apply drips with a squeeze bottle or spoon around the edge, pausing so gravity forms natural shapes. Chill the assembly briefly so the chocolate sets with a clean, photogenic edge.
Quick glaze and placement tips
- Warm a simple syrup or neutral pectin glaze and dip berries, letting excess drip off for an immediate glossy image.
- Stagger sizes and tones to create depth; place medium berries first and add smaller ones as accents.
- Anchor glazed fruit into small dollops of cream or ganache so pieces stay put during display and transport.
- In hot weather, use an insulated carrier and keep the finished dessert cool to protect sheen and drip definition.
- Restrained extras—minimal sprinkles or a single leaf—help keep the chocolate and fruit as the main value-driving focal point.
| Technique | Why it matters | Quick tip |
|---|---|---|
| Chocolate type | Sets tone and contrast | Match dark to light frost for drama |
| Viscosity test | Controls drip length and shape | Try on chilled glass first |
| Glaze dip | Creates shine that reads well in image shots | Warm glaze; let excess run off |
| Anchoring fruit | Keeps top tidy during service | Use small cream or ganache bases |
Layered Cakes with Strawberry Filling for Height and Flavor
Building a tall, filled layer assembly gives a dessert visual impact and a lively bite. Alternate sponge layers with fruit filling or jam, then finish with whipped cream and fresh berries for contrast in color and texture.
Stability matters: create a buttercream dam on each tier before adding filling. This prevents seepage and keeps the sides clean during assembly and transport.

Stability tips: damming, crumb-coating, and chill time between layers
Apply a thin crumb coat and chill until set. The thin coat locks crumbs and gives a smooth base for the final finish.
- Use a central dowel or bubble tea straws for taller constructions to maintain stability over time.
- Level each layer with a serrated knife so tiers sit flat and the silhouette looks sharp.
- Measure filling amounts—about 1/3 to 1/2 cup for 8‑inch layers—to avoid bulging and keep a uniform profile.
“Balance tart filling with lightly sweet cream or mascarpone to keep flavors bright and clean.”
Decorate last: pipe a ring of cream and add a crown of fresh fruit to tie the sliced filling to the exterior design. Present the finished piece on a sturdy board with a ribbon to boost perceived value.
Fondant Decorations and Edible Flowers that Elevate the Design
A few thoughtful fondant motifs and safe blossoms create strong visual interest without clutter. Use simple shapes and careful placement to keep the final presentation clean and photo-ready.
Fondant shapes: strawberry motifs, leaves, and clean edges
Cut consistent shapes with small cutters—silhouettes and leaves read best from a distance. Smooth edges with a ball tool so each piece looks crisp.
Use minimal water or edible glue for assembly to keep seams tight and avoid shine.
Color matching fondant to your theme without bleeding
Tint fondant in stages and let it rest 30 minutes between additions. This helps you judge the final color and lowers the risk of bleeding.
For a modern finish, pick a monochrome covering and add one contrasting fruit cluster for impact.
Safe edible flowers to pair with strawberries and how to place them
Choose pansies, violets, or nasturtiums—they are edible and photograph well. Place fresh flowers right before service and anchor stems with small picks or a dot of buttercream.
Confirm flowers are untreated and remove any non-edible wires before slicing the cake.
| Element | Why it matters | Quick tip |
|---|---|---|
| Fondant shapes | Adds silhouette and texture to the top | Cut, smooth, and rest before placing |
| Color matching | Keeps the palette cohesive with the theme | Tint in stages; assess after 30 minutes |
| Edible flowers | Provide natural contrast and softness | Place last and anchor for stability |
Sprinkles, Crumbles, and Textured Finishes to Add Pop
A layer of sprinkles and crumbs can turn a simple top into a lively, tactile focal point.
Choose mixes that match your palette so the colors highlight fresh fruit without stealing the scene. Apply a partial crescent of sprinkles along the rim to give movement and keep the design refined.
Use cookie or biscuit crumbles for warm, toasty notes that soften visual transitions. Press sprinkles into fresh frosting with a sheet of parchment to get clean lines and less fallout on the board.

Combine larger shaped pieces with micro sprinkles for dimension. In hot weather, pick high-quality products with colorfast coatings to avoid bleeding and greasy spots.
- Balance crunchy rims with smooth cream swirls and a small fruit cluster for bite variety.
- Limit textures to one or two items to add value without cluttering the display.
- When unsure, put metallic or non-food accents on picks instead of directly on the food.
Cupcake Toppers, Cake Toppers, and Ordering Essentials for Parties
A well-chosen topper set can turn a dozen simple treats into a cohesive display for any party. Choose coordinated sets so cupcake toppers and toppers on the main dessert match scale and style. This keeps the table feeling curated and photo-ready.
Set example: one set of 12 Strawberry Shortcake Cupcake Toppers made from premium card stock. These toppers sit on top of a cupcake and work well on appetizers, biscuits, and small desserts.
Place toppers at the last minute on a firm buttercream surface. Use food-safe picks to secure paper pieces and avoid moisture damage.
Shipping, Timing, and Order Processing
- Processing: orders ship 1–2 business days after purchase; some stores process in 24 hours if customization instructions are followed.
- U.S. shipping: First Class/Standard 3–6 business days (not guaranteed), Priority 2–3 days (not guaranteed), Express 1–2 days (guaranteed and trackable).
- International: expect 10–21 business days; delays can occur from weather, customs, or USPS.
Returns, Images, and Store Policies
Refunds: all sales final for custom and edible items. Damaged items can be replaced with a photo or return as proof.
Image disclaimer: you are buying design services and materials. Copyrighted or trademarked images are provided free for personal use only and are not licensed for resale.
| Need | Why | Quick action |
|---|---|---|
| Express shipping | Meet hard deadlines | Choose trackable Express |
| Multi-piece set | Better per-item price and value | Buy 12-count or larger |
| Damaged order | Protects customers | Send photo for replacement |
Themed Decorations and Personal Touches for Any Celebration
A focused theme turns small touches into a cohesive display that reads well in photos. Start by choosing two main colors and a neutral. That simple palette helps every item—candles, toppers, and table accents—look intentional.
Birthday-ready ideas: pick vibrant candles, repeat fonts on toppers, and set a tidy candle plan so the photo moment is clean.
Custom topper messages and names
Add a name or age on a small fondant plaque or a custom topper. Keep letters large enough to read but small enough to avoid crowding the top.
- Coordinate cupcake toppers and mini signs so the dessert table matches the main design.
- Use edible images or framed photos beside the dessert to tell a story without cluttering the surface.
- For summer parties, weave in gingham ribbons, picnic checks, or tiny fondant baskets that complement the fruit and cream.
“Personal touches—like a chocolate-written note or a unique topper—turn a party display into a memory.”
| Element | Why it works | Quick action |
|---|---|---|
| Topper message | Personalizes the event and photographs well | Confirm proof with the store early |
| Cohesive palette | Keeps photos clean and focused | Pick two colors + neutral |
| Clustered layout | Highlights themed pieces without overwhelming | Group items in one quadrant; leave negative space |
Quick checklist: message, candle placement, topper scale, and photo position. Save an image of the final setup and note guest favorites to improve your next party design.
How to Make Strawberry Cake Decorations at Home
Decide early which elements you’ll DIY and which to order. This helps save time and keeps your final plan realistic for the event date.
Core techniques: slicing, glazing, piping cream, and neat chocolate drips
Slicing: use a sharp paring knife and pat fruit dry for even fans and clean placement.
Glazing: mix simple syrup, dip each berry briefly, then set on parchment to avoid pooling on the top.
Piping cream: chill tools and practice rosettes on parchment before decorating the final page.
Chocolate drips: melt chocolate, test viscosity on a chilled plate, and use a squeeze bottle for consistent edge flow.
Budget, price, and value: when to DIY versus ordering products online
Weigh price and time: basic home tools cost little and add value through skill. If you lack tools or time, order select products from a store or business.
- Buy inexpensive items (bags, tips, brushes) for most food tasks.
- Order premium toppers or specialty products when finish matters more than cost.
- Check shipping timelines and all-sales-final policies so orders arrive in time.
- Save receipts and a photo of your finished work to track value and give clear feedback to sellers.
| Choice | When to DIY | When to Order | Quick tip |
|---|---|---|---|
| Fruit & glaze | Home—low price, high freshness | — | Prep day of event |
| Chocolate drip | Home—simple tools | Pre-made ganache for tight timelines | Test on chilled plate |
| Non-edible toppers | — | Order from store or online | Confirm ship date and check customer reviews |
Conclusion
A confident final touch—applied minutes before service—turns good baking into memorable presentation.
You now have a complete toolkit: fresh strawberries and cream, chocolate drizzle and glaze, fondant accents, sprinkles, and edible flowers ready to lift any cake for a celebration.
Good process matters: plan your palette, prep tools, crumb coat, chill, and finish with a focused decoration on top. Add accents just before serving to preserve shape and sheen for photos and guests.
When ordering toppers or supplies, confirm shipping and delivery windows, note store and business policies, and keep an image and receipt in case a replacement is needed. Use this content as a quick reference to repeat designs with confidence.