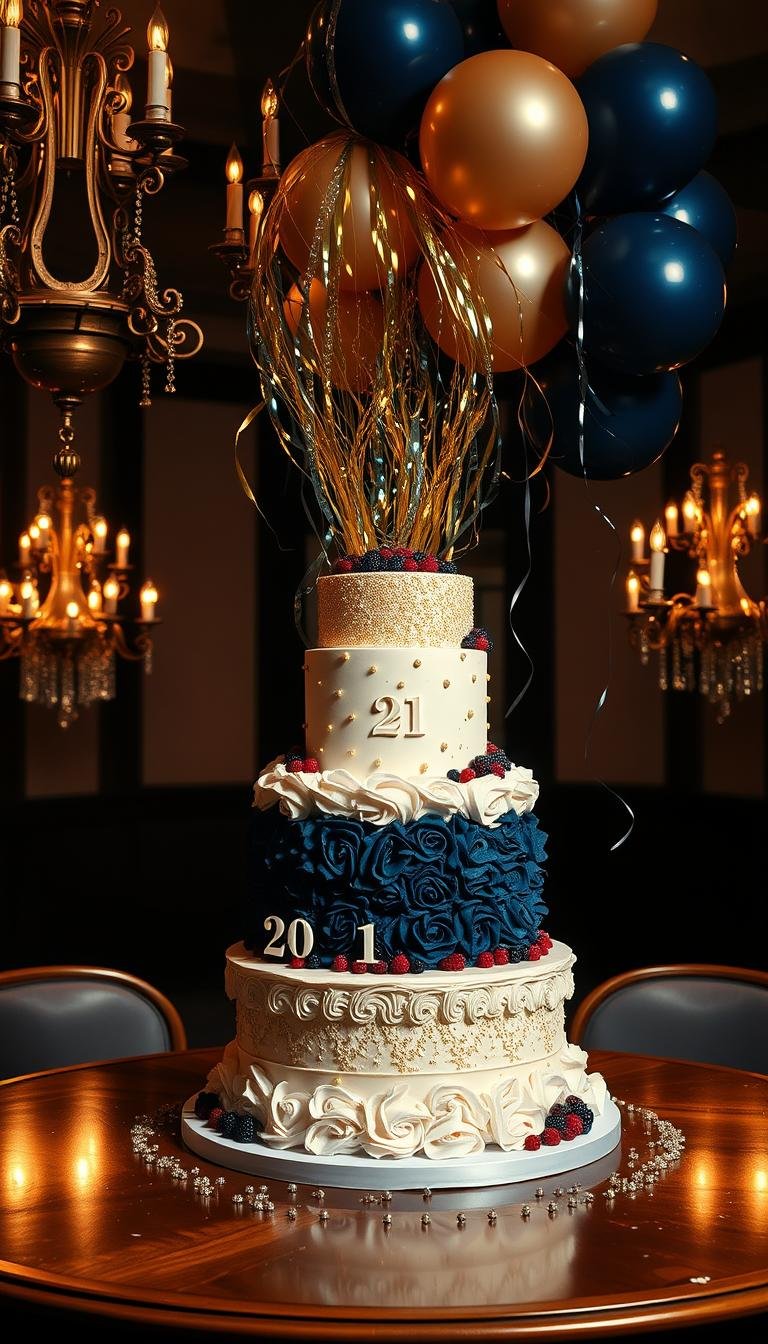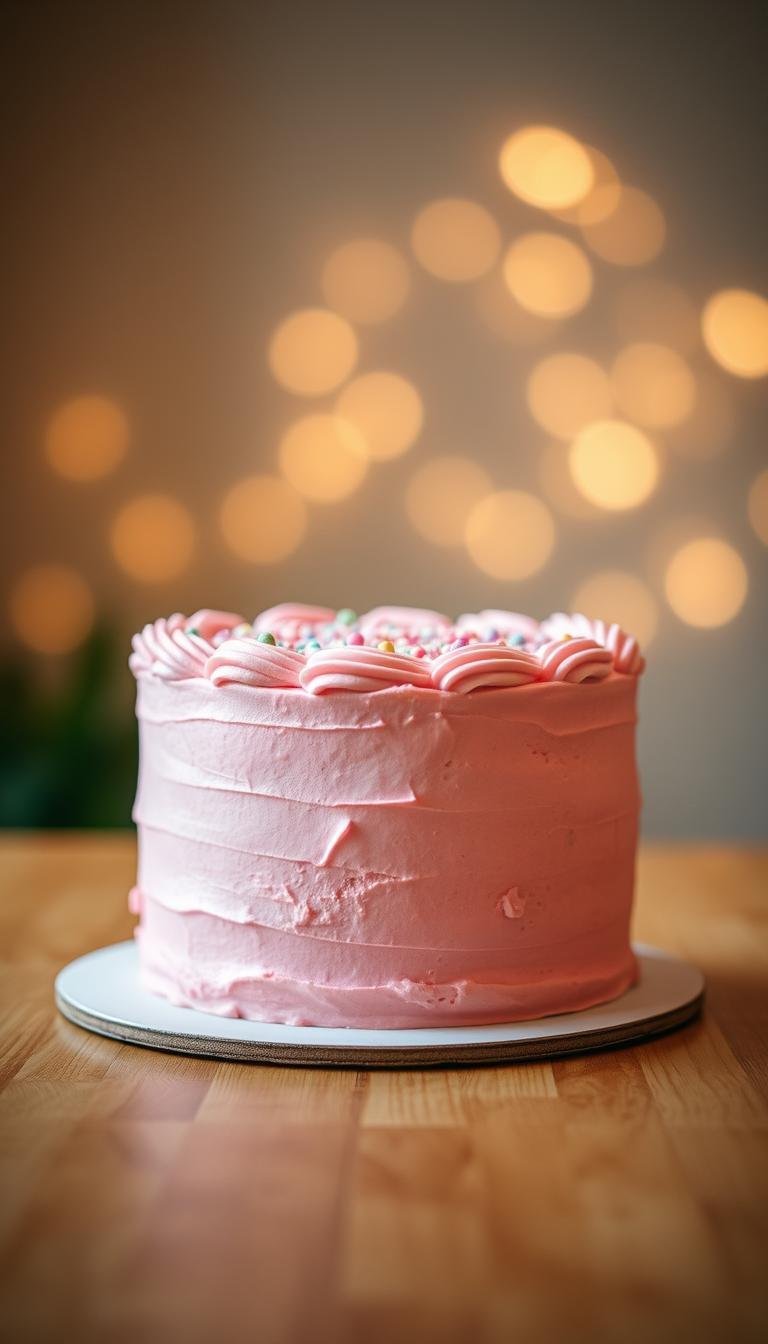
Expert Guide to Decorating Birthday Cakes
Surprising fact: 72% of home bakers say poor tools or workflow ruin a project — yet most problems are fixable with a few simple steps.
This Website contains affiliate links. That means I may earn a small commission if you purchase through my links, at no extra cost to you.
This guide gives a clear, step-by-step path from planning and baking to smoothing, piping, and finishing. You’ll learn practical tips on tools like a turntable, offset spatula, and bench scraper. These basic tools bring control and a neater finish.
We cover layer leveling, crumb coat timing, frosting choices, and a safe way to test ganache drips. Learn exact frosting amounts for 2- and 3-layer cakes and how to stack evenly for a straight, professional look.
Quick wins include practicing piping on parchment, chilling between coats for cleaner edges, and simple storage and freezing methods so finished work holds up.
Key Takeaways
- Step-by-step approach: From planning to final touches for polished results.
- Use sturdy tools and a turntable to save time and reduce mistakes.
- Level and stack layers for stability and a straight finish.
- Crumb coat, chill 15–20 minutes, then finish for smooth sides.
- Store in the refrigerator; freeze wrapped cakes and thaw overnight in the fridge.
What beginner and intermediate bakers need to know about birthday cake decorating
A clear timeline lets you split tasks across days, cutting stress and improving final results.
Many decorators bake and apply a thin crumb coat a day ahead, then finish frosting the next day. This staged approach keeps layers steady and gives you time to correct small problems.
Beginners often benefit from making 50% more icing than a base recipe. Extra frosting prevents running out and offers practice piping without worry.
Keep tools minimal at first. Learn levelling, a light crumb coat, and a final smoothing pass. Practice piping on parchment and test ganache on a glass rim before the final run.
- Stacking: align edges to avoid gaps and slippage.
- Chill between stages: firm layers yield clean lines.
- Simplify: one frosting inside and out reduces variables.
| Step | When | Why |
|---|---|---|
| Bake layers | Day 1 morning | Cooling time and level easily |
| Crumb coat | Day 1 evening | Locks crumbs and firms surface |
| Final frost & decorate | Day 2 | Less stress; better finish |
Tip: Refer back to this post as a checklist before each project to keep results consistent.
Essential tools for cake decorating success
A compact toolkit makes tricky finishes easier and saves time during every project.
Must-haves for a tidy finish
Start with five items that cover most tasks: a turntable, an offset spatula, a bench scraper, a piping bag, and one versatile piping tip.
Why these? The turntable gives control while you rotate. An offset spatula smooths and makes swoops. The bench scraper flattens sides fast. A good bag and a closed star tip (Ateco 846/848 or Wilton 2D/1M) handle rosettes and borders.
Nice-to-haves and smart swaps
If budget is tight, swap a cake leveler for a serrated bread knife to trim domes. Also use a lazy susan under your stand if you lack a turntable.
Cake boards make transfers easier and help when smoothing with a bench scraper. Dollar-store or plastic turntables and entry-level scrapers work well until you upgrade.
Buying tips and affiliate links
Choose a disposable bag for convenience or a reusable bag for sustainability; a sturdy Ziploc can do in a pinch. Keep a small tub of sprinkles for quick fixes that hide minor flaws and add color.
Practical tip: Start simple, build slowly, and consult trusted affiliate links in a post roundup to compare brands before buying.
Plan your project: timelines that reduce stress and improve results
A realistic schedule splits baking, chilling, and finishing so each step gets the time it needs.
A realistic week-of timeline from baking to finish
Thursday: bake cakes, make frosting, wrap layers, and chill. Once layers are cold, apply a thin crumb coat and return to the fridge.
Friday: apply the final coat, add decorations, and store the finished cake in the fridge. Saturday: deliver or pick up when the cake is fully chilled.
When to bake, chill, crumb coat, and decorate for best workflow
Tip: build buffer time so you can troubleshoot, take photos, and add final accents without rushing.
“Chilling between stages—about 15–20 minutes after a crumb coat—gives buttercream time to set and makes smoothing much easier.”
- Map tasks: bake and cool on day one; crumb coat after chilling; finish the next day.
- Make sure to schedule at least minutes of fridge time after the crumb coat for firm edges.
- Batch work: mix frosting and bake multiple layers at once so assembly is efficient.
- Work backward from delivery and add contingency time—this is the smart thing that saves stress.
Build the right foundation: bake flat, level cake layers
A stable, flat base is the single best shortcut to a polished final finish. Focus on how layers bake and cool to avoid extra trimming and a fussy finish.
Using cake strips and proper cooling for flat layers
Wrap pans with cake strips to reduce doming and bake flatter layers. Cake strips slow the edges so the center rises more evenly, giving a sturdier base and cleaner finish.
Let pans cool about 15 minutes on a rack, then turn out to finish cooling. Wrap only when fully cool to prevent soggy spots. Professional bakers often prefer straight-sided pans for consistent layers.
How to level domed layers with a knife or leveler
If a dome forms, lightly score a guide line at the base, then use a serrated knife or a Wilton-style leveler to trim each layer. Keep the knife level and use small, steady strokes to avoid gouges that show through frosting.
- Support work: place a cake board under the layer when trimming to prevent cracking a tender white cake or a delicate recipe.
- Stack trimmed layers briefly without frosting to check height consistency and adjust as needed.
- Save clean trimmings for crumbs or cake pops to minimize waste.
Choosing frosting that fits your design and skill level
The frosting you choose determines whether you aim for sturdy piping or an ultra-smooth, silky finish. Pick a style that matches your desired look and how confident you are with smoothing and piping.
American, meringue, and cream cheese: how they differ
American buttercream is classic and sturdy. It spreads easily and holds star and rosette details sharply on the top.
Swiss/Italian meringue buttercream is silkier and gives ultra-smooth sides. It takes a bit more technique but yields a refined sheen.
Cream cheese frosting is tangy and soft. It needs refrigeration and can soften in warmth, so use it when chill time is possible.
Texture, temperature, and practical tips
Match texture to technique: thicken buttercream slightly for borders and loosen it just enough for a glass-smooth final coat.
- Temperature matters: cream-based frostings need the fridge; American and meringue styles hold better at room temp.
- Re-whip after resting: if your frosting sits 30+ minutes, re-whip to remove bubbles and restore silkiness.
- Make extra: prepare more buttercream than a recipe calls for so you can fix small flaws and finish piping without stress.
New to these styles? Start with American buttercream to build confidence, then try Swiss or Italian meringue for a polished finish once you master basic skills.
Filling your layer cake without slippage
A reliable fill strategy keeps layers steady and prevents messy leaks when slicing.
Start with a frosting dam. Use a round piping tip and pipe a continuous ring of buttercream around the edge of the layer. This rim holds soft fillings like jam, lemon curd, or caramel inside the circle so they don’t slip out when you stack.
Frosting dams for jam, lemon curd, and caramel
Keep the filling to a thin layer so pressure from the next layer won’t push it out. Choose stable spreads or thick curds that slice cleanly and won’t weep into crumbs.
If a layer feels soft, chill for a few minutes to set the buttercream dam before adding the next one. Press the next layer down lightly so the dam seals without squeezing filling over the edge.
When to keep it simple with one frosting inside and out
When in doubt, use the same buttercream inside and out. This reduces variables and stabilizes the stack. It also makes piping and smoothing easier and often tastes excellent.
Quick checklist:
- Make sure fillings won’t slide by piping a buttercream dam first.
- Use a thin layer of filling and stable fruit spreads to avoid oozing.
- Level each layer and check alignment before stacking to resist shifting.
| Task | Tip | Why it matters |
|---|---|---|
| Pipe buttercream dam | Round tip, continuous ring | Contains soft fillings and prevents slipping |
| Limit filling thickness | Thin layer, firm spread | Stops pressure from forcing filling out |
| Chill between layers | Brief fridge time if unstable | Sets dams and firms stack for cleaner slices |
Chill, wrap, and handle: prepping cakes for clean decorating
Firm, tidy layers make every next step simpler. Wrap cooled layers tightly to lock in moisture and protect surfaces. This reduces crumbs and saves time when trimming and filling.
Plastic wrap, fridge vs. freezer, and timing your chills
After cooling, cover each layer in plastic wrap. Use the fridge overnight for stress-free timing, or the freezer for a short spell of minutes to firm layers for same-day work.
If you freeze layers briefly, thaw them wrapped on the counter so condensation forms on the wrap—not the surface. Keep wrapped pieces on a clean tray while you handle them.
Practical handling tips:
- Label wrapped layers by flavor or size when working on multiple cakes.
- Chill after stacking, after the crumb coat, and before the final finish to improve control.
- Fill a piping bag ahead: press out air, clip the end, and re-whip frosting if it thickens.
| Action | When | Why it helps |
|---|---|---|
| Wrap cooled layer | Immediately after full cool | Locks moisture and prevents crumb transfer |
| Fridge overnight | Overnight or several hours | Stress-free timing and firmer crumb for trimming |
| Freezer quick chill | 10–30 minutes | Firm layers for same-day crumb coat, not solid freeze |
| Thaw wrapped | On counter, still wrapped | Condensation on wrap, keeps surface dry for frosting |
Stacking and aligning layers like a pro
Perfect alignment starts with the first layer placed dead center on the board. Place that layer on a centered cake board and set the board on your turntable. This gives control as you stack.
Spread a thin, even layer of buttercream to the edge so no gaps form. Make sure fillings go only to the rim so they do not push out when the next layer is set.

Match the sides of each layer visually and press down with light, even pressure. If you see wobble, chill the stack briefly.
- Trim overhangs with a serrated knife so the stack stays straight before crumb coating.
- Use a small offset spatula to smooth edges and remove bulges.
- For stubborn movement, insert a temporary center skewer and chill again.
- Work at eye level regularly to check vertical alignment.
| Action | Tool | Why |
|---|---|---|
| Center first layer | Turntable, cake board | Gives consistent rotation and control |
| Trim overhangs | Serrated knife | Prevents leaning and uneven sides |
| Stabilize wobble | Skewer + chill | Locks layers for safe finishing |
Crumb coat fundamentals: the thin layer that locks in crumbs
A thin working layer keeps loose crumbs locked in so your final finish stays clean. The crumb coat is a quick, very thin coat applied to the whole cake to trap crumbs and even small gaps.
How thin is thin: visual cues and coverage tips
Aim for sheer coverage where you can still see cake in spots. Use a small offset spatula on top and the sides for control, then switch to a bench scraper to remove excess buttercream and smooth the surface.
Chilling the crumb coat for a flawless finish
Set the timer and chill the stack 15–20 minutes until the coat is firm to the touch. Re-whip frosting if it sat; a quick mix restores spreadability and prevents drag that pulls up crumbs.
- Tip: keep tools clean and dry to avoid reintroducing crumbs.
- Patch any thin spots after chilling before you apply the final coat.
- Work efficiently so the cake does not warm and the buttercream stays stable.
| Action | Tool | Why |
|---|---|---|
| Apply thin layer | Offset spatula | Traps crumbs and evens surface |
| Smooth sides | Bench scraper | Removes excess and speeds finish |
| Chill | Fridge, 15–20 minutes | Firms buttercream for final coat |
Smoothing the outside: bench scraper and offset spatula techniques
A smooth outer finish starts with the right amount of buttercream and steady hands. Apply a slightly thicker final coat so you have extra frosting to shape clean, even sides.
Use the bench scraper by holding it vertical with its base touching the turntable. Rotate the turntable at a steady speed while the scraper removes excess and reveals straight sides.
Consistent frosting thickness and fixing low spots
Low spots show as lighter areas that don’t touch the scraper. Add small amounts of buttercream with a spatula and re-scrape until the surface is flush.
Keep the scraper clean to avoid redepositing frosting. Dip tools in hot water, dry them thoroughly, and glide to smooth ragged texture and air bubbles.
Sharp top edges vs. rustic swoops
For a crisp rim, pull the top inward from the outer edge toward the center using an offset spatula. This creates a defined edge the eye notices.
If you prefer movement, use the same spatula in curved strokes to leave deliberate swoops and ridges for a rustic finish.
“Work at eye level and keep turntable speed steady — it’s the easiest way to spot and correct unevenness.”
- Start with a slightly thicker final coat to give room for scraping.
- Hold the bench scraper vertical and rotate the turntable for even sides.
- Fix low spots by adding frosting and re-scraping until smooth.
- Warm, dry tools glide better and reduce ragged edges.
- Chill briefly in warm rooms so the coat stays firm and workable.
| Action | Tool | Why it helps |
|---|---|---|
| Apply generous final coat | Offset spatula | Provides enough material to scrape straight sides |
| Scrape while rotating | Bench scraper + turntable | Ensures consistent thickness and a smooth finish |
| Repair low spots | Small spatula | Fills gaps so surfaces read flat at eye level |
| Warm and dry tools | Hot water then towel | Reduces drag, air bubbles, and ragged texture |
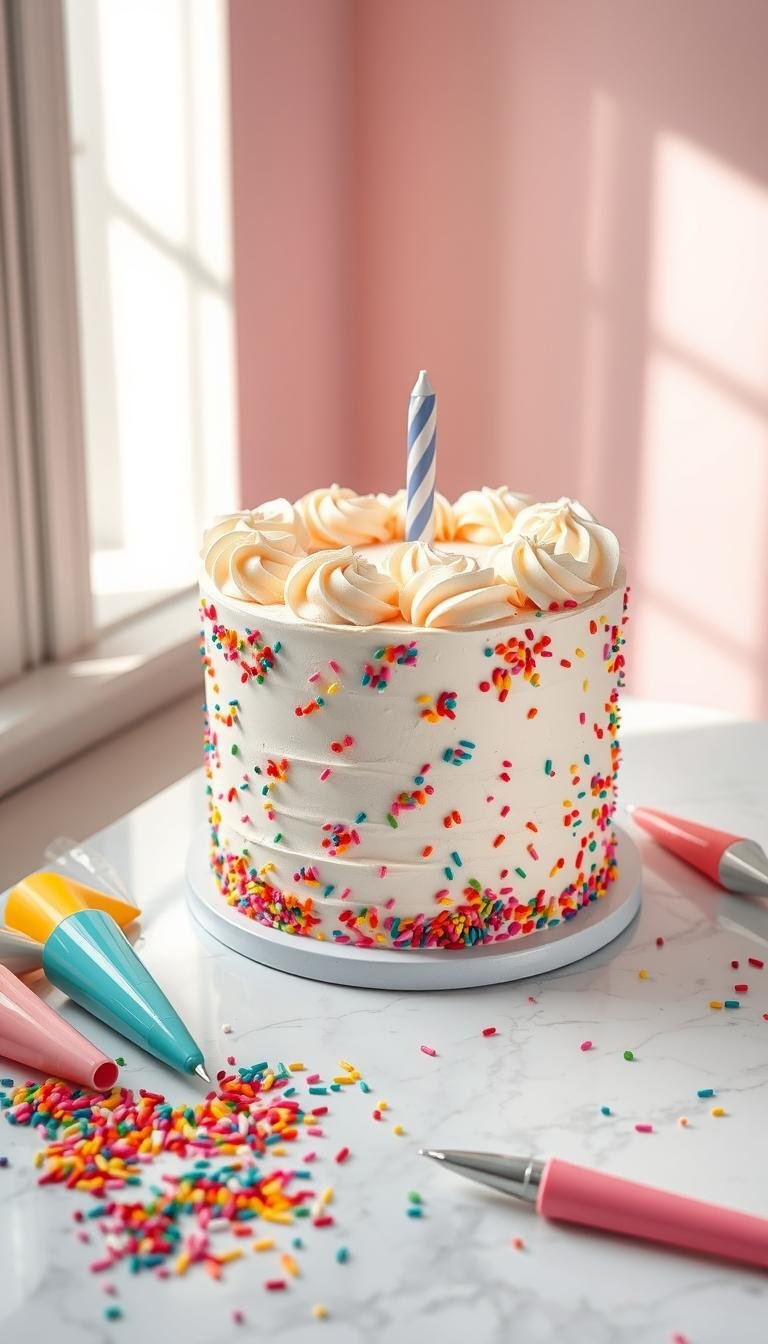
Decorative piping basics: borders, rosettes, and shells
Small piping skills — like consistent pressure and clean pull-aways — lift a plain layer into a showpiece.
Choosing the right tip and loading the bag
Pick a piping tip based on the shape you want. Closed star tips (Ateco 846/848 or Wilton 2D/1M) make rosettes. Open stars form shells. Use a round tip for dots and a petal tip for ruffles.
Practice and workflow
Practice on parchment first. If a pass is off, scrape buttercream back into the bag and try again.
Load a piping bag in a tall cup. Fold the edge over the rim for neat filling and fewer air pockets.
- Spacing: pipe the first rosette, rotate a quarter turn, then fill gaps for even placement.
- Pressure: keep steady force; relax and twist to finish each element cleanly.
- Fixes: keep a small spatula nearby to tidy smudges and position sprinkles precisely.
- Yield: make 1½–2× your frosting recipe if you plan heavy piping or floral work.
- Pause tip: store filled bags tip-up and knead briefly to restore flow before resuming.
Elevate with a chocolate ganache drip or candy melt drizzle
A controlled drip adds motion and shine, turning a plain frosted stack into something eye-catching. Start with a chilled, crumb-coated base so the ganache sets on contact and stays where you place it.

Testing ganache consistency and controlled dripping
Test first: drip a bit on the rim of a drinking glass. The chocolate should run slowly and stop halfway down, not pool at the base.
Use a small piping bag to control each drip around the top edge. Work a full circle first, then add a light flood across the top to hide seams.
- Keep drips varied in length for a natural look; avoid identical lines.
- Warm thickening ganache gently and stir until smooth before resuming.
- For color, swap in candy melts or tint white chocolate for bright drips.
- Spread the top with an offset spatula for a glossy finish and clean edge.
- Watch room temperature and time—warmer rooms need a slightly thicker mixture.
Final tip: less is often more; finish with a ring of piped frosting or sprinkles to blend the drip into the design.
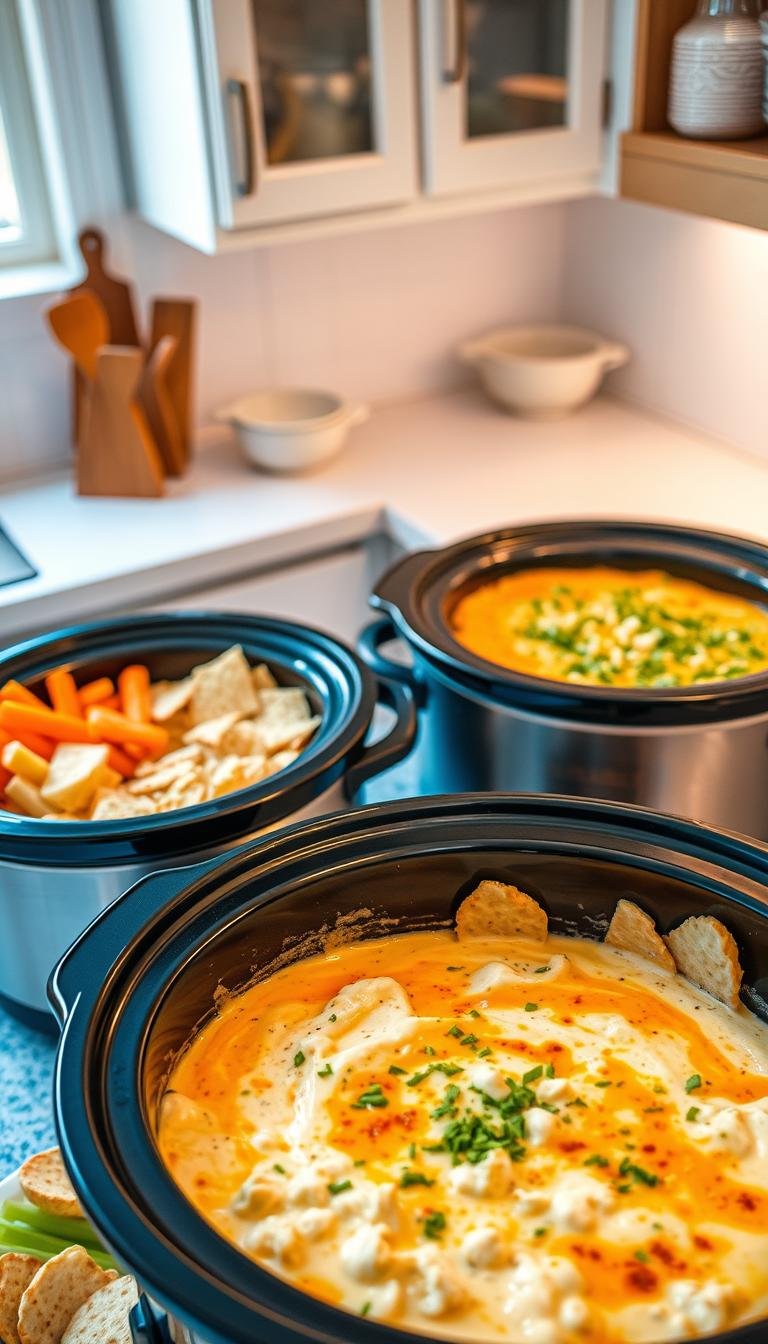
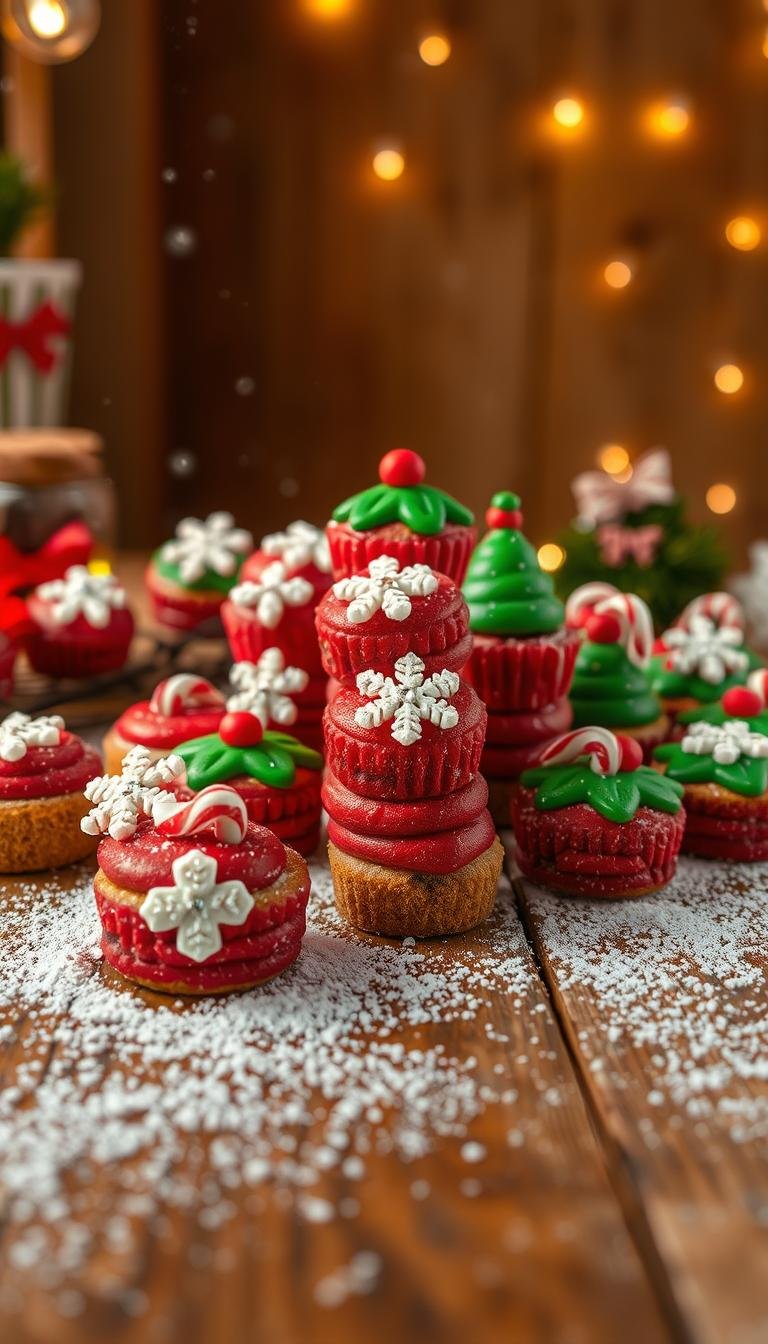
Sprinkles, nuts, and crumbs: simple finishes that wow
A quick sprinkle or a band of crumbs can turn a simple layer into a striking finish.
Press sprinkles along the base to create a neat “skirt” that hides minor smoothing flaws on the outside. This simple move adds color and helps the eye focus on the top.
Use finely chopped nuts, crushed cookies, or cake crumbs for texture and flavor without extra sweetness. Scatter a curated mix on top to complement piped borders and focal details.
- Sprinkle skirt: press sprinkles into a thin buttercream band around the lower sides.
- Oversized pieces: dab a tiny tip of frosting where each large sprinkle or pearl should sit, then press to adhere.
- Stripe trick: mask a band with parchment, add frosting, press sprinkles, then peel for a crisp border.
- Work tidy: do this over a bowl to catch and reuse excess and cut cleanup time.
Tip: keep color density even and balance textures—one smooth layer with a sprinkle skirt and a few top accents often gives a complete, intentional finish.
Fresh fruit and edible flowers for modern, balanced designs
Using seasonal fruit and safe flowers lets you add color and contrast without complex piping work.
Fresh fruit brings bright tartness that balances sweet frostings and chocolate accents.
Build a fruit crown on the top for a striking centerpiece.
Use whole berries and halved fruit to add height without overloading the layers.
Place a slim buttercream ledge near the rim to anchor fruit at the edge so pieces do not slide off the outside.
If you pair fruit with ganache, drizzle a small amount under each piece—this helps glue them in place and adds a flavor bridge.
Choose sturdy options: firm berries, sliced citrus, and stone fruit hold up best out of the fridge during service.
Pat fruit dry before placing so moisture won’t bead on the cream surface.
- Use labeled edible flowers (pansies, nasturtiums) to elevate a minimalist decorated cake.
- Add a few piped buttercream leaves or dots between pieces to lock elements and create clean separations.
- Storage tip: cream cheese and fresh fruit need refrigeration and shorten out-of-fridge time.
Styling options: naked and semi-naked cakes explained
Naked and semi-naked finishes showcase the baked layers with a relaxed, modern feel.
A naked look uses a thin layer of buttercream on the outside so the layer cake shows through. It reads rustic and reduces overall sweetness.
Semi-naked leaves a bit more frosting in low spots and removes it from ridges. The result is soft coverage that still lets the cake layers peek through artistically.
Work on a clean turntable and use cake boards to keep exposed edges tidy. Keep every layer even so the visible strata read cleanly around the stack.
Pair either finish with fresh fruit or edible flowers to emphasize a natural, modern aesthetic. Avoid very moist fillings that might ooze without a full outer coat.
“A stripped-back finish highlights the interior and lets flavor take center stage.”
- Apply a minimal coat, then scrape most buttercream away for the naked style.
- For semi-naked, leave more in valleys to reveal texture.
- Transport chilled to keep the delicate exterior set and debris-free.
birthday cake decorating troubleshooting and quick fixes
Mistakes happen — this short troubleshooting section gives fast, practical fixes to get your stack stable and your finish smooth.
Wobbly, sliding layers: chill and skewer for support
If the stack shifts, make sure to chill the whole cake for 30–60 minutes to firm the buttercream. Time in the fridge often stops movement quickly.
If wobble persists, insert a clean center skewer through the layers and chill again. Remove the skewer before final transport.
Bulging sides: the parchment “corset” trick
For a bulge, wrap a snug parchment or foil collar around the sides like a corset. Refrigerate until the shape sets and the bulge tightens.
Trim any overhangs with a serrated knife, then re-smooth with a bench scraper.
Ragged frosting: warm tools and re-whip fixes
Dip tools in hot water, dry them, and glide to smooth rough spots. Keep a spare bag of matching buttercream on hand for quick patching.
Re-whip buttercream that sat to remove bubbles and restore silkiness. Small pauses and chilling breaks save time and improve the final result.
- If filling is too loose, scrape some back and rebuild with a firmer dam.
- Keep a spare piping tip and a clean piping bag ready for quick repairs.
- Step back and evaluate—most small flaws disappear once the cake is fully finished.
Storage, transport, and freezing a decorated cake
Treat storage like a step in the recipe: chill, wrap, and label to preserve texture and taste. Refrigerate finished items so the buttercream coat firms for clean handling and safer transport.
Freezing tip: once the frosting sets in the fridge, wrap the cake tightly in two layers of plastic wrap, then add a layer of foil as a barrier. Label with the date and the recipe name. Most simple buttercream cakes keep quality for up to about two months.
Thawing and serving
Remove the foil and leave the plastic wrap on. Thaw overnight in the fridge to prevent surface condensation.
A few hours before serving, unwrap and let the cake come to room time so flavors and texture peak.
Moving and short-term handling
Transport on a flat surface in a snug box with a nonslip mat beneath. Keep the cake cool; cold buttercream resists dents and keeps sharp details intact.
“Chill, wrap, and label—simple steps that save flavor and finish.”
- Avoid freezing desserts with delicate fresh cream fillings or custards; check your recipe.
- For chocolate or ganache finishes, chill before moving to prevent smudges.
- If delays are likely, place an ice pack near (not on) the box to maintain a cooler environment.
Conclusion
Finish strong, Small routines—plan, chill, and patch—are what separate rushed work from polished results.
Use a repeatable workflow: plan your timeline, bake, chill, apply a crumb coat, smooth, then add final touches. These steps let you decorate cake with confidence and fewer surprises.
Invest in core tools (turntable, bench scraper, offset spatula) and practice piping basics before moving to drips or flowers. Keep a short troubleshooting list: chill for wobble, use a parchment corset for bulges, warm tools and re-whip to fix ragged edges.
Quick tips—record what worked, store finished work wrapped and chilled, and consult curated affiliate links when upgrading gear. With small, steady improvements you’ll get a cleaner finish and more reliable results every time.