Easy Skinless Chicken Thigh Recipes for Dinner Tonight
Surprising fact: nearly 60% of home cooks say a tight weeknight schedule stops them from making bold, homemade meals — yet many dinners take under an hour.
This Website contains affiliate links. That means I may earn a small commission if you purchase through my links, at no extra cost to you.
This short guide shows how to turn simple ingredients into juicy, well-seasoned thighs in minutes. You’ll get three reliable methods: a fast oven bake, a sticky sweet-savory glaze, and a crisp air fryer option. Each approach focuses on sensible timing, clear steps, and pantry-friendly sauces that lift flavor without fuss.
Follow straightforward tips for prep time, oven temperatures, and internal doneness so your meal is cooked safely and stays tender. Expect low-cleanup techniques, easy side pairings you can roast alongside the main, and checks that help even new cooks get consistent results.
Use this as your go-to reference for quick weeknight wins. Whether you want a classic savory bake or a caramelized finish, these recipes adapt to what’s in your pantry and save you time without sacrificing taste.
Key Takeaways
- Fast options: oven, glaze, and air fryer methods deliver results in under an hour.
- Simple rubs and a pan sauce boost flavor with minimal effort.
- Clear timing and doneness checks help avoid overcooking.
- Pantry-friendly ingredients make these recipes easy to adapt.
- Pairings and side ideas let you finish the whole meal while the main cooks.
Why these skinless chicken thigh recipes are perfect for tonight
When time is tight, a simple pan and a few pantry staples deliver big taste. These methods focus on fast prep, bold flavor, and minimal cleanup so you can get dinner on the table without stress.
Fast prep, bold flavor, minimal cleanup
- Quick cooking: boneless chicken thighs heat through fast and stay juicy. Most prep takes under ten minutes.
- Pan-friendly: one rimmed pan or a lined baking sheet does the work, and the air fryer keeps splatter low.
- Pantry power: olive oil, salt, pepper, paprika, garlic, brown sugar, soy, vinegar, and Worcestershire create big taste with no extra shopping.
What you’ll need on hand: pantry staples and basic tools
- Measuring spoons, a small mixing bowl, tongs, and an instant-read thermometer.
- Flexible seasoning lets you tweak spice, sweet, or tang to match what’s in your kitchen.
- These forgiving techniques help even uneven pieces cook evenly so your chicken thighs come out juicy every time.
Simple ingredients and clear steps mean this recipe works as a reliable, last-minute dinner solution for busy weeknights.
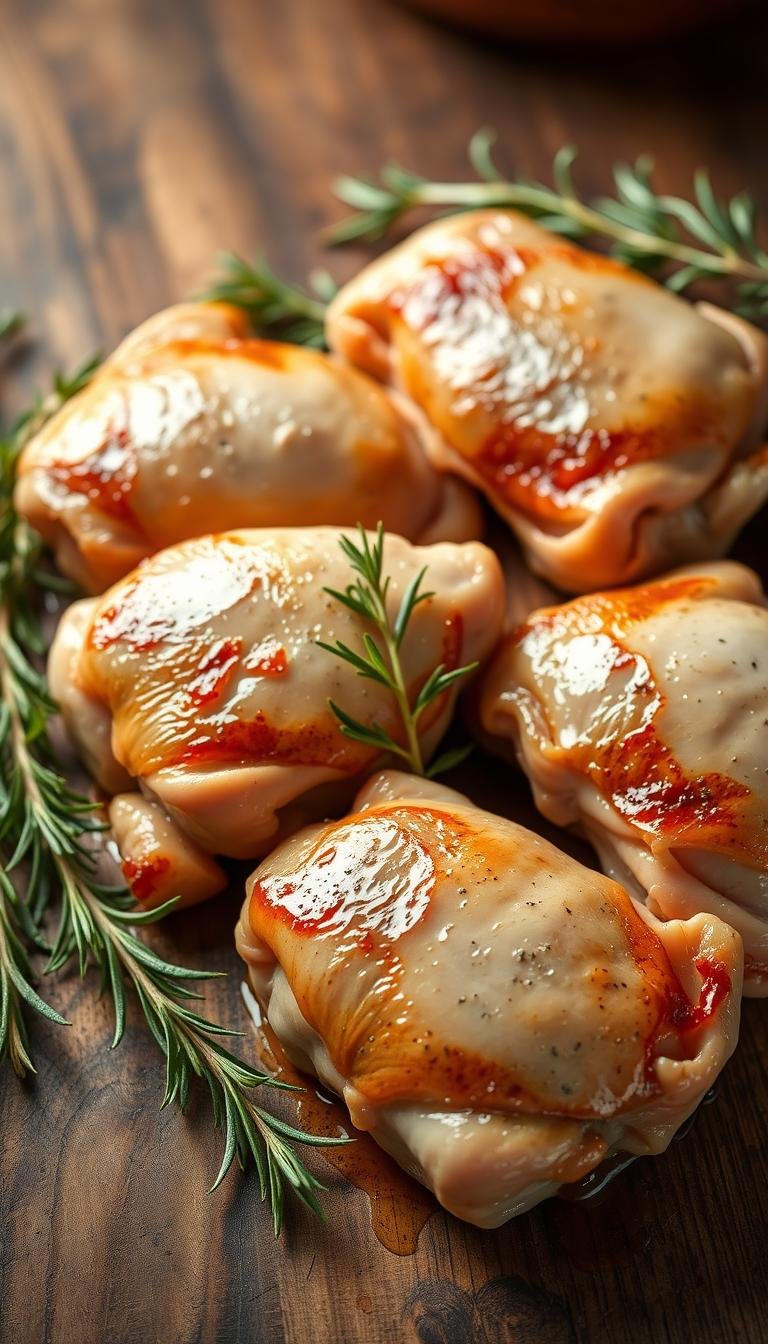
Oven-baked boneless skinless chicken thighs with garlic and olive oil
With a quick rub and 30 minutes in a 400°F oven, you can finish a flavorful main with almost no fuss.
Ingredients
Use: 2 pounds boneless skinless chicken thighs, 2 tbsp olive oil, 1 tsp kosher salt (Diamond Crystal), 1/4 tsp black pepper, 1 tsp garlic powder, 1 tsp onion powder, 1 tsp smoked paprika, 1/2 tsp ground cumin, 1/4 tsp cayenne.
Step-by-step
Preheat the oven to 400°F. In a bowl, mix oil with the spices until smooth. Coat the thighs evenly so every piece gets the rub.
- Arrange in a single layer in a rimmed 9×13-inch baking dish or on a sheet pan.
- Bake at 400°F for about 30 minutes. Start checking at 25 minutes.
- Confirm doneness with an instant-read thermometer in the largest piece: target 165°F.
Pro tips
Pan choice: a baking dish holds juices for slightly richer results; a sheet pan gives better browning.
Fat & trimming: leaving visible fat helps render and protect the meat from drying. Trim only if you prefer lean pieces.
Size variance: if pieces vary, keep the pan in the oven until the biggest piece reaches temperature; smaller pieces will stay juicy.
Storage: cool leftovers, then keep in the fridge for 3-4 days. Reheat gently at 350°F or use 50% microwave power to preserve texture.
Smoked paprika gives a subtle smoky backbone that lifts the rub; if you’re in a rush, an Italian seasoning swap with oil and salt works fine.
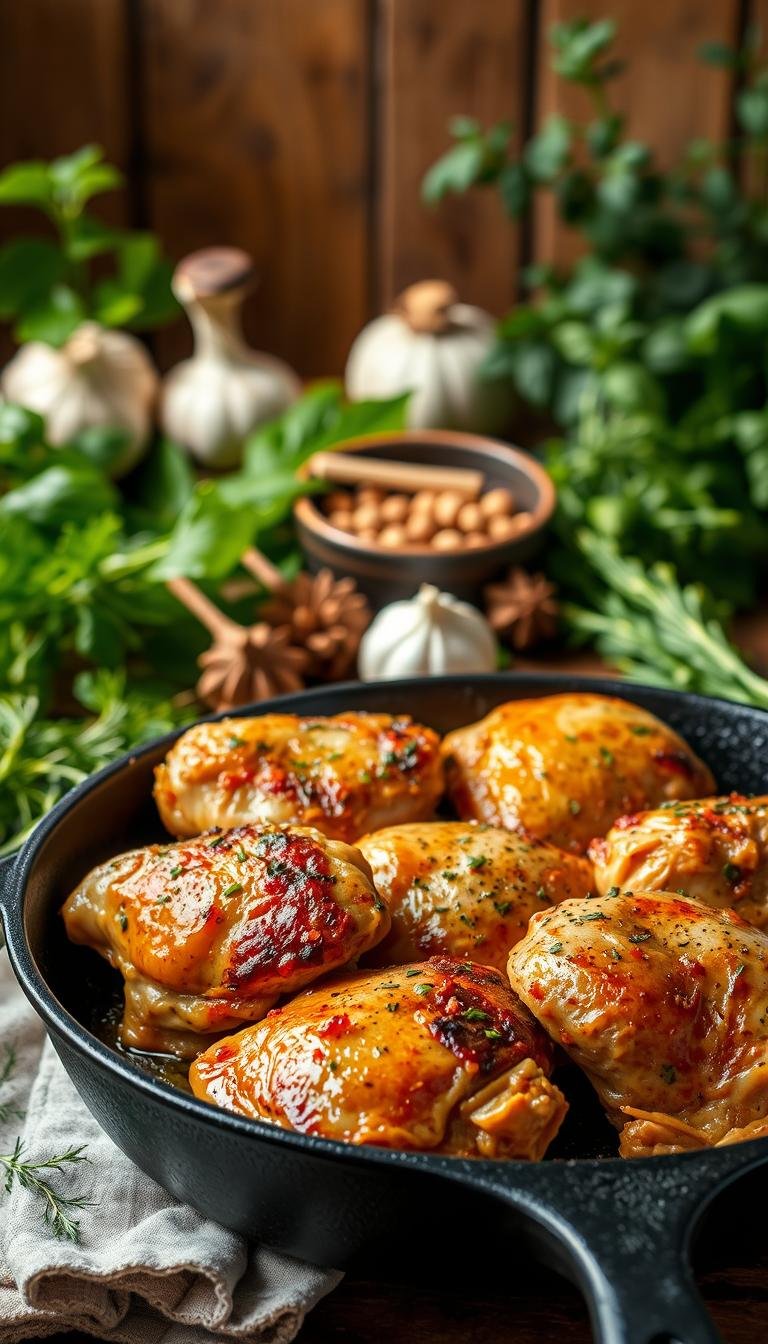
Sticky baked chicken thighs with a sweet-savory glaze
A sticky sweet-savory glaze turns simple boneless pieces into a glossy weeknight favorite.
Make the glaze: Whisk 1/4 cup ketchup, 3 tbsp brown sugar, 1.5 tbsp soy sauce, 1 tbsp apple cider vinegar, 1 tbsp olive oil, 2 tsp Worcestershire, and minced garlic until smooth.
How to bake and finish
Arrange boneless chicken in a foil-lined pan and spoon most of the glaze over each piece.
Bake at 425°F for about 15 minutes. Then move the rack so the meat sits about 8 inches from the element and switch to broil on high.
Spoon pan juices over the pieces, add remaining glaze, and broil 8–10 minutes until caramelized. Confirm doneness at 165°F.
Swaps, tips, and serving
Swaps: use BBQ sauce for ketchup, honey or maple for brown sugar, and white or rice vinegar if you prefer.
Tip: line the pan with foil for easy cleanup and never broil over parchment. Reserve the syrupy pan juices as a sauce for your plate and side.
| Ingredient | Amount | Role | Swap |
|---|---|---|---|
| Ketchup | 1/4 cup | Base and tang | BBQ sauce |
| Brown sugar | 3 tbsp | Sweet glaze | Honey or maple |
| Soy sauce | 1.5 tbsp | Umami salt | Light soy or reduced fish sauce |
Crispy air fryer boneless skinless chicken thighs
A hot air fryer and a bold dry rub give weeknight dinner extra crunch and fast results. This method cuts active prep and delivers a golden crust with juicy interior.
Dry rub—mix salt, pepper, garlic powder, onion powder, smoked paprika, dry mustard, and a pinch of cayenne. Pat boneless chicken dry, toss with a little olive oil, then coat evenly in the spice mix.
Arrange pieces in a single layer and avoid overcrowding the basket. Air fry at 400°F for 10 minutes, flip, then cook 5–6 more minutes until an instant-read thermometer hits 165°F; rest 5 minutes so the juices redistribute.
Batch cook when needed; crowding traps steam and stops crisping. For thicker cuts, add 2–3 minutes; for bone-in plan 22–25 minutes at 400°F, flipping halfway. To reheat, air fry at 350°F for 3–4 minutes to restore crispness.
Keep it simple: slice over greens or serve with roasted wedges. A small sprinkle of salt after cooking and a squeeze of lemon brightens the protein and lifts the overall flavor.

| Step | Temp / Time | Notes |
|---|---|---|
| Dry rub | — | Salt, pepper, garlic powder, onion powder, paprika, dry mustard, cayenne |
| Air fry | 400°F — 10 min + flip + 5–6 min | Single layer, check 165°F, rest 5 min |
| Reheat | 350°F — 3–4 min | Restores crispness; microwave in short bursts if needed |
| Oven option | 400°F — 25–30 min | Flip once; broil briefly for color |
skinless chicken thigh recipes: easy sides and serving ideas
Match heat and timing: pick sides that use the same oven or air fryer so your main and accompaniments finish in the same minutes window. This keeps hands-on time low and cleanup minimal.
Hot sides
Roasted and air-fried options
Roast potato wedges in the oven while the main cooks so the side and main finish together. Toss wedges with olive oil, salt, and pepper and bake on a sheet for about the same minutes as the meat.
Toss radishes and onions with oil, thyme, and salt, spread on a pan, and roast until caramelized. Cauliflower rice can be sautéed quickly to soak up juices and add a low-carb base.
Simple salads to brighten the plate
Build a mixed greens salad with lemon vinaigrette and sliced protein on top; the acidity balances richer sauce and spices. An arugula or spinach salad adds peppery or mild notes that pair well with paprika and garlic.
- Warm crusty bread on the same sheet to save dish use.
- Pick sides that reheat well for batch cooking—roasted veg and grains hold up best.
- Keep seasoning simple: a pinch of salt, citrus, or herbs lets the main’s flavor shine.
Meal prep, storage, and reheating without drying out
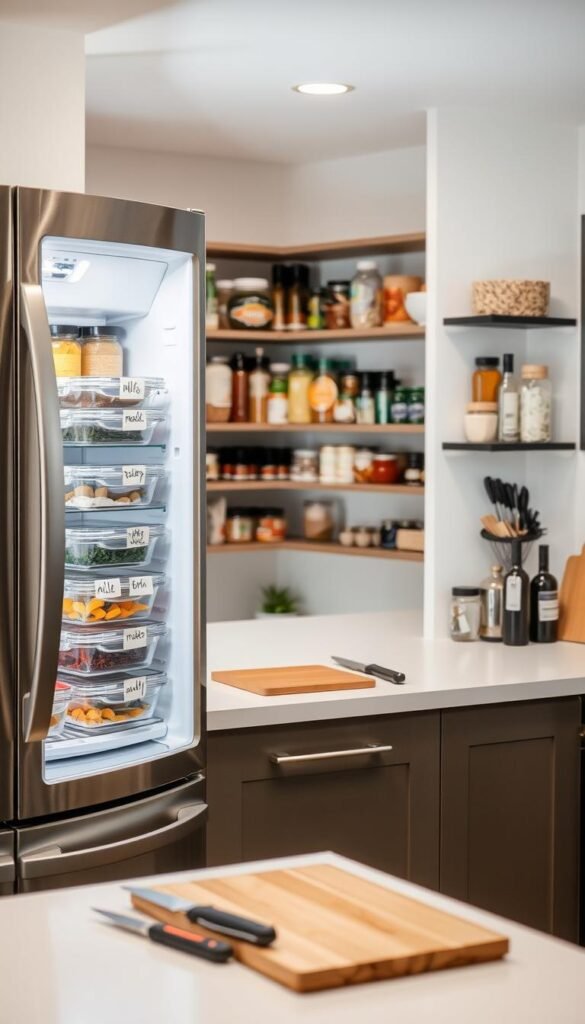
Good storage and gentle reheating turn tonight’s dinner into tomorrow’s effortless lunch. Cool cooked pieces quickly and transfer them to airtight containers. Store in the fridge for up to 3-4 days, or move cooled portions to the freezer for up to 3 months to protect quality.
Best reheating methods
Reheat gently to keep moisture. Microwave covered at 50% power in short bursts to warm through without toughening the meat.
Use a 350°F oven until heated; this takes a few minutes but preserves texture. An air fryer at 350°F for 3–4 minutes also restores a crisp exterior—check early, as small pieces heat faster.
Next-day meal ideas
- Slice cold over arugula, spinach, or a Cobb-style salad for a quick, protein-forward meal.
- Stuff warm or cool pieces into wraps with crunchy veg and a little sauce or glaze.
- Reheat on a small pan or in an oven-safe dish with a spoon of reserved sauce or a drizzle of oil to avoid dryness.
Label portions with dates, prioritize fridge portions within a couple of days, and thaw frozen packs overnight in the fridge before reheating for best results.
Timing, substitutions, and nutrition notes for success
Small timing tweaks and the right fat choice unlock consistent, flavorful weeknight meals. Below are clear notes to help you plan cook time, swap ingredients, and keep nutrition on track.
Prep time and cook time at a glance
Oven bake: about 30 minutes at 400°F for standard pieces. Sticky method: 425°F for 15 minutes, then 8–10 minutes under the broiler to caramelize. Air fryer: 10 minutes, flip, then 5–6 minutes at 400°F; rest 5 minutes.
Olive oil vs butter or ghee, and when to skip trimming fat
Use olive oil for a clean, neutral flavor and higher smoke tolerance in quick sautés. Butter or ghee add richer notes; ghee holds up better at higher heat. Note that butter can firm on chilled leftovers.
Don’t trim all the external fat unless large deposits exist. Rendered fat protects the meat during baking and keeps the finished dish moist.
Internal temperature and safety
Confirm doneness with an instant-read thermometer. The safe target is 165°F in the thickest part. Dark meat stays juicy up to about 175–180°F, so there is a forgiving window to suit texture preferences.
Protein-forward dinner: balancing flavor, fat, and carbs
Build a plate with a lean protein focus, plenty of vegetables, and modest starch. Moderate sweeteners like brown sugar in glazes or swap for honey or maple to cut refined sugar.
- Use low-sodium soy and less salt if watching sodium.
- Add pepper, garlic powder, and herbs for big flavor without extra fat.
- If substituting chicken breast, slice thinner or watch time closely to avoid drying.
Conclusion
With three clear methods, you have an easy way to cook boneless chicken thighs that fits any weeknight. Pick oven bake, sticky glaze, or the air fryer based on time and desired finish.
Pantry rubs and a quick spoon of sauce lift the flavor with little effort. Use an instant-read thermometer for consistent doneness and to keep the meat juicy.
Pair the main with a light salad or simple roasted sides to balance richness. Store leftovers safely and reheat gently for lunches or fast second meals.
Use this guide as a go-to recipe list—repeat the techniques, tweak heat and sweeteners to taste, and you’ll build a reliable rotation that makes weeknight cooking stress-free.
