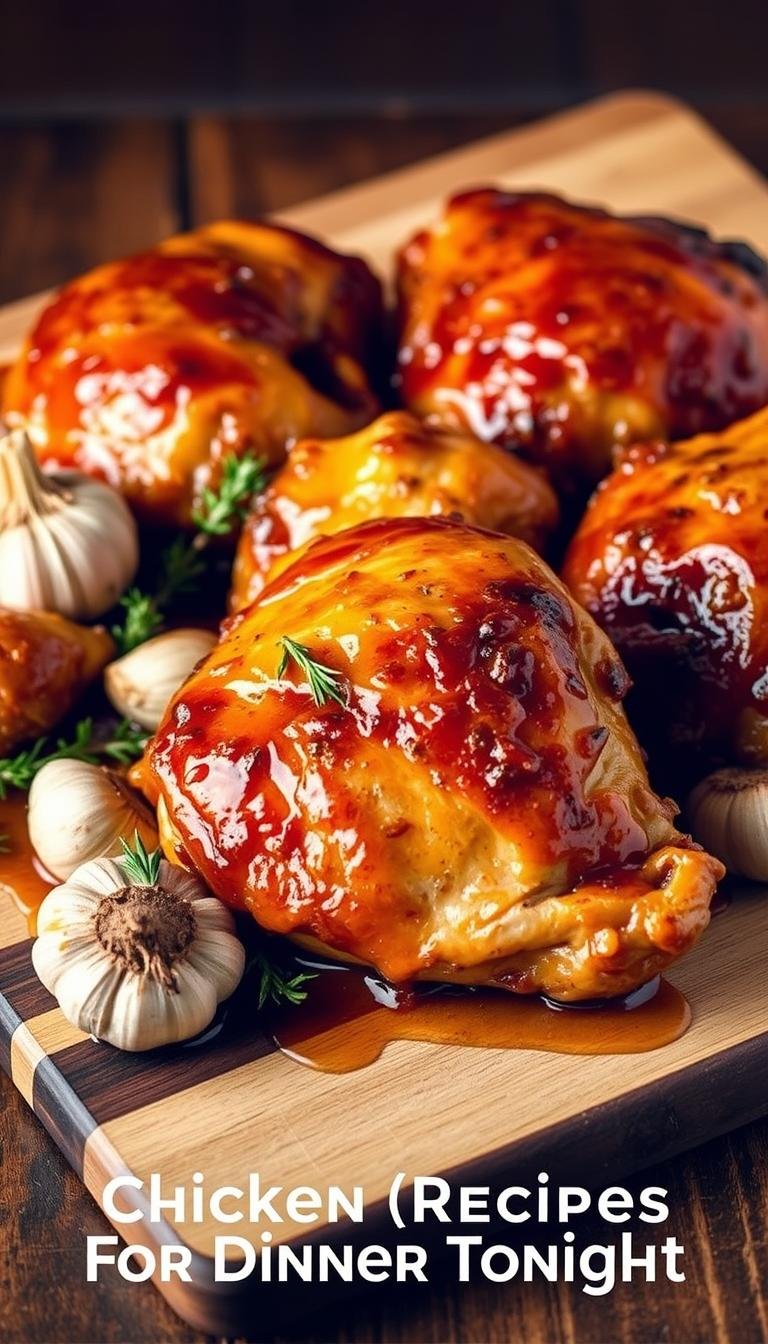
Easy Chicken Recipes for Dinner Tonight
Surprising fact: nearly half of busy cooks say a 12-minute skillet dinner saves their weeknight, and a fast honey garlic method really delivers on that promise.
This Website contains affiliate links. That means I may earn a small commission if you purchase through my links, at no extra cost to you.
This guide pares dinner down to what matters: speed, flavor, and pantry-friendly ingredients. In one approach, split a chicken breast, dust with flour, sear, then simmer a five-ingredient sauce of butter, garlic, vinegar, soy, and honey until glossy.
For nights when comfort wins, try Marry Me Chicken — breasts dredged in flour, browned, then simmered with garlic, sun-dried tomatoes, cream, stock, Parmesan, and a squeeze of lemon at the end for brightness.
Food safety matters: always cook to a safe internal temp of 165°F. Learn simple heat tricks so creamy sauces thicken without breaking, and how to rescue curdled cream with a quick whisk off the heat.
Key Takeaways
- Fast option: a honey garlic chicken that can be ready in about 12 minutes.
- Marry Me Chicken delivers restaurant-style comfort with everyday ingredients.
- Split breasts and a light flour dredge speed cooking and help the sauce cling.
- Watch heat to prevent curdling; remove from high heat and whisk to fix cream sauces.
- Store cooked dishes up to three days; freezing is possible but may change texture.
Why these easy dinner ideas work on busy weeknights
When time is tight, a tight plan and a hot pan win dinner.
Fast prep and short cook minutes make both the honey garlic and Marry Me methods reliable. Start with skinless chicken split for even thickness to cut cook time and get a quick, golden sear.
A single skillet keeps flavor and cleanup simple. Sear, add garlic and the rest of the ingredients, then simmer briefly so sauces thicken and cling—dusting with flour helps that finish.
Pantry staples—honey, soy, cream, stock, garlic—prevent last-minute runs and let you plate a full meal with rice and a green side. Manage heat: medium-high to brown, then lower to a gentle simmer.
- Scale by adding pieces without crowding the pan.
- Use visual cues and a thermometer to reach 165°F.
- Small tweaks (red pepper, lemon) add flavor without extra time.
| Benefit | Why it helps | Quick tip |
|---|---|---|
| Short prep | Less chopping, fewer steps | Split breasts before cooking |
| One pan | Faster cleanup, more flavor | Finish sauce in the same pan |
| Pantry ingredients | No last-minute store run | Keep honey, stock, garlic on hand |
chicken recipes
Pick a fast skillet or a creamy one — both deliver big flavor with minimal fuss.
12-minute honey garlic chicken with pantry staples
Quick method: Split 2 boneless, skinless chicken breasts into 4 thinner pieces, season, and dust lightly with flour. Sear in butter until golden.
Add minced garlic, then stir in apple cider vinegar, soy sauce, and honey. Simmer about 1 minute until the sauce is slightly thick and glossy.
Turn pieces to coat and serve over rice or greens for a complete plate in about 12 minutes.
Creamy “Marry Me Chicken” with sun-dried tomatoes and parmesan
Coat 4 skinless chicken breasts in flour and brown in olive oil. Add garlic, sun-dried tomatoes, oregano, and paprika to build flavor.
Stir in cream, chicken stock, and Parmesan, return the breasts, cover, and simmer until tender. Finish with fresh basil and a squeeze of lemon.
- Fast glaze: honey, soy, vinegar, garlic, and butter make a sticky finish that clings thanks to the flour dredge.
- Comfort path: cream, stock, and Parmesan yield a rich pan sauce—add tomatoes early for depth.
- Both rely on one skillet and a few common ingredients so you can cook tonight without a trip to the store.
| Style | Time | Key swap |
|---|---|---|
| Honey garlic | ~12 minutes | soy sauce → tamari for gluten-free |
| Marry Me | 15–20 minutes | cream → crème fraîche for stability |
Honey Garlic Chicken: fast skillet recipe with a 5-ingredient sauce
A quick honey-garlic skillet turns a few pantry items into a glossy, weeknight winner.
Ingredients and pantry swaps
Keep it simple: 2 boneless skinless chicken breasts (split into 4 thin pieces), salt, pepper, and a light coat of 1/4 cup flour.
Sauce staples: 1/3 cup honey, 1 tbsp soy sauce, 1 1/2 tbsp apple cider vinegar, and 3 cloves garlic. Use 3 1/2 tbsp butter or olive oil for searing. For gluten-free, swap flour for cornstarch.
Step-by-step
- Season and dust the split breast pieces, then sear in a hot skillet with butter over high heat—2–3 minutes first side, 1 minute second.
- Push chicken to the pan edge, add a dab of butter and the minced garlic to bloom.
- Pour in vinegar, soy sauce, and honey; simmer about 1 minute until the sauce is slightly thick and glossy, then turn chicken to coat.
Timing, swaps, and serving
Total time: roughly 12–15 minutes from prep to plate. If sauce tightens too much, add a splash of water.
The same glaze works with pork, shrimp, or tofu—adjust sear time. Serve over rice, cauliflower rice, or noodles and finish with red pepper flakes for heat.
| Item | Amount | Quick swap |
|---|---|---|
| Flour dust | 1/4 cup | Cornstarch for GF |
| Butter / oil | 3 1/2 tbsp | Olive oil for lighter fat |
| Honey | 1/3 cup | Maple for deeper flavor |
| Soy sauce | 1 tbsp | Low-sodium or tamari |
“Marry Me Chicken”: creamy skillet chicken with sun-dried tomatoes
Bright herbs and a glossy cream sauce turn simple breasts into a memorable skillet meal.
Simple ingredient list
What you need: skinless chicken breasts, plain flour, garlic, dried oregano, paprika, heavy cream, chicken stock, grated Parmesan, sun-dried tomatoes, fresh basil, and lemon juice.
Cooking method
- Dredge each breast lightly in flour. Brown in olive oil about 5 minutes per side until golden.
- Remove meat, reduce the heat, then add garlic, sun-dried tomatoes, oregano, and paprika. Cook 3–5 minutes to bloom flavors.
- Pour in cream, stock, and Parmesan. Season with salt and pepper, return the breast to the pan, cover, and simmer 10 minutes, turning once.
- Finish off heat with chopped basil and a squeeze of lemon. Check the thickest part reaches 165°F before serving.

Pro tips and storage
- Dredging in flour helps the sauce cling and builds a light crust.
- Add tomatoes earlier for deeper tomato body; oregano keeps the profile bright.
- Refrigerate leftovers up to 3 days; cream sauces don’t freeze well. If lemon makes the sauce curdle, remove the meat and whisk the sauce smooth off the heat.
| Step | Time | Tip |
|---|---|---|
| Sear breasts | 10 min | Use medium-high heat for color |
| Simmer sauce | 10 min | Cover to tenderize evenly |
| Finish | 1–2 min | Basil and lemon brighten the serving |
Technique tips: searing, sauce thickening, and heat control
A simple sear, followed by controlled simmering, keeps meat juicy and the sauce glossy.
Why a light flour dusting helps: A thin coat of flour builds a micro-crust that deepens browning and gives the sauce something to cling to. Use a small amount of chicken flour so the finish stays thin and smooth.
Managing heat and timing
Start with medium-high heat in a wide pan or skillet to get quick color. Then lower heat to a gentle simmer to finish cooking without drying the meat.
Thickening options that work fast
Let the sauce reduce by evaporation until glossy. For a quicker body, whisk a cornstarch slurry and add in the last minute—honey-based glazes often need only about a minute to thicken.
Final safety and seasoning steps
Check internal temp so the chicken cooked reaches 165°F. Add salt pepper after reduction so you don’t over-salt as flavors concentrate. If cream or lemon threaten to curdle, remove the pan from heat, whisk, and add a splash of stock.
- Step: sear, bloom aromatics, deglaze (soy sauce or vinegar), reduce—repeatable and reliable.
| Technique | Why it helps | Quick action |
|---|---|---|
| Flour dust | Better browning; sauce sticks | Lightly dust before sear |
| Heat control | Prevents drying and curdle | Sear high, simmer low |
| Thicken | Glossy, clingy finish | Reduce or use slurry |
Ingredients that boost flavor without extra time
A handful of bold ingredients speeds flavor building without extra hands-on time. Use them to layer taste while you sear and finish the sauce.
Garlic, soy, honey, lemon, and olive oil: balancing sweet, salty, and bright
Garlic blooms fast in hot fat and becomes the savory backbone of any quick sauce. Add it after the sear so the whole pan picks up that aroma.
Honey and soy create a sticky, balanced glaze. Honey adds viscosity; soy sauce brings umami and saltiness that deepen flavor in under a minute of simmering.
Lemon brightens rich finishes when added off heat. A squeeze wakes the sauce and cuts through cream for a fresher bite.
Olive oil works as a quick-searing fat in place of butter. It carries garlic and spices, and keeps the finish lighter while still helping the sauce cling.
- Use a light pinch of salt only after reduction if soy is present to avoid over-salting.
- These pantry staples also act functionally: emulsifying, thickening, and balancing sweet, salty, and bright notes.
- The same set scales across proteins, so the sauce works with chicken, pork, shrimp, tofu, or vegetables.

| Ingredient | Role | Quick tip |
|---|---|---|
| Garlic | Base aroma | Bloom in hot oil 30–60 sec |
| Honey + soy | Sweet-salty glaze | Simmer ~1 min to thicken |
| Lemon | Brightener | Add off heat to finish |
Serving suggestions, sides, and nutrition-minded swaps
A few bright sides and easy swaps lift a saucy pan to a complete dinner.
Pairings: Plate honey garlic over white or brown rice so the sauce soaks in. Add green beans or steamed broccoli for color and crunch. A crisp cucumber salad offers a cool, contrasty side that keeps the plate fresh.
Light and dairy-free ideas
Swap smartly: For a lighter creamy finish, use full-fat or reduced-fat crème fraîche for stability. For dairy-free needs, choose plant-based cream and vegan Parmesan alternatives.
Pick low-sodium soy sauce or gluten-free tamari to control salt. Taste after the sauce reduces, then finish with a pinch of salt and pepper only if needed.
Practical reheating, portions, and swaps for thighs
Chicken thighs work well with both glazes and the creamy sauce; they stay juicier and need a few extra minutes depending on thickness. Confirm the chicken cooked reaches 165°F.
- Serve one measured cup of rice per serving to help track calories and portions.
- Reheat gently in a hot pan with a slick of oil, or microwave in short bursts while stirring to re-emulsify the sauce.
- Leftovers: cubed honey garlic pieces keep 4–5 days; creamy dishes keep about 3 days refrigerated and freeze less well.
| Item | Why it helps | Quick tip |
|---|---|---|
| Rice | Captures sauce | 1 cup per serving |
| Green sides | Add fiber & crunch | Steam or blanch quickly |
| Thighs | Extra juiciness | Increase minutes; test temp |
Conclusion
End the night with a short, reliable plan that turns pantry staples into a standout dinner.
With a clear step plan and basic prep, you can flip between a fast honey garlic recipe and a creamy Marry Me recipe any night. The honey glaze often reduces in about a minute after deglazing and coats thin breast pieces quickly.
Small choices — split a breast, manage heat, and finish lemon and basil off heat — keep the sauce smooth and the meat tender. Check for 165°F, then season with salt pepper and taste.
Keep essentials on hand so you can add chicken to a hot pan, turn chicken to coat, adjust thickness with stock, and plate a polished dish in minutes.