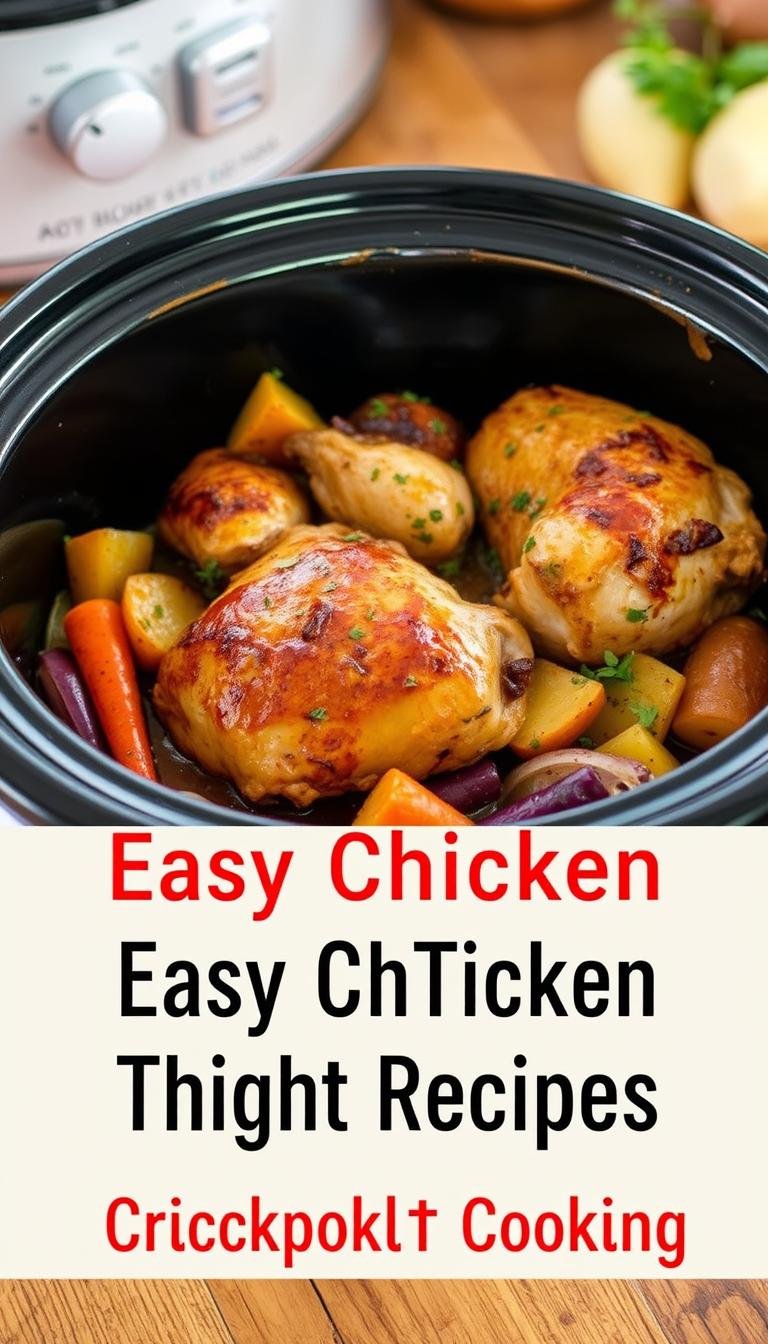
Easy Chicken Quarter Recipes: A Step-by-Step Guide
Did you know a single cost-effective cut can feed a family while delivering restaurant-style texture? Leg quarters marry thigh and drumstick for deep flavor and forgiving cook times.
This Website contains affiliate links. That means I may earn a small commission if you purchase through my links, at no extra cost to you.
This guide gives a simple, step-by-step framework that turns pantry spices into a reliably juicy, crisp-skinned meal. Start by patting the meat dry, rubbing oil and a blend of salt, pepper, paprika, onion and garlic powder, Italian seasoning, and ground mustard under the skin for maximum taste.
Plan on about 40–50 minutes in a hot oven (400–425°F) on a foil-lined sheet pan with an oven-safe rack. Pull dark meat at ~185°F and rest 5–10 minutes so carryover heat brings it to the ideal 190–195°F for tender, collagen-broken results.
Practical tools and small techniques—a rack for airflow, light oil, and space between pieces—are what give you crisp skin and even browning without fancy gear.
Key Takeaways
- Budget-friendly dark meat yields big flavor with minimal fuss.
- Use a simple pantry rub and oil; season under the skin for depth.
- Bake 40–50 minutes at 400–425°F; check temperature, then rest.
- A foil-lined sheet pan plus a rack improves crispness and cleanup.
- Cook to temperature, not just minutes, for consistent results.
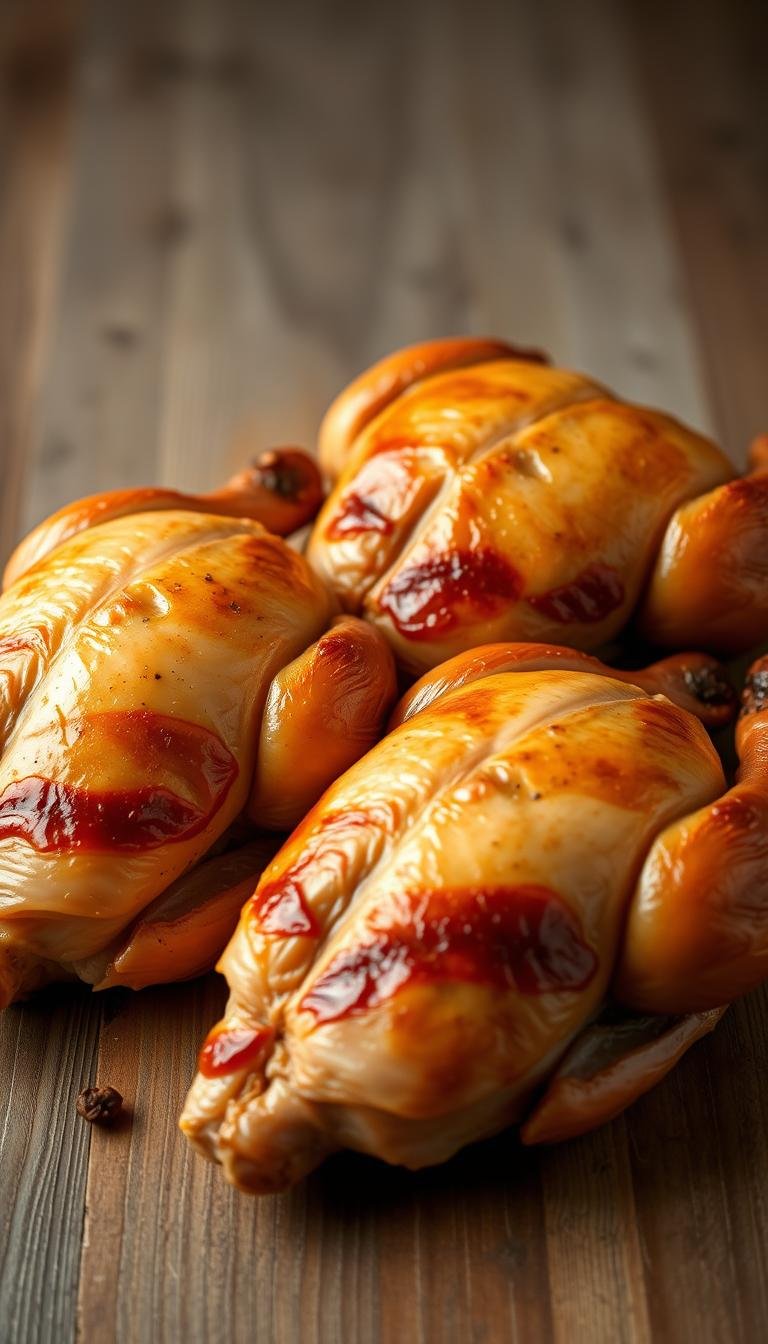
What Are Chicken Leg Quarters and Why They’re Perfect for Weeknight Dinners
Chicken leg quarters combine a thigh and a drumstick into one generous, budget-friendly cut. This whole piece may include a small back portion and delivers plenty of dark meat for each serving.
Dark meat has more connective tissue and natural fat, so it stays juicy and resists overcooking. That makes leg cuts forgiving for busy cooks who need consistent flavor without fuss.
The appeal is practical: they cost less than buying thighs and drumsticks separately, need little trimming, and take simple seasonings like paprika and pepper well. One large piece can be served whole or split into thigh and drumstick to suit a family plate.
Weeknight wins: easy prep, straightforward oven roasting, quick temperature checks, and a short rest yield reliable texture. Nutritionally, dark meat offers more iron and zinc and satisfying unsaturated fats.
- Definition: thigh + drumstick (sometimes a back sliver)
- Practical: affordable, available, and forgiving
- Flexible: takes simple spice blends for wide appeal
| Feature | Leg Quarters | Separate Thighs/Drumsticks |
|---|---|---|
| Cost | Lower per pound | Higher per combined weight |
| Prep | Minimal trimming | May need portioning |
| Moisture | High (more connective tissue) | Variable by cut |
| Best use | Oven roasting, simple weeknight meals | Versatile but may need more handling |
Ingredients for Flavorful, Juicy Chicken Quarters
A straightforward spice rub and a high-heat oil are the building blocks of tender, well-browned meat. Start by patting the skin dry so the surface can crisp and the rub will stick.
Core components
Ingredients to keep on hand: kosher salt, black pepper, paprika, onion and garlic powder, Italian seasoning, and ground mustard. Mix these in a small bowl for even coverage.
Oils and fats
Use olive oil to bind the rub and encourage browning. If you want a higher smoke point, choose avocado or another neutral oil.
Optional add-ins
For heat, add a pinch of cayenne. Poultry seasoning gives cozy, savory depth. If using fresh garlic, add it in the last 10 minutes—brush minced garlic with pan fat to avoid burning.
- Season under the skin and on top for deeper flavor.
- Pat dry first so fat renders and the exterior crisps evenly.
- Keep the mix pantry-friendly and repeatable for weeknight wins.
Tools You’ll Need for Baked Chicken Success
The right pan and a reliable thermometer turn a good bake into a great result. Gather a few basics before you start so the process goes smoothly and the skin crisps evenly.
Sheet pan, foil, and an oven-safe rack for crispier skin
Use a sturdy, rimmed sheet pan to catch drips and keep heat consistent around the pieces. Line it with foil to speed cleanup when juices caramelize.
Set an oven-safe rack on top to elevate the quarters. Elevation promotes airflow and helps the underside brown, not just the top.
Instant-read thermometer vs. leave-in probe
An instant-read thermometer gives quick spot checks. A leave-in probe lets you monitor without opening the oven.
For accuracy, place the probe in the thickest part of the leg, avoiding bone. That gives true doneness and prevents overcooking.
- Pat skin dry with paper towels before seasoning.
- Brush a thin layer of oil so spices stick and the skin renders.
- Arrange pieces with space to avoid steaming; always leave room when you place chicken on the rack.
- Preheat the oven to 400–425°F so the meat hits hot air and starts to brown immediately.
| Tool | Purpose | Tip |
|---|---|---|
| Rimmed sheet pan | Catch drippings, steady heat | Use heavy-gauge metal for even browning |
| Oven-safe rack | Elevate for airflow | Space pieces to crisp underside |
| Instant-read thermometer | Quick temperature spot checks | Insert into thickest part, avoid bone |
| Leave-in probe | Continuous monitoring | Check final temp without opening door |
Step-by-Step: How to Make Oven-Baked Chicken Leg Quarters
Heat the oven up to a steady 400–425°F so the exterior gets golden while the inside stays juicy.
Preheat: Set your range to the temperature that suits your oven and goals. A hotter start helps the skin render faster and browns the surface within the first minutes.
Prep: Trim any loose skin or excess fat, then pat the surface very dry. Dry skin equals better browning and crisp texture.
Season: Mix salt, black pepper, paprika, onion and garlic powder, Italian seasoning, and ground mustard. Brush both sides with a light coat of oil and rub the blend on top, bottom, and under the skin for depth of flavor.
Arrange: Line a foil-covered sheet and set an oven-safe rack on top. Place chicken with space between pieces so air moves and edges brown instead of steaming.

Bake, monitor, and rest
Slide the pan into the oven and plan for about 40–50 minutes total. Flip once if your oven browns unevenly.
Begin checking internal temperature around 35–40 minutes. Insert an instant-read thermometer into the thickest part of the leg, avoiding bone.
Pull when the probe reads near 185°F; carryover will bring the meat into the ideal 190–195°F range for tender dark meat.
Let the pieces rest for 5–10 minutes so juices settle back into the meat. Serve whole or separate the leg and thigh for easier portions.
- Tip: Start checking temp early to avoid overcooking.
- Tip: Golden, rendered skin is a visual cue for doneness.
Temperatures, Time, and Doneness for Dark Meat
Relying on internal temperature instead of the clock yields consistent, juicy results every time. Use a thermometer to check the thickest part of the leg and avoid the bone.
Why 185–195°F works best
Dark meat improves beyond the 165°F safety floor. Collagen needs higher heat—about 185–195°F—to convert into gelatin. That change makes the meat tender and gives cleaner bone pull.
Adjust for size, oven variance, and crowding
Piece size and oven quirks change time to doneness. Start checking early so you can adapt.
A crowded sheet pan traps steam and slows browning. Space leg quarters well for even crisping of the skin.
Carryover cooking and resting
Remove pieces near ~185°F; carryover heat during a 5–10 minute rest usually raises the internal temperature to the ideal range. Resting lets juices redistribute so the meat stays moist.
- Use internal temperature, not the clock, as your guide.
- Keep brief notes on minutes and rack position for repeatable results.
- Consider flipping if your oven has hotspots to balance color and finish.
Pro Tips for Ultra-Crispy Chicken Skin
Crisp skin starts with dry air and a hot oven—simple moves that change texture fast. These steps focus on removing surface moisture, improving airflow, and using a brief high-heat finish so the exterior shatters while the meat stays juicy.
Refrigerator air-dry, high heat, and a quick broil finish
Air-dry uncovered in the refrigerator for a few hours to pull moisture from the surface. The drier the skin, the faster fat renders and the crisper the result.
Bake hot so fat renders quickly and the surface browns. If the color needs a final lift, broil 2–3 minutes at the end—but watch closely to avoid burning.
Avoid overcrowding; use a rack for bottom-side crisp
Give each leg piece space on an oven-safe rack set over foil. Elevation lets air circulate under the skin and prevents the underside from stewing in juices.
Brush a thin coat of oil so seasoning adheres and browning is even without greasiness. Keep seasonings low in sugar; sweet blends can scorch before the skin fully renders.
- Avoid crowding for steady airflow and even color.
- Flip once mid-bake if your oven has hot spots to balance browning.
- Let the skin rest a minute after broiling so the crispness sets before serving.
Chicken Quarter Recipes: One-Pan Dinner with Potatoes
Add a bed of chunky potatoes, sweet potatoes, and carrot slices to the pan to make dinner both complete and tidy. Fill the remaining space on the sheet with a single layer so each piece roasts instead of steaming.
How to add potatoes, sweet potatoes, and carrots to the pan
Cut veg into even chunks so they finish in the same minutes. For best texture, scatter them around the rack where you place chicken so drippings flavor the potatoes without soaking them.
Oil and spice mix ratios so vegetables soak up flavor
Toss the veg with a little olive oil and a portion of the spice mix. For 2 lb of potatoes, use roughly half the salt from the rub — about 3/4 tsp — plus modest paprika, garlic, and pepper so every bite tastes balanced.
When to stir, how to finish browning, and timing tweaks
Stir vegetables at about the 20-minute mark and again roughly 15 minutes later to promote even browning. If the meat finishes first, remove it to rest and turn the oven up slightly to crisp the potatoes until golden.
- One-pan build: single layer of potatoes, sweet potatoes, and carrots around the meat.
- Toss: oil + part of the spice blend so veg soak up drippings.
- Timing: stir at 20 and again 15 minutes later; adjust minutes for chunk size.
- Finish: remove chicken if needed, roast veg until edges blister and are tender inside.
Storage, Reheating, and Make-Ahead Notes
Cooling, sealing, and reheating the right way preserves texture and flavor for later meals. Follow a few simple steps to keep meat juicy and skin crisp when you store leftovers or plan ahead.

Refrigeration vs. freezing: cool, store, and thaw
Let the pan cool completely before transferring to containers. Doing so prevents steam from softening skin and traps less fat in the storage vessel.
Refrigerate in an airtight container for up to 3–4 days. For longer storage, freeze cooked portions up to 3 months and thaw overnight in the fridge.
Best reheating methods for texture
Reheat in a 325–375°F oven for 10–20 minutes, removing foil for the last 5 minutes to re-crisp the surface. An air fryer at 375°F takes about 5–7 minutes and restores crunch fast.
Avoid microwaving when crisp skin matters; it makes the exterior soggy even if the interior warms quickly.
Doubling the batch and make-ahead planning
If you double the bake, spread pieces across two pans so air flows and doneness stays predictable. With more items, total cook time often skews toward 45–50 minutes; always verify by temperature.
“Always check internal temperature instead of relying only on minutes; it gives consistent results.”
| Action | Storage | Reheat method |
|---|---|---|
| Short term | Refrigerate 3–4 days | Oven 325–375°F, 10–20 minutes |
| Long term | Freeze up to 3 months | Thaw overnight, then oven or air fryer |
| Quick crisp | Keep skin separated if possible | Air fryer 375°F, 5–7 minutes |
- Let leftovers cool before sealing to avoid soggy skin.
- Save rendered fat from the pan for basting or tossing with veg later.
- Shred chilled meat for salads or wraps to stretch servings across meals.
Serving Ideas to Complete the Meal
Finish the plate with one creamy starch and one bright vegetable for contrast and color. This simple approach turns baked chicken leg quarters into a complete, family-friendly meal without extra fuss.
Comfort sides
Pair the meat with classic mashed potatoes—plain, buttery, or cheesy—for a cozy, familiar bite. Gluten-free mac and cheese or a sweet potato mac work well for dietary swaps.
Veg-forward options
Balance richness with blanched broccoli, roasted Brussels sprouts, or a crisp Italian tomato salad. Bright greens cut fat and add color to the plate.
Family-friendly swaps & flavor tweaks
Serve pieces whole for hearty portions or split into thigh and drumstick so everyone chooses their favorite cut.
Switch seasonings to smoked paprika, a pinch of cayenne, or poultry seasoning to vary flavor. Drizzle resting juices or whisk them with a bit of oil to make a quick pan sauce.
- Weeknight ease: roast sheet-pan vegetables with the main bake.
- Leftovers: shred meat into salads or wraps for next-day lunches.
- Entertaining: add herb garnish and crusty bread to soak up juices.
| Side | Why it works | Quick prep tip |
|---|---|---|
| Mashed potatoes | Creamy contrast to crisp skin | Boil, mash, add butter and warm milk |
| Gluten-free mac & cheese | Comforting starch for sensitive diets | Use GF pasta and a simple cheese sauce |
| Roasted Brussels sprouts | Bold, caramelized veg to balance richness | Toss with oil, roast at oven temp with main |
| Blanched broccoli | Bright, fast green for freshness | Steam 2–3 minutes, shock in cold water |
Conclusion
Conclusion
Master a few core steps and you will make this recipe your go-to weeknight plan. Pat the skin dry, rub oil and seasoning under and over the surface, and roast hot on a rack. Cook by temperature, pulling dark meat near 185–195°F, then rest 5–10 minutes before serving.
The value of leg quarters shows in portion size and cost. Toss a pan of potatoes or quick greens for a one-pan meal. Reheat in the oven or air fryer to revive crisp skin.
Save your best minutes and rack placement, tweak the rub, and use this method as the baseline for dependable baked chicken success.