Easy Chicken Breast Recipes Using Air Fryer
Surprising fact: thin slices coated in a spice mix with a pinch of brown sugar and cornstarch crisp up in about 10 minutes at 415°F while staying juicy inside.
This Website contains affiliate links. That means I may earn a small commission if you purchase through my links, at no extra cost to you.
This guide shows why quick weeknight wins are real. Keep pieces thin, preheat the unit, and arrange food in a single layer. Those small steps speed browning and protect moisture.
We cover thin-sliced and whole breasts, timing for both, plus simple seasoning tricks like smoked paprika, garlic powder, and a touch of brown sugar with cornstarch for crisp edges. Pull at 160°F and let rest to 165°F for perfect doneness.
Swap sauces—creamy gochujang mayo or lemon butter—to change the dish in minutes. Add vegetables halfway through the cook for a full plate. Make-ahead options and smart reheating in a skillet keep meals tender and fast.
Key Takeaways
- Thin slices cook fast and stay juicy with a spicy, cornstarch coating.
- Preheat and single-layer spacing ensure even browning.
- Pull at 160°F, rest to 165°F for safe, tender results.
- Whole breasts cook at lower temps for longer; flip halfway.
- Batch, chill, or freeze; reheat gently in a skillet with liquid.
Why these easy air fryer chicken breasts are perfect for quick, healthy dinners
Using high-velocity air and short cook times lets you get a dinner on the table fast and healthfully.
Air circulation flash-cooks thin pieces so they stay moist without brining. A preheated basket boosts browning and builds a crisp edge in minutes. Pull proteins at 160°F, then rest five minutes so carryover heat reaches 165°F and locks in juices.
Boneless, skinless cuts provide lean protein and a neutral base for bold flavors. A simple herb-spice paste or paprika-based rub adds big taste without marinating. Swap olive or avocado oil and omit sugar to fit keto or Whole30 plans.
These methods shine on weeknights: 15–20 minutes total, easy cleanup, and consistent results. Toss in vegetables at the halfway mark for color and crunch, and use an instant-read thermometer to remove guesswork.
| Method | Time | Best for | Notes |
|---|---|---|---|
| Thin-sliced | 10–13 min | Fast weeknights | Preheat basket; single layer |
| Whole breast | 14–18 min | Meal prep | Flip once; rest 5 min |
| One-basket meal | 15–20 min | Veggies + protein | Add veg at halfway |
Essential ingredients for juicy, flavorful air fryer chicken breasts
Start with the right pantry and protein to turn fast cooking into consistently juicy results.
Protein: Use 1 lb boneless skinless chicken, sliced thin or tenderloins. Thin slices expose more surface area for seasoning and speed even cooking.
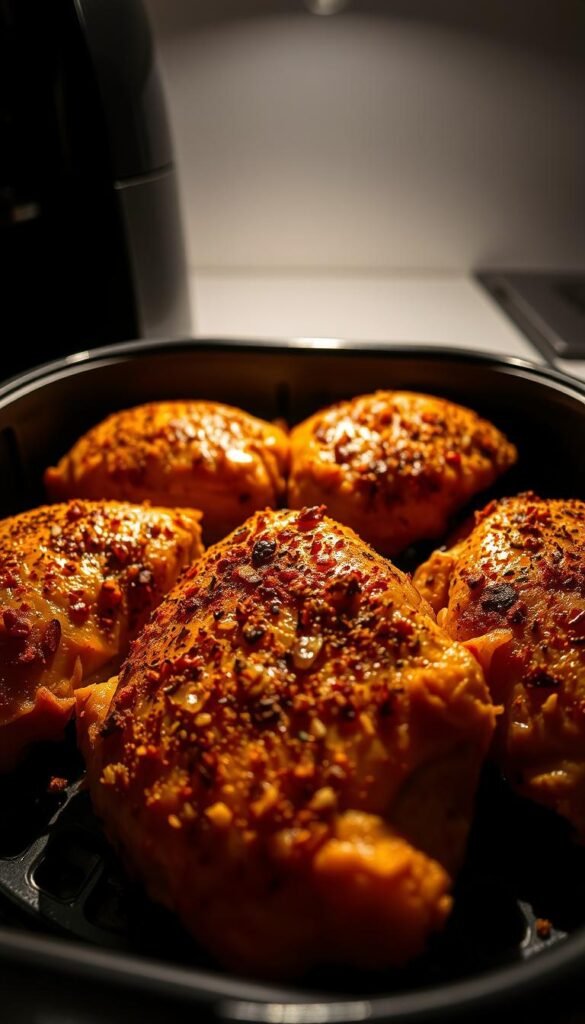
Spice mix (per 1 lb): 1 tsp paprika + 1/4 tsp smoked paprika, 1/2 tsp garlic powder, 1/2 tsp onion powder, 3/4 tsp table salt (or 1 tsp coarse kosher), 1.5 tsp brown sugar, 1 tsp cornstarch. Toss with 2 tsp avocado oil. Scale spices by 1.5x for 1.5 lb.
Simple swaps and shortcuts
Rotisserie seasoning can replace the paprika, garlic, onion, and salt—just still add the sugar and cornstarch for caramelized edges. Olive oil works if you prefer it.
| Item | Amount (1 lb) | Role |
|---|---|---|
| Paprika duo | 1 tsp + 1/4 tsp | Color and smoky flavor |
| Brown sugar | 1.5 tsp | Helps caramelize, optional |
| Cornstarch | 1 tsp | Creates light, crisp exterior |
| Avocado/Olive oil | 2 tsp | Helps spices adhere and browns safely |
| Salt | 3/4 tsp table or 1 tsp kosher | Enhances flavor; adjust when scaling |
Pro tip: Pat pieces dry before tossing with the spice mix. Measure and mix spices first for even coating. Omitting sugar and cornstarch still yields tasty, diet-friendly results—use an herby oil paste instead.
Prep pointers: slice thin, season well, and keep it simple
A few smart prep steps—thin slicing, a dry spice mix, and a hot basket—turn fast cooking into great results.
Why thin slicing increases tenderness, flavor, and even cooking
Cut each chicken breast into 3–4 thin, flat pieces. Thin pieces cook faster and stay moist.
More surface area means more seasoning per bite and faster browning. That reduces dryness and evens the cook time across the basket.
Tossing in a bowl for maximum spice adhesion and minimal mess
Mix spices first so you get an even blend before contact with the meat. Add 2 tsp avocado oil and toss until every surface is coated.
- Work in one bowl to keep counters clean and avoid wasted rub.
- Preheat the air fryer so pieces sizzle on contact and form golden edges faster.
- Arrange in a single layer with a little space between pieces to let hot air circulate for even browning.
- If you seasoned ahead, add cornstarch just before cooking; this keeps the exterior crisp rather than gummy.
- Keep prep simple—no long marinades needed for juicy, flavorful results.
Quick step: toss, preheat, and cook right away (or rest briefly) for the best balance of flavor and texture.
Time and temperature guide for the air fryer
Follow two reliable tracks so you know when to pull and rest for best results.
Hot-and-fast for thin slices: Preheat the unit, then set to 415°F. Most thin-sliced pieces take about 10 minutes; larger thin pieces may need up to 13 minutes. Check early at the low end of the range to avoid overcooking.
Gentler track for whole pieces
Use 370°F and cook 10 minutes, flip, then add 4–8 more minutes. Total time runs 14–18 minutes based on ounce weight: 5–7 oz ≈ 14 min; 8–9 oz ≈ 16 min; 10+ oz ≈ 18 min.
Pull temperature and rest
Use an instant-read thermometer and remove at 160°F. Tent and rest 5 minutes so carryover brings the internal temperature to 165°F.
| Style | Temp (°F) | Minutes | Notes |
|---|---|---|---|
| Thin-sliced | 415 | 10–13 | Preheat; single layer; fastest texture |
| Whole piece | 370 | 14–18 | Flip at 10 min; size-based timing |
| Batch tips | Varies | Check early | Cook in batches; don’t overcrowd basket |
Dial in your setup: preheating, basket spacing, and flipping
A small setup change—preheating and smart spacing—gives you a noticeably crisper crust and more even cooking.
Preheat for faster browning and better crust
Preheat the unit to about 400°F for 4 minutes. That warm surface primes the air fryer basket so pieces sizzle on contact. Thin slices benefit most from the immediate heat, which jump-starts browning and seals moisture.
Single layer in the basket; don’t overcrowd, flip halfway
Arrange pieces in a single, non-overlapping layer. Leave room so hot air reaches all sides and edges crisp evenly. If the basket fills, cook in batches rather than stacking; stacking steams and mutes spices.
Flip at the midpoint of the cook. This evens color and internal doneness, especially for whole portions. A light oiling of the basket grate helps prevent sticking when using lean cuts.
Signature seasoning ideas that never miss
Right away: build a balanced rub and you’ll get smoky, savory, and slightly sweet notes with minimal effort.
House blend (per 1 lb): 1 tsp paprika + 1/4 tsp smoked paprika, 1/2 tsp garlic powder, 1/2 tsp onion powder, 3/4 tsp table salt, 1.5 tsp brown sugar, and 1 tsp cornstarch. Mix and toss with 2 tsp oil so pieces are evenly coated.
Cheat code: Use a rotisserie chicken seasoning (like McCormick) in place of the paprika, garlic, onion, and salt. Add 1.5 tsp brown sugar and 1 tsp cornstarch for that caramelized edge.
For fast switches, Italian seasoning or a Cajun rub work well. They add herb or heat notes without extra measuring.
- Scale the mix to match the actual weight in your package for even coverage.
- If you season ahead, stir in cornstarch just before cooking to avoid clumps.
- Adjust salt type: table salt is stronger by volume than kosher—reduce if using table salt.
- Try varying sweet vs. smoked paprika to tweak warmth and depth.

chicken breast recipes air fryer
Simple swaps turn one method into four fast weeknight meals. Pick a go-to variation and you’ll get golden edges, juicy interior, or extra crunch without extra fuss.
Everyday spiced thin-sliced chicken (golden, juicy, crisp edges)
Method: preheat and slice thin. Toss pieces with paprika, garlic powder, onion powder, salt, 1.5 tsp brown sugar, 1 tsp cornstarch and 2 tsp avocado oil.
Cook at 415°F for about 10–13 minutes in a single layer for crisp, juicy results.
Herby olive oil paste chicken (keto- and Whole30-friendly)
Make a paste with olive oil, oregano, garlic powder, black pepper, and kosher salt.
Coat whole breasts and cook at 370°F for 10 minutes, flip, then 4–8 more minutes based on size. This one is low-carb and pairs well with bright sauces.
Sweet-smoky paprika chicken breasts (family-friendly)
Boost smoked paprika and add a touch more brown sugar for a sweet-smoky profile that kids and adults like.
Use the same hot-and-fast thin-sliced approach or the gentler whole-piece timing depending on portion size.
Air fried crispy chicken tenders for a crunchier option
Use tenderloins, season as the everyday version, and cook in a single layer for the quickest, crunchiest bite.
All four work with different sauces and sides—mix and match to keep weeknight rotation fresh.
How to serve: bowls, salads, tacos, and easy sides
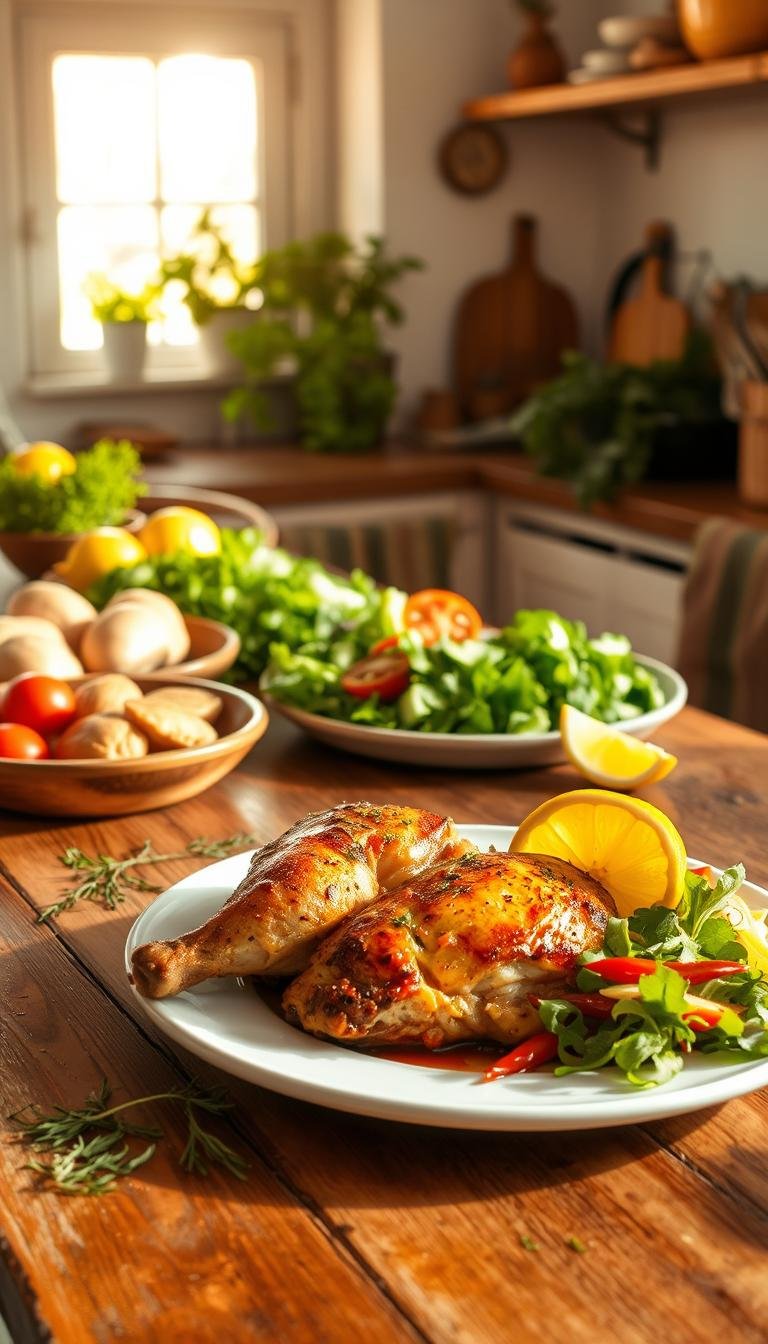
A single batch can become several meals. Cooked portions work great in bowls, on salads, or stuffed into tacos. Add quick roasted veg and a bright sauce for fast weeknight wins.
Build-a-bowl and salad ideas: Slice the meat and layer over greens or grains. Drizzle Peruvian green, white BBQ, or mushroom sauce for instant flavor. Finish with a crunchy topper like toasted pepitas or roasted red peppers.
Add vegetables in the air fryer basket halfway through: Toss chopped zucchini, Brussels sprouts, red peppers, broccoli, or asparagus in oil and spices. Add them at the cook’s midpoint so they finish with the protein for one-appliance simplicity.
Pasta, rice, and grain pairings: Spoon slices over creamy kale pasta, mushroom gnocchi, or green rice. Or make tacos with slaw and a squeeze of lime. These pairings turn a simple protein into a complete plate.
- Sliced portions over greens or grains with a creamy or tangy sauce and a crisp vegetable topper.
- Toss veg into the basket at the halfway mark for matched timing and texture.
- Spoon over pasta, layer with rice and roasted veg, or stuff into tortillas for tacos.
- Reliable quick sides: roasted broccoli, peppers, asparagus, and Brussels sprouts.
- Set up a bar-style spread so everyone customizes sauces and garnishes.
- Slice on a board right before serving to keep juices in and the plate neat.
Sauce it up: quick dips that change the vibe
A quick sauce can flip a plain weeknight plate into something restaurant-worthy in minutes. Small bowls of flavorful sauce make the same cooked protein feel new across bowls, salads, tacos, and pastas.
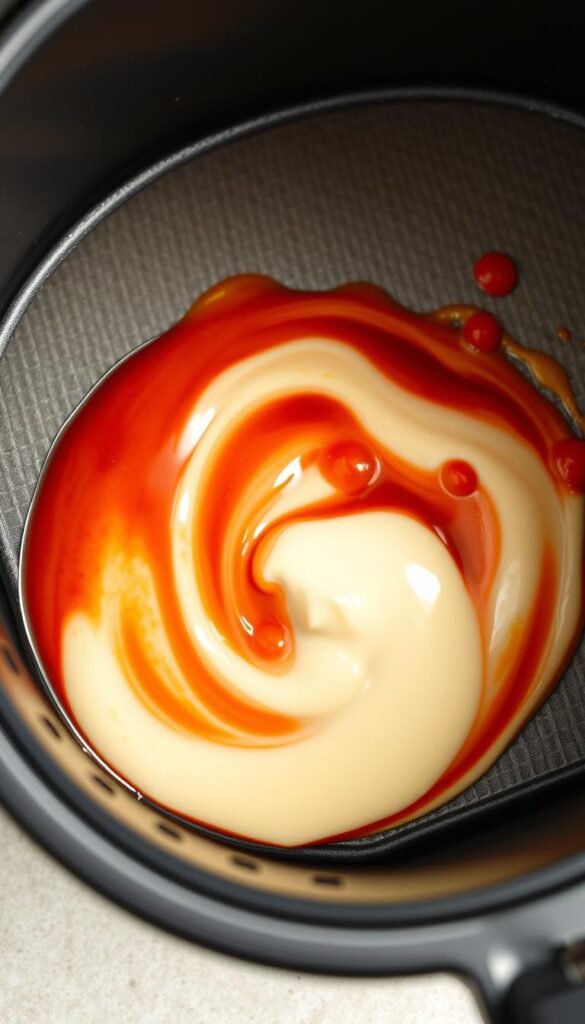
Creamy gochujang mayo is fast and addictive. Mix 1/2 cup mayo with 2 Tbsp gochujang, 1 grated garlic clove, a splash of soy sauce, and a dash of rice vinegar. Season to taste with a pinch of salt and a touch of sugar if you like it sweeter.

Creamy gochujang mayo with soy, garlic, and rice vinegar
Why it works: fat from mayo smooths the heat, soy adds umami, and rice vinegar brightens the mix. Make a small batch and store in the fridge for up to 4 days.
More favorites: mushroom, lemon butter, white BBQ, Peruvian green
Choose a rich mushroom sauce for umami, lemon butter for bright zing, white BBQ for smoky-tang, or a Peruvian creamy green for herby heat. These sauces use simple pantry staples like oil, water, and a splash of acid to balance flavor.
- Make small batches to cut waste and speed weeknight prep.
- Taste and adjust salt and acidity so sauces complement, not overpower, delicate protein.
- One base cooked in an air fryer works with multiple sauces to stretch meals further.
Make-ahead, storage, and reheating without drying out
A little advance work—batch cooking and smart storage—saves time and keeps texture.
Batch cook once for quick meals. Cook a few pounds at one time, cool pieces quickly, and store in airtight containers so you can grab protein all week.
Refrigerate cooked portions up to 3 days in the fridge. For longer keeping, wrap tightly and freeze for up to 3 months.
Best reheating method
Reheat gently in a skillet over medium-low heat with a splash of water or broth. The liquid steams and restores moisture without blasting the surface.
Slicing after reheating keeps juices locked in. If you reheat slices, warm them slowly so they stay tender and even.
- Cool food promptly before storing to keep quality and safety high.
- Label containers with date and seasoning so you save prep time later.
- Add sauces after reheating to refresh flavor and add moisture.
Pro troubleshooting: dryness, timing, and oil swaps
When texture goes wrong, it’s usually timing or temperature—here’s how to correct both.
Avoid tough meat
Overcooking is the most common pitfall. Pull at 160°F and let rest until carryover hits 165°F to lock in juices.
Thin slicing shortens time in the basket and improves tenderness. Rest slices under foil for 5 minutes before serving.
Oil options that work
Use avocado or olive oil for reliable browning. A neutral high-heat oil also fares well for clean flavor and crisp edges.
Units capped at 400°F
If your unit tops at 400°F, add 1–2 minutes to listed times and verify doneness by internal temperature, not color.
- Flip at midpoint and keep a single layer to avoid hot spots.
- Larger piece size needs extra minutes; weigh or judge thickness and check early.
- Skip sugar and cornstarch for diet swaps—expect slightly less crispness but full flavor.
“A quick thermometer check saves texture and time more than guessing by color.”
| Unit limit | Adjustment | Check |
|---|---|---|
| 400°F max | +1–2 minutes | Internal temp 165°F after rest |
| Thick pieces | +3–5 minutes | Use instant-read thermometer |
| Thin slices | Follow hot-and-fast times | Pull at 160°F, rest to 165°F |
Conclusion
Keep it simple and repeatable. Use the core formula: slice thin for speed, preheat the basket for browning, and pull at 160°F then rest to finish at 165°F. A quick thermometer check saves texture more than guessing by color.
Two dependable tracks: hot-and-fast for thin pieces (about 10–13 minutes) or 370°F with a flip for whole portions (14–18 minutes). Match the method to size and schedule for reliable timing.
Pick a signature seasoning—house paprika mix, a rotisserie shortcut, or an herby paste—and rotate sauces. Keep a single layer for airflow, add veg at the halfway mark, and store extras up to 3 days or freeze for longer.
Final step: measure spices, toss, preheat, and cook. Repeat these steps and you’ll get juicy, consistent results every time.


