Easy Chicken Breast Air Fryer Recipes for Home Cooking
Surprising fact: Nearly 70% of home cooks say a single, reliable method changed how often they make quick weeknight dinners.
This Website contains affiliate links. That means I may earn a small commission if you purchase through my links, at no extra cost to you.
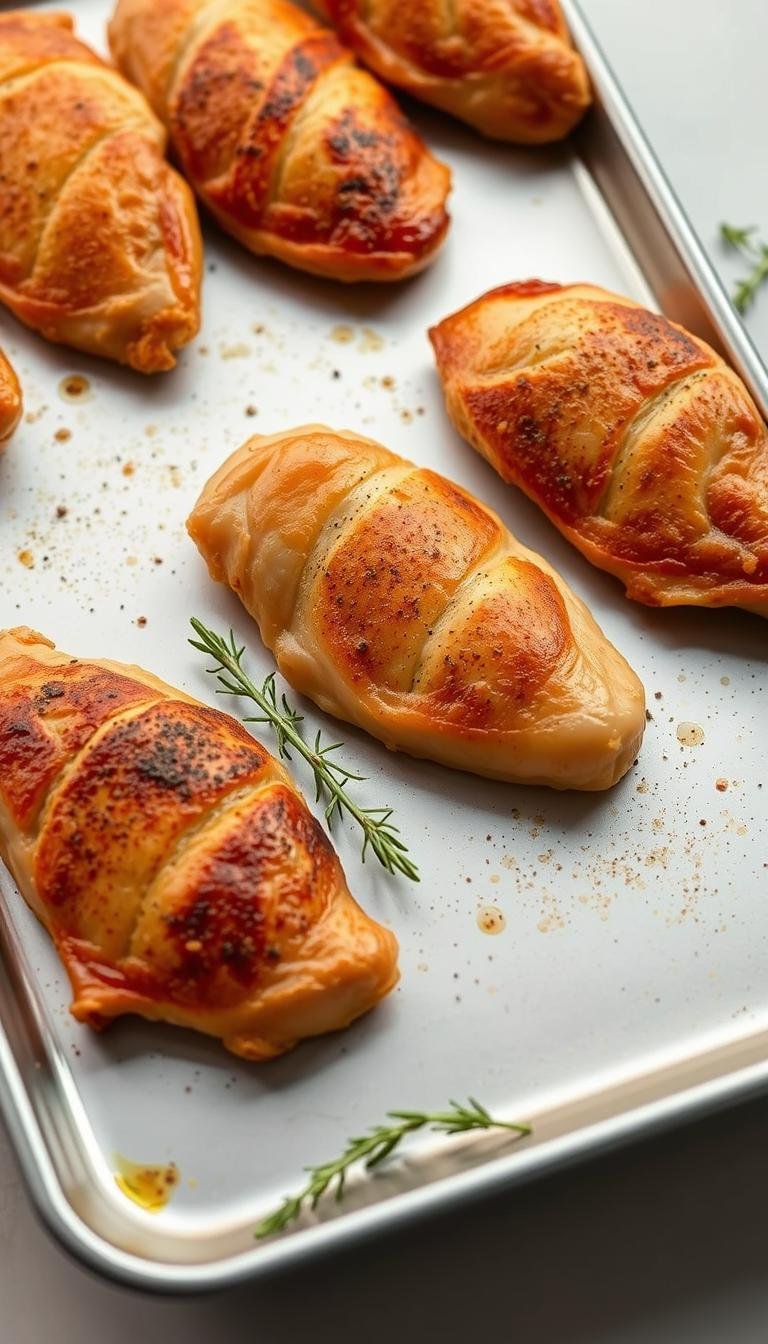
Air frying delivers tender, flavorful chicken fast by using a simple spice paste mixed with oil. A common baseline is 370°F for 10 minutes, then flip and cook 4–8 minutes more until about 160°F. Resting five minutes lets carryover heat finish to safe doneness.
Thin-sliced pieces cook at higher heat—around 415°F for 10–13 minutes with paprika, brown sugar, and a touch of cornstarch for crisping. For extra juice, try a 1–2 hour kosher salt brine and cook at 380°F, 4–6 minutes per side after pounding to even thickness.
This section will show clear time and temperature guidance, a flexible spice-paste formula, and tips for adding quick vegetables like zucchini and asparagus at the halfway mark. Expect practical steps to avoid overcrowding, harness carryover, and store or reheat safely.
Key Takeaways
- Use 370°F baseline: 10 minutes, flip, then 4–8 minutes more; rest 5 minutes for carryover heat.
- Thin slices work at 415°F for 10–13 minutes with paprika and a bit of brown sugar for color.
- Brining (1–2 hours) and pounding give the juiciest results; cook at 380°F, 4–6 minutes per side.
- Add quick-cook veggies at the halfway point for a one-basket dinner.
- Store cooked meat 3–4 days refrigerated or freeze up to 3 months; reheat gently to protect moisture.
Why Air Fryer Chicken Breasts Are a 2025 Weeknight Win
Quick, consistent results make air fryer chicken a dependable weeknight solution. Fast heat and steady circulation cut preheat time so you spend less time waiting and more time eating.
The method handles thin and whole cuts well. Thin slices often sear at 415°F for about 10 minutes. Whole pieces usually cook at 370–380°F in roughly 14–18 minutes, then rest to finish. Preheating improves browning and surface texture.
Simple scale and swap: a base spice mix, a splash of oil, and size-based timing let you scale from one portion to a family tray. The finished protein works for bowls, salads, tacos, or an easy plated meal.
| Style | Temp | Approx. Time |
|---|---|---|
| Thin-sliced | 415°F | ~10 minutes |
| Whole pieces | 370–380°F | 14–18 minutes + rest |
| Brined or pounded | 380°F | Shorter, juicier finish |
- Low fuss: Light cleanup and repeatable timing.
- Flexible: Swap spices to change flavor without extra time.
Key Ingredients for Juicy, Flavor-Packed Results
A tight pantry list makes consistent weeknight meals simple. Use lean, boneless skinless chicken breasts for even cooking and fast weeknight service.
Core proteins and pantry staples
Core proteins and pantry staples
Keep olive oil or avocado oil, paprika, garlic powder, black pepper, oregano, and a little brown sugar on hand. Mix a basic spice paste by stirring these spices with oil; it helps the rub stick and promotes even browning.
Smart salt choices
Salt choice matters. Diamond Crystal kosher salt is lighter by volume than Morton’s. Table salt is denser and tastes stronger, so cut amounts if you swap.
| Type | Volume vs Morton | Use tip |
|---|---|---|
| Diamond Crystal | ~50% less salty by volume | Use more by scoop, or measure by weight |
| Morton Kosher | Standard volume | Use as written in most recipes |
| Table salt | Denser, saltier | Reduce amount by ~40% vs Morton |
Oil options for high-heat cooking
Choose oils that tolerate basket temperatures. Avocado oil and standard olive oil both hold up and help crisp edges.
- Pat dry before seasoning so the paste adheres and browns better.
- Add a pinch of cornstarch to dry rubs for a light, crisp exterior on thin slices.
- Measure spices consistently and scale up for larger batches.
Prep Options: Brine or Thin-Slice for Maximum Tenderness
Prep choices—short brines or quick thin-slicing—decide whether you get extra juiciness or faster browning. Both methods improve texture and make final timing more consistent when using an air fryer.
Brine method: Submerge chicken breasts in cool water with kosher salt for 1–2 hours in the refrigerator. Use about ¼ cup Diamond Crystal per 6 cups lukewarm water. Pat dry thoroughly before seasoning to help the rub stick.
Thin-slice and pound: Flatten the thick end to match the thin end for even cooking. Thin-sliced pieces at 415°F often finish in ~10 minutes. Whole, brined pieces at 380°F typically take roughly 4–6 minutes per side, depending on thickness.
- For maximum juiciness, brine 1–2 hours, then dry before seasoning.
- Mind the kosher salt brand—Diamond Crystal measures milder by volume than Morton’s.
- Pound thick areas for uniform doneness and faster cook time.
- After brining, cut added salt in the rub; for thin slices, season more heavily.
- Keep pieces in a single layer in the basket and check internal temperature rather than relying only on time.
Step-by-Step: Make Chicken in the Air Fryer Like a Pro
A reliable step removes guesswork and helps you place pieces for even cooking. Start by combining kosher salt, paprika, garlic powder, and black pepper with a tablespoon of olive oil to form a spreadable paste.
Mix and coat
Pat each piece dry, then rub the paste over all surfaces so every bite picks up flavor. For thin cuts, use a dry rub instead to encourage a crisp edge.
Load the basket
Preheat the fryer for a few minutes to warm the basket surface; this helps color when you place chicken in a single layer. Leave space between pieces so hot air circulates freely.
Cook, flip, and rest
Use 370°F as a reliable baseline: 10 minutes, flip, then 4–8 more minutes. Aim for about 160°F in the thickest spot, then tent and rest 5 minutes so carryover reaches 165°F.
- Begin checking at the earlier end of the time window.
- If any piece lags, return it to the fryer for 2–3 minutes and recheck the temperature.
- Note your unit’s timing for future batches and slice against the grain before serving.
Time and Temperature Guide by Breast Size
Match cook time to size: smaller pieces finish much faster than larger ones, so start timing by ounce.
Whole pieces at 370°F commonly run about 14 minutes for small (5–7 oz), 16 minutes for medium (8–9 oz), and 18 minutes for large (10+ oz). Flip at midpoint for even browning.
Higher baseline at 380°F shortens minutes: expect roughly 8–10 for small, 10–12 for medium, and 12–14 for large, again flipping halfway.
| Method | Temp | Approx. Minutes |
|---|---|---|
| Whole pieces | 370°F | Small: 14 • Medium: 16 • Large: 18 |
| Basket-style | 380°F | Small: 8–10 • Medium: 10–12 • Large: 12–14 |
| Thin-sliced | 415°F | ~10 (up to 13 for thicker slices) |
“Aim for ~160°F before resting; carryover heat brings the center to 165°F.”
- Load matters: a crowded basket increases needed time as air circulation drops.
- Preheat to get an instant sizzle and faster color development.
- Always confirm doneness with an instant-read thermometer in the thickest part.
Seasoning Playbook: From Classic to Bold Blends
A reliable seasoning lineup turns simple proteins into weeknight stars with minimal effort.
Start simple: combine kosher salt, oregano, paprika, black pepper, and garlic powder for a versatile rub. This mix works as a dry rub for thin slices or as a paste if you add a splash of oil for whole pieces.
Smoky and bold: swap smoked paprika for depth or use a Cajun blend for peppery heat and onion-garlic notes that pop in the air fryer. Italian or rotisserie-style mixes offer an easy shortcut when you want layered flavor fast.
For a sweet-heat twist, add brown sugar and a pinch of cayenne. The sugar caramelizes under high heat, while a teaspoon of cornstarch helps thin-sliced pieces crisp without drying out.
- Adjust salt by brand—Diamond Crystal measures milder than Morton; scale amounts to avoid oversalting.
- Keep blends dry for quick sears; turn them into a paste for larger breasts to help adhesion.
- Make a double batch so your favorite mix is ready for the week.
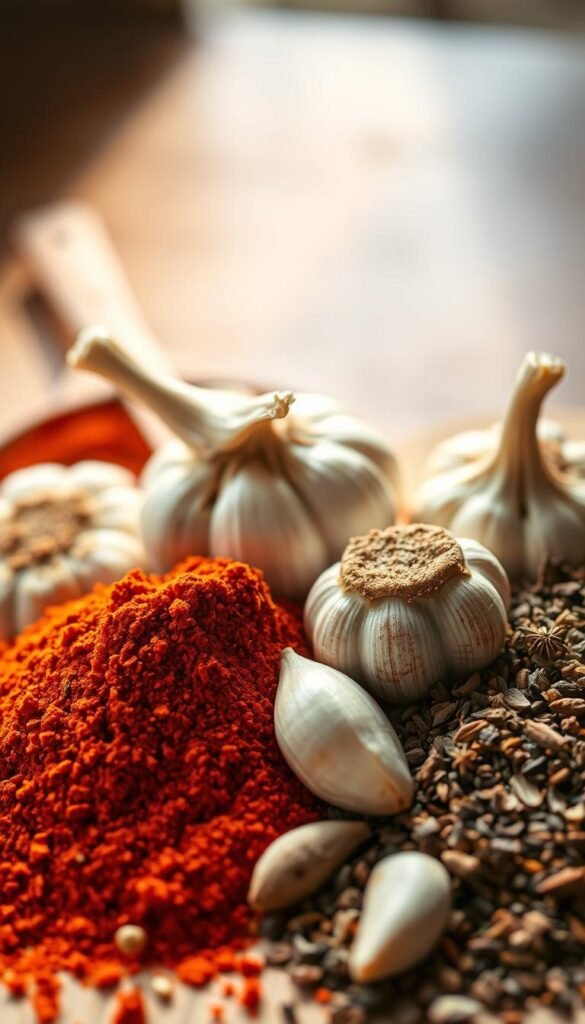
“A little planning with salt and spice makes repeatable, tasty results every week.”
chicken breast air fryer recipes: Two Foolproof Methods
Two proven approaches deliver reliable weeknight results: a brined basket method for juicy meat and a thin-sliced, high-heat sear for fast, crisp edges.
The brined, juicy basket-style method at 380°F
Brine 1–2 hours in a kosher salt solution, then pat dry. Lightly brush with oil, season, and preheat the basket. Cook at 380°F about 4–6 minutes per side.
Smaller pieces finish near 8–10 minutes total; larger pieces run 12–14 minutes. Aim for ~160°F, then rest 5 minutes so carryover reaches 165°F.
The quick thin-sliced, high-heat sear at 415°F
Flatten into even pieces, coat with spices and a pinch of brown sugar and optional cornstarch. Preheat and cook at 415°F for roughly 10 minutes; up to 13 for larger thin slices.
If your unit tops out at 400°F, add 1–2 minutes to match browning. Leave space between pieces so hot air circulates and surfaces crisp evenly.
“Preheat and space pieces for the best color and even doneness.”
- Choose brined for maximum juiciness; pick thin-sliced for speed and a crisp edge.
- Always verify the thickest point with a thermometer before resting.
- Keep notes on timing and preferred seasoning for repeatable weeknight wins.
Add Veggies and Build a Meal in One Basket
Turn your air fryer basket into a one-pan dinner by adding vegetables at the midpoint so protein and sides finish together.
When to add zucchini, Brussels sprouts, peppers, broccoli, asparagus
Add vegetables such as zucchini, halved Brussels sprouts, red peppers, broccoli, and asparagus at the halfway mark of cooking chicken breasts. This helps both items reach tender-crisp doneness and good color.
How to layer and season for best results
- Plan veggies that match the remaining time: zucchini, peppers, broccoli, asparagus, and halved Brussels sprouts work well.
- Place chicken in the basket first, then add veggies at the halfway point so both finish together.
- Keep everything in a single layer with space between pieces; crowding reduces browning and adds time.
- Toss vegetables with a light coat of oil and a pinch of salt and pepper so they roast instead of steam.
- For dense sprouts, cut smaller so they match the remaining minutes.
If your air fryer basket is very full, expect to add 1–2 minutes to total time and check doneness in the last couple of minutes.
Finish and serve: squeeze lemon or sprinkle parsley to brighten flavors. Slice the protein on a cutting board, pile veggies, and serve family-style in a bowl or on the plate for an easy, balanced side and main in one basket.
“Syncing cook times makes a single-basket meal fast, flavorful, and low fuss.”
Sauces and Sides That Elevate Air Fryer Chicken
A splash of tangy or spicy sauce brings contrast and keeps slices juicy while you plate bowls or salads.
Creamy, tangy, and spicy options make the difference. Try a mushroom cream sauce or lemon butter for rich, clingy coverage. White BBQ and Peruvian green sauce cut through spice blends for lively bites.
For a spicy dip, whisk mayo with gochujang, grated garlic, soy, and a touch of rice vinegar. Add a measured pinch of sugar or honey if you want mild sweetness to balance smoked paprika notes.
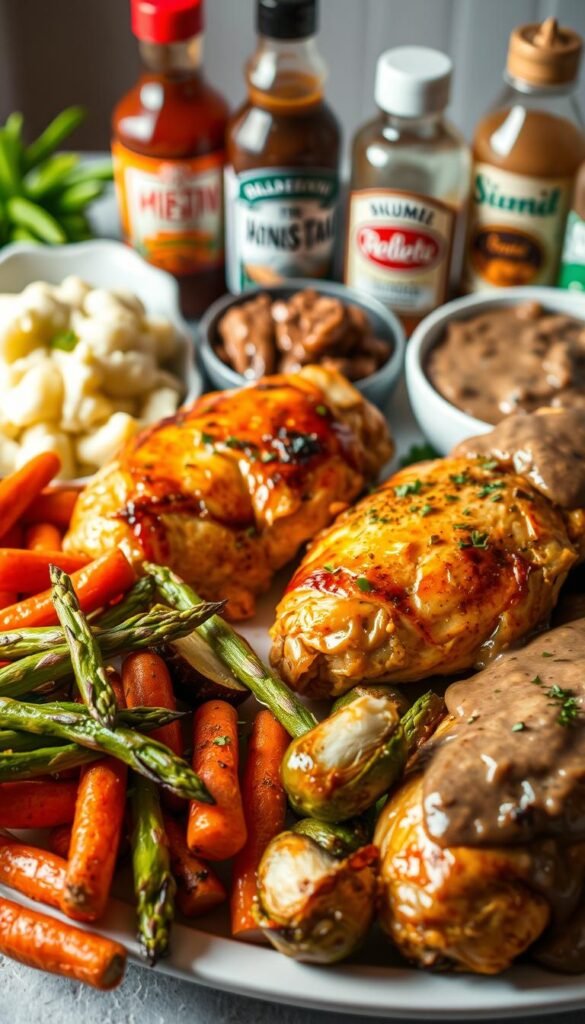
Buildable sides and bowls
Layer sliced breasts over brown rice, quinoa, or green rice, and drizzle with sauce for a fast bowl. For salad nights, place warm slices on greens with avocado and nuts and a light vinaigrette.
| Sauce | Best Side | Why it works |
|---|---|---|
| Mushroom cream | Creamy gnocchi or mac and cheese | Richness clings to sliced meat and pasta |
| Peruvian green | Grain bowl with roasted veggies | Herby acid lifts smoky rubs |
| Gochujang-mayo | Air-fried broccoli or potatoes | Spicy-sweet for crisp edges |
“Finish with chives, parsley, or lemon zest to brighten the plate.”
Air Fryer Essentials: Basket Size, Preheat, and Wattage
Start smart. A warm basket and the right unit settings make browning and texture much easier to predict.
Why preheating and airflow matter for browning
Preheat your unit to about 400°F for roughly 4 minutes so the basket surface sizzles on contact. That fast contact heat helps form a crisp crust and better color.
Practical setup tips
- Know your unit’s wattage and capacity; higher wattage usually shortens cook time and boosts browning.
- Use an appropriately sized basket so pieces stay in a single layer with air gaps for good circulation.
- Flip at the halfway mark to color both sides evenly and check doneness without losing much heat.
- A light oiling of the grate or protein helps prevent sticking and improves crust; season with a pinch of salt after cooking as needed.
- Expect small shifts between basket-style and toaster-oven models — test and note time differences for consistent air fryer chicken results.
“If the basket is tight, add 1–2 minutes and recheck with an instant-read thermometer rather than guessing by color.”
Make-Ahead, Storage, Freezing, and Reheating Without Drying Out
Store cooked portions properly so you can grab-ready meals all week without losing flavor. Cool leftovers quickly, then transfer to airtight containers. Refrigerate for up to 3–4 days.
Refrigerator and freezer best practices
Wrap larger pieces tightly or portion into meal-size packs. Freeze up to 3 months after cooling and wrapping well. Label with the date and seasoning so you know what to thaw.
Reheat methods that protect moisture
Stovetop: Gently warm slices in a skillet with a splash of broth or water. This restores juiciness in minutes.
Air fryer: Use short bursts to re-crisp edges and watch closely to avoid drying the meat.
Microwave: Heat on low power with a cover to trap steam, pausing once to stir for even warming.
| Storage | Max Time | Best Use |
|---|---|---|
| Refrigerator (airtight) | 3–4 days | Lunches, bowls |
| Freezer (wrapped) | Up to 3 months | Meal prep portions |
| Thawing | Overnight in fridge | Best texture before reheating |
“Thaw frozen portions overnight for the best texture and flavor.”
- Portion with grains and roasted veggies for easy meals.
- Lightly spritz oil before reheating to restore sheen and help heat distribute.
- Avoid reheating the same portion multiple times; heat only what you will eat right away.
Troubleshooting and Pro Tips for Perfect Chicken Every Time
Quick course corrections—like a 2–3 minute return to heat—rescue underdone pieces fast. Use a short checklist to prevent tough, dry meat and to hit safe internal temperature without guesswork.
Avoid overcooking: tough texture usually means too much heat or time. Pull the protein at about 160°F, tent under foil, and rest 5 minutes so carryover reaches 165°F.
Practical fixes and habits
- Use an instant-read thermometer in the thickest spot; color is unreliable.
- Don’t crowd the basket; tight packing traps steam and makes uneven results.
- Flip at midpoint to brown both sides and check progress without adding large blocks of extra time.
- Pound thicker ends to match thin ends so the whole piece hits doneness together.
- If underdone, return to the fryer for 2–3 minutes and recheck rather than guessing by time.
- If food tastes too salty, cut table salt next time or switch to Diamond Crystal for more forgiving volume.
Keep a simple log of time, temp, and outcome for your model. That quick note will help you consistently cook chicken breasts and other cuts perfectly in future recipes.
Variations: Thighs, Tenders, Whole Breasts, and Oven Backup
Different cuts need small timing shifts; adjust heat and minutes to match size and fat content. This keeps texture consistent and prevents overcooking.
Quick adaptation rules:
- Swap in boneless thighs for richer flavor; they tolerate slightly longer time and stay juicy.
- Tenders and thin cuts finish rapidly—reduce minutes to avoid dryness.
- For thick, whole breast pieces, pound to even thickness or extend cooking; high heat (around 415°F) often needs at least 13 minutes and temperature checks.
Easy oven fallback
When you prefer the oven, sear in a hot oven-safe skillet for 1 minute per side. Then bake at 350°F for about 8–10 minutes until juices run clear and the internal temp is safe.
- Keep the same seasoning blends; adjust salt for total weight and thickness.
- Cook family portions in batches to avoid overcrowding and uneven results.
- Skewers speed service on busy nights and make dipping easy.
“Record actual minutes and outcomes for each cut—your notes are the fastest route to repeatable success.”
Conclusion
Simple timing rules and a solid preheat routine are the fastest path to consistent weeknight success.
You now have two reliable ways to cook: a brined 380°F basket method for juicy results and a thin-sliced 415°F approach for quick, browned edges. Use the size-based time charts and check the internal temperature, pulling slightly early so carryover finishes to 165°F while resting.
Preheat, give pieces room, and flip halfway. Build flavor with paprika, garlic, a splash of oil, and mindful use of kosher salt. Batch-cook, store 3–4 days or freeze up to 3 months, and reheat gently in a skillet with broth or briefly in the fryer or microwave.
With these steps, this recipe set makes reliable protein for fast, low-fuss dinners any night of the week.
