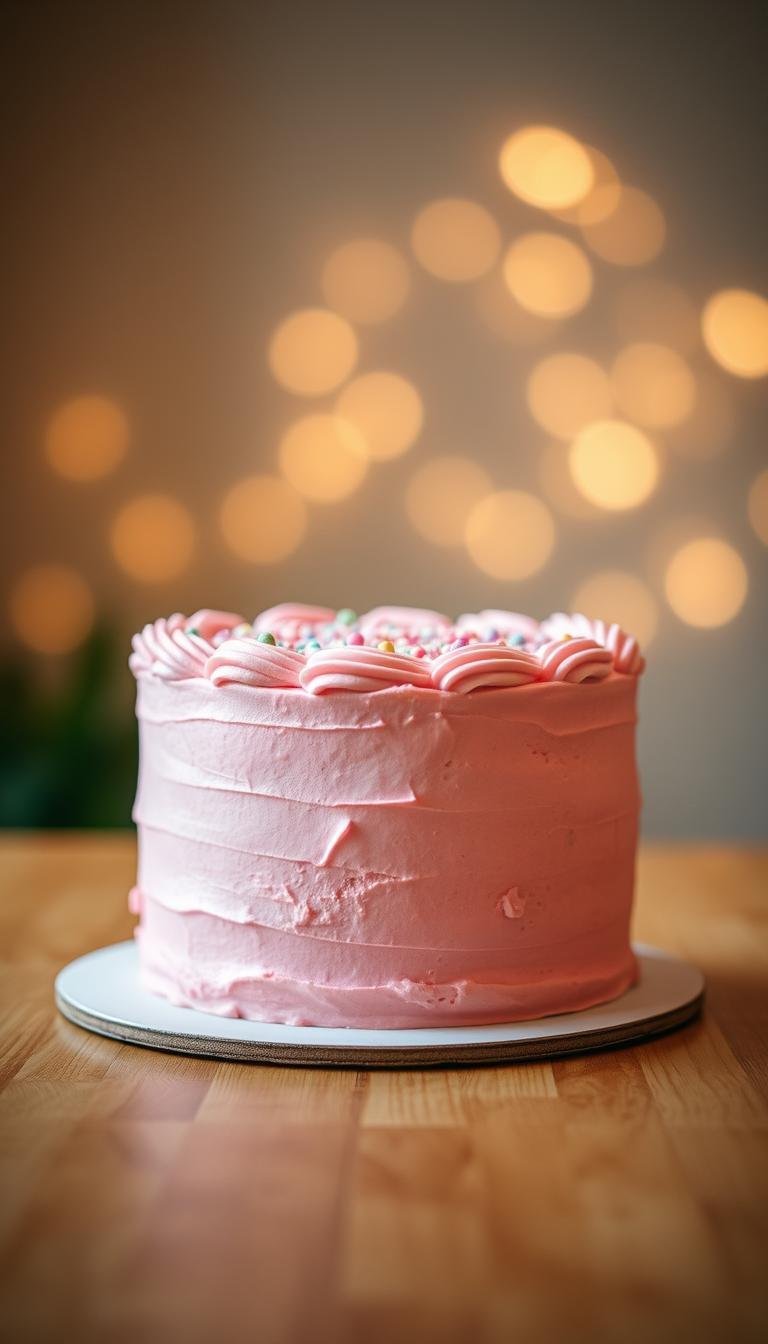
Delicious Pink Cake Birthday Recipe for Celebration
Surprising fact: more than 60% of home bakers say a single, reliable recipe makes them confident to host a party.
This Website contains affiliate links. That means I may earn a small commission if you purchase through my links, at no extra cost to you.
This recipe blends nostalgic rainbow accents with a modern finish and delivers a light fluffy crumb that stacks well for a centerpiece dessert.
We outline clear ingredients by the cup and spoonful — butter, sugar, vanilla, milk — and simple tools like pans with cake strips to keep layers flat and moist.
Timing is practical: preheat to 340°F and bake three 6-inch layers about 25–30 minutes until centers spring back. Warm wet ingredients slightly to avoid butter clumps.
Options: choose American buttercream or a cream cheese buttercream for a lighter taste, or try Italian meringue buttercream to cut sweetness.
Key Takeaways
- Simple ingredients and cups-and-spoons measures make this recipe approachable.
- Use cake strips or DIY foil wraps for flat, moist layers.
- Two buttercream routes let you pick texture and sweetness level.
- Color the frosting instead of the batter to avoid overmixing.
- Plan active time versus prep-ahead steps to reduce stress on the day.
Why This Pink Birthday Cake Is Perfect for Your Celebration
This recipe was tuned to give you a reliably light, tender crumb that stacks into neat, even layers every time. The batter balances Greek yogurt and a splash of milk so the interior stays moist without becoming heavy.
Choose your frosting style to match the event. Classic buttercream offers structure and sweet familiarity. Cream cheese buttercream uses full‑fat cream cheese for a tangy, lighter‑fat finish that feels fresher on the palate.
Coloring is flexible: tint the batter in graduated shades or tint the cream to simplify the process. A quick crumb coat, then chill for 30–60 minutes, seals crumbs and makes the final frosting smooth and professional‑looking.
- Light fluffy layers slice neatly for serving and stacking.
- Use pantry staples — butter, sugar, and vanilla — measured by the cup to keep the recipe approachable.
- These tips save time and reduce stress so the dessert is a stellar course at the top of your party spread.
Ingredients and Tools for a Light, Fluffy Pink Birthday Cake
A short list of measured ingredients and a few reliable tools will get you a light, fluffy result. Keep core items on hand: all-purpose flour, sugar, eggs, butter, whole milk, plain yogurt (or sour cream), and vanilla. Measure by the cup for consistent batter.
For three 6-inch layers, use about 1 2/3 cup flour, 1 cup sugar, 3 egg whites, 3/4 cup unsalted butter, 1/2 cup plain yogurt, and 1/2 cup whole milk. Stir in 1/3 cup sprinkles if you want confetti flecks. Preheat the oven to 340°F and plan for 25–30 minutes of bake time.
Buttercream choices
Choose classic American buttercream for a stable, sweet finish or cream cheese buttercream for a tangy, slightly lighter cream profile. Cream cheese buttercream combines butter, powdered sugar, and full‑fat cream cheese for spreadable, flavorful frosting.
Coloring, sprinkles, and equipment
Use gel food coloring for a strong hue with fewer drops. Color the buttercream rather than the batter to streamline work and protect texture. Add rainbow sprinkles to the batter or fold into frosting for bright accents.
- Essential pans and cake strips for even layers
- Piping bag plus tips, or the two-bag-in-one trick for two-tone piping
- Offset spatula and bench scraper for smooth sides
- Scale the recipe: double for 8-inch pans, triple for 9-inch pans
Step-by-Step pink cake birthday Recipe
Start by setting your oven to 340°F and prepping three 6‑inch pans. Butter and flour each pan and add cake strips to keep the layers flat. This early step saves time and produces even cake layers that stack neatly.

Preheat oven and prep pans for even cake layers
Sift dry ingredients into a bowl and whisk to aerate. In a separate bowl, whisk wet ingredients, warming whole milk and yogurt slightly if needed to avoid butter clumps.
Mix the batter: wet and dry technique for a tender crumb
Pour wet into dry and fold gently until combined. Fold in sprinkles if using. Avoid overmixing to keep a light fluffy texture.
Coloring the batter or the frosting: the best way to make pink
Coloring the frosting usually gives a more consistent hue with less risk to crumb. If you prefer internal layers, tint the batter for graduated shades.
Bake time and doneness cues for flat, moist layers
Bake about 25–30 minutes per layer. Test for doneness when centers spring back and a tester comes out clean. Cool each cake layer completely on racks before assembly.
Make the buttercream: pink buttercream and vanilla buttercream options
Beat butter until aerated, then add confectioners’ sugar, vanilla, and cream to taste. Divide the buttercream and tint half for pink buttercream, leaving the rest vanilla.
Assembly: filling, second layer placement, crumb coat, and chill
Spread a thin layer of buttercream between layers and set the second layer carefully to keep edges even. Apply a thin crumb coat around cake, chill a few minutes, then finish the final coat.
Pro tip: For two‑tone piping, place a white bag and a pink bag into a third bag for striped piping with one tip. Use a piping bag for control when filling and bordering the top and base.
Decorating and Finishing: Two-Tone Piping, Smooth Sides, and Sprinkles
A smart piping setup makes decorating quick and consistent, even for first-timers. Use the two-bag-in-one method by loading one bag with white and one with pink buttercream, then place both inside a third bag and snip the tip. Pipe alternating rings around the side and across the top for clean bands.

Two-bag-in-one technique
Tip: fill each bag half-full to avoid air pockets. Hold the combined bag steady and pipe slow rings around the layers to keep lines even.
Smoothing the side and top
After piping, refine the side with a bench scraper and level the top with an offset spatula. Pull inward along the top edge to get a crisp corner. Chill the crumb coat for 30–60 minutes to set the buttercream before finishing.
Piping styles and sprinkles
Try star-tip waves, tidy dollops, or a braided border along the top edge. Press sprinkles gently at the base to form a confetti band that complements rainbow accents without weighing down the design.
“Organize your bags so you can switch from filling to finishing quickly; a small reserve of butter and sugar helps for quick touch-ups.”
- Use gel food coloring sparingly; it deepens as it rests.
- Work in short bursts and keep the cake chilled between coats for easier smoothing.
- Plan the final 15 minutes to add borders and clean the edge for serving.
Conclusion
Plan a light crumb coat and chill; this keeps the side straight and the edge defined for a clean final look.
You can prepare the layers 1–2 days ahead, then finish the frosting the day of the event. Remember to preheat oven and prep pans when you begin to save time.
Use whole milk and yogurt to keep the layers moist. Color the frosting instead of the batter to make pink efficiently and control intensity while you decorate.
For reliable results, reserve a small cup of buttercream and keep a piping bag ready for quick touchups. Store leftovers well wrapped or freeze slices; high‑fat cream holds flavor after a gentle thaw.