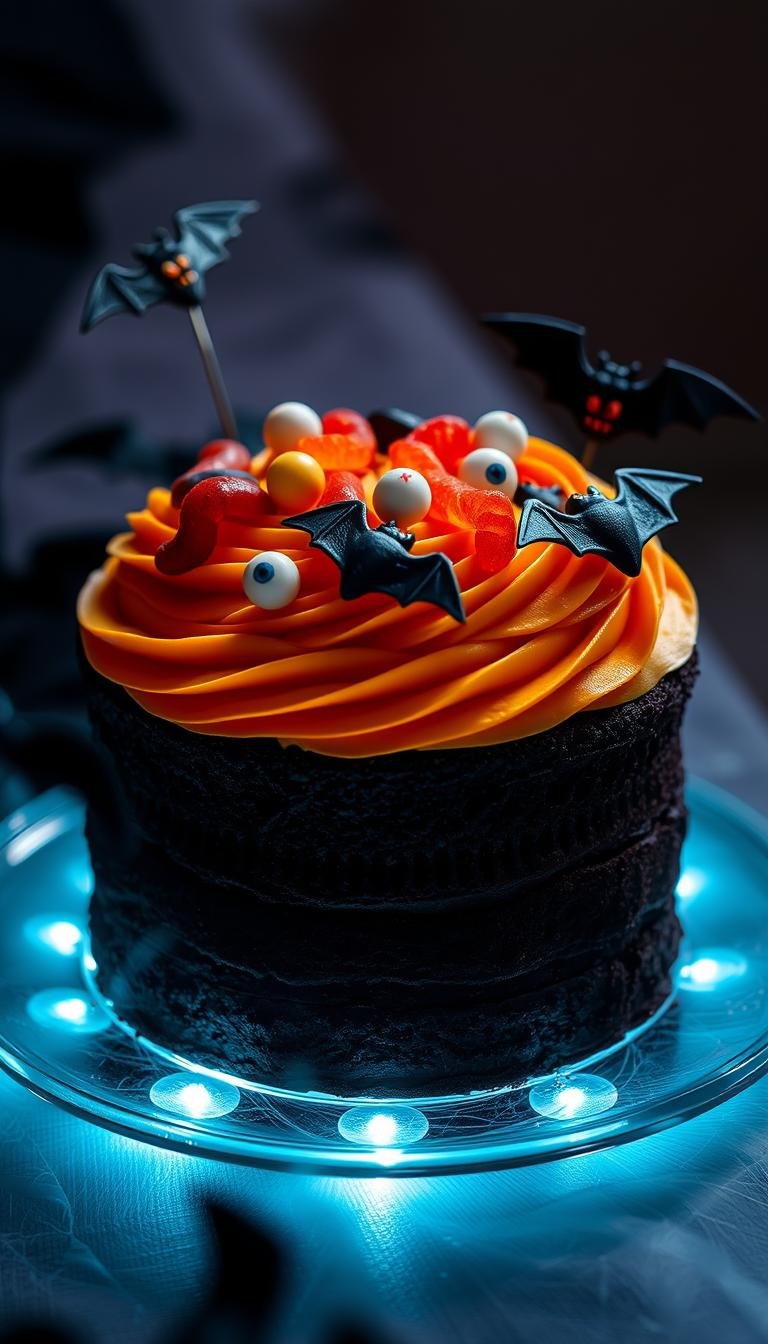
Delicious Chocolate Cake Ideas for Any Occasion
Nearly 70% of home bakers say a single, reliable pan can turn a weeknight into a celebration.
This Website contains affiliate links. That means I may earn a small commission if you purchase through my links, at no extra cost to you.
This guide shows how a one-bowl approach uses pantry staples to deliver a rich, moist result with minimal fuss. Simple dry ingredients like flour, sugar, unsweetened cocoa, baking powder, baking soda, salt, and espresso powder meet oil, eggs, vanilla, and hot liquid to bloom the cocoa and unlock deep flavor.
Thin batter after the hot liquid is added helps produce an extra-tender crumb and bold taste. Standard bakes work in two 9-inch rounds or a 9×13 sheet; room temperature eggs and dairy give even mixing and consistent texture.
We’ll cover flexible recipes, frosting swaps from buttercream to ganache, storage tips for freezing layers, and quick doneness checks so you feel confident whether you’re baking a birthday centerpiece or a simple treat.
Key Takeaways
- One-bowl methods save time and cut cleanup while using common ingredients.
- Hot liquid blooms cocoa for deeper flavor and a moist crumb.
- Use room temperature eggs and dairy for a tender, even texture.
- Two 9-inch rounds bake ~23–35 minutes; a 9×13 pan needs ~30–40 minutes.
- Freeze wrapped layers up to 1–3 months; thaw before frosting for best results.
Why chocolate cake ideas are trending right now
Home bakers keep returning to rich, fuss-free recipes that deliver bakery results with everyday pantry items. Contemporary guides favor one-bowl methods that cut prep and cleanup while giving a reliably moist crumb.
Thin-batter techniques that add hot coffee or water bloom cocoa and create a fudgy texture most people crave. The same batter scales easily for two- or three-layer showstoppers, a 9×13 sheet, or grab-and-go cupcakes.
- Fast, consistent results: one-bowl methods save time and reduce error.
- Flexible formats: swap pans and sizes without losing flavor.
- Custom texture: sour cream adds structure; buttermilk adds tenderness.
Clear, tested instructions and short video demos make these recipes approachable. Make-ahead, freezing, and simple finishing touches like glossy ganache keep this dessert at the top of search lists year-round for both comfort and celebration.
Your ultra-moist, one-bowl base chocolate cake recipe
Build an ultra-moist base by balancing structure, fat, and liquid in one easy bowl. This approach keeps prep simple and delivers a tender crumb that holds frosting without drying out.
Key ingredients and what they do
Flour provides structure. Granulated sugar adds sweetness and helps lock in moisture.
Cocoa powder supplies the deep flavor; use natural cocoa with baking soda for classic lift. A touch of baking powder evens rise, and salt sharpens the overall taste.
Moisture makers
Neutral oil keeps the crumb ultra-tender. Buttermilk gives acidity and softness; swap sour cream for a slightly sturdier slice.
Use large eggs for emulsion and vanilla for aroma. Milk or dairy-free milk work if you need alternatives.
Flavor boosters and smart swaps
A pinch of espresso powder or a splash of hot coffee or hot water blooms the cocoa and deepens chocolate notes without tasting like coffee.
For diets: 1:1 gluten-free flour, almond or coconut milk, or 2/3 cup applesauce as an egg-free swap keep this recipe inclusive.
“Thin, pourable batter is normal—it’s the key to a moist, fudgy crumb.”
Step-by-step: from mixing bowl to perfectly baked layers
A few simple moves in the bowl set the stage for even, tender layers every time. Start with good prep: bring eggs and buttermilk to room temperature so they blend smoothly into the batter.
Room temperature ingredients, thin batter, and oven temperature
Whisk the dry ingredients first to distribute cocoa and leaveners evenly. In a separate bowl, combine oil, eggs, vanilla, and buttermilk until homogenous.
Then slowly stream in hot coffee or water to bloom the cocoa and produce a glossy, very thin cake batter. Pour into prepared pans and bake at a steady 350°F.
- Timing: Two 9-inch rounds take about 23–35 minutes; a 9×13 needs 30–40.
- Doneness: Use a toothpick—clean or with moist crumbs is right. A slight center sink can happen with cocoa-rich recipes.
- Cooling: Let layers cool in the pan on a rack before turning out, then level domes with a serrated knife for even stacking.
“Thin, pourable batter looks odd but bakes into an ultra-moist, tender crumb.”
Pan sizes, cake layers, and bake times for every occasion
Choose the right pans and timings to match the celebration and your oven’s quirks. Small changes in size or depth affect rise, crumb, and finishing time.

Two 9-inch rounds are the classic route. Divide batter evenly and bake 23–35 minutes, checking with a toothpick for moist crumbs.
Three thin layers or taller showstoppers
Want height? Split batter into three 8- or 9-inch pans. Bake each about 22–25 minutes for thin, even layers perfect for tall frosting.
9×13 sheet for crowds
A 9×13 pan serves more people and travels well. Bake roughly 30–40 minutes. Use a parchment sling for easy removal.
Cupcakes: scaling and minutes-to-doneness
Fill liners about three-quarters full. Bake cupcakes 18–20 minutes for domed tops. One batch yields about 6 cups of batter—enough to stretch to 3 or 4 thin layers if needed.
- Doneness tip: check a couple minutes early—overbake dries cocoa-rich recipes fast.
- High altitude: adjust leavening and moisture using local guidelines to avoid collapse.
- Metric note: weigh flour (≈219–240 g for ~1.75–2 cups) and cocoa (≈62–63 g per 3/4 cup) for consistent results.
“Cool pans briefly before turning out to prevent fragile layers from breaking.”
Frosting, fillings, and finishing touches
Frosting and fillings turn layers into a showpiece with minimal extra work.
Chocolate buttercream starts with butter, confectioners’ sugar, cocoa, a splash of cream or milk, vanilla, and a pinch of salt. Adjust cream or sugar to change spreadability and texture. Use natural or Dutch-process cocoa in the frosting—there is no leavening, so pick the flavor you prefer.
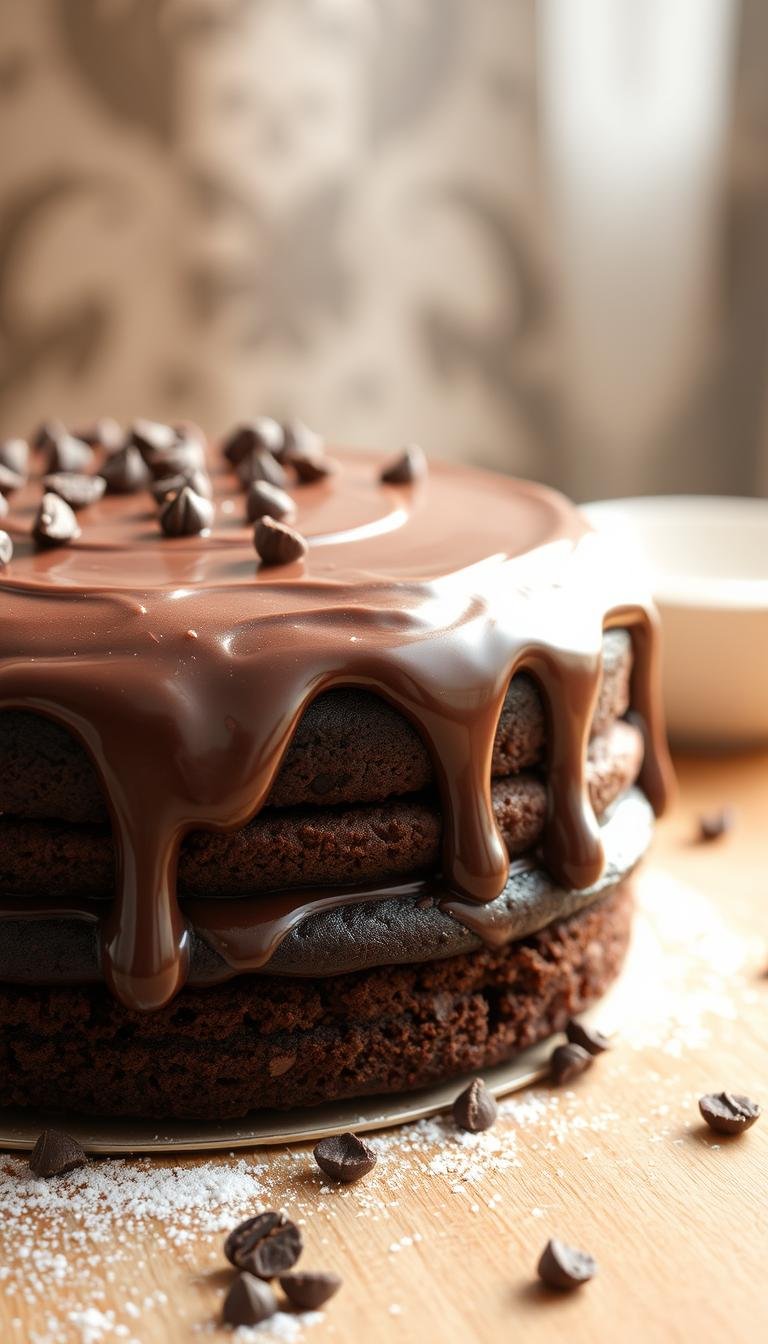
Ganache buttercream deepens richness. Whip cooled ganache into softened butter, then fold in a few extra chips or shavings for a triple-layered chocolate finish that reads decadent in photos.
Mix-and-match fillings
Try vanilla or strawberry buttercream to brighten heavy chocolate layers. Cream cheese frosting adds pleasant tang against rich ganache.
Decorating workflow
- Level cooled layers and spread an even filling.
- Apply a thin crumb coat, chill 30–60 minutes, then smooth the final layer.
- Use an offset spatula and bench scraper for clean sides; press chips or curls on the edge for contrast.
| Frosting Type | Main Ingredients | Best Use |
|---|---|---|
| Chocolate buttercream | Butter, confectioners’ sugar, cocoa, cream, vanilla, salt | Classic finish, sturdy piping, balanced sweetness |
| Ganache buttercream | Dark ganache + butter | Ultra-rich tops, glossy sheen, ganache drip |
| Vanilla / Strawberry | Butter, sugar, flavoring, cream | Bright contrast for deep chocolate layers |
“A small extra pinch of salt in sweet buttercream brings out deep chocolate notes.”
For shelf-stable frostings, store the finished cake under a dome at room temp. Refrigerate if fillings are perishable. These small steps help you achieve the best chocolate cake finish without fuss.
Chocolate cake ideas for every celebration
Start by matching format—tall layers, a half-sheet, or a tray of cupcakes—to the guest list and venue. This makes decorating and serving simple and keeps the day low-stress.
Birthday showstopper: tall layers with extra buttercream
Build a three-slim-layer tier with generous buttercream between each. Chill briefly between stacks for clean edges and dramatic slices that hold their shape.
Casual crowd-pleaser: half-sheet or 9×13 with fudge icing
For potlucks, use a 9×13 pan or half-sheet. A fudgy icing spreads fast and travels well, so you can serve many with minimal fuss.
Cupcake bar and “Matilda” finishes
Set up cupcakes topped with vanilla or strawberry buttercream and sprinkles so guests can customize. For a glossy, dramatic look, finish a few slices with a thick ganache and extra chips.
Seasonal spins and quick tips
- Try Black Forest with cherries and whipped cream or a tuxedo theme by alternating light and dark elements.
- Pair peanut butter filling for a nostalgic twist that crowds love.
- Keep bake times and moisture in mind when changing formats so every version stays tender.
Tip: Bake, cool, wrap, and freeze layers ahead; assemble near serving for the freshest presentation.
Pro tips for moist texture and deep chocolate flavor
Little adjustments in liquid and temperature dramatically deepen flavor and improve crumb. Use hot liquid to bloom dry cocoa and watch a thin, glossy batter form — that alone makes a big difference.
Blooming cocoa with hot liquid for flavor and smooth batter
Always add hot coffee or hot water to bloom cocoa powder for maximum flavor and a lump-free, silky batter. In large batches, hot liquid helps dissolve the powder evenly so the cake batter stays smooth.
Choosing cocoa: natural vs dutch-process, when each shines
Pick natural cocoa with baking soda when you want reddish devil’s food tones and lift. Use Dutch-process cocoa in frostings or recipes with sour cream or buttermilk for a darker, mellow profile.
Espresso powder myths: deeper flavor without coffee taste
Espresso powder or brewed coffee amplifies chocolate notes without tasting like coffee. Decaf or instant options work fine. Keep ingredients at room temperature so the emulsion holds and the final texture stays tender.
“A pinch of salt brightens deep chocolate flavor and balances sweetness.”
- Measure cocoa by weight to avoid dry results.
- If the batter looks thin after adding hot liquid, that’s expected and key to a fudgy crumb.
Make-ahead, storage, and freezing
A little prep the day before saves time and keeps layers fresh when it’s time to frost and serve.
Cooling, wrapping, and freezer-friendly steps
Cool baked layers completely on a rack so steam can escape. This avoids condensation that makes surfaces gummy.
Wrap each layer tightly in plastic, then a layer of foil. Freeze labeled layers in a pan or box for up to 1–3 months.

Room temperature vs refrigerated storage and timing
If you’ll assemble within 48 hours, wrap and refrigerate layers; they stay sturdy and slice cleanly. Thaw frozen layers wrapped in the refrigerator, then bring to room temperature before frosting for best adhesion.
- Make buttercream 2–3 days ahead, refrigerate, then bring to room temperature and re-whip before use.
- Finished cake with shelf-stable frosting can sit under a dome at room temp; refrigerate if fillings are perishable.
- For cupcakes, cool, wrap in airtight containers, and freeze; thaw at room temp before decorating.
- Label dates and pan sizes on wrapped layers to save time when assembling.
“A brief chill (30–60 minutes) after a crumb coat keeps crumbs locked in and speeds final smoothing.”
Leftovers keep well when sliced and stored tightly covered; many find the flavor deepens after a day, especially with rich chocolate frosting.
Conclusion
You now have a flexible base that bakes consistently whether you want tall layers, a tray, or handheld treats like cupcakes.
Use the one-bowl method and add hot coffee or water to bloom cocoa — that step deepens flavor in this chocolate cake recipe and keeps the crumb tender.
Pick frosting to match the moment: chocolate buttercream for comfort, ganache for shine, or bright vanilla for contrast. Follow simple make-ahead steps: wrap, freeze, and thaw wrapped to save time.
Trust the thin batter and room-temp ingredients. Level layers, apply a crumb coat, and you’ll have near-professional results in minutes.