Crispy Chicken Thigh Recipes Air Fryer: Simple Cooking
Fact: a modern countertop fryer can turn bone-in, skin-on thighs into crisp-skinned, juicy meat in under 25 minutes—often with a single flip.
This Website contains affiliate links. That means I may earn a small commission if you purchase through my links, at no extra cost to you.
This post focuses on a practical, weeknight-friendly method that yields consistent results with minimal prep. You’ll get exact temperatures and minutes, plus gear tips so you can execute confidently the first time.
Why it works: rapid hot air circulation speeds evaporation and renders skin fast, locking in juices while creating a golden crust. Bone-in, skin-on cuts are forgiving and add flavor, making them ideal for a simple dinner.
Follow a clear sequence: pat dry, season, dab baking powder on skin, start skin side down to render fat, then flip to finish crisping. We cover 400°F (about 12 minutes per side), adjustments for 380°F, how to scale for 3–6 servings, and safety checks like 165°F internal temp and a brief rest.
Key Takeaways
- Fast results: crisp skin and juicy meat in under ~25 minutes.
- Use bone-in, skin-on for best flavor and forgiveness.
- Simple steps: dry, season, baking powder, skin down, flip to finish.
- Cook roughly 12 minutes per side at 400°F; lower temps need small time tweaks.
- Check for 165°F at the thickest part and let rest before serving.
- Scale to 3–6 servings; batch in small baskets.
Why Air Fryer Chicken Thighs Are a Weeknight Win
When time is tight, a compact convection unit can turn simple cuts into a golden, juicy main in under 30 minutes.
Juicy meat, crispy skin: how rapid hot air works
Rapid hot air moves heat quickly across the surface. This speeds evaporation so skin crisps while the interior stays moist.
A bone and a bit of natural fat protect the meat and boost flavor. That makes thighs an especially forgiving choice for quick cooking.
Minimal oil, maximum flavor and speed
Most models need little or no added oil to brown skin deeply. That lowers overall fat compared with pan frying.
- Typical cook time: about 24–25 minutes at 380–400°F with one flip.
- Simple workflow: season, load, flip once, then rest.
- Consistent batches as long as you avoid crowding the basket.
“High, dry heat blooms spices fast, so bold seasoning works well without extra steps.”
| Advantage | Why it helps | Practical note |
|---|---|---|
| Speed | Compact convection shortens cook time | About 25 minutes total for bone-in cuts |
| Less added fat | Little oil needed for browning | Cleaner pans and easier cleanup |
| Reliable texture | Controlled air circulation crisps evenly | Avoid crowding for best results |
Chicken Thigh Recipes Air Fryer
Pick sturdy, bone-in pieces and a straightforward seasoning plan for consistent crisping.
What you’ll need
Selection: Use bone-in chicken thighs for superior moisture and flavor. The bone helps prevent overcooking and adds taste.
Seasoning blend ideas
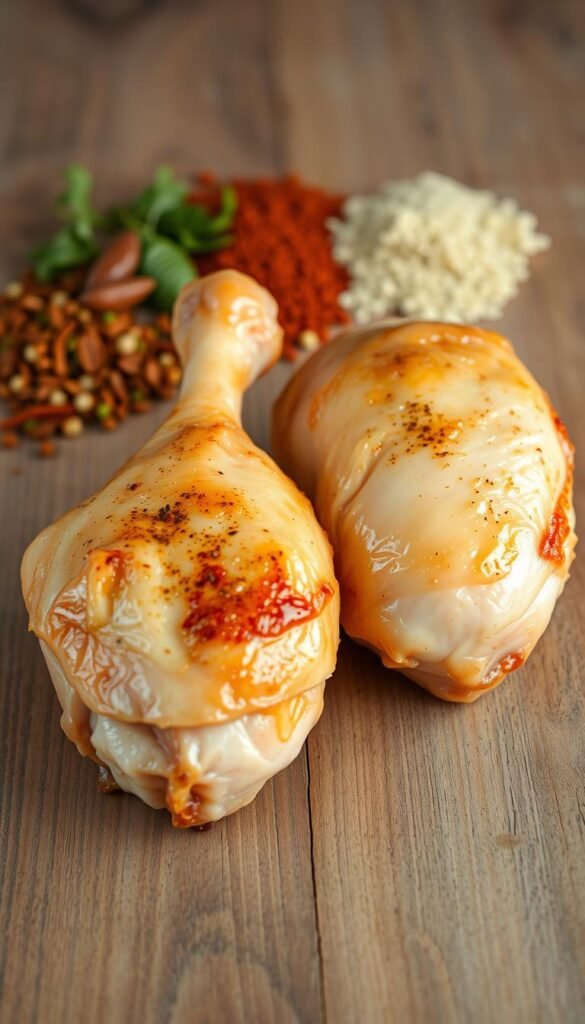
Core pantry: kosher salt, black pepper, garlic powder, onion powder, and sweet or smoked paprika. Add dried oregano, thyme, or herbs de Provence for depth.
Tip: Pre-mix the spices so every piece gets even seasoning. Measure salt by thigh size for balanced flavor across varied cuts.
Optional boosts and gear
- Squeeze fresh lemon juice or swap smoked paprika for a barbecue-like aroma.
- Add 1 tablespoon neutral oil (avocado, canola, or vegetable) to help spices adhere.
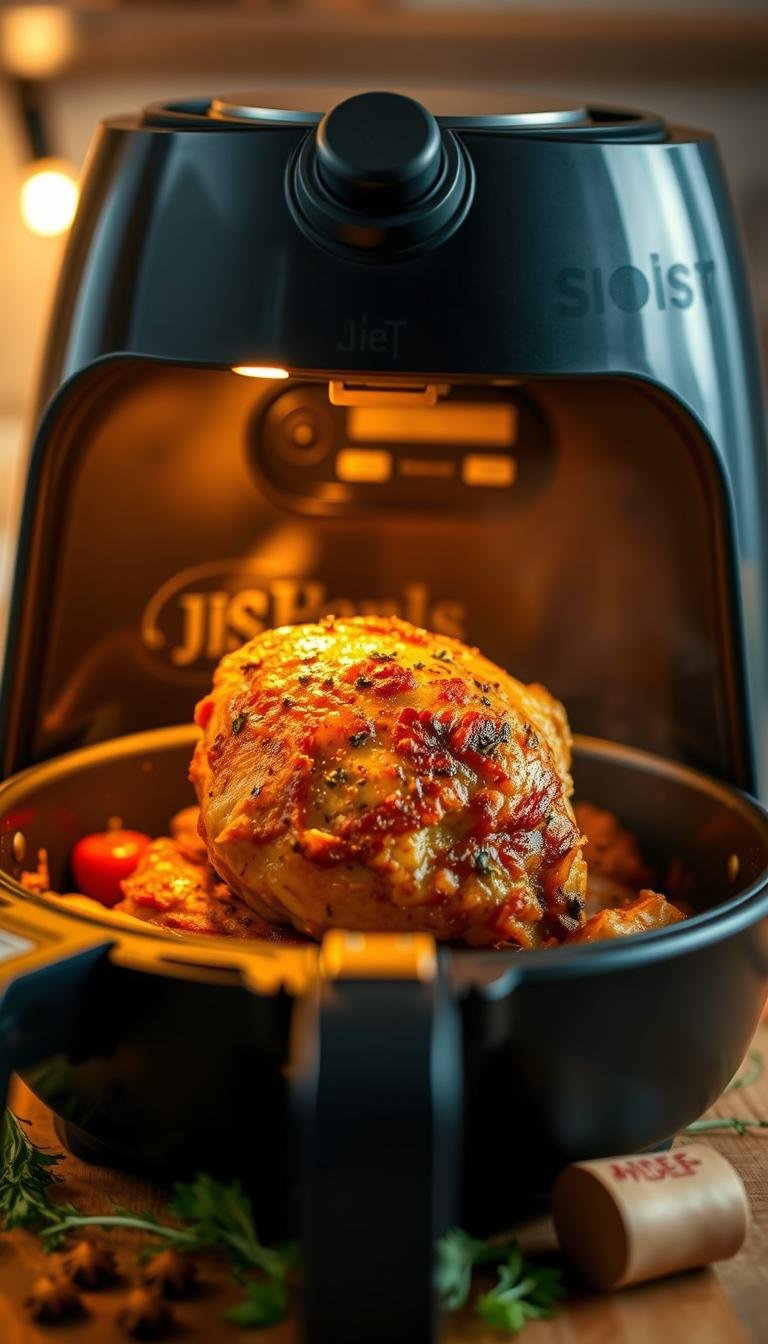
- Must-haves: a reliable air fryer or compact fryer, a fast instant-read meat thermometer, and plenty of paper towels or a dry paper towel for patting dry.
Prep note: Thoroughly pat thighs dry and trim excess skin or fat for even crisping and less smoke. Lightly oiling the basket is optional depending on model and desired edge crisp.
Step-by-Step: Crispy Air Fryer Chicken Thighs
Follow this clear, paced routine to get golden, crackly skin and juicy meat every time. The sequence is simple and repeatable: prep, treat the skin, place pieces for rendering, then flip to finish.
Prep
Pat each piece completely dry with paper towels and trim any loose or overhanging skin. Season the meat side first with kosher salt, black pepper, garlic powder, onion powder, and paprika. Add a squeeze of lemon if you like.
Skin science
Flip pieces and rub a small pinch of baking powder on the skin only. This helps the skin crisp without changing flavor.
Placement
Place chicken in a single layer, skin side down, to start rendering fat. Avoid crowding so hot air circulates evenly.
Flip and finish
- Brush or toss with about 1 tablespoon neutral oil if desired to help spices adhere.
- Air-fry at 400°F for about 12 minutes, then flip and cook another ~12 minutes until golden and an instant-read thermometer reads 165°F.
- For models at 380°F, try 12 minutes down, then 10–15 minutes up, checking doneness and crispness.
- Rest briefly skin side up so juices settle. Serve immediately to enjoy peak crackle.
Cooking Time and Temperature: Minutes That Matter
Timing and temp are the twin controls that turn good skin into great skin.
Baseline at 400°F: plan roughly 12 minutes skin down, then 12 minutes skin up — about 24 minutes total for bone-in chicken thighs. This split lets fat render first and finishes with a crisp surface.
Alternate at 380°F: start with 12 minutes skin down, then 10–15 minutes skin up. Watch for a deep golden color rather than relying on minutes alone.
- Adjust in 3–4 minute increments for larger pieces or weaker units; smaller pieces need less time.
- Newer, higher-wattage units brown faster; older or compact models may need extra minutes.
- A light coating of oil is optional—rendered fat from the skin often provides enough browning.
- Always confirm doneness with an instant-read thermometer at 165°F at the thickest point.
- Rotate or rearrange pieces if one side browns faster, and leave skin exposed after cooking so it stays crisp while plating.
Doneness, Safety, and Texture Checks
Safety and crunch come down to one real reading and a few tactile cues. The single best doneness check is an internal reading of 165°F at the thickest part of the piece. Avoid touching bone when you measure.
Use an instant-read meat thermometer to verify temperature fast. A quick probe gives confidence without guessing and keeps juices locked in.
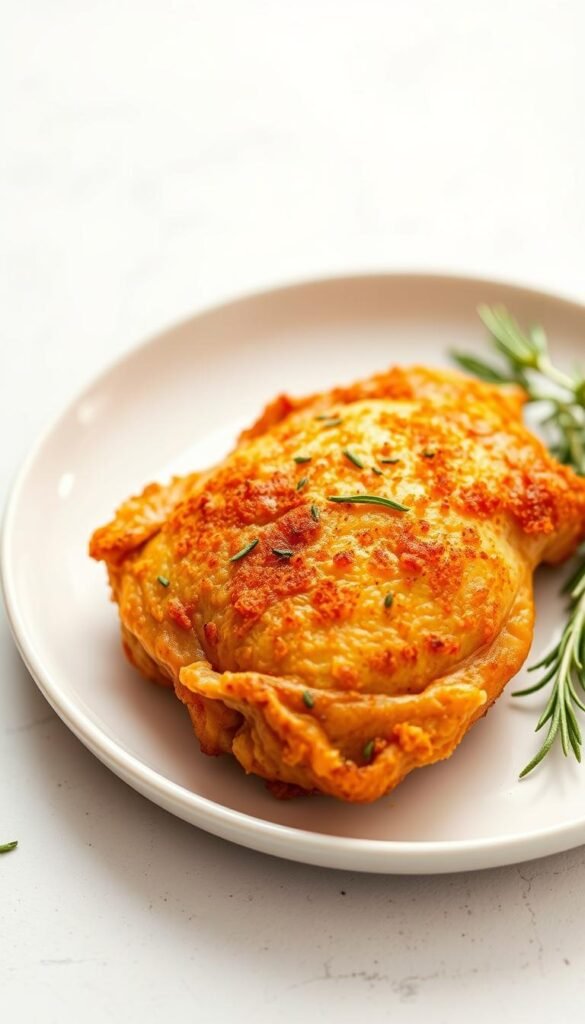
Look for a deep golden color and feel the surface—proper crispy skin is firm and crackly, with rendered fat at the edges. If you want more color or crunch, add 3–4 minutes in short bursts while re-checking the temperature.
After you flip, blot the skin gently with a paper towel if it seems wet. This removes surface moisture and helps the skin crisp during the final minutes.
- Carryover heat in a compact air fryer is minimal; rely on the live reading rather than a big rise while resting.
- Avoid piercing the meat repeatedly—do a single precise check per piece.
- Pull smaller pieces first if sizes vary so nothing overcooks while larger pieces finish.
- Rest briefly skin side up on a rack so steam does not soften the crust.
- Remember: baking powder helps texture, but true doneness is the 165°F reading.
| Check | What to expect | Action |
|---|---|---|
| Temperature | 165°F at thickest, not touching bone | Use instant-read meat thermometer; confirm once |
| Skin | Deep golden, firm, rendered edges | Add 3–4 min bursts for more crispness |
| Moisture | Surface dry after blotting | Pat skin mid-cook after flip to remove moisture |
Variations: Bone-In, Boneless, and Flavor Twists
Adjusting cook time and toppings lets you tailor crisp results to any flavor profile.
Timing for boneless, skinless pieces: reduce the first side to about 6 minutes, then flip and cook 8–10 minutes more. Always confirm a 165°F internal reading before resting.
Texture differs by cut. Bone-in, skin-on pieces are more forgiving and develop natural crisp skin. Boneless options cook faster and produce leaner meat with less carryover heat.
Lemon, heat, and herb directions
Add lemon zest or a lemon pepper blend to brighten the seasoning. If your mix already contains salt, cut back so the balance stays right.
For a spicy profile, use cayenne, chili powder, or ground Sichuan peppercorns for a numbing-tingle heat. Start light and taste as you go.
Try dried rosemary, thyme, or herbes de Provence for an herb-forward finish that pairs well with roasted sides.
Finishes and swaps
After flipping, sprinkle 1–2 tablespoons of finely grated Parmesan for a savory crust that crisps quickly in the final minutes.
Swap smoked paprika for sweet paprika to add a deeper, grill-like aroma without extra smoke or sauce.
- Keep surfaces dry: crisp texture depends on low moisture—pat pieces before seasoning and blot mid-cook if needed.
- Space consistently: leave room so hot air circulates and each piece crisps evenly.
- Taste & adjust: sample a small piece and tweak salt or pepper based on size and seasoning blends.

| Variation | Timing (approx.) | Flavor note |
|---|---|---|
| Bone-in, skin-on | 12 min each side at 400°F (baseline) | Most forgiving; crisp skin, juicier meat |
| Boneless, skinless | 6 min first side; 8–10 min after flip | Faster; leaner texture, cook carefully |
| Lemon-pepper | Use same timing as chosen cut | Bright citrus zing; reduce added salt |
| Spicy / Herb / Parmesan | Apply during or after flip; finish in last 2–4 min | Cayenne for heat, rosemary for depth, Parmesan for savory crisp |
Crispy Skin, Less Fat: Best Practices
A few preparation habits will cut splatter, reduce rendered fat, and keep skin crisp every time.
Dryness matters: thoroughly pat each piece with a dry paper towel to remove surface moisture before seasoning. Moisture is the enemy of crispy skin.
Trim excess skin and visible surface fat. That reduces splatter, speeds even rendering, and lowers overall fat while cooking.
Space for airflow: place chicken in a single layer with room between pieces so hot air circulates freely. Avoid crowding the basket or tray; steam makes skin soft.
Start skin side down so fat renders early, then flip to finish with a blistered, glassy surface. If your unit benefits from it, preheat for a few minutes first.
Optionally mist the basket or pieces lightly with avocado oil for extra crunch. Keep coatings and herbs dry — even small bits of moisture cut crispness.
After cooking, rest pieces on a rack so the underside does not steam. Wipe out rendered fat between batches to prevent smoking and keep flavors clean.
“Control moisture and spacing and you’ll get a blistered, glassy surface with much less fat.”
Serving Ideas, Storage, and Reheating
Serve smart: balance rich, crisp protein with bright, fresh sides. A big green salad with lemon vinaigrette, roasted green beans, shredded Brussels sprouts, or a quinoa bowl all pair well and keep the plate lively.
Make sides while the main cooks so dinner finishes on one timeline. Roasted vegetables or quick grains can roast or simmer during the cooking time to save effort.
Batching and reheating
When reheating, set the unit to 350°F and heat skin side up for about 6–8 minutes. This recrisps the exterior while warming the interior without adding extra cooking time.
Bring leftovers out of the fridge a few minutes early to cut the reheating minutes and ensure even warming.
Storage and freezing
- Refrigerate cooked pieces in an airtight container for 3–4 days; keep the skin exposed when possible to reduce sogginess.
- Freeze up to 1 month in well-sealed containers or freezer bags. Thaw overnight in the fridge before reheating.
- For small baskets, batch cook in cycles so each serving keeps its crisp texture.
Leftovers make excellent salads, grain bowls, or wraps. Add a pinch of salt, pepper, or lemon zest after reheating for fresh brightness.
“Recrisp at a moderate temperature and check after the suggested minutes—add a minute if needed for larger pieces or different models.”
| Action | Temperature & Time | Tip |
|---|---|---|
| Reheat | 350°F — 6–8 minutes, skin side up | Bring out of fridge briefly for even warming |
| Refrigerate | 3–4 days | Airtight container; keep skin exposed if possible |
| Freeze | Up to 1 month | Seal well; thaw overnight in fridge before reheating |
| Batch cooking | Cook in cycles | Wipe rendered fat between batches to avoid smoke |

Conclusion
Wrap up: follow a short routine to lock in crisp texture and steady, safe doneness.
Core method: pat pieces dry, season the meat side, rub a pinch of baking powder on the skin only, and start skin side down to render fat.
Timing that works: at 400°F plan about 12 minutes per side, flip once and confirm 165°F at the thickest spot. At 380°F, try 12 minutes down, then 10–15 up, adjusting in 3–4 minute increments for size and model.
Keep space for airflow and batch if needed so every piece crisps evenly. Finish skin side up and rest briefly to avoid trapped steam.
Play with lemon pepper, smoked paprika or a light Parmesan for variety. Reheat at 350°F for 6–8 minutes, skin side up, to recrisp without drying.
Track your preferred time per model and keep kosher salt, garlic powder, and a reliable meat thermometer on hand for repeatable, easy air fryer chicken success.


