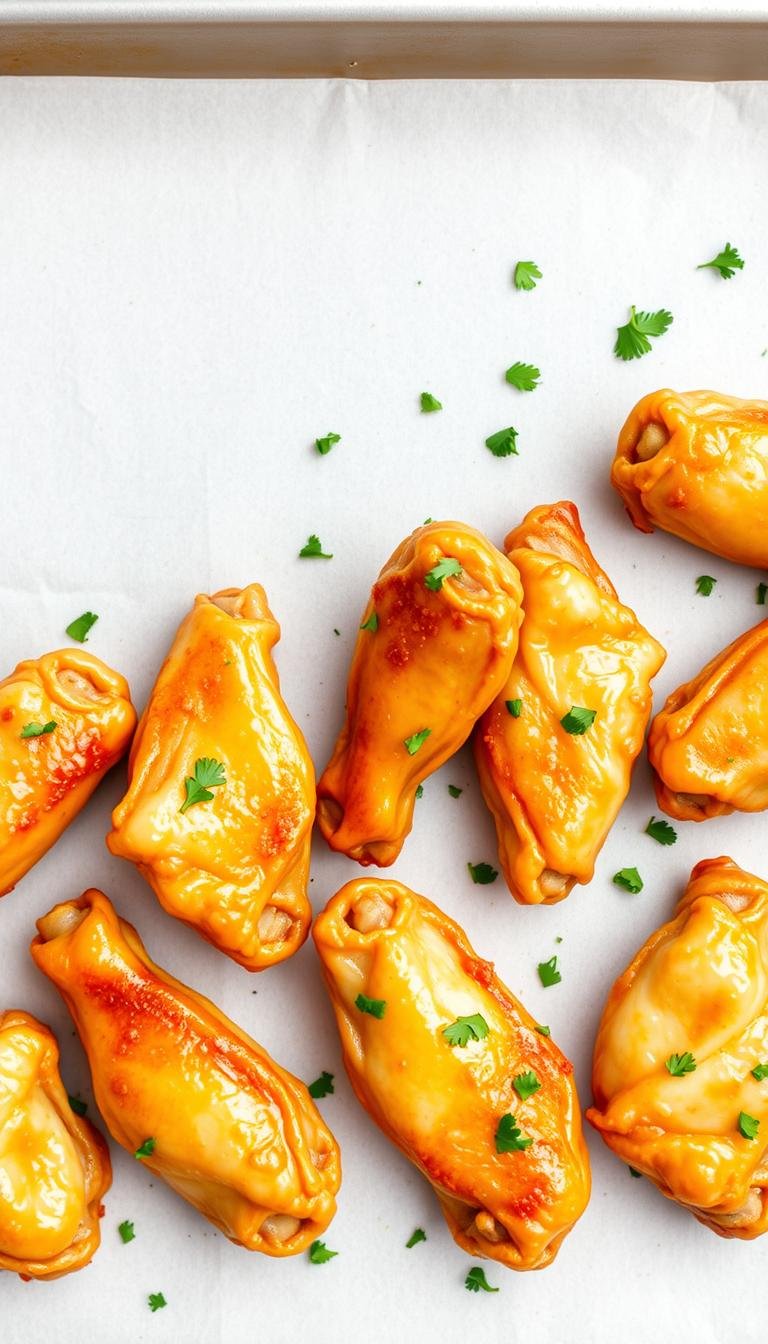
Crispy Baked Chicken Wings: Easy Recipe & Tips
Nearly 2 billion drumettes and flats are eaten in the U.S. during a single football season — and you don’t need a fryer to join the fun.
This Website contains affiliate links. That means I may earn a small commission if you purchase through my links, at no extra cost to you.
This simple method shows how to get shattering skin and juicy meat using common pantry items and smart technique. Pat each piece very dry, dust with aluminum‑free baking powder (Rumford recommended), salt, pepper, garlic powder, and paprika, then bake on a foil‑lined sheet set over a wire rack.
Use 425°F on the upper‑middle rack for crisp results, or try 450°F with convection for a faster, deeply browned finish. Flip every 20 minutes and expect up to one hour total depending on size. Rest five minutes, then toss with sauce or serve plain for max crunch.
Minimal gear, easy cleanup, and party‑ready results make this approach a reliable appetizer for game day or any gathering. Later sections will share pro tips, troubleshooting, and an air fryer shortcut to speed crisping.
Key Takeaways
- Dry the pieces well and use aluminum‑free baking powder to aid browning.
- Bake on a wire rack over a foil‑lined sheet for even airflow and easy cleanup.
- Choose 425°F for steady crisping or 450°F convection for a quicker finish.
- Flip every 20 minutes and rest 5 minutes before tossing with sauce.
- This method yields pub‑style texture with less oil than frying.
Why These Baked Chicken Wings Get Ultra Crispy
We use a mix of pH change, surface dehydration, and smart airflow to get restaurant-level results at home. Each step helps the skin brown and firm instead of staying soft.
Baking powder science: raising pH for shatteringly crisp skin
Aluminum-free baking powder raises the skin’s surface pH, which helps proteins denature and dry rather than steam. The powder also draws moisture out to the surface where it evaporates fast, improving browning and crunch.
Moisture management: pat dry, paper towels, and surface dehydration
Pat each piece very dry with paper towels before seasoning. Removing excess moisture prevents wet clumps of seasoning and helps the powder stick and work. Good dehydration is the single biggest factor in texture.
Rack vs. pan vs. parchment: airflow, fat rendering, and a butter trick
Use a wire rack over a foil-lined sheet to let fat render and drip away while air circulates under the pieces. For a pan method, bake on parchment with small dots of butter for browning while keeping meat moist.
| Method | Setup | Heat | Benefit |
|---|---|---|---|
| Rack | Foil-lined sheet + wire rack | 425°F | Best airflow; fat renders away |
| Parchment + butter | Parchment, 1 tbsp butter dotted | 425°F | Browned skin, moist meat |
| Convection | Same as rack | 425–450°F | Faster dehydration, even color |
Ingredients and Smart Substitutions
Start with clear measures and simple tools to make this recipe repeatable. Use a large bowl so every piece gets an even, light coating.
Core lineup
Ingredients: chicken wings (3–4 lb), aluminum‑free baking powder (about 2 Tbsp), kosher salt, pepper, garlic powder, and paprika for color and mild smokiness.
Smart swaps and tips
White pepper provides a fine grind and even distribution; black pepper gives a familiar bite—pick one. Add a splash of neutral oil (avocado, canola, or vegetable) if spices need help sticking, especially when not using a rack.
“Sift the baking powder over the pieces to avoid clumps and measure with teaspoons for consistency.”
- Optional dry spices: onion powder, cayenne, chipotle, or smoked paprika for more heat and depth.
- Recommend Rumford as an aluminum‑free baking powder to avoid metallic notes.
- For buffalo sauce: melt light brown sugar into Frank’s Wings Hot Sauce with a bit of water, cool, then toss after baking.
Note: Sizes vary—adjust amounts to suit batch weight and your preferred heat level.
crispy baked chicken wings: step‑by‑step recipe
A few careful moves — drying, sifting, and spacing — make all the difference for a golden finish. Follow these clear steps to prepare, season, and roast with consistent results.
Prep and preheat
Move an oven rack to the upper‑middle position and preheat oven to 425°F for the rack method. Use 450°F if you have convection for a faster bake.
Season and arrange
Line a baking sheet with foil, set a wire rack on top, and mist the rack lightly. Pat the pieces fully dry with paper towels.
In a large bowl, sift aluminum‑free baking powder with salt, pepper, garlic powder, and paprika. Toss so every piece gets an even coating, then arrange skin‑side up on the rack without touching.
Bake, flip, and finish
Bake at 425°F, turning every 20 minutes, until the skin is deep golden and crisp — expect up to about 60 minutes depending on size. For quick results, use 450°F convection: 30 minutes, flip, then 20–25 minutes more.
Rest 5 minutes to let the crust set. Toss with cooled sauce or serve plain. Watch color, rendered drippings, and internal temperature as your primary doneness cues.
| Step | Setup | Temp | Time (minutes) |
|---|---|---|---|
| Prep | Upper‑middle rack, foil‑lined baking sheet | 425°F | Preheat |
| Season | Large bowl, sift powder + spices | Room temp | 2–5 |
| Bake | Wire rack on sheet, single layer | 425–450°F | 30–60 (flip every 20) |
| Finish | Rest then toss or serve plain | Hold | 5 |
Oven Temperature, Time, and Doneness
Temperature and timing decide whether the skin tightens and the meat stays juicy. Pick a heat strategy before you start and use minutes as checkpoints rather than rigid rules.

425°F vs. 450°F with convection
Choose 425°F for steady, forgiving browning on an upper‑middle rack. Flip every 20 minutes; total cook can approach 60 minutes depending on size.
Choose 450°F with convection when you want speed and extra surface dehydration. Bake about 30 minutes, flip, then 20–25 minutes more.
Doneness cues and safety
Visual signals matter: the skin should look blistered and browned with crisped edges. Use texture and color as your primary guides.
Always verify safety with an instant‑read thermometer. The thickest part should reach 165°F.
- Use a wire rack over a foil‑lined baking sheet to promote even airflow and fat rendering.
- Small wings finish faster; larger pieces need more minutes — watch them closely near the end.
- For the parchment‑and‑butter method, aim for 30 minutes, then 15 minutes after flipping at 425°F.
- Rest briefly after baking so the crust sets before tossing or plating.
“Flip at consistent intervals and trust both temperature and touch to judge doneness.”
Sauces, Dry Rubs, and Serving Ideas
The right sauce and a layered dry rub turn a simple tray into a crowd‑pleasing spread. Start by tasting one piece plain straight from the oven to enjoy the texture before saucing it.
Classic sauce lineup
Offer a few reliable options so guests can pick their heat level. For the classic buffalo, mix Frank’s Wings Hot Sauce with light brown sugar and a splash of water.
Warm gently just to dissolve the sugar, then cool before tossing so the crust stays intact. Add honey BBQ and sticky honey garlic as sweeter choices.
Dry rub boosts
Use paprika, garlic, and a balanced pepper blend to add smoky and savory layers right on the skin. Sift spices with your baking powder mix for even coverage.
Tip: Apply a modest rub before baking and a finishing dust after resting for extra aroma.
Serving and pairing
Build a game‑day appetizer board with celery, carrot sticks, and cool dips like ranch or blue cheese to balance heat.
Pair with hearty sides—mac and cheese, mashed potatoes—or lighter roasted vegetables such as Brussels sprouts and green beans with bacon.
- Place sauces in separate bowls so guests can toss portions to taste.
- Keep a mild and a spicy option for heat customization.
- Plan portions—these treats disappear fast at any party.
“Warm sauces gently, then cool to room temperature so they don’t steam the crust.”
Pro Tips, Common Mistakes, and Troubleshooting
Rescuing limp skin starts with airflow, space, and a steady flip schedule that keeps moisture moving away from the surface.

Fixing soggy skin: spacing, flipping, and airflow
Pat pieces completely dry with paper towels before seasoning. Residual moisture is the biggest enemy of a firm surface.
Use a wire rack set over a foil‑lined baking sheet so fat can drip away and hot air reaches all sides. Avoid crowding—leave visible gaps so steam can escape.
If bottoms stay pale, move the sheet one rack position higher or finish with a short high‑heat burst. In convection mode, reduce time slightly to prevent over‑browning while boosting airflow.
Seasoning success: powder handling and even coating
Always choose aluminum‑free baking powder and sift it over the pieces to prevent clumps. Toss in a roomy bowl until no dry pockets remain.
- Flip on schedule to render fat evenly and avoid steaming the underside.
- Adjust salt and pepper to taste—seasoning balance matters for flavor and texture.
- If skin still won’t firm, extend cooking time in small increments with close observation.
Quick rule: dry well, space well, and let hot air do the work.
Air Fryer Option for Wings
For speedy weeknight meals, the air fryer delivers fast browning and rendered fat with far less oil than the oven.
Temp and timing: Preheat the air fryer and arrange pieces in a single layer with space between them. Use minimal oil or a light mist to reduce sticking. Cook times vary by model, so watch the color and check internal temp.
Rapid crisping with minimal oil
Set the unit to 400°F for initial cooking, flipping or shaking the basket halfway for even color. If your air fryer runs hot, reduce by 10–15°F and add a few minutes.
Use an instant‑read thermometer to confirm 165°F at the thickest point. Work in batches to avoid crowding; overcrowded baskets trap steam and soften skin.
When to sauce
Sauce after air frying to preserve the crust. Tossing too early will make the surface limp. Let pieces rest 1–2 minutes, then toss with your warmed sauce.
For reheating: air fry at 375°F for 5–7 minutes until the internal temperature reaches 165°F.
| Task | Temp | Time | Note |
|---|---|---|---|
| Cook (single layer) | 400°F | 20–30 minutes (flip halfway) | Adjust for model variations |
| Reheat | 375°F | 5–7 minutes | Until 165°F internal |
| Finish | Hold | 1–2 minutes | Toss with sauce after resting |
- Preheat the air fryer and leave gaps between pieces for max airflow.
- Flip or shake halfway for even texture.
- Lightly mist the basket; avoid heavy oiling.
Storage, Reheating, and Make‑Ahead
Plan storage and reheating before you cook so leftovers taste as good as when they were first served. A short workflow preserves texture and flavor for game day or weeknight meals.
Fridge and freezer: Refrigerate cooked chicken wings in an airtight container for 3-4 days; label the date. For longer storage, freeze up to 2-3 months — vacuum sealing reduces freezer burn.
Reheating for best texture
Oven: Reheat on a rack over a baking sheet at 450°F for 10–12 minutes to re‑crisp the skin. Check after minutes and confirm the internal temperature reaches 165°F.
Air fryer: Warm at about 375°F for 5–7 minutes, flipping once, until the internal temp hits 165°F. If frozen, thaw overnight in the refrigerator before reheating for even cooking.
Make‑ahead workflow
Pat pieces dry with paper towels, season, and arrange on a rack set over a lined sheet. Chill uncovered for a few hours to dry the surface before baking.
“Bake just before serving and toss with sauce right away to keep the crust intact.”
- Avoid microwaving; it softens the skin and makes steam.
- Keep sauces prepped and cooled so they don’t steam the crust on contact.
- For events, bake in batches and hold at a low oven setting briefly to keep warm without losing texture.
Conclusion
Stick to the essentials: preheat the oven, pat pieces dry with paper towels, and sift aluminum‑free baking powder with salt and spices in a roomy bowl for an even coat.
Bake on a rack over a lined baking sheet. Use 425°F and flip every 20 minutes for up to about 60 minutes, or choose 450°F convection for roughly 30 minutes, flip, then 20–25 minutes more.
Look for browned, blistered skin and confirm 165°F internal temperature. Toss with a cooled sauce or serve with ranch or blue cheese so the crust stays intact.
Store cooked pieces refrigerated for 3–4 days or freeze for months. Reheat at 450°F for 10–12 minutes or use an air fryer at 375°F for 5–7 minutes to restore texture.
Follow these instructions and this wings recipe will be your go‑to for reliable, pub‑style results at home.