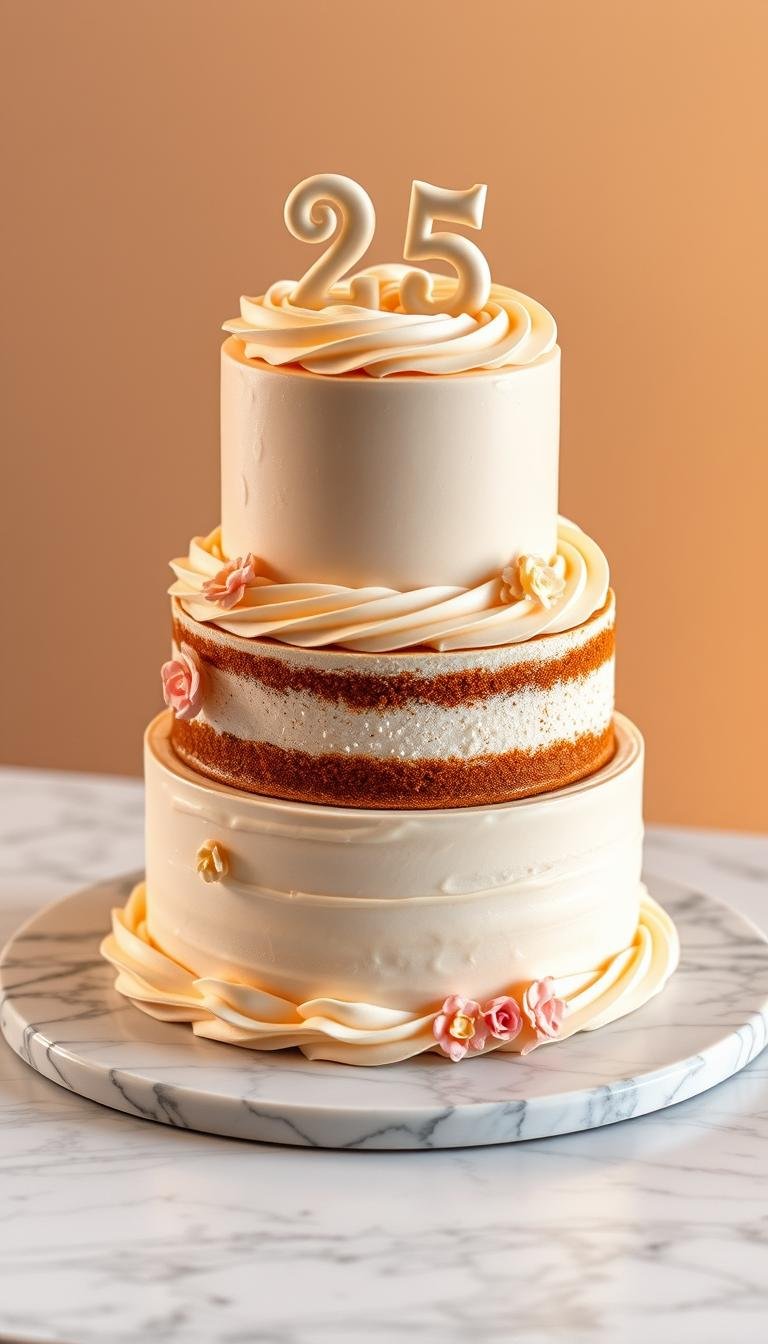
Create Stunning Chocolate Cake Designs with Our Simple Guide
Surprising fact: more than 60% of home bakers say a clear plan trips them up on bake day.
This Website contains affiliate links. That means I may earn a small commission if you purchase through my links, at no extra cost to you.
This guide fixes that. You’ll get two reliable base recipes: an ultra-moist one-bowl batter that uses oil, buttermilk, and hot liquid, and a sturdy, stackable version made with Dutch-processed cocoa and a creaming method. Both yield consistent layers for tall or layered work.
We cover practical cues like pan fill limits, baking times, and doneness checks so you use your oven and time efficiently. Learn simple tricks—dust pans with cocoa, use cake strips to reduce doming, and make a quick DIY buttermilk with vinegar and milk.
For finish work, we explain a no-temper chocolate wrap technique using parchment or acetate and candy coating. You’ll also find tips for matching minis with cupcakes, storage strategies for freezing layers, and flavor notes that pair vanilla with deeper cocoa without overwhelming the palate.
Key Takeaways
- Two go-to bases: one ultra-moist and one sturdy for stacking.
- Bake with clear pan, time, and doneness guidance to save time.
- Simple wrap and piping methods boost finish without special tools.
- Make-ahead and freezing tips keep layers fresh for assembly.
- Practical small steps—dusting pans, cake strips—prevent extra trimming.
Start Here: Plan your chocolate cake design and gather inspiration
Start with a simple sketch of your vision to guide recipe and timing choices. Draw the finish you want—smooth, semi-naked, or a dramatic collar—then match that look to the right recipe and timeline. This keeps you from rushing key steps and helps follow clear instructions.
Map your bake day. Block time for baking, cooling, crumb coat, chilling, and final detail work. Plan in oven space and pan counts so you can bake layers in one go or in batches without losing rise or crumb quality.
Measure for wraps: use string or ribbon to get height and circumference, then add about 1/2 inch to height and around 1 inch to length. For cakes over 8 inches, cut multiple strips for easier handling.
- Choose the base: oil + buttermilk for ultra-moist, or Dutch-processed cocoa dissolved in boiling water for sturdy stacking.
- Use cake strips to reduce doming and get flat layers ready for clean finishing.
- Set flavor pairings early—vanilla buttercream, raspberry, or salted caramel work well.
- Make a shopping list and order tools via affiliate links early so you arrive ready on bake day.
| Planning Step | Why it matters | Quick tip |
|---|---|---|
| Sketch look | Aligns recipe and timeline | Keep sketches simple |
| Measure wrap | Ensures clean collar fit | Add margin to string measurements |
| Block time | Prevents rushed finishing | Include chill periods |
Choose and bake a reliable base: moist one-bowl or sturdy-for-stacking chocolate cake
Pick the base that fits your final look. If you want tender crumb and fast prep, the ultra-moist one-bowl approach is the go-to. Whisk the dry ingredients first—AP flour, sugar, natural cocoa, baking soda, baking powder, and salt—then add oil, room temperature large eggs, vanilla, and buttermilk. Stream in hot coffee or hot water to bloom the cocoa; a thin batter is normal.
Divide pans no more than two-thirds full and bake at 350°F: 32–36 minutes for two 8-inch or three 6-inch pans, and 15–18 minutes for cupcakes. For a quick DIY buttermilk, stir 1 Tbsp vinegar into 1 cup whole milk and rest 15 minutes.
Sturdy, stackable method
When you need taller tiers or carving, use Dutch-processed cocoa whisked into boiling water. Cream butter and sugar about 8 minutes until very pale, add eggs one at a time, then alternate the flour mixture with the cocoa mix. Bake three 8×2 pans 45–50 minutes; target internal 197–200°F. Dust pans with cocoa and use cake strips to reduce doming.
“Bring eggs to room temperature and follow mixing order—this helps emulsify the batter and yields consistent rise.”
- Stand mixer vs hand: both work. Use a stand mixer for speed but avoid overmixing once liquids go in.
- Use natural cocoa in the one-bowl and Dutch-processed for the sturdy recipe to keep leavening predictable.
- Weigh ingredients when possible and follow the recipe for reliable results.
| Method | Key step | Bake time / Temp |
|---|---|---|
| One-bowl (moist) | Stream hot coffee/water into batter | 32–36 min @ 350°F (8-inch) |
| Sturdy (stacking) | Cream butter & sugar; use Dutch cocoa | 45–50 min @ 350°F (8×2 pans) |
| Cupcake option | Fill 2/3, bake until toothpick clean | 15–18 min @ 350°F |
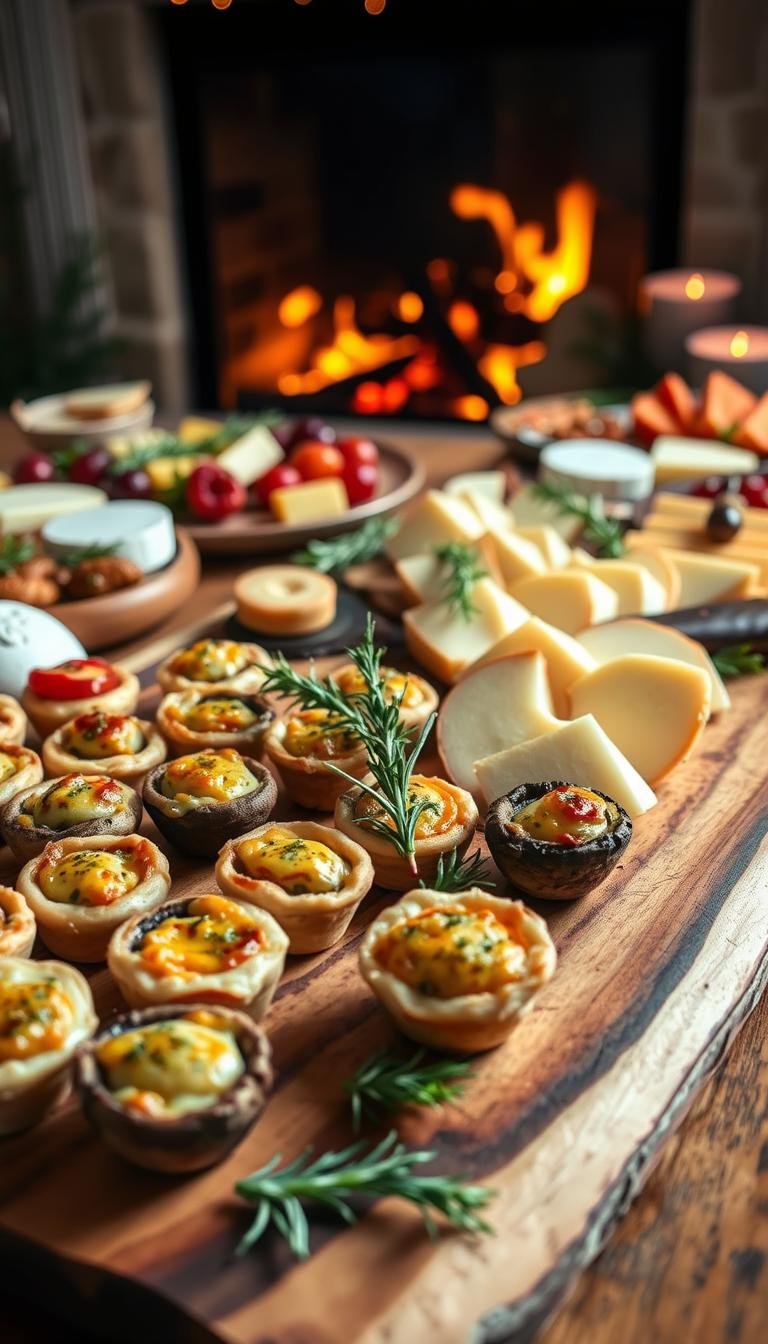
Tools, ingredients, and setup for clean decorating
Set up your station so every tool lives within reach and your workflow stays calm.
Start with materials that match your finish. Choose acetate for a mirror-like wrap and parchment when you want easier handling. Measure height and circumference with string, then add 1/2 inch to height and ~1 inch to length. For larger sizes, cut multiple strips for neat joins.

Parchment paper vs acetate, candy coating vs real chocolate
Compound candy coating melts easily in a microwave and skips tempering. It is perfect when you want to make chocolate ornaments quickly.
Real chocolate needs tempering to get that glossy snap. Tempered pieces give the most professional finish but require a temperature curve and practice.
Prep checklist and quick tips
Have pans dusted with cocoa and use cake strips to reduce doming. Keep butter and eggs at room temperature when the recipe asks for them.
- Tools: a reliable stand mixer and a clean bowl stand mixer for batter prep.
- Decorating: parchment cones or tipless bags, Wilton 1M, offset spatulas, and a fondant smoother.
- Measure: flexible tape, ruler, and spare acetate or parchment paper for collars.
| Item | Purpose | Quick tip |
|---|---|---|
| Pans | Even bake and layer shape | Dust with cocoa |
| Stand mixer bowl | Consistent creaming and mixing | Scrape sides between steps |
| Fondant smoother | Flatten wrap seams | Use on a well-chilled cake |
“Back piped patterns with a thin layer of coating, then wrap while the tier is cold to get a clean reveal.”
Pro tip: If you buy via affiliate links, prioritize sturdy acetate rolls and quality tipless bags. Document your setup so repeat bakes and decorating sessions go faster next time.
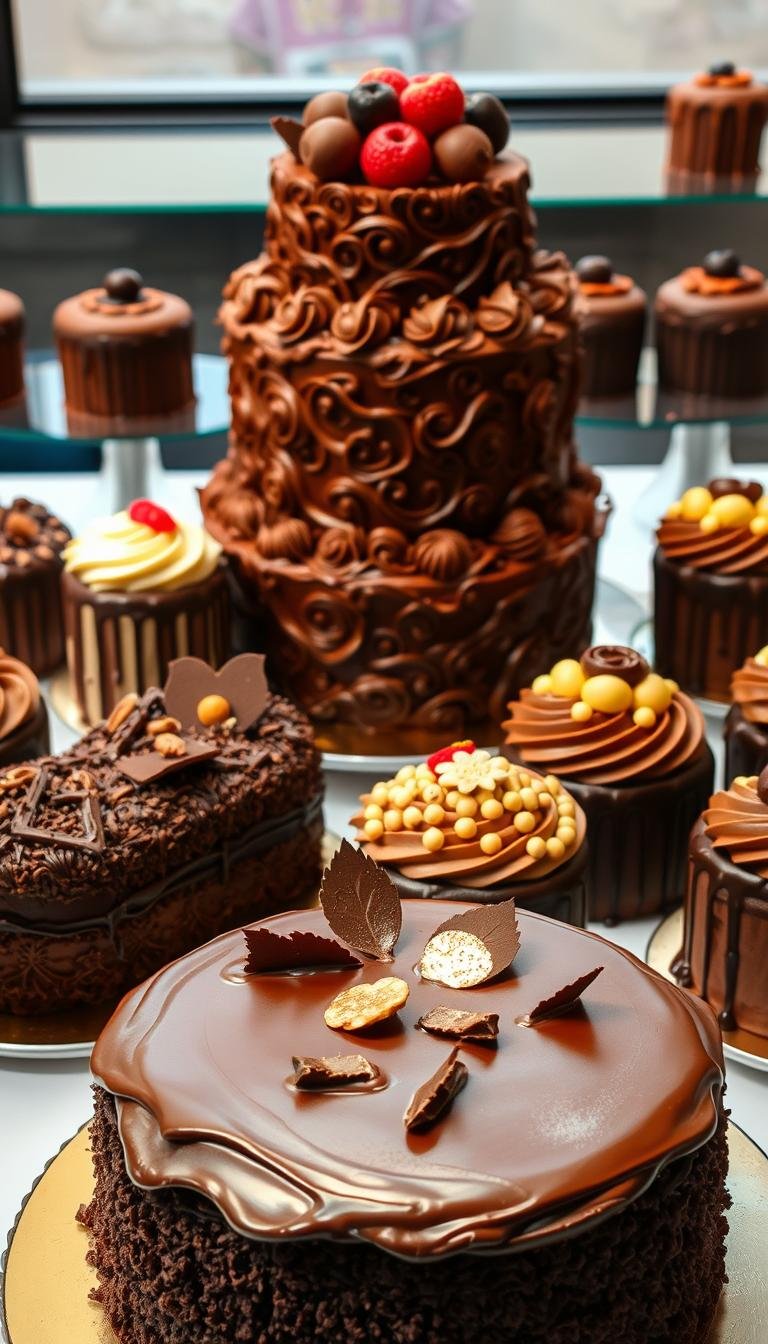
chocolate cake designs: step-by-step decorating techniques to try today
Ready-to-try finishing techniques take a simple base and turn it into a showstopper. The steps below focus on collars, borders, smooth finishes, cupcake adaption, and stacking so your final result looks intentional and tidy.
Chocolate wrap collar with parchment or acetate
Measure height and circumference, then cut your parchment or acetate with a little extra. Pipe a repeating pattern with melted coating, let it set nearly firm, then add a thin backing layer.
Wrap the strip around a well-chilled tier, smooth with a fondant smoother for full contact, chill about 15 minutes, then trim the seam with a hot knife and peel the paper away. For larger circumferences, work in matched sections so seams fall at the back.

Rope border and rosettes with Tip 1M
Use Wilton Tip 1M to pipe overlapping rosettes around the top edge. Keep motions steady and slightly off-center so each swirl flows into the next.
Finish with sprinkles concentrated at the rim to frame the top and provide contrast against darker icings.
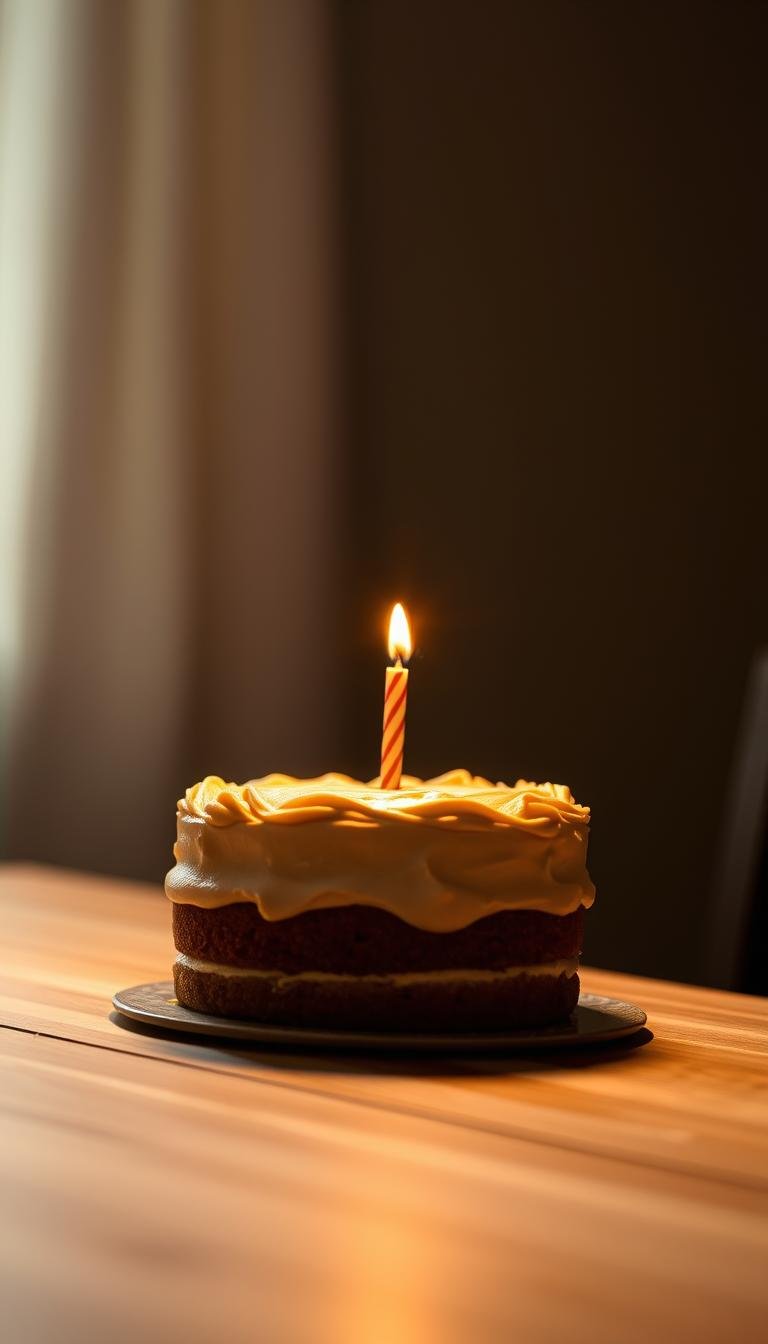
Smooth and semi-naked finishes for 8-inch cake and beyond
Crumb coat, chill until firm, then apply a thin final layer. Scrape gently to expose crumb at the edges for a modern, semi-naked look.
Cupcake adaptation and stacking basics
Fill tins no more than 2/3 full and bake 15–18 minutes at 350°F until a toothpick inserted comes out clean. Cool completely before piping swirls with Tip 1M.
When stacking larger tiers, level domes, torte tall layers for even frosting, and keep syrups light to avoid oversoaking. Dust pans with cocoa and use cake strips to reduce doming for neater finishes.
“Test one practice strip if you’re new to collars — a 2–3 inch sample locks in spread thickness and timing.”
- Tip: Aim for a flexible backing layer — not too thick, not too thin.
- Tip: Chill between steps for clean transfers and sharp edges.
Timing, pan sizes, and make-ahead: bake smart for stress-free decorating
Smart timing keeps each layer steady and gives you calm, efficient decorating time. Pick pans that match your target tiers so bake minutes stay predictable. For quick batches, use two 8-inch pans and expect about 32–36 minutes for the one-bowl recipe. For a sturdy, stackable result, plan 45–50 minutes when using three 8×2 pans.
Check doneness early. Insert a thermometer to 197–200°F for the sturdy method, or use a toothpick inserted into the center; it should come clean. Keep batter to 2/3 full to control doming and use cake strips when you need flat layers.
For 6-inch builds, two 6×3 pans give tall rounds you can torte into four thin layers. If you use a convection oven, reduce temperature by 25°F and start checking 5–10 minutes sooner.
Cool completely on racks before wrapping. Double-wrap each layer tightly in plastic wrap for freezing. Room-temp storage lasts up to 2 days for the one-bowl recipe; freeze up to 2 months and thaw in the fridge overnight while still wrapped to avoid condensation.
| Pan option | Typical bake minutes | Doneness cue |
|---|---|---|
| Two 8-inch (one-bowl) | 32–36 minutes @ 350°F | Toothpick inserted comes clean |
| Three 8×2 (sturdy) | 45–50 minutes @ 350°F | 197–200°F internal temp |
| Two 6×3 (tall) | 35–42 minutes depending on depth | Toothpick or thermometer check |
“Log bake minutes and notes on water, vanilla, and cocoa ratios so repeat bakes match the recipe every time.”
Conclusion
Finish strong, by locking in timing, pans, and a clear recipe pin for the day.
You now have two tested paths: a one-bowl, oil-and-buttermilk approach for ultra-moist crumb and a creamed, Dutch-process method that stands tall for tiers. Aim for an internal 197–200°F or a clean tester to avoid sinking centers.
Keep ingredients at room temperature when the recipe asks, weigh natural cocoa, and respect baking powder timing. Use parchment paper or acetate to wrap, pipe rosettes with a 1M tip, and balance vanilla with deeper chocolate flavor using coffee or water in the mix.
Quick checklist: pan prep, cool and double-wrap layers, thaw wrapped before finishing, and pin the recipe for repeat success. With these steps, your next baked result will be reliable and beautiful.