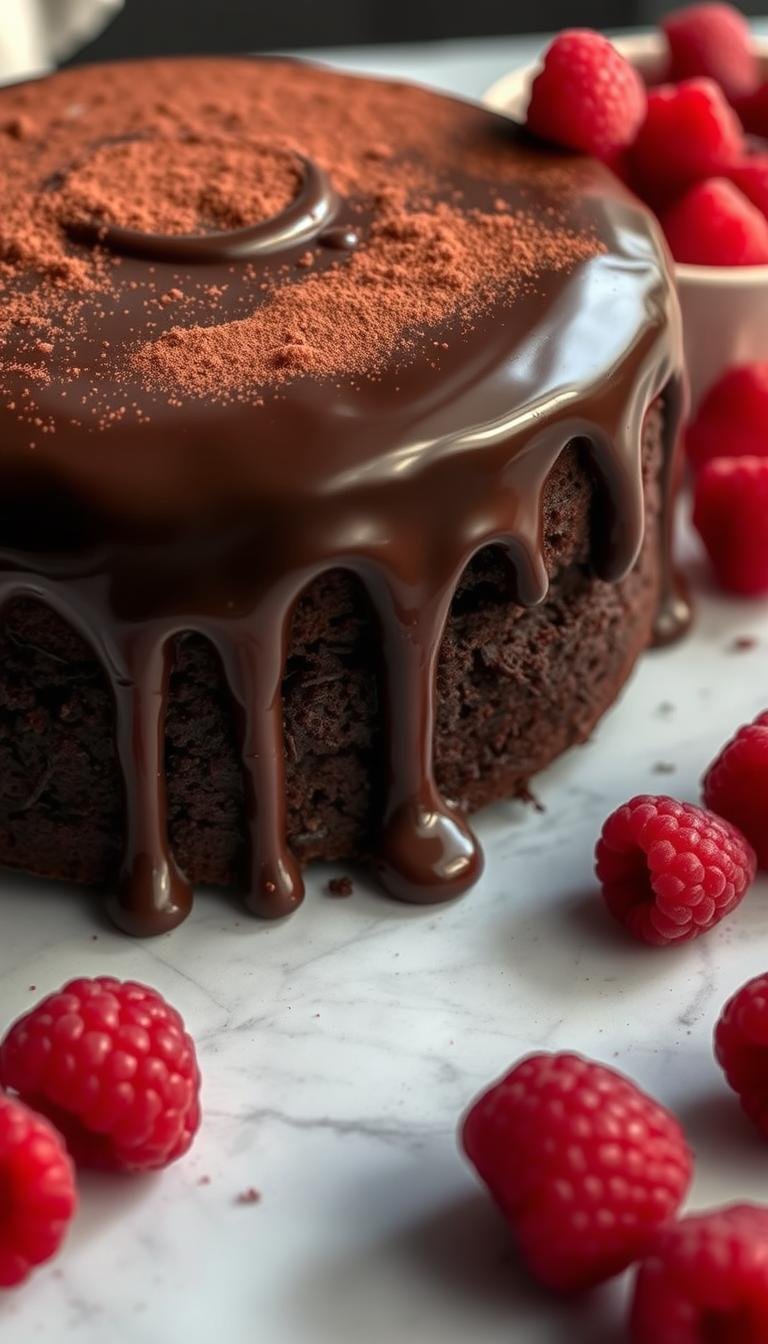
Create a Chocolate Cake Aesthetic: Moist & Delicious Recipe
Surprising fact: nearly 70% of home bakers say a showstopping dessert boosts celebration mood more than a store-bought option.
This Website contains affiliate links. That means I may earn a small commission if you purchase through my links, at no extra cost to you.
This intro shows you how a moist, rich dessert can look like a pro creation without fuss. Using pantry staples and one cup of boiling water or hot brewed coffee deepens chocolate flavor for a glossy, pourable batter.
Simple ratios—about 2 cups flour, 2 cups sugar, 1/2 cup unsweetened cocoa, leaveners, milk, eggs, and oil—make layers that stay tender. Oil plus hot liquid counteracts dryness and yields a velvety crumb you can stack and frost with confidence.
Prep 9-inch pans with parchment, bake at 350°F for 28–35 minutes, and cool on wire racks before frosting. The buttercream is easy: beat butter, add powdered sugar, milk, and vanilla until light and spreadable using a paddle attachment.
Ready to build a striking treat for birthdays or celebrations? Follow the steps that balance flavor, texture, and presentation so your final result looks as great as it tastes.
Key Takeaways
- Use hot water or coffee to intensify chocolate flavor without extra work.
- Oil and boiling liquid keep the crumb moist and tender.
- Follow simple ingredient ratios and 350°F bake time for reliable layers.
- Line pans with parchment for clean release and easier stacking.
- Beat butter first, then add sugar and milk for smooth, fluffy buttercream.
- Crumb coat and chill for sharp edges and a polished finish.
What Makes a Chocolate Cake Aesthetic and Irresistibly Moist
The secret to tender layers lies in how you blend oil, hot liquid, and aeration. Cocoa powder soaks up moisture quickly. That makes using vegetable oil, milk, and a splash of boiling water vital to a velvety crumb.
Sift or whisk the dry ingredients—flour, granulated sugar, cocoa, baking soda, baking powder, and salt—to disperse leaveners evenly. In a separate bowl, mix the wet ingredients: eggs, milk, oil, and vanilla.
Combine wet and dry, then stir in the hot liquid. Expect a runny batter; this is normal. Do not add extra flour. A looser batter bakes into level layers that are easy to trim and stack.
- Moisture balance: oil stays fluid at room temperature for a softer crumb.
- Flavor boost: boiling water or hot coffee blooms cocoa for deeper chocolate flavor.
- Even rise: proper sifting and sturdy cake pans help set smooth, photo-ready layers.
| Step | Why it matters | Tip |
|---|---|---|
| Sift dry ingredients | Distributes leaveners for even rise | Use a whisk or sifter |
| Mix wet ingredients | Improves emulsion and texture | Bring eggs and milk to room temp |
| Add boiling water | Unlocks deeper cocoa taste and loosens batter | Stir gently, expect runny batter |
| Bake at 350°F in 9-inch pans | Gives leaveners correct lift window | Test with a toothpick for doneness |
Ingredients, Tools, and Prep for Picture-Perfect Results
A tidy prep station and measured ingredients are the difference between a good bake and a great one. Below you’ll find the exact pantry staples, wet components, and gear to deliver even, tender layers and a smooth finish.
Dry ingredients
Stock 2 cups all-purpose flour, 2 cups granulated sugar, and 1/2 cup unsweetened cocoa. Add 1½ tsp baking powder, 1½ tsp baking soda, and 1/2 tsp salt. Whisk together the dry ingredients in a large bowl for an even base.
Wet ingredients & booster
Use 2 room-temp eggs, 1 cup milk or buttermilk, 1 tbsp vanilla, and 1/2 cup vegetable oil (cup vegetable in recipe notes). Finish the batter with 1 cup boiling water or hot brewed coffee to bloom the cocoa and loosen the batter for a velvety crumb.
Buttercream essentials
Beat softened butter on medium speed until creamy. Gradually add 4–6 cups powdered sugar with 3–4 tbsp milk and 1 tsp vanilla to create a stable buttercream that spreads without tearing the layers.
Tools & prep tips
Grease pans and line bottom with parchment rounds. Use cake strips for level tops, a stand mixer fitted with the paddle attachment for buttercream, and wire racks to cool layers quickly.
- Measure flour by weight or spoon and level to avoid a dense result.
- Make buttermilk substitute: 1 cup milk + 1 tbsp vinegar, rest 5 minutes.
- Organize ingredients mise en place so you can pour, fold, and bake without pause.
Bake the Moist Chocolate Cake from Scratch
Start by preheating your oven to 350°F and preparing pans so nothing slows you once the batter is ready.
Preheat and prep pans
Grease two 9-inch round pans and line bottom with parchment paper. For flatter layers, wrap each pan with cake strips to moderate edge heat.
Mix dry and wet ingredients
In a large bowl, whisk together flour, granulated sugar, cocoa, baking soda, baking powder, and salt.
In another bowl, whisk milk, eggs, oil, and vanilla. Then add wet ingredients to the dry and mix until smooth and lump-free.
Thin the batter and bake
Stir in 1 cup boiling water; the batter will be glossy and runny. Divide the batter evenly between the prepared cake pans.
Place pans in the oven 350 and bake about 28–35 minutes. Check doneness with a toothpick; it should come out clean.
Cool and handle gently
Rest pans on a wire rack for 10–15 minutes, then invert to release layers. Peel off parchment paper and cool completely before adding buttercream.
| Action | Why it matters | Timing | Tip |
|---|---|---|---|
| Preheat oven | Ensures steady rise | Preheat oven 350°F | Heat fully before baking |
| Prep pans line bottom | Clean release | At prep step | Use parchment paper and cake strips |
| Stir in boiling water | Blooms cocoa, thins batter | 1 cup boiling water | Expect runny batter |
| Cool on wire rack | Prevents soggy bottoms | 10–15 minutes in pan | Invert gently, then cool fully |
Buttercream Frosting and Cake Decorating for a Stunning Finish
Nailing your frosting technique turns simple layers into a polished centerpiece. Start by beating softened butter in a bowl with the paddle attachment on medium speed for about two minutes until it feels light and creamy.
Reduce speed, then gradually add powdered sugar, alternating small splashes of milk. This control prevents a gritty texture and keeps the frosting soft yet stable.
Finish with vanilla and a pinch of salt. The result should be a light fluffy buttercream that holds a soft peak and spreads without dragging crumbs.

- Reserve a portion to tint with gel colors for smear and swipe designs.
- For a deeper cocoa hit, fold in cocoa for chocolate buttercream or choose ganache, cream cheese, or mocha as alternatives.
- Apply a thin crumb coat, chill ~15 minutes, then add the final smooth coat for sharp edges and clean cake decorating.
chocolate cake aesthetic: Styling Tips for Camera-Ready Layers
Presentation matters: a tidy finish makes your layers shine on camera. Follow a few simple steps and you can produce clean edges and thoughtful color that read well in photos.
Smooth crumb coat, chill, then finish for clean edges
After stacking, apply a thin crumb coat to trap stray crumbs. Chill about 15 minutes so the surface firms and your spatula glides easily.
Use a turntable when smoothing for steady pressure and consistent movement. If buttercream softens, pop the cake back in the fridge to keep cake structure intact and edges razor-sharp.
Color strategy: 2-3 harmonizing tones plus one bold contrast
Pick 2–3 tones in the same family and one bold contrast to make accents pop without overpowering the chocolate tones. Place small dabs of colored buttercream around the surface.
- Apply dabs, then swipe with an offset spatula to create motion and depth around the layer cake.
- Keep cake sides vertical by checking your angle as you smooth for a sharp silhouette.
- Wipe your spatula between swipes to avoid muddy transitions.
“Minimal top décor — a centered swoop or offset crescent — keeps attention on height and symmetry.”
Photograph in natural light with a neutral backdrop so chocolate color and accents read true. These small styling moves save you time and lift your cake decorating to a pro-looking finish.
Pro Tips and Troubleshooting for Consistent Success
A few pro-level tweaks will fix most problems that pop up during baking and assembly.
Ingredient temperature matters. Set eggs and butter out 30–60 minutes ahead so wet ingredients blend smoothly. Room-temp eggs whip better and butter creams into feather-light frosting.
Measure flour correctly. Use a scale or spoon-and-level to avoid a dry or “floury” result. Too much flour ruins texture and makes slices crumb instead of neat slices.

Flavor & texture fixes
To amplify chocolate without coffee flavor, use hot brewed coffee or 1 tbsp espresso powder. For more lasting moisture, replace one-third of the milk with sour cream.
Even layers and rise
Wrap pans with cake strips to prevent domed tops and promote even baking. Whisk together dry ingredients so baking soda and baking powder distribute evenly.
- Blend wet ingredients fully before adding flour; this reduces mixing time and keeps layers tender.
- If layers come out domed, check oven hotspots, lower rack placement, and split batter more evenly next time.
- Keep cake fresh by wrapping cooled layers tightly or chilling briefly before assembly.
“Small adjustments in timing and measurement deliver repeatable, bakery-quality results.”
Make-Ahead, Storage, and Serving Ideas
Plan storage early so your layers and frosting stay fresh and travel-ready. A few simple steps let you freeze, thaw, and assemble with confidence so your final presentation holds up on party day.
Freeze layers and buttercream up to three months
Cool layers completely on a wire rack, wrap each layer tightly in plastic, and place in a freezer-safe bag. Store buttercream in an airtight container in the freezer for the same time.
Thaw both overnight in the refrigerator, then bring them slightly toward room temperature before building for easier spreading.
Store leftovers and short-term tips
Keep a finished cake under a dome at room temperature for 2–3 days. Refrigerate when the kitchen runs warm to extend shelf life.
Birthday cake to layer cake: quick assembly tips
Place one layer on a stand, spread about 1 cup buttercream between layers for even filling, then cover the outside. A light crumb coat and a short chill make piping tidy.
| Action | Why it matters | Tip |
|---|---|---|
| Freeze layers | Preserves texture | Wrap tight, use a pan board |
| Thaw slowly | Prevents condensation | Refrigerate overnight |
| Transport | Protects decorations | Use a snug box and non-slip mat |
Conclusion
Wrap up your bake confidently: follow the key steps and you’ll get reliable, moist results every time. Preheat oven 350, grease and line pans with parchment paper, then whisk together dry ingredients before you add wet ingredients.
Stir in one cup boiling water, divide the batter into prepared cake pans, and bake 28–35 minutes. Cool fully, then stack and finish with buttercream.
Beat butter on medium speed until soft, then gradually add powdered sugar and milk until light fluffy. Simple tools—a sturdy bowl, a reliable pan, and an offset spatula—make crisp edges and neat cake layers easy to achieve.
Freeze layers and frosting up to three months, or store a finished chocolate cake under a dome. Photograph in natural light, slice, and enjoy the reward of a homemade chocolate cake with show-ready buttercream.