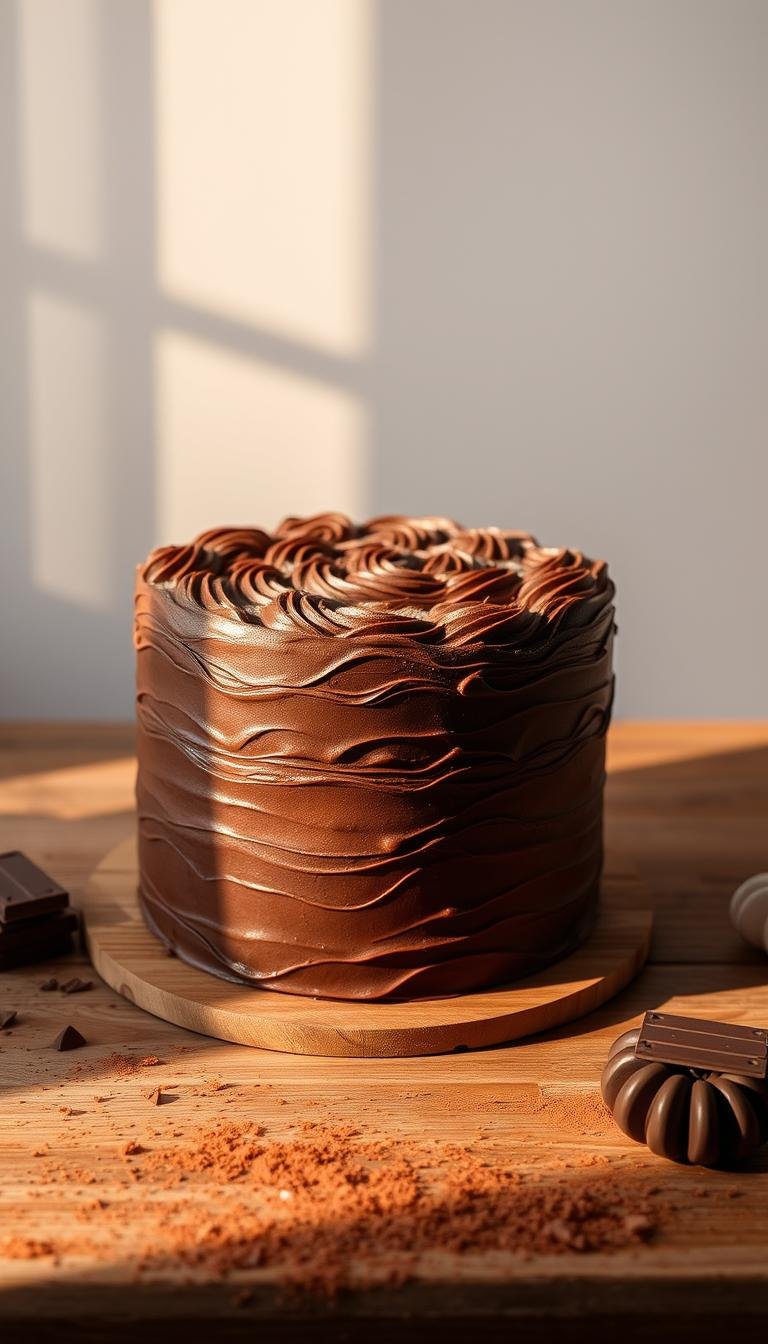
Chocolate Cake Decoration: Techniques for Beginners
Surprising fact: a simple chocolate cage can hide frosting flaws and be made with just wax paper and a piping bag in under ten minutes.
This Website contains affiliate links. That means I may earn a small commission if you purchase through my links, at no extra cost to you.
This friendly post walks you through easy methods anyone can try at home. You’ll learn piped accents, simple sails, and the chocolate cage trick that masks uneven frosting without fuss.
We cover practical timings—how long to microwave at 50% power, when a piece should feel firm yet pliable, and why bars melt better than chips for flowing work.
Beginner tips include when to temper versus use melting wafers, safe working temperatures for dark, milk, and white, and why frozen tempered pieces can dull or sweat.
By the end, you’ll have clear steps, a basic recipe for melting, and confidence to try cake decorating pieces that lift any home bake into a showpiece. Let us know when you try it!
Key Takeaways
- A chocolate cage hides frosting flaws and needs only wax paper and a piping bag.
- Microwave in short bursts at 50% power; stir until smooth.
- Know when to temper: keep temps below 90°F (dark), 86°F (milk), 84°F (white).
- Bars melt and flow better than chips for many decorations.
- Avoid freezing tempered pieces; use the fridge to set and prevent condensation.
Start here: a friendly guide to decorating your first chocolate cake
Begin with a single, manageable idea—piping shapes or a simple cage—and finish it the same day. Start simple so you learn flow, pressure, and timing without stress.
Set up a clean, cool workspace at home. Lay out parchment, a piping bag or a ziploc, small bowls, and the bowl you’ll melt in. Working tidy helps you move quickly between melting, piping, and chilling.
Piped decorations work well from melted chocolate using a ziploc or a frosting bag. Pipe on parchment, chill for a few minutes, then lift and transfer when firm. Work in small batches so temperature and texture stay in control.
- Choose one beginner method to finish in one session.
- Decide: temper for shine and snap or use wafers for ease.
- Start with hearts, letters, or borders to learn pressure.
- Use the fridge to set pieces until they are cold and sturdy.
- Build a first design with a few accents, not many.
“Small steps make quick wins—note melt times and chill length so the next post goes even smoother.”
Keep a short notebook of what worked. Jot melt times, thickness, and chill minutes. Those notes speed up your next attempt at cake decorating and help you improve with each try.
Tools and ingredients you’ll need at home
Good results start with the right tools. Gather items before you warm any chocolate so the process stays calm and quick.
Piping bag and round piping tip basics
Use a piping bag with a small round tip for fine lines. A slightly larger opening helps stronger pieces like letters or cages hold their shape.
If you don’t have a bag and tip, a sturdy ziploc bag with a tiny snip works well for piping transfers.
Parchment or wax paper: when to use which
Use parchment for most piping and transfers because it releases cleanly.
Choose wax paper for wrap techniques, such as a cage. Measure wax strips to your cake circumference and draw guide lines for height before piping.
Choosing chocolate: bars, chips, wafers, and cocoa butter
Bars melt more smoothly for piping; chips resist melting because they are formulated to keep shape. Melting wafers are handy if you skip tempering.
- Gather a heat-safe bowl, a piping bag with a round tip, or a ziploc for small snips.
- Microwave at 50% power: 30s, then 15s bursts, stirring between each burst for even melted chocolate.
- Cut parchment or wax paper to size and tape flat to trace guide lines without slipping.
Chocolate 101: real chocolate vs. compound and how to temper
Before you heat a bar, learn which coatings need tempering and which skip the fuss. Real couverture contains cocoa butter and must be tempered for shine and snap. Compound coatings, often called candy melts, skip tempering but trade off on flavor and finish.
Temperatures to remember
Keep caps in mind: dark under 90°F, milk under 86°F, white under 84°F. Aim for about 86°F when making many small accents—this hits a good balance of flow and fast setting.
Easy microwave tempering, step-by-step
- Heat 30s, stir.
- Heat 30s, stir.
- Heat 15s, stir; then 10s, stir.
- Finish with 5s bursts until just under your temperature cap.
When to use wafers or candy melts
If you want quick color, stable pieces, or an outdoor-friendly option, use melting wafers or pre-colored melts. They release well from molds and reduce seizure risk. Keep tools dry and use oil-based colorants when tinting to avoid clumping.
Prep the canvas: frosting for smooth, forgiving finishes
A smooth, slightly chilled frost gives you a forgiving base that keeps pieces in place while you work. Take a few minutes to level and cool the surface before adding any elements.
Frosting texture and chill time to make things stick
Aim for a firm but not frozen surface. Chill the frosted cake for 15–30 minutes so contact points set quickly. This helps accents adhere without sliding.
Soften the frosting just enough to fill gaps and smooth lines. Use a bench scraper to refine sides; even modest imperfections can be hidden later with a chocolate cage or other accents.
- Butter-based frostings firm in the fridge—great for pressing pieces without leaving prints.
- Avoid condensation: don’t move a very cold cake into a hot room right before placing elements.
- For tall pieces, anchor with a dab of soft frosting, then chill briefly to lock them in place.
- Always support larger elements with a hand or an offset spatula while you fine-tune their position.
Quick tip: a chocolate cage works best when it’s firm yet pliable—pipe onto wax paper, wrap gently, and peel after setting to hide small frosting flaws.
Quick wins: piped chocolate decorations on parchment
Piping transfers are a fast way to add personality to a finished cake without risking your frosting. Melt a small batch and practice on paper until your pressure and timing feel steady.
Microwave melting: heat at 50% power—30 seconds, stir, then 15-second bursts with stirring. This avoids scorching and keeps a smooth, pipeable flow for melted chocolate or chips.
Tracing designs, swirls, flowers, and letters
Tape parchment to a board and slip a printed guide underneath. Trace letters, hearts, swirls, or simple flowers with steady pressure from a bag or a neatly snipped bag corner.
Freezer set time and safe transfer
Chill piped pieces in the freezer for about 5 minutes. Cold pieces lift cleanly and are less likely to crack when moved to the frosted surface.
Flavor and color notes
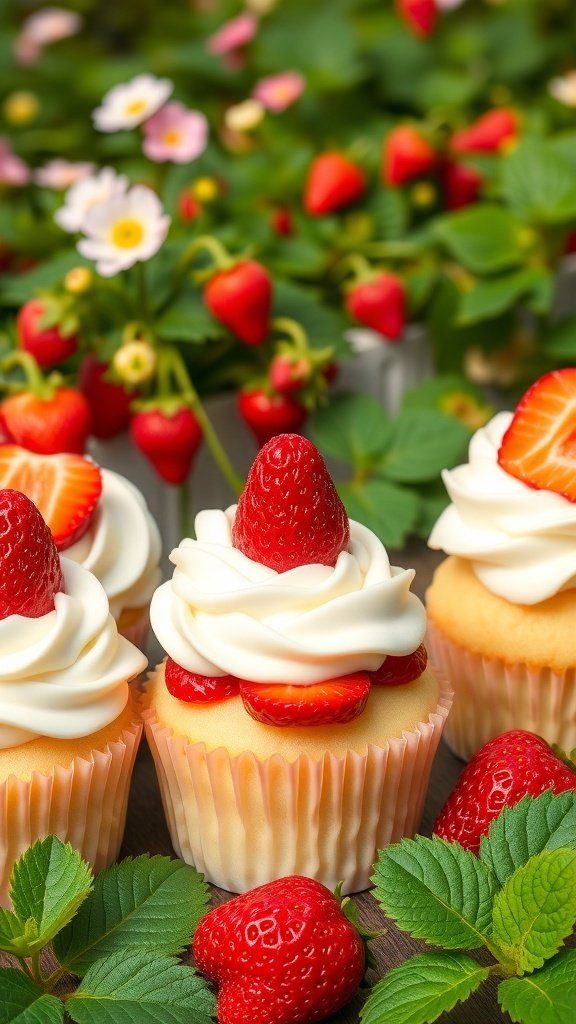
Use dark for bold contrast, milk for sweeter lines, and white for color work or marbling. Tuck a few piped swirls around strawberries or borders to finish the look with minimal fuss.
Make a chocolate cage to hide imperfections and add drama
A well-measured cage turns small frosting faults into a deliberate part of the design. Measure your cake circumference and height, then cut two wax paper strips—about two 15-inch strips for a 9-inch cake works well. Draw straight guide lines for even piping.
Measure, mark, and pipe within guide lines on wax paper
Melt bars at 50% power: 30 seconds, then 15-second bursts, stirring between each. Transfer the melt to a piping bag with a round tip and pipe a sturdy lattice or loops inside your lines. Make lines thick enough to hold shape without snapping.
Set until firm yet pliable, then wrap and peel for a clean reveal
Let the band set about 3 minutes at room temp until it feels firm but flexible. Lift the strip and wrap it around the chilled cake, pressing lightly to adhere. Chill briefly, then peel the paper for a clean reveal that hides flaws and adds instant drama.
Troubleshooting temper: what to do if it won’t set in 5 minutes
If the band hasn’t set in 5 minutes, wait 10 more minutes, then give it a short fridge stint, checking every few minutes so it doesn’t harden too much. Use dark chocolate bars for best flow and keep a small extra batch ready to touch up joins.
Chocolate sails: a modern showpiece for cakes
A simple folded sail can turn a plain top into a modern showpiece in minutes. Start by spreading a thin, even layer of tempered coating or candy melts onto a sheet of parchment.
Gather one edge of the paper and pinch it together. Secure that side with a clip to form a graceful curve or fold. Place the whole sheet in the refrigerator for about 10 minutes until the piece sets.
Peel the parchment back slowly to keep the contour intact. Trim rough edges with a warm knife or snap off stray bits for a clean silhouette. Anchor the sail into a small mound of frosting on the top and chill briefly so it stays upright.
Add shimmer: mix a small pinch of copper edible dust with high-proof alcohol (Everclear) and flick fine splatters from a clean brush. For a glossy look use tempered coating; for color and ease, layer candy melts in two tones.
| Step | Timing | Tip |
|---|---|---|
| Spread on parchment | 1–2 minutes | Thin, even layer for graceful folds |
| Clip and chill | 10 minutes | Use fridge, not freezer, for tempered pieces |
| Peel and trim | 1–2 minutes | Warm knife smooths edges |
| Finish & anchor | 2–5 minutes | Place on top and chill briefly for stability |
- Make several small sails and cluster them at varied heights for drama.
- Handle with gloved hands to avoid fingerprints.
Honeycomb texture with bubble wrap for cupcakes and cakes
Turn a sheet of bubble wrap into a textured mold for striking honeycomb shards in minutes.
Clean and dry the wrap. Wash a piece of bubble wrap, then pat it completely dry so moisture won’t seize your coating.
Spread a thin coat of tempered coating or melts over the bubble side. A thinner layer creates more open cells and a more realistic honeycomb look.

Tap or shake gently so the coating settles into the bubbles. Refrigerate for about 10 minutes until set, then flip and peel the wrap off carefully to reveal the texture.
Snap into shards and tuck them onto cupcakes or cakes for instant crunch and graphic contrast. Use two tones—light and dark—for layered, hive-like depth.
- Work over clean paper or parchment to catch stray bits.
- Store finished pieces in a cool, dry place and add them near serving time.
- Place shards at varying angles to add movement across the surface.
Butterfly decorations that stand tall
Create delicate winged toppers that rise off the surface for instant whimsy.
Start by taping a printed template under acetate or a sheet of parchment so the outline shows through. Trace clean wing shapes with a steady hand, using a piping bag or a snipped ziploc for fine control.
Chill the wings for about 10 minutes so they set firm enough to handle. Remove them, then fold the acetate in half and nest it in the spine of a thick book; this holds a natural lift and angle for the wings.
Assemble and place
Pipe a sturdy body between the two wings and chill again until the join is secure. Set the finished butterflies gently onto whipped cream swirls or a smooth top and press lightly to anchor.
- Add color inside panels for a stained-glass effect.
- Make a few extras in case a wing breaks during transfer.
- Store finished pieces in a cool, dry spot until use near flowers or other toppers.
| Action | Timing | Tip |
|---|---|---|
| Trace wings on acetate/parchment | 2–5 minutes | Tape template under surface for accuracy |
| Chill wings | 10 minutes | Chill until firm but not brittle |
| Fold and set angle | 1–2 minutes | Use a thick book to hold a natural curve |
| Pipe body and final chill | 3–5 minutes | Make lines slightly thicker at stress points |
Small details make big impact—steady piping and backups keep the process relaxed and fun while you try new designs on cupcakes and larger cakes.
Chocolate spheres: shiny toppers that wow
Glossy spheres give any dessert an instant lift and feel like a pro touch. Use tempered chocolate at about 86°F in polycarbonate molds for a mirror finish. If you plan to skip tempering, switch to silicone molds and wafers so pieces release cleanly.
Polycarbonate vs. silicone and when to use wafers
Polycarbonate yields the sharpest shine and crisp edges when you temper. Silicone is forgiving with wafers and home cooks who want easy unmolding.
Fill, tap, shell, and join halves
Fill the mold, tap to free air, then pour out excess after ~30 seconds so shells stay thin. Rest molds upside down on parchment for 10–15 minutes until no longer liquid, then scrape edges for a crisp seam.
- Refrigerate about 10 minutes to release halves—avoid the freezer to prevent condensation.
- Warm a pan over hot water, kiss the rim of each half to melt slightly, then press together with gloved hands.
- Wipe seams, let set, then paint or place as a striking top design.
| Step | Timing | Why it matters |
|---|---|---|
| Tap and pour out excess | ~30 seconds | Creates thin, elegant shells |
| Rest upside down | 10–15 minutes | Prevents dripping and keeps shape |
| Chill to release | ~10 minutes | Clean snap without freezer marks |
| Join halves | 1–2 minutes | Heat edge briefly for invisible seam |
Chocolate cups for fillings and mini desserts
Turn small water balloons into elegant edible cups for single-serve treats. This fun method is fast and creates pretty vessels for mousse, fruit, or ice cream.
Use small water balloons inflated to teacup size so the shell releases cleanly. Dip each balloon into tempered coating at about 86°F or into melts. Set them on a sheet of parchment to form a flat base.
Balloon dip, chill, and pop
Chill about 10 minutes until firm, then pop with a pin and let the balloon pull away before you peel off the latex.
- Dip and twist in one smooth motion so the base is even.
- Double-dip for two-tone cups after the first coat sets lightly.
- Keep a piping bag handy to reinforce thin rim spots.
| Action | Timing | Tip |
|---|---|---|
| Inflate to teacup size | 1–2 minutes | Small balloons release best |
| Dip and set on parchment | 1–2 minutes | Flat base helps cups stand |
| Chill then pop | ~10 minutes | Pin and let balloon retract before peeling |
| Fill just before serving | 0–5 minutes | Preserves shine and texture |
Serve tips: store empty cups in the fridge in a closed container. Place on a chilled plate for events so they stay crisp. Try this simple recipe to make chocolate cups that look professional with little fuss.
Edible dessert bowl: a sharable centerpiece
Try an edible bowl for a showstopping, sharable centerpiece that guests will love to crack and share.
Inflate a regular balloon and wrap it in plastic to create a clean release surface. Pipe tempered or melted coating in generous, overlapping lines. Let a few drips hang over the edge for an artisanal, organic look.

Chill about 10 minutes until the shell feels set but not brittle. Gently remove the balloon and wrap, then check for thin spots. Patch any weak areas with a quick re-pipe and a short chill.
Fill just before serving with whipped cream, berries, cookies, or scoops so the bowl stays crisp. Add nuts or crisped cereal inside for texture and contrast.
- Use paper or plastic wrap so the shell peels away cleanly.
- Place the bowl on a plate with a small dab of frosting to stop slipping.
- Make two bowls—one as backup; store in the fridge in a dry container.
“Present with a large spoon so guests can break and share the bowl together.”
Main steps for chocolate cake decoration
Start by sketching a simple layout so focal pieces and small accents work together. A quick plan saves time and keeps the final look balanced.
Plan your design and pick the right coating
Decide focal elements first — a sail, sphere cluster, or a textured band. Match the coating to the job: temper for shine and rigid molds; use wafers for color or flexible silicone molds.
Pipe or mold, then set in the fridge (not the freezer)
Pipe transfers and molded pieces on parchment or acetate. Chill in the fridge until firm. Avoid the freezer for tempered pieces to prevent dulling or condensation.
Assemble on a chilled surface for best adhesion
Chill your frosted cake so pieces adhere cleanly on contact. Place large elements first to set height, then add medium and small accents for balance. Handle pieces with gloves to avoid fingerprints and keep a few backups.
“Sketch, match materials, and set in the fridge — those three steps turn a plan into a stable, polished finish.”
- Sketch the layout and mark focal points for clear balance.
- Keep working temps in mind: dark under 90°F, milk under 86°F, white under 84°F.
- Wrap cages while pliable; chill spheres ~10 minutes; clip and chill sails 10 minutes.
- Step back and adjust negative space so the full design reads well.
| Item | Set time | Why it matters |
|---|---|---|
| Tempered shells (polycarbonate) | 10–15 min in fridge | Preserves shine and crisp edges |
| Sails (parchment clip) | ~10 min chill | Holds curve without cracking |
| Cage bands (wrap while pliable) | 3–5 min room, then chill | Allows wrapping without breaks |
| Piped transfers | 5–10 min in fridge | Lift cleanly and handle safely |
Quick tip: plan, test one piece, and then finish the full arrangement. This makes cake decorating less stressful and more fun.
Styling tips: strawberries, whipped cream, and texture play
Layering fresh fruit, airy cream, and crisp shards creates a balanced look without fuss. Start with a simple focal line across the top so the eye has a guide. Place taller elements at the back and shorter ones near the front for depth.
Chocolate-covered strawberries and dark–milk contrast
Pair chocolate-covered strawberries with a few piped accents to highlight freshness. Use dark and milk shades side by side to create striking contrast. Add tiny white highlights to lift the palette and lead the eye upward.
Balancing flavors, heights, and decorations on top
Anchor berries with small whipped cream rosettes so they sit securely and look soft. Stagger heights: sails or spheres near the rear, berries and flowers toward the front, and small piped bits to fill gaps.
- Pair strawberries with a couple of piped shapes for contrast.
- Add whipped cream rosettes to soften lines and hold pieces.
- Layer textures—glossy spheres, airy sails, and crisp honeycomb—for movement.
- Match berry acidity to milk for sweetness or dark for richness.
- Leave breathing room; avoid overcrowding the top so each element sings.
“A few thoughtful touches — fruit, cream rosettes, and one textured shard — make a home dessert feel deliberate and fresh.”
| Element | Placement | Why it works |
|---|---|---|
| Strawberries (fresh or dipped) | Front–center or clustered | Bright color and natural flavor contrast |
| Whipped cream rosettes | Under berries, scattered | Soft anchor and visual relief |
| Texture shards (honeycomb/spheres) | Back or side accents | Adds crunch and visual height |
Troubleshooting, timing, and safety
Small fixes and smart timing keep home projects calm and successful. A quick check of temps, setting time, and tools solves most problems before they become big.
Fixing soft, dull, or streaky finishes
If a piece looks dull or streaky, it likely lost temper. Re-melt carefully and keep below the correct ceiling temperature: 90°F for dark, 86°F for milk, 84°F for white. Stir well and test one small bit before piping or molding again.
For items that stay soft, give them a few extra minutes at room time, then move to the fridge briefly. Check often so they don’t over-set and crack.
Condensation, fridge vs. freezer, and handling time
Avoid the freezer for tempered pieces — big temperature swings cause condensation and white streaks. Use the fridge to set parts and then bring them to room temperature slowly to prevent fogging.
Tip: minimize moving pieces between cold and warm environments; that reduces sweat and keeps finishes glossy.
Safe use of balloons, hot water, and microwave reheats
Use water balloons for cups; regular balloons are usually too large. For large bowls, wrap the balloon in plastic so the shell peels away cleanly.
Join sphere halves by warming edges briefly on a pan over hot water, then press with gloved hands for a neat seam.
Reheat in the microwave with very short bursts and stir between each burst. If you’re using chips, melt gently and stir often — they can seize or go grainy if overheated.
- Keep your workspace dry; even tiny water drops cause seizing.
- Have a small extra batch ready to touch up joins or thin spots.
- When a cage won’t set in 5 minutes, wait 10 minutes then move to the fridge briefly; check frequently to avoid over-firming.
“Slow and steady reheats, careful joins, and limiting temperature swings save the look and texture of your pieces.”
Conclusion
Small habits—timing, gentle reheats, and a chilled set—make big differences in the final result. ,
Use the temperature ceilings and microwave bursts you learned to avoid common problems. Aim to temper for shine and snap, and always set pieces in the fridge rather than the freezer for best surface finish.
You now have a clear path from simple piped shapes to dramatic cages, sails, spheres, and cups. Arrange elements for balance, add fresh touches like whipped cream, and tune the flavor contrasts so each bite feels deliberate.
Keep a few backups, handle pieces with gloves, and try one technique at a time. If you try these ideas, let know how they turned out on your chocolate cake using these tips for chocolate cake decoration and other small decorations.