Bolo de Halloween Ideas: 5 Spooky Desserts for 2024
Surprising fact: themed cakes inspired by Brazil’s Dia das Bruxas trends spike social shares by over 40% during October, turning a simple dessert into the centerpiece of any festa.
This Website contains affiliate links. That means I may earn a small commission if you purchase through my links, at no extra cost to you.
This guide introduces five show-stealing bolo de halloween ideias you can make for 2024. Each pick balances prep time with visual impact so you get a professional resultado without advanced skills.
Expect practical modelos from quick slab cakes with cookie “soil” to sculpted pumpkins and red velvet layers that mimic blood with strawberry syrup.
We focus on color, texture, and finishing moves — like chantilly, pasta americana icons, and gummy worms — that keep bolos stable, sliceable, and camera-ready.
Key Takeaways
- Five easy ideas to match party scale and guest count.
- Simple décor swaps deliver a high-impact resultado.
- Flavor-plus-visual ingredients like red velvet and cocoa.
- Tips for transport and display to keep cakes intact.
- Approachable modelos that look great on camera.
Set the scene for Dia das Bruxas 2024: spooky, delicious, and on-theme
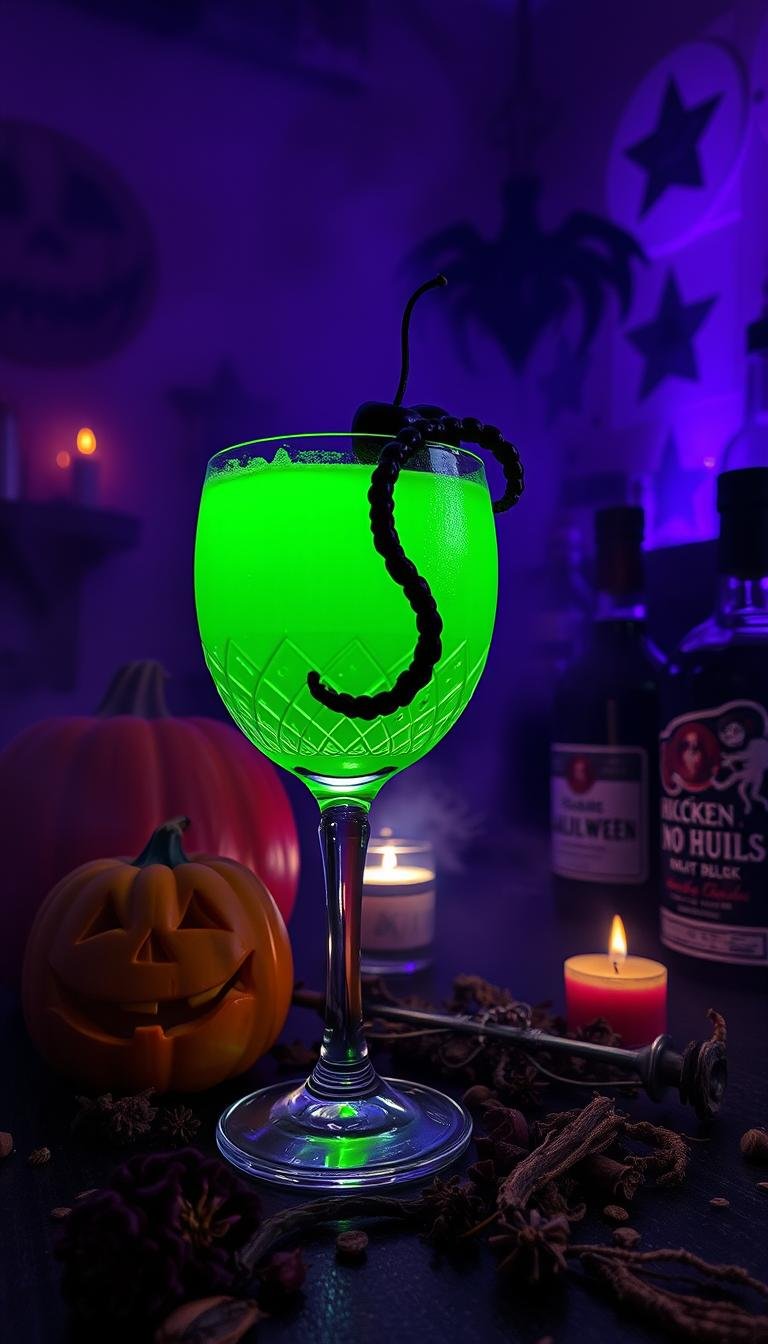
Start with a bold palette. Anchor the table with black, purple, orange, and a neon green pop to unify your dia bruxas setup. This palette makes props and desserts read like part of the same story.
Layer iconic decoration and elementos — bats, ghosts, skulls, witches, and haunted houses — across toppers, napkins, and the backdrop. Edible touches such as cocoa “dirt,” cookie tombstones, and gummy worms signal the theme immediately.
Decide if one centerpiece bolo or several small bolos fit your festa flow. Plan portions by guest count and keep serving tools and boards ready to avoid last-minute stress.
Balance cor and comidas: place the cake near salty snacks so flavors reset between bites. Repeat abóbora accents in candles or mini pumpkins to carry the motif beyond the dessert table.
- Add scrap-style paper toppers for height without extra piping work.
- Use darker bases to make bright greens and oranges pop for a polished efeito.
Five bolo de halloween desserts that steal the show
These five dessert ideas mix dramatic looks with achievable techniques for home bakers. Each model balances visual impact and simple assembly so you can finish on time and in one piece.
Pumpkin cake with pasta americana: classic jack-o’-lantern charm
How to build it: stack rounded layers, carve slightly for shape, then cover with pasta americana to get smooth orange skin. Add green stems and piped vines to sell the abóbora form.
Bloody red velvet “knife slice” cake
Bake tall red velvet massa and frost cleanly. Splatter chilled strawberry syrup for a dramatic sangue-like efeito and place a decorative knife at the cut line for shock value.
Graveyard slab cake: chocolate soil and cookie headstones
Spread rich chocolate frosting, dust cocoa to mimic dirt, and press in cookie tombstones marked “RIP.” Tuck gummy worms partially buried to finish the cemitério scene.
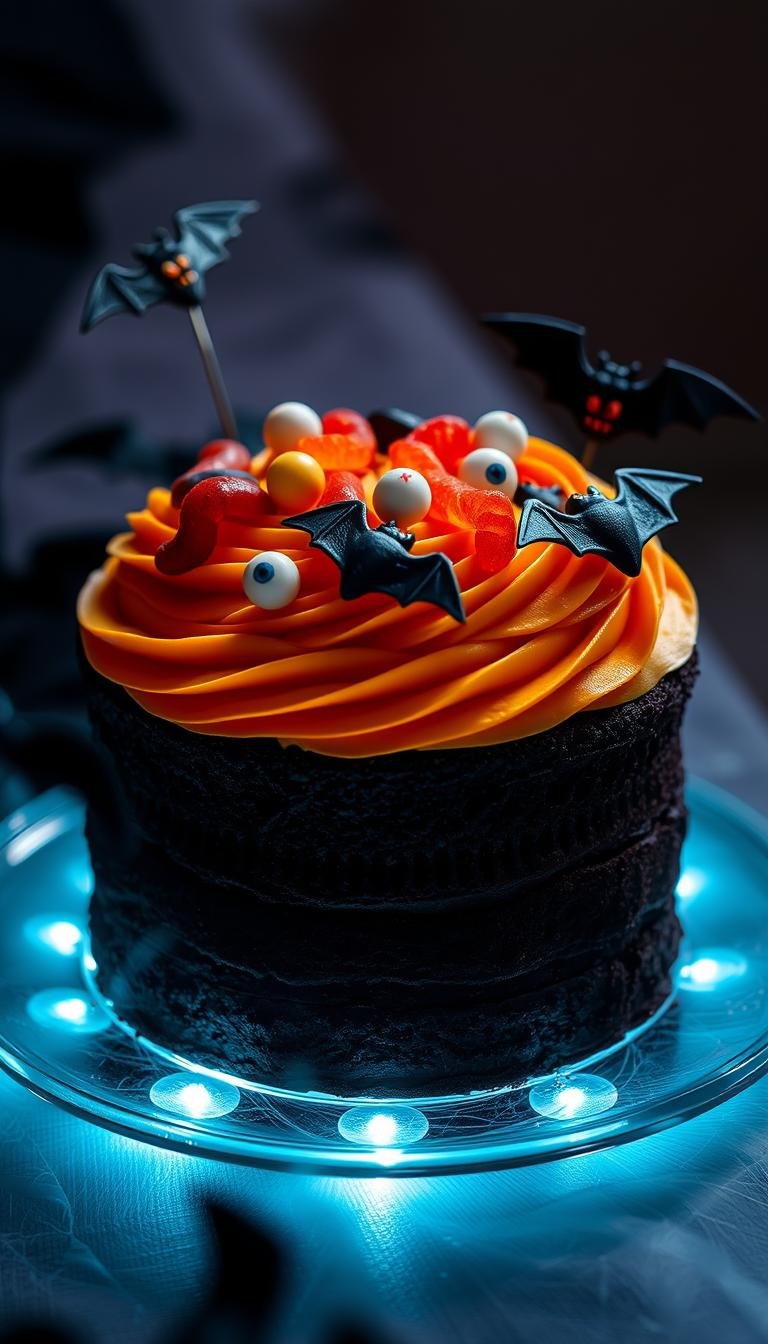
Giant spider web drip cake
Pour a dark chocolate drip over a chilled cake, then pipe white concentric circles and drag lines outward to form a web. Place small aranhas for texture and depth.
Movie-inspired centerpiece with characters and toppers
Channel famous personagens with muted palettes, hand-painted shading, and haunted house toppers. These cinematic models read well on camera and bring instant drama.
| Model | Key Flavor | Transport Tip |
|---|---|---|
| Pumpkin with pasta americana | Spiced pumpkin | Use internal dowels and a sturdy board |
| Bloody red velvet slice | Red velvet with strawberry syrup | Chill fully before adding syrup |
| Graveyard slab | Bittersweet chocolate | Wrap edges for crumbs; box flat |
| Spider web drip | Dark chocolate | Transport chilled on non-slip mat |
Quick checklist: plan internal supports for tall versões, match flavor to look, and keep décor food-safe with barrier layers under heavy toppers. These steps help ensure your decoration holds up from kitchen to party table.
From pasta americana to glacê: finishes, cobertura, and textures that work
A smart finish—smooth fondant, whipped textures, or crisp chocolate shards—creates the final illusion. Focus on practical techniques that hold up in transit and photograph well.
Pasta americana modeling
Use pasta americana to cover cakes cleanly and sculpt small props. Model pumpkin ridges, skull planes, a witch hat, broom bristles, and bat silhouettes for crisp, camera-ready details.
Knead fondant with a little shortening to keep the pasta smooth and avoid cracks. Hide seams with fondant bands or piped borders for a neat acabamento.
Glacê and whipped-cream styles
Choose cobertura based on temperature and look. Stabilize whipped cream with gelatin for warm settings or pick buttercream for sharp corners and easy piping.
Build texture with spatula sweeps, combs, or stippling. These techniques add eerie surfaces that catch light without extra fuss.
Chocolate techniques
Derreter chocolate to pipe repeating “V” shapes on parchment makes realistic spider legs. Chill, then attach to small truffle bodies for a 3D effect.
Pour chocolate onto acetate, set, then crack sheets into dramatic shards for haunted “glass” details. Pair rich chocolate with tangy fillings to balance sweetness.
- Keep tools staged: smoothers, scrapers, and tips for quick acabamento swaps.
- Maintain workable massa and fondant; small fixes prevent last-minute cracks.
- Finish with tiny detalhe accents—leaves, webs, or candy eyes—to hide joins and sharpen the scene.
Decoração halloween: characters, cores, and elementos that give the final toque
A focused décor plan makes the last minutes count. Pick characters, a tight palette, and a few accessories that repeat across the table. These choices create a cohesive scene and help photographers frame your work.

Aranhas and teias: minimal toppers to full-coverage web effects
Start small: pipe simple concentric lines on the topo for a crisp web. For drama, wrap the sides with full-coverage webs that look cinematic.
Fantasmas, caveiras, and cemitério: playful to horripilante versions
Use cookie tombstones, cocoa “soil,” and gummy worms to suggest a grave scene. Choose friendly faces for kids or shaded cracks for a scarier tone.
Morcegos in flight: paper toppers and silhouetted accents
Papel scrap toppers add height and motion without extra massa work. Cut bat silhouettes or haunted-house shapes to make a striking focal topo bolo.
Palette picks: preto, roxo, laranja, and pops of verde for eerie contrast
- Assign each shade a role so bolos decorados stay balanced.
- Add tiny abóbora accents or a mini bolo abóbora for layered displays.
- Use chocolate line work or edible glitter as finishing detalhe to tie models together.
bolo de halloween: models and versions for every party vibe
Match your cake model to the party mood. Pick chic single tiers for intimate festa or plan tall, multi-tier versões when you need a showpiece for a big guest list.
Choose massa and cobertura that hold up: buttercream gives sharp edges, stabilized chantilly reads softer, and ganache adds dramatic structure with chocolate stability.
Align elementos with your crowd. Use friendly ghosts and bright accents for kids or darker palettes and metallic skulls for adult soirées. A small topo icon—haunted house, bat swarm, or mini abóbora—helps guests read the theme at a glance.
Work with hands-on techniques you can finish à mão. Pre-make toppers and gumpaste figures to save time. Add chocolate drips or textured swipes to tie colors together and create a unified resultado across the table.
- Match modelos to event size for easier service and slice planning.
- Keep a consistent abóbora or bat thread for cohesive styling.
- Adapt movie nods with silhouettes rather than complex sculpts for quick brand tie-ins.
Pro tips for acabamento: topo de bolo, papelaria, and edible detalhes
Use lightweight silhouettes and a few edible props to craft a dramatic final scene. Treat the top as your storytelling zone: a tight arrangement of paper shapes and mini sculpts gives a clear toque final that reads from across the room.

Topper strategy: mount papel scrap icons on picks to add height and motion without heavy weight. Names, ages, or movie silhouettes make the display personal and flexible.
Edible accents that boost texture and fun
Add playful guloseimas like candy eyes on truffles, marshmallow skulls cut with tiny mouths and tic-tac “teeth,” and brain-shaped red gelatin for a lab-like effect. These small pieces make detalhe feel intentional.
- Balance acabamento with restraint—repeat two or three motifs for cohesion.
- Keep acessórios food-safe: wrap wired items and use straws or picks to protect slices.
- Stage a small kit for last-minute fixes: spare toppers, buttercream, wipes, and a tiny spatula.
| Element | Use | Quick tip |
|---|---|---|
| Paper toppers | Height and silhouettes | Attach to wooden picks; align with palette |
| Candy eyes & marshmallows | Texture and whimsy | Press into truffles or skew on picks |
| Brain gelatin | Shock factor and shine | Mold in silicone, chill fully before placing |
| On-site kit | Fixes and rescue | Include buttercream, spare picks, and wipes |
Place the topo last, after surfaces set, so pieces stand straight through the fim. Photograph the finished cake before moving it to the table to preserve your hero shots.
Quick how-tos for a standout result at home
With a few clever moves, you can create spooky textures and shapes that look expert-made. These short how-tos focus on easy steps that work in most kitchens and fit common tools and ovens.
Make a cemitério effect
Frost a rectangular sheet and dust cocoa to read like dirt. Press cookie headstones upright and pipe “RIP” with contrasting icing.
Scatter gummy worms or small candy hands to sell the efeito. This quick scene helps fazer bolo look dramatic with little fuss.
Build an abóbora form
Bake two domed massa layers, carve round edges, and stack with dowels. Crumb-coat, then cover with pasta americana for a clean finish.
Score ridges, add a fondant stem, and you have a classic bolo abóbora that reads well on a table or in photos.
Spider web finish and small details
Pipe concentric circles in chantilly or melted chocolate, then drag a skewer outward to form a web. Top with tiny aranhas or one bold spider at the topo.
To make legs, derreter chocolate, pipe on parchment, chill, and anchor into truffle bodies after chilling the cake for sharp edges.
Bonus touches and pairing tips
Make a red gelatin cérebro in a silicone mold as a themed side dessert. Use bright fillings like orange curd with a chocolate base to keep slices lively.
Chill between coats and warm your spatula for a smooth cobertura. Pick home-friendly modelos like sheet cakes if you plan to fazer bolo in casa.
Final toque: add a small banner or bat topper to signal theme without extra work and keep your scene cohesive.
Conclusion
Keep the plan simple. A tight palette and one or two repeated motifs turn separate treats into a unified party centerpiece for Dia Bruxas. Use pasta americana and smart cobertura to make home recipes look pro without extra stress.
Balance flavor and display: add savory comidas beside sweet comidas halloween so each slice tastes bright on the plate. Small accessories and edible accents fazem parte of the fun and help your display read on camera.
Choose modelos and versões that suit your tools, prioritize massa stability, and finish with a clean topo bolo and wiped board edges for a polished fim. With those steps, your Halloween cake will feel festive and ready for the festa.