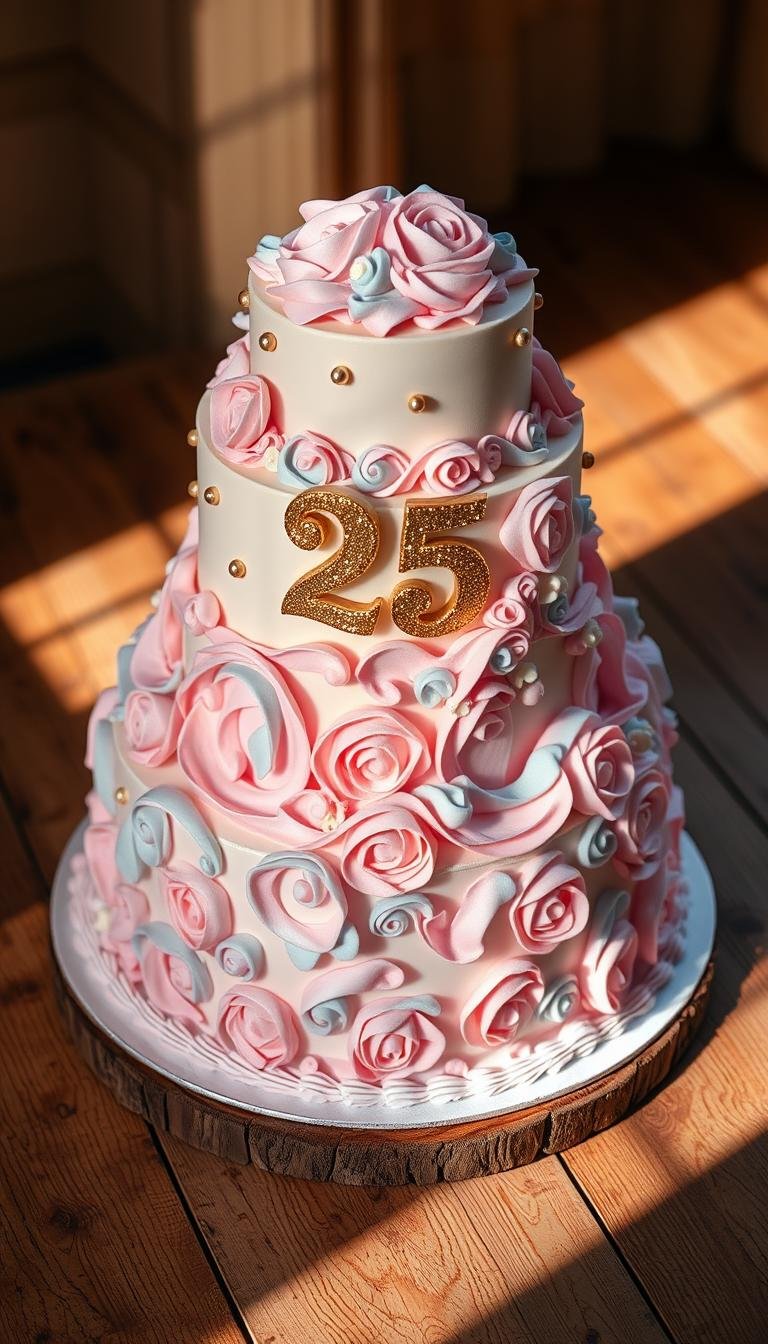
Birthday Cake Purple: A Step-by-Step Decorating Guide
Surprising fact: more than 40% of home bakers say a striking color choice makes guests remember a dessert long after the event ends.
This Website contains affiliate links. That means I may earn a small commission if you purchase through my links, at no extra cost to you.
This how-to guide walks you through planning, prepping, and decorating a purple cake so your dessert looks polished and party-ready without guesswork. You’ll learn which styles and tools work best and how to tint frosting to the exact shade you want.
We cover the essential baking timeline, from cooling and crumb coating to final icing, so you avoid smudges and melting issues in a busy kitchen. Expect practical tips on color mixing, consistency adjustments, and smooth finishes that highlight your design.
Technique meets taste: guidance ties visual choices to flavor and texture so the finished food delights in photos and on the table. Small checkpoints help you verify progress and prepare for display and transport.
Key Takeaways
- Follow a clear timeline: bake, cool, crumb coat, then final icing.
- Mix color gradually to hit the shade without overworking frosting.
- Use simple tools for clean piping and readable messages in photos.
- Check frosting texture before smoothing to avoid smudges.
- Plan display and transport to keep the centerpiece intact.
Why Go Purple for a Birthday Cake Right Now
Opting for a violet palette gives you flexible styling that works from kids’ parties to elegant receptions. The shade photographs well and pairs beautifully with metallics or fresh florals, so a single dessert becomes a memorable centerpiece.
Versatility is key: pick a pastel tone for young guests or a deeper hue for teens and adults. This keeps the design cohesive across different ages and themes while letting flavor choices—like vanilla, citrus, or berry—shine through.
For larger gatherings, a matching set of mini cakes or cupcakes creates visual impact on a dessert table. The look also crosses over to wedding and engagement displays, so practice at home can serve multiple events.
Practical perks: purple works with gold, silver, or white accents, so you can keep decorations minimal and still achieve a premium result. Slight color shifts often read as intentional, making this an forgiving choice for first-time decorators.
Prep, Ingredients, and Tools for a Purple Cake That Pops
Good results begin with the right recipe, measured ingredients, and tools that make smoothing and stacking simple.
Choosing the right base
Start with a sturdy vanilla sponge or butter batter. An 8- or 9-inch round cake keeps layers stable and cuts cleanly for photos and serving.
Use room-temperature milk and cream in the batter for consistent rise and moist food texture. Trim any dome with a serrated knife and chill layers briefly before stacking.
Coloring 101
Sift sugar before whipping frosting to prevent grit. Choose gel or oil-based color and add a little at a time for light to deep purple tones.
For gradients, divide icing into bowls and tint each darker than the last. Rest the bowls so the shade fully develops before smoothing the side and top.
Tools and troubleshooting images
Keep an offset spatula, bench scraper, turntable, piping bags, and a serrated knife within reach. Dip the spatula in warm water and dry for cleaner smoothing with your hand.
JavaScript is disabled in your browser. Please enable JavaScript to proceed if design images or previews don’t load.
If images fail, disable extensions, check network settings, or try another browser to reload reference image assets and design guides.
birthday cake purple: Step-by-Step Decorating Instructions
Start by creating a steady base so every decorating move stays clean and intentional. Level and stack layers with your chosen filling, then spread a thin crumb coat of icing to lock loose crumbs in place.
Crumb coat and chill: setting the foundation
Chill the sealed cake until the surface feels firm to the touch. A cool base prevents drag when you apply the final frosting and keeps edges sharp.
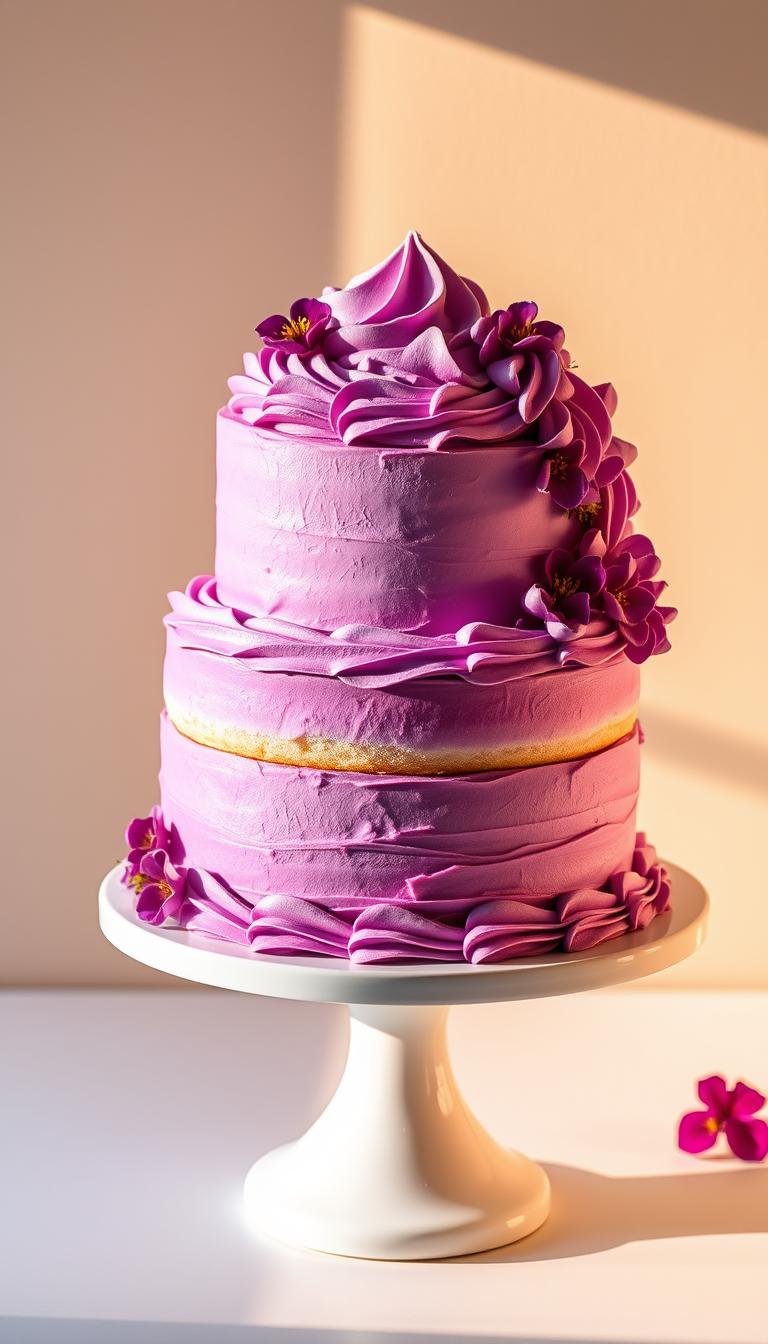
Smooth purple icing on the sides and top for a clean finish
Mix purple icing to medium consistency. Apply a generous amount to the top first and push frosting to the edge.
- Use a turntable and a bench scraper on the side while rotating for a straight wall.
- Wipe the hand-held tools often to avoid streaks.
- Smooth the top by pulling excess from edge to center in light, overlapping strokes.
Decor details: stars, sprinkles, and “happy birthday” piping on a round cake
Sketch lettering with a toothpick, then pipe “happy birthday” using a small round tip. Add star-tip swirls, a few minimal stars, and scattered sprinkles in matching tones for dimension.
Finishing touches: edges, plate presentation, and room-temperature serving
Clean the plate rim with a damp towel and add a simple border at the base if needed. Let the dessert warm toward room temperature before serving so the crumb is soft and the frosting feels silky.

“Wipe your knife between cuts for neat portions and save reference images on your device in case connectivity drops.”
Purple Cake Styles, Cupcakes, and Party-Ready Ideas
Design a unified dessert table by repeating frosting tones and small toppers across a main cake and matching cupcakes. This approach makes the display look polished with little extra effort.
Sizes and servings: choose an 8-inch round for small gatherings and a 9-inch 2- or 3-layer for larger groups. Cupcakes fill gaps and remove the need to slice the centerpiece, while a muffin or small pastry sampler helps test flavor and crumb before the event.
Vary textures for different ages: a single-tier cake with playful sprinkles for kids, and a taller, smooth finish with delicate piping for teens and adults. Use soft rosettes or star-tip swirls on each cupcake to tie finishes together.

Budget and price considerations at home vs. bakery
DIY lowers labor cost and gives control over flavor choices and portion sizes. A bakery quote often includes skill, time, and consistent finishing—helpful for complex tiers or tight timelines.
- Compare price per serving for home vs. bakery.
- Use a small number of statement accents—metallic dragees or a clean plate wrap—to elevate the set affordably.
- Plan one styled image of the whole set plus a close-up so tones read well in photos.
“Match frosting tones and keep toppers simple to make a cohesive dessert bar that photographs well.”
| Option | Serves | Typical price range | Best for |
|---|---|---|---|
| 8-inch single tier | 8–12 | $10–$30 DIY $40–$80 bakery | Small parties, simple displays |
| 9-inch 2 or 3 layer | 16–30 | $25–$60 DIY $80–$180 bakery | Medium gatherings, photos |
| Coordinating cupcakes (dozen) | 12 | $12–$24 DIY $30–$60 bakery | Fill gaps, variety of flavors |
| Tiered set + cupcakes | 30+ | $60–$150 DIY $150–$400 bakery | Weddings, large parties, dessert bars |
Conclusion
Wrap up with a short checklist: chill times, crumb coat, final coat, lettering, and a last wipe. These steps keep the side and top neat and reduce small mistakes.
Keep flavor first: stick to a reliable vanilla base and mild sugar so the food tastes as good as it looks. Test color in a half batch to adjust depth without wasting batter.
Use a steady hand for borders and piping. Present the finished cake on a clean plate or board and take one clear image before slicing so the design is saved for sharing.
Apply the same plan to showers or a wedding dessert table — small skills scale and make each decoration look intentional and polished.