Birthday Cake Ideas for Girls: A Step-by-Step Guide
Surprising fact: nearly 40% of shoppers pick delivery windows at checkout when ordering a specialty “Birthday Girl Cake” priced around $100, proving timing matters as much as design.
This Website contains affiliate links. That means I may earn a small commission if you purchase through my links, at no extra cost to you.
This guide walks you through a calm, beginner-friendly process to plan, bake, and decorate a memorable dessert that looks pro and feels personal.
You’ll learn how to choose size, flavor, and filling, then create a smooth base and add simple decorations that hide flaws and highlight style.
Expect low-stress techniques that avoid complicated steps while still delivering a polished result. If you need certainty on timing, many shops let you lock in a precise delivery date and time at checkout.
Use this roadmap whether you bake from scratch, use a boxed mix, or enhance a bakery order. By the end, you’ll have a plan that fits your skills, schedule, and budget while keeping the celebration front and center.
Key Takeaways
- Follow a clear, step-by-step plan from flavor choice to final touches.
- Select size, flavor, and filling before finalizing an order or bake.
- Use simple decorations to mask imperfections and add style.
- Lock in a delivery window at checkout if timing is tight.
- Techniques work for scratch baking, mixes, or a bakery base.
- Focus on methods that produce smooth frosting and clean transport.
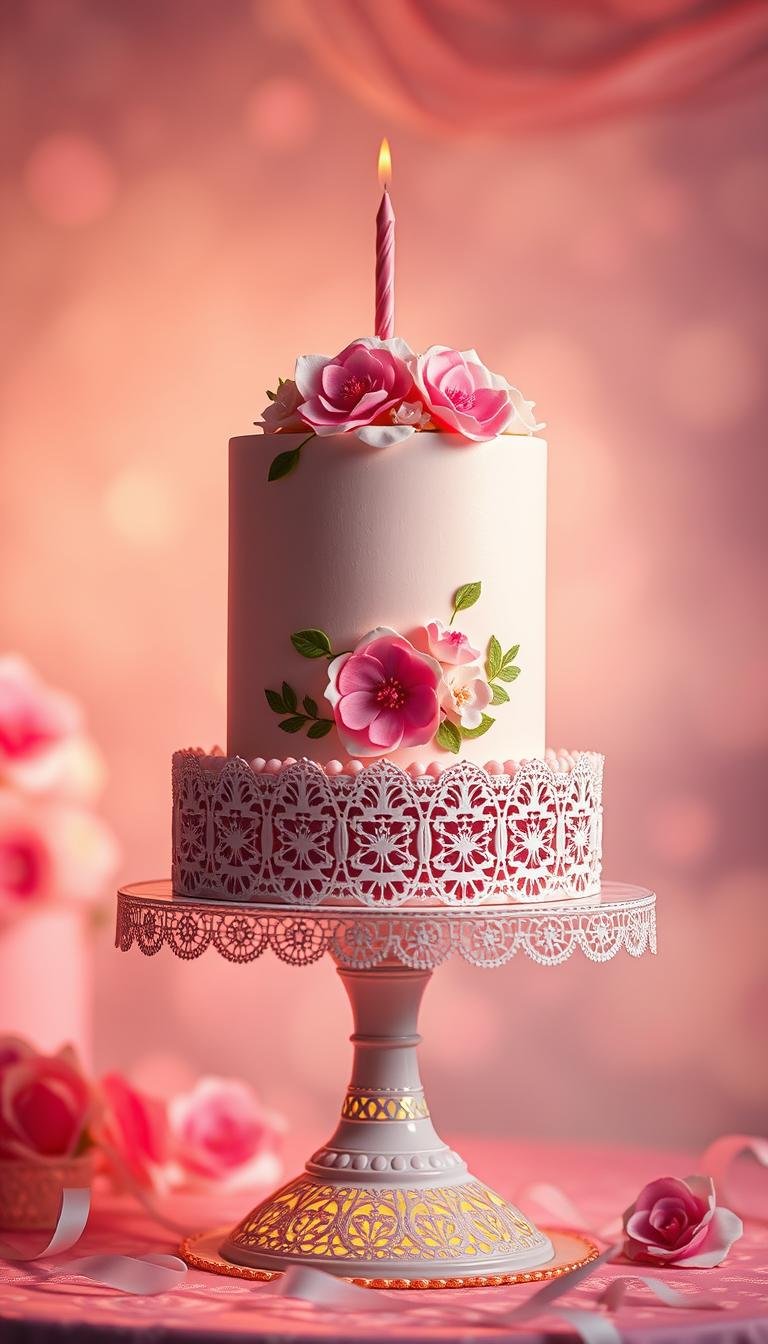
Understand the goal: a simple, beautiful birthday cake for girl that suits her style
Begin by picturing a simple, stylish centerpiece that reflects her personality and fits the party mood. Keep the design achievable with standard pans and basic tools; that clarity makes the whole project less stressful.
Skip complex fondant work unless you already enjoy it. A smooth buttercream finish, candy accents, or a single focal idea—like a sprinkle stencil or candy rainbow—gives a modern look with far less effort.
Match colors and small decorations to the theme and her hobbies. Consider age and audience: little kids often love bold shapes and bright colors, while tweens or teens may prefer muted palettes and cleaner lines.
- Pick a realistic shape—sheet, round, or a simple cut-and-assemble form that you can do at home.
- Decide serving size early so you choose the right pans and avoid last-minute stress.
- Prioritize a clean, smooth finish over tiny details; the overall impression matters most.
Plan the cake: flavors, tools, time, and pan shapes before you start
Begin with a clear checklist of flavors, pans, and a realistic timeline to avoid last-minute stress. A short plan saves effort and keeps the result polished.

Choose flavors she loves
Lock in the flavor up front: pick classic chocolate cake, vanilla, red velvet, black forest, fruit fusion, or butterscotch so the design supports taste.
Stock essential tools
Gather two 8- or 9-inch rounds or a 9×13 pan, parchment, a serrated knife, an offset spatula, piping bags and a turntable. These items make leveling and frosting far easier.
Budget your time
- Mix and bake: 30–45 minutes active.
- Cool layers: at least 1–2 hours.
- Whip frosting or buttercream: 15–20 minutes; chill 20–30 minutes before final smoothing.
Pick simple shapes without specialty pans
You can cut a heart from a square plus a round, or carve a crown from a 9×13 with straight cuts. Keep ingredients at room temperature and measure by weight to reduce trimming.
Tip: Balance sugar in the frosting—sweeter frostings pair well with darker chocolate layers, while lighter cakes do best with milder finishes.
Step-by-step base: bake, cool, and frost a smooth canvas
Set a simple plan before you start: mix evenly, give layers time to cool, and schedule short chills between frosting coats. That pacing saves stress and improves results.
Mix and bake the layers
Cream butter and sugar only until pale and fluffy, then add eggs one at a time. Overmix after the flour goes in and you risk tunnels and a domed top that is harder to level.
Divide batter evenly, tap pans to release air bubbles, and bake until the edges pull slightly from the pan and a tester shows a few moist crumbs. For a subtle twist, fold in a little chocolate if you want a rich layer.
Level, fill, and crumb-coat
Cool layers in the pans for about 10 minutes, then release them to a rack until completely cool so the cream-based frosting won’t melt or slide.
Level tops with a serrated knife for stability. Sandwich layers with a modest filling to avoid bulges and ensure neat slices. Apply a thin crumb coat of buttercream or whipped cream to lock in crumbs, then chill until set.
Chill and apply the final coat
Add a final coat and use a bench scraper or offset spatula for clean sides. Aim for a flat top if you plan heavy sprinkle coverage or candy patterns.
“Budget a little extra time for chilling between coats; brief, strategic chills make smoothing significantly easier and cleaner.”
If you prefer a softer, homemade look, slightly round the top rim with your spatula instead of sharpening the shape. Allow extra time for chills—they make smoothing far easier and transport safer.
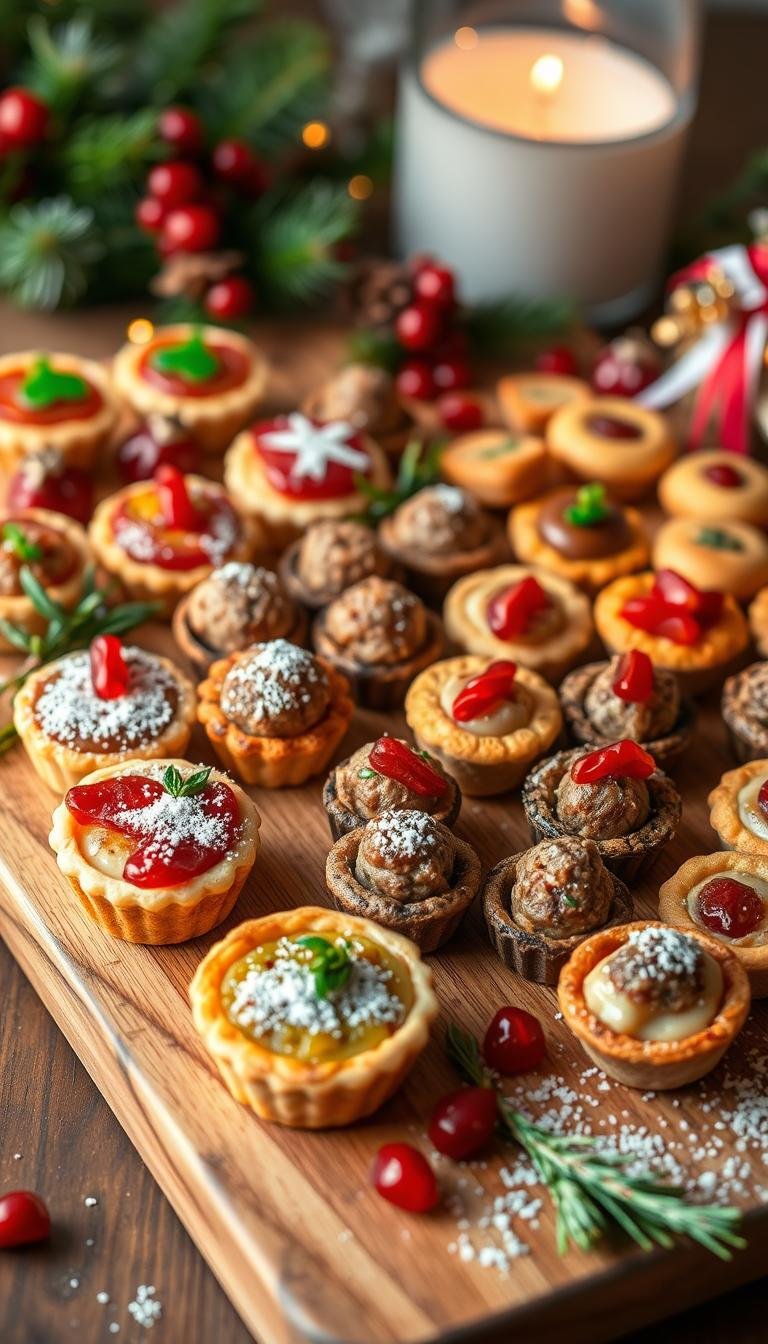
Decorating ideas that are actually easy (no tricky fondant required)
Focus on one simple technique and you can make a show-stopping centerpiece without sculpting or tempering chocolate. Pick a theme, gather candy and a few tools, and keep each step short.
Sprinkle-covered stunner: press nonpareils or jimmies into fresh frosting to hide seams and rough spots. Work in small sections so the sprinkles stick.
Kit Kat wrap: spread a thin ganache or cream layer, stand Kit Kat fingers around the edge, then pile assorted candy on top. It creates a neat “barrel” look that photographs well.
Butterfly & heart shapes: cut a round into a butterfly or join a square and a round to form a heart. Outline wings or the heart with candies for clear, easy definition.
Cookie-cutter stencil: press a metal cutter onto the frosted top, spoon in sprinkles, and lift to reveal a crisp motif.

- Rainbow on white: arrange Skittles arcs and mini marshmallows over vanilla cream.
- Giant donut bundt: glaze a bundt and scatter rainbow sprinkles.
- Rosette lamb: pipe tight rosettes for “wool” and add candy eyes.
- Camping or construction scenes: use crushed Oreos, graham tents, and toy trucks.
- Ultimate chocolate: stack bars and truffles on a chocolate cake for drama.
“Small, bold choices make decorating faster and more fun.”
Ordering, delivery, and timing: when to bake at home vs. buy for on-time celebrations
Deciding whether to bake at home or order delivery hinges on timing, headcount, and the look you want to present.
Lock logistics at checkout: many specialty products let you pick an exact delivery date and time. Choose that slot so the dessert arrives when guests gather and candles are ready.
- Service tiers: same-day covers last-minute needs, fixed-time (small fee) keeps surprises coordinated, and midnight delivery is available from premium bakeries.
- Lead time: order 24–48 hours ahead for best flavor and design options; rely on same-day only when plans change.
- When to DIY: small gatherings or simple candy-forward looks work well at home. Outsource intricate photo transfers or sculpted designs.
- Packaging matters: choose vendors that use sturdy bases, secure boxes, and eco-friendly cutlery so the item travels straight to the table.
“When in doubt, buy a plain bakery base via delivery, then add your own candies at home for a fast, personalized birthday cake.”
Storage, transport, and serving tips for birthday cakes
Handle the final steps—storage, slicing, and travel—with clear rules to protect cream layers and decoration. These small actions make a big difference in texture, appearance, and taste. Follow practical steps so every slice looks neat and serves well.
Refrigerate in an airtight container
Store the cake in the fridge inside an airtight container or covered with cling film to preserve moisture. This keeps cream-based frostings stable and prevents drying.
Remove the dessert 30–60 minutes before serving. That brings creams and fillings to the right texture without losing structure.
Slice cleanly for tidy portions
Use a long, sharp knife and warm it under hot water, then wipe dry between cuts. This reduces drag on frosting and minimizes crumbs.
Score rounds into even wedges from the center. For sheet cakes, make parallel rows for uniform portions. Lift pieces with a server or wide spatula so layers stay intact.
Travel smart: secure packaging and eco-friendly extras
Place the dessert on a rigid board that is at least 2 inches larger than the base. Tape the board to the box floor to stop sliding.
Chill before travel so creams and butter-based frostings hold up better. Set the box on a flat car surface and avoid slanted seats.
- Pro tip: Reinforce the bottom with an extra board if the cakes feel heavy.
- Choose delivery services that include sturdy bases and eco-friendly cutlery to simplify serving on the go.
“Chill, secure, and slice with purpose — that’s the easiest way to keep flavor and presentation intact.”
Conclusion
End with a practical action plan so the final treat arrives neat, tasty, and on time.
Pick one design, lock in flavors like chocolate or vanilla, and gather tools. Build a smooth base and choose one or two high-impact decorations—sprinkles, candy, or a simple heart outline—to add color without extra stress.
If timing is tight, schedule a reliable delivery window or buy a plain bakery base and finish it at home. Store and chill before travel, tape the base to the box, and warm your knife between slices for clean portions.
You now have a clear plan: pick one idea, follow the steps, and your birthday cake will look polished and taste amazing. Enjoy the celebration.