Birthday Cake Black: A Step-by-Step Decorating Guide
Surprising fact: using ultra-Dutched black cocoa gives layers an Oreo-like flavor while creating a naturally deep tone that rarely needs heavy dye.
This Website contains affiliate links. That means I may earn a small commission if you purchase through my links, at no extra cost to you.
This guide breaks the process into clear steps so you can plan, bake, and finish a dramatic showpiece without sacrificing taste.
We explain why black cocoa yields a rich, chocolate-forward profile and how dye-free black buttercream matures from deep brown to true black after resting about 24 hours.
Expect practical timing tips, simple pan prep for three 6-inch or two 8-inch rounds, and baking windows near 32–36 minutes until a toothpick comes out clean.
You’ll also learn smooth finishes and Lambeth piping techniques that add dimension and photograph well on a dark surface. A short video walkthrough is included to preview each stage from mixing to final piping.
Key Takeaways
- Black cocoa creates a natural dark tone and Oreo-like flavor without heavy dyes.
- Dye-free buttercream deepens to true black after resting about 24 hours.
- Follow pan prep and bake time guidance for moist, even layers.
- Clean crumb coats and pressure control yield neat Lambeth piping.
- A companion video helps visualize each step from mixing to final piping.
Before You Begin: Ingredients, Tools, and Color-Safe Basics
A confident finish starts with the right cocoa, buttermilk, and a small, reliable tool set.
Black cocoa vs. regular cocoa: Ultra-Dutched black cocoa is treated to lower acidity. It gives layers a very dark hue and an Oreo-like flavor while avoiding heavy dye and mouth staining. If you can’t find it locally, search specialty decorating shops or order online.
Essential tools and quick pan prep
Prepare three 6-inch or two 8-inch pans by lightly spraying the sides and lining the bottoms with parchment circles. This ensures clean release and even height. Gather an offset spatula, bench scraper, turntable, and piping bags before you start.
Lambeth piping basics
- Wilton 6B — bold shell borders
- Wilton 4B — medium shells
- Wilton 104 — ruffle garlands
- Wilton 32 — overlapping shells for dimension
Flavor foundations
Buttermilk is the secret to a velvet crumb: it keeps the crumb plush and stable for slicing and crisp piping. Balance the mild chocolate notes with a measured touch of vanilla to keep flavor smooth and rounded.
“Good prep halves your decorating time; practice piping on parchment before the final pass.”
| Item | Why it matters | Quick tip |
|---|---|---|
| Black cocoa | Deep color, Oreo-like notes | Order online if not in stores |
| Buttermilk | Velvety crumb, stable texture | Room temp for batter |
| Piping kit | Lambeth detail precision | Keep buttercream cool but pipeable |
| Pans & parchment | Clean layers, even rise | Use parchment circles for bottoms |
How to make a birthday cake black
Mixing the black velvet batter:
Start by whisking all dry ingredients together so cocoa and leaveners are even. Blend in oil, eggs, and room-temperature buttermilk, then add vanilla. Stream in 1 cup hot coffee and beat about two minutes until smooth. The batter will be thin but silky.
Crafting dye-free buttercream:
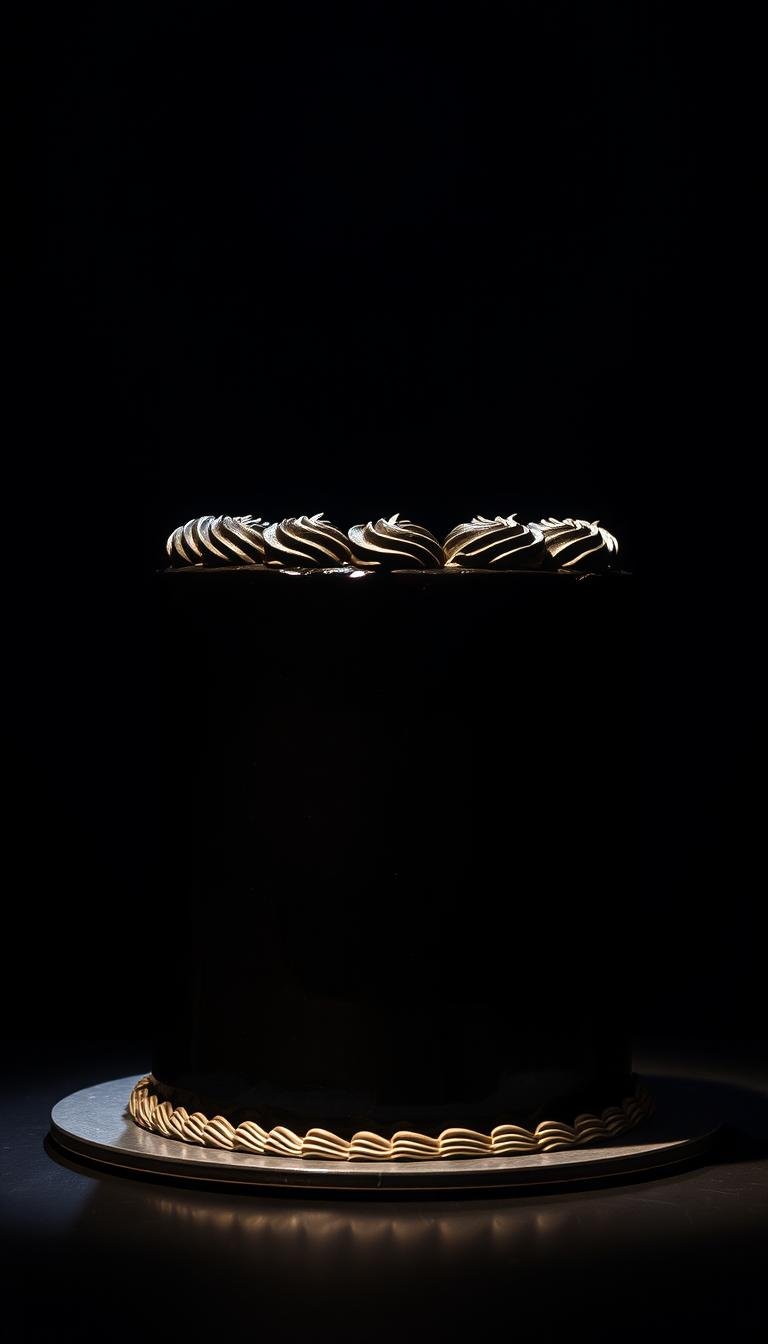
Whip butter about four minutes until light. Add powdered sugar in two additions, then sift in black cocoa. Add a splash of milk, a pinch of salt, and a touch of vanilla. The frosting looks dark brown at first and deepens to true black after several hours, ideally 24.
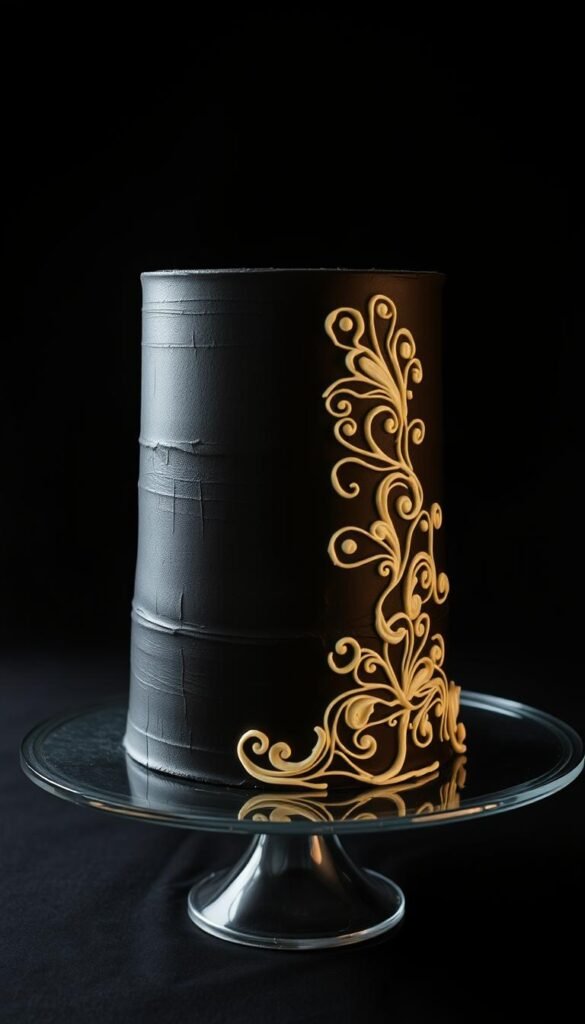
Level cooled layers and fill evenly. Apply a thin crumb coat and chill 20–30 minutes. Smooth a final coat, chill again about 30 minutes, then pipe details.
Lambeth piping made approachable
- Use Wilton 6B for bold base and top shell borders.
- Layer a 4B shell line above the bottom border for dimension.
- Add Wilton 104 ruffle garlands, then 32 overlapping shells for depth.
Watch and learn: follow a step-by-step decorating video to see mixing, stacking, smoothing, and Lambeth piping in action. Related videos reinforce ruffle, shell, and border control techniques so you can practice before the final pass.
| Step | Key action | Timing / Tip |
|---|---|---|
| Batter | Bloom cocoa with hot coffee; beat until smooth | Fill pans 2/3; bake 32–36 min at 350°F |
| Buttercream | Whip butter, add sugar, sift cocoa, add vanilla | Whip ~4 min; rest up to 24 hours to deepen |
| Assembly | Level, stack, crumb coat, chill, smooth final coat | Chill 20–30 min between coats |
| Piping | Use 6B, 4B, 104, 32 in sequence | Keep steady pressure; chill if warm |
Pro Techniques, Sourcing, and Troubleshooting for Cakes That Impress
Find reliable ingredients and plan your timing. Sourcing ultra-dark cocoa from specialty decorating shops or ordering online gives predictable depth without heavy gels. If it’s unavailable, use Hershey’s Special Dark 1:1 and add a tiny amount of gel only to nudge shade, not mask flavor.
Make-ahead, storage, and rewhipping
Build a sensible staging plan. Wrap layers tightly in plastic. Store at room temperature up to two days or freeze up to two months for longer scheduling.
| Item | Storage | Tip |
|---|---|---|
| Layers | Room temp 2 days / Frozen 2 months | Thaw before finishing |
| Buttercream | Air-tight 1 day RT / 2 weeks refrigerated | Bring to room temp and rewhip |
| Tool collection | Cabinet | Organize by piping size |
Color pitfalls and finishing notes
A dye-free buttercream made with extra-dark cocoa deepens over ~24 hours, so schedule rest into build time. Avoid relying on heavy gel; it can change flavor and appearance.
- Adjust firmness with small milk or sugar tweaks for clean ruffles and shells.
- Chill between passes if your workspace runs warm.
- Watch short technique videos to practice pressure and spacing before the final pass.
Flavor balance: a touch of vanilla helps the cocoa’s cookie-like profile stay bright, especially when using substitutes.
Conclusion
A disciplined build — proper resting, timed chilling, and controlled piping — turns dark cocoa layers into a refined centerpiece.
Use extra-dark, Dutched cocoa and buttermilk, bloom the cocoa with hot coffee or water, and bake until a toothpick comes out clean at about 32–36 minutes at 350°F.
Let dye-free buttercream rest about 24 hours so it deepens to true black without staining mouths. Stack with a tight crumb coat, chill 20–30 minutes, then smooth a final coat before piping.
Finish with measured Lambeth accents using Wilton 6B, 4B, 104, and 32 for crisp borders and ruffles. Watch the companion video to reinforce pressure control and smoothing technique.
With practice, these steps help you deliver cakes that look couture and taste balanced — reliable results from accessible tools and ingredients.
