Barbie Birthday Cake: A Comprehensive How-To Guide
Surprising fact: one show-stopping dessert can serve about 36 guests, making a single centerpiece both dramatic and cost-effective.
This Website contains affiliate links. That means I may earn a small commission if you purchase through my links, at no extra cost to you.
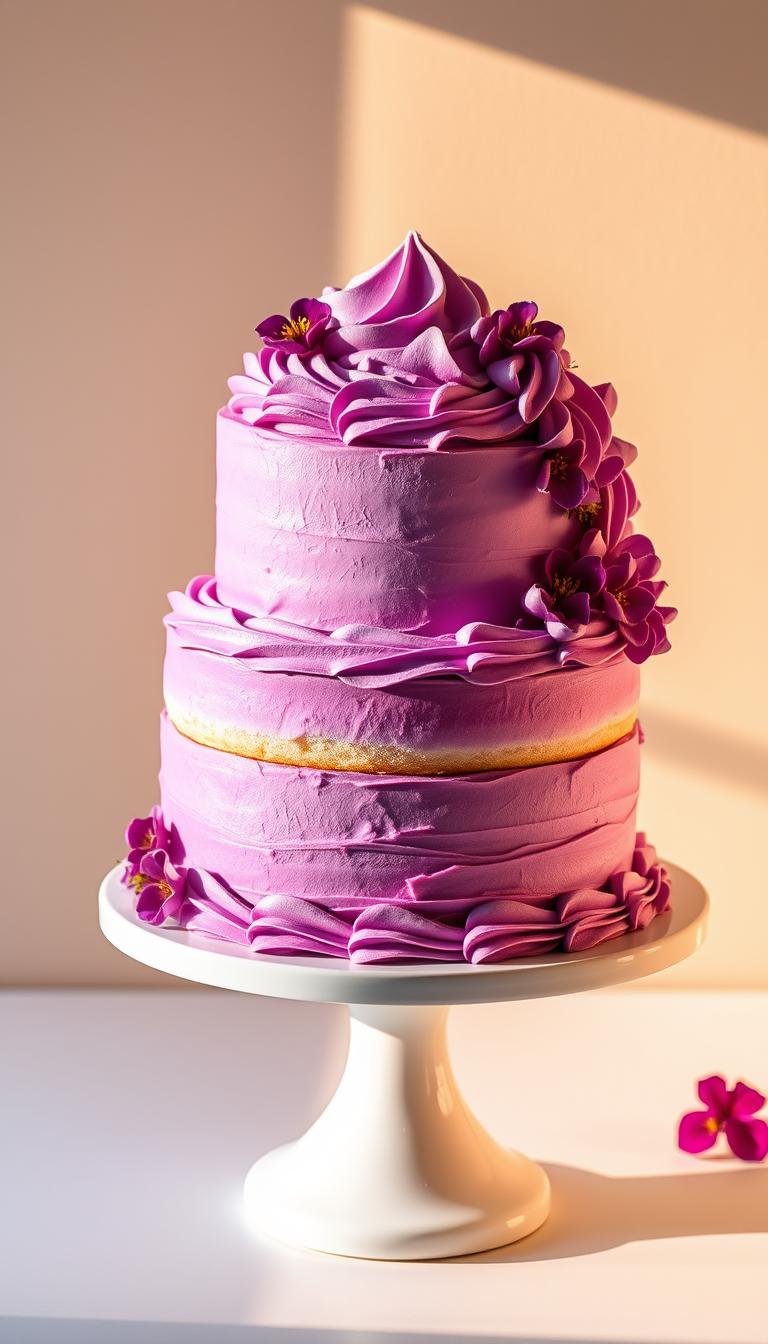
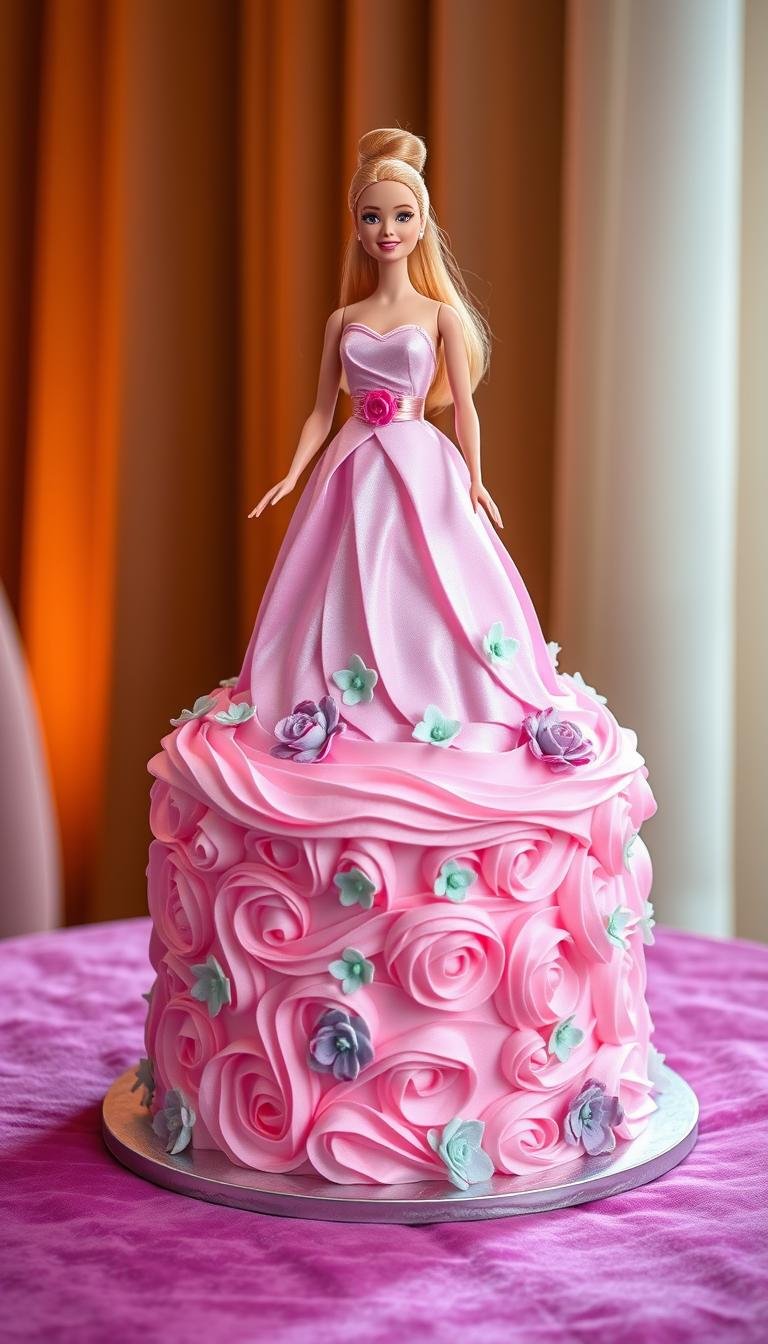
This guide shows how to build a doll-style frosted gown that home bakers can make with everyday pans. Use a 9-inch bundt plus two 6-inch rounds (or an oven-safe bowl) to create height and a bell silhouette. Bake at 350°F: 6-inch rounds need about 25–30 minutes and the bundt about 10 minutes longer.
Plan on about 4 cups of frosting for the crumb coat and 8 cups for rosettes. Carve a bell-shaped dress, apply a crumb coat, chill at least one hour, then pipe ombre rosettes with a #1M tip. Insert a clean, leg-wrapped doll, lean slightly forward, and blend the waist with star-tip accents.
Simple tools, clear steps, and generous frosting make this project forgiving for beginners. Leftovers refrigerate 5–7 days or freeze up to 3 months when wrapped tightly. Read on to get exact measurements, timing, and decoration tips so your finished design looks polished and party-ready.
Key Takeaways
- Pan setup: 9-inch bundt + two 6-inch rounds gives the height for a doll skirt.
- Frosting needs: ~4 cups for crumb coat, ~8 cups for piping rosettes.
- Bake & chill: 350°F; stagger pans (6-inch 25–30m, bundt +10m); chill 1 hour after crumb coat.
- Assembly tips: core for the doll, carve a bell curve, use frosting as glue.
- Decoration: pipe ombre rosettes with a #1M tip and finish with star accents.
- Servings & storage: serves ~36; refrigerate 5–7 days or freeze 3 months.
Plan, Prep, and Gear Up for a Show-Stopping barbie birthday cake
Start by mapping the project: a stacked, sculpted skirt that hides pans and highlights a dressed doll. This helps you set expectations and pacing before mixing batter or tinting buttercream.
What you’ll make today and why it works now
Project scope: a three-layer, bell-shaped skirt built from a 9-inch bundt plus two 6-inch rounds (or an oven-safe bowl). The bundt’s dome and center void give height and a simple core for the doll’s legs. The small rounds add lift while keeping the footprint manageable for a birthday cake centerpiece.
Tools, pans, and quick ingredient list
Essential gear: revolving cake stand, piping bags, #1M and #18 tips, serrated knife, biscuit cutter for coring, and cardboard rounds. Ingredients at a glance: batter for three tall layers, a dedicated crumb coat cream or buttercream, extra buttercream for rosettes, and gel food coloring for an ombre.
Frosting math and doll prep
Plan ~4 cups of frosting for assembly and crumb coat, and ~8 cups for rosettes. Use two boxed mixes or a tall-layer scratch recipe. Pick any doll, wrap legs in plastic, wash the torso, and style hair before inserting to avoid smudges.
From Batter to Base: Baking, Stacking, and Shaping the Dress
Make enough batter for three tall, dense layers so the structure stands firm under decoration. Use two boxed mixes or a sturdy scratch recipe. Grease a 9-inch bundt and line two 6-inch rounds with parchment. Fill pans about two-thirds full to reach the needed height.

Mix, bake, and cool
Bake at 350°F. The 6-inch rounds finish in about 25–30 minutes. The bundt needs roughly 10 minutes more. Check doneness with a clean toothpick and light golden edges.
Core, level, and stack
Cool pans 10–15 minutes before inverting to racks. Core the small rounds with a biscuit cutter so the doll fits. Trim the bundt base flat and stack bundt first, then the inverted 6-inch rounds. Use a thin layer of frosting as glue between layers for stability.
Carve and crumb coat
Shape the stacked sides with a serrated knife into a gentle bell silhouette. Apply a thin crumb coat of cream to lock crumbs. Chill at least one hour to firm the surface before piping final rosettes.
| Pan | Fill Level | Bake Temp | Approx Time |
|---|---|---|---|
| 9-inch bundt | 2/3 full | 350°F | 35–40 min |
| 6-inch round | 2/3 full | 350°F | 25–30 min |
| Core (6-inch) | center hole | — | use biscuit cutter |
Decorate Like a Pro: Ombre Rosettes, Doll Placement, and Finishing Touches
Pipe an ombre skirt in neat rows so the finished dress looks seamless from hem to waist. Start with a large batch of buttercream: whip until light, then set aside about 2 cups of white. Divide the remainder into dark and light pink for a clear gradient.

Buttercream basics
Fit a piping bag with a #1M tip for rosettes and a #18 star tip for gap filling. Keep texture consistent by whipping all cream together and tinting small, repeatable batches.
Rosette piping order
Begin with the darkest shade at the hem. Pipe tight, uniform rosettes, then progressively lighten the frosting as you move up. Refill the bag to avoid harsh color bands.
Insert the doll & add details
Wrap the doll’s legs in plastic, then slide into the cored center and lean slightly forward. Pipe rosettes to the waist, use the #18 tip to fill gaps, and add a piped corset or sugar pearls for polish.
Serving and storage
Serves: about 36 slices. Store leftovers wrapped tightly—fridge 5–7 days, freezer up to 3 months. Keep extra buttercream on hand for touch-ups.
| Item | Detail | Notes |
|---|---|---|
| Portions | ~36 slices | Practical for a large birthday gathering |
| Storage | Fridge 5–7 days | Wrap in plastic + foil |
| Freezer | Up to 3 months | Label date and thaw slowly |
Conclusion
Conclusion
A clear plan, steady stacking, and neat piping deliver a tall, polished dessert without stress.
Assemble a sturdy base using a 9-inch bundt and two 6-inch rounds, bake at 350°F with staggered timing, carve a bell silhouette, apply a thin crumb coat, and chill before decorating.
Stock roughly 4 cups of frosting for assembly and 8 cups for piping. Use a revolving cake stand, a #1M for ombre rosettes, and a #18 tip for tidy accents to speed the process.
Wrap the doll’s legs, clean the torso, and pre-style hair to avoid smudges. The rosette finish is forgiving—focus on an even gradient rather than perfect walls.
Serves about 36. Refrigerate 5–7 days or freeze up to 3 months when wrapped tightly. Swap flavors or colors freely—the structure stays the same.