Halloween Oreos: A Simple and Delicious Treat Recipe
Surprising fact: nearly 70% of home bakers say a no-bake treat makes party prep faster and more fun, and this easy sandwich cookie idea proves why.
This guide shows a fast, fuss-free way to make festive cookies at home using store-bought sandwich cookies and melted coatings for a polished finish.
You’ll learn a beginner-friendly method that uses candy melts and basic chocolate dipping techniques. Melt one cup of candy melts with 1 tablespoon refined coconut oil, microwave at 50% power in 30-second bursts, and stir until smooth. Add coconut oil 1 teaspoon at a time if it feels too thick for dipping.
The process is low-mess: use paper liners, trays, and simple tools so kids can help. Designs range from monsters and mummies to bats and jack-o’-lanterns, letting you mix a platter of colorful sweets without advanced baking skills.
Key Takeaways
- Use one cup candy melts + 1 tbsp coconut oil; microwave in 30-second bursts for smooth coating.
- Beginner-friendly recipe delivers party-ready cookies with minimal prep and no baking required.
- Make multiple designs—monsters, mummies, bats, Frankenstein, or jack-o’-lanterns—for variety.
- Low-mess setup with paper liners makes cleanup and storage easy for events and school parties.
- Recipe scales easily and offers pro tips to avoid lumps and cracking as coatings set.
Why These Halloween Oreos Are the Easiest Party Treat
Transform store-bought sandwich cookies into festive bites with just melted coatings and a few tools.
No baking needed: Starting with ready cookies eliminates dough mixing, chilling, and oven time. That saves prep time and stress for hosts who need a quick win.
Use a microwave-only melting method at 50% power to avoid scorching. This cuts cleanup and keeps the chocolate and candy smooth for dipping.
Hands-on time is short, so these treats work for last-minute parties and busy schedules. Candy coatings set quickly at room temperature, which means you can pack or serve the cookie treats sooner.
- Minimal gear: tray, liners, bowls, and a few basic tools—no specialty equipment.
- Stage toppings so eyes and sprinkles adhere while the surface is still tacky.
- Color-code coatings for classroom or family themes using interchangeable candy colors.
| Feature | Why it helps | Quick tip | Timing cue |
|---|---|---|---|
| No-bake base | Saves time and effort | Use sandwich cookies straight from the pack | 0 minutes oven time |
| Microwave melting | Faster, less messy | 50% power, 30-sec bursts | 2–5 minutes to smooth |
| Fast setting | Quick packing and serving | Set at room temp on parchment | 10–20 minutes firm |
| Simple designs | Big impact with small effort | Dots, lines, and candy eyes | Apply decor while tacky |
Ingredients and Tools You’ll Need
Gather a small set of pantry staples and colorful candy coatings to turn store cookies into show-stopping treats. This short list keeps prep simple and helps you set up a fast, tidy station.
Pantry and candy aisle
Core items: sandwich cookies (thin Oreos work well) and assorted candy melts in white, green, orange, purple, and black for varied designs.
Helpful add‑ins and decor
Use refined coconut oil or shortening to thin coatings for smoother dips. Gather candy eyes, sprinkles, and black gel or frosting for faces and fine details.
Set‑up essentials
Line a flat baking sheet with parchment paper so dipped cookies release cleanly. Use small microwave-safe bowls to melt each color separately.
- Prepare toppings in small bowls for quick decorating.
- Keep a disposable piping bag or a snipped bag for drizzles and mummy lines.
- Have paper towels on hand to wipe tools between colors and maintain tidy results.
Perfect Melting and Dipping Basics
Get a glossy, drip-free coating by starting with the right melt-to-oil ratio and a steady heating rhythm.
Baseline: melt 1 cup candy melts with 1 tablespoon coconut oil at 50% power. Heat in 30‑second bursts, stir, and repeat until the mixture is fluid.
Stir thoroughly between bursts to spread residual heat and avoid hotspots that cause seizing. Test viscosity by lifting a spoon—good coating will ribbon off and self‑level within seconds.
- Work in small batches so colors stay bright and don’t thicken as they cool.
- If the dip drags or leaves heavy trails, add 1 teaspoon oil at a time until flow improves.
- Rewarm the bowl for 10–15 seconds if the mixture cools, then stir to restore flow.
| Step | Why it matters | Quick cue |
|---|---|---|
| Ratio | Ensures glossy, dip-ready texture | 1 cup : 1 tbsp |
| Heat method | Prevents scorching and lumps | 50% power, 30 sec bursts |
| Viscosity test | Checks for smooth coverage | Ribbon off spoon |
Step‑By‑Step: Dip Oreos and Let Them Set
Prep matters. Set up a tidy station so each cookie moves quickly from dip to decoration. Line a flat baking sheet with parchment paper and arrange small bowls of candy, eyes, and sprinkles within reach.
Prep the station
Make sure your tools are ready: forks, toothpicks, and extra parchment paper. Working with one color at a time keeps coatings bright and reduces mess.
Dip cleanly and tap off excess
Working quickly, dip oreos fully into the melted coating, lift with a fork, and gently tap to shed excess chocolate candy for a smooth finish. Place each dipped cookie on the lined baking sheet with space between pieces so edges stay neat as they set.
Timing for eyes, sprinkles, and details
Add candy eyes and sprinkles while the surface is still tacky; they will stick without sliding. For drizzles or stripes, wait a few minutes until the base firms slightly, then apply contrasting lines so details stay crisp.
- Stir the bowl now and then so the candy melts stay fluid and don’t thicken as they cool.
- Expect initial set in a few minutes at room temperature—avoid the fridge to prevent condensation.
- For bats, let the coating harden, gently open the cookie, insert Thin Oreo halves as wings, and seal with a dab of melted coating.
Clean up edges with a toothpick before the coating fully hardens to keep a professional look. With a steady flow from dipping to decorating, every dipped oreo will look polished and party‑ready.
Decorating Variations Inspired by Fan Favorites
Bright, simple decorating ideas let you turn plain sandwich cookies into memorable party bites in minutes.
Monsters: Coat cookies in purple candy melts, press on sprinkles, and add one or two eyes while the surface is still tacky.
Mummies: Use white candy melts for the base. Place the eyes first, let the coating firm briefly, then pipe or drizzle thin bandage lines in layers for dimension.
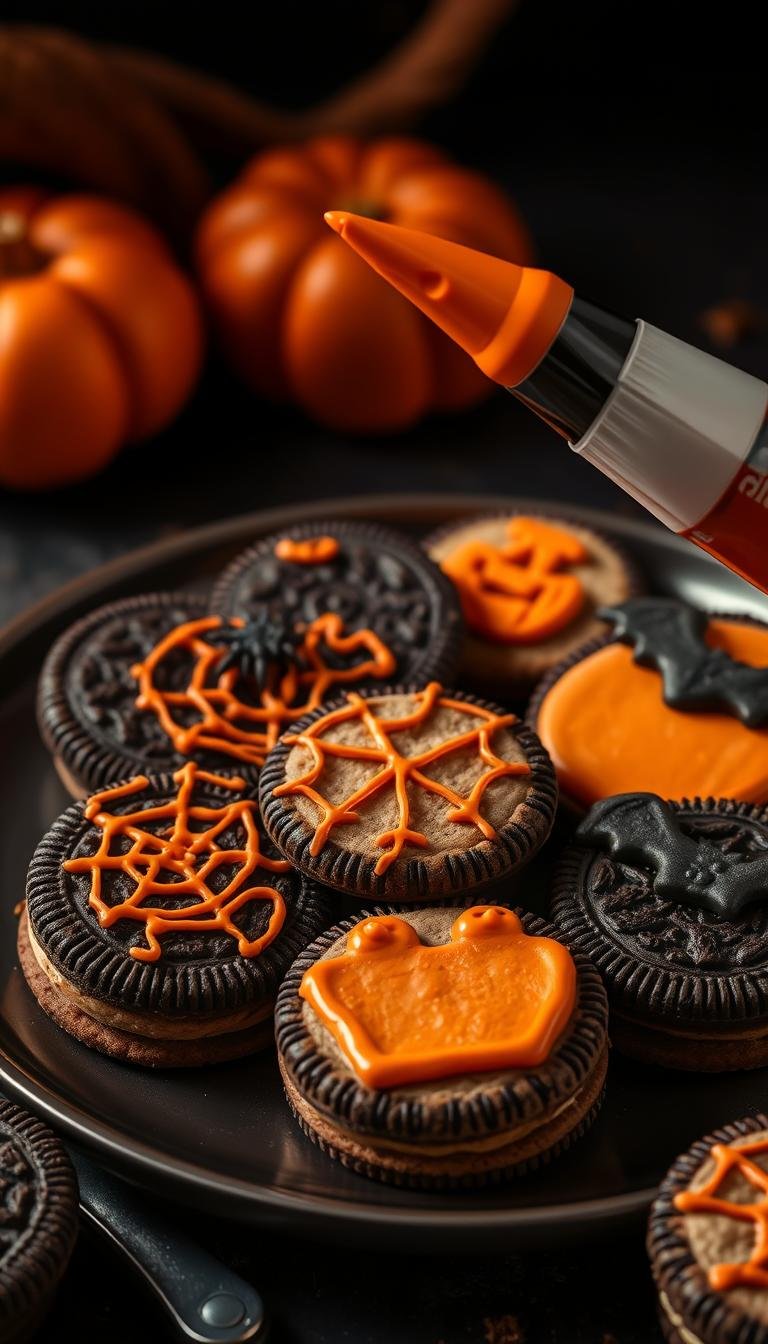
Bats: Dip in black coating and stick two small eyes on each. After the base sets, halve a Thin sandwich cookie for wings, tuck them inside, and secure with a dab of melted candy.
Frankenstein: Dip in bright green candy melts and press on eyes. As the coating firms, mark a small mouth with a toothpick, then pipe hair and stitched details for character.
Jack‑o’‑lanterns: Finish orange bases with a dark green candy stem at the top. After setting, pipe triangular eyes, a nose, and a jagged mouth for classic appeal.
- Mix green candy accents with white candy and orange candy details to balance color across a platter.
- Let each layer set briefly before adding the next so lines stay clean and decorations don’t slide.
- Vary eyes sizes and positions to give each cookie personality with minimal extra effort.
Decorating Techniques: Royal Icing Transfers and Piping Details
Make small royal-icing transfers ahead to speed decorating and keep faces consistent across a platter.
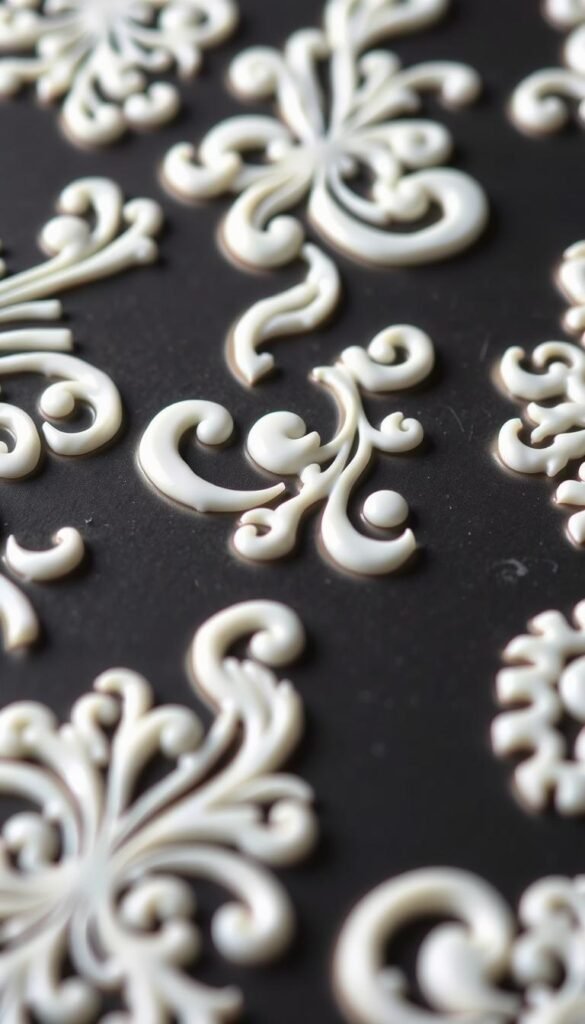
How to prepare transfers: Slide a printed template under a sheet parchment paper and trace eyes, a nose mouth, and tiny dots with a tipless piping bag. Use steady, light pressure so each dot and line holds shape without flattening.
Drying and storage
Let transfers dry fully on the sheet parchment until hard to the touch. Store dried pieces on parchment in an airtight container to prevent bending or humidity damage.
Attaching and color tips
Use a tiny dot of warm melted chocolate or candy coating as glue to fix transfers to a tacky base. If you tint coatings, choose oil-based colorants only; water-based dyes can seize candy melts.
“Batching transfers saves time and gives crisp, repeatable details for every cookie.”
| Step | Tool | Why it helps |
|---|---|---|
| Trace on parchment | Printed template + sheet parchment paper | Ensures uniform shapes |
| Pipe with tipless bag | piping bag | Clean lines and controlled dots |
| Dry and store | Airtight container | Prevents breakage and speeds assembly |
Troubleshooting and Pro Tips for Halloween Treats
Quick fixes and smart habits keep your dipped cookies glossy and consistent, even when the kitchen gets busy.
Prevent seizing: always use oil‑based colorants when tinting candy melts. Water‑based dyes invite clumping and a dull finish, so pick oil color and avoid adding liquid extracts that contain water.
Adjust thickness: if a candy melt mix thickens as it cools, rewarm it briefly and add coconut oil one teaspoon at a time. Test flow on a spoon — it should fall in a smooth ribbon without globs.
Stir oftento keep an even temperature so the chocolate coating stays glossy. Keep bowls covered between dips to slow cooling and prevent skins from forming.
Quick repair and bat assembly tips
- Use a tiny dab of warm candy melt as edible glue to reattach broken pieces or secure accents.
- For bat wings, place the wing half inside the cookie and add a touch of melted coating along the back of the wing; press gently until it sets.
- Place repairs on parchment paper and let them set undisturbed for the best hold.
Final timing cue: work methodically so you can time get eyes and transfers onto a tacky surface before it fully hardens. This ensures strong adhesion and a polished platter every time.
Serving, Storage, and Make‑Ahead Timeline
Set freshly dipped treats on a flat tray and wait until details hold. Let each piece rest on a sheet of parchment paper until the surface is dry to the touch. This prevents smudges and keeps edges neat when you move them.
How long to let dipped oreos set and best room‑temp storage
Expect an initial firming in a few minutes, though full hardness can take a bit longer depending on room temperature. Give yourself extra time if your kitchen feels warm.
Once the oreos set completely, transfer them to trays or boxes lined with plain paper to avoid sticking. If you must stack, separate layers with small sheets so decorations stay intact.
Avoid refrigerating when possible; cold can cause condensation that dulls the chocolate and candy shine. For make‑ahead planning, dip a day in advance and finish delicate accents the same day or the next morning.
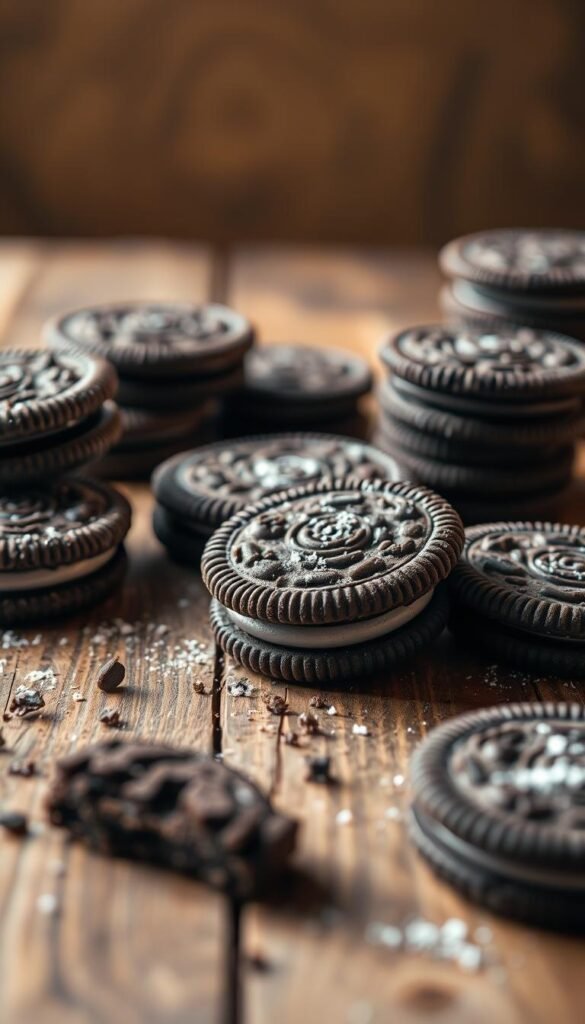
Transport tip: carry on a flat tray and keep containers loosely covered to limit humidity. Label mixed boxes by flavor or theme so guests know what’s inside.
More Ways to Customize Your Halloween Oreo Recipe
Small color swaps and themed accents turn a simple cookie into a curated party piece.
Color families make a platter look planned. Assign one hue to each character so guests can spot themes at a glance.
Swap in green candy, white candy, or orange candy for instant variety. Mix candy melts to make pastels or bold shades.
Color swaps, sprinkle mixes, and themed sets for parties or gift bags
Match sprinkle blends to school or party palettes. Package individual treats in clear bags with ribbon for favors. Add tiny seasonal accents like mini bats or stars to freshen each piece.
Inspiration from OREOiD custom creations for future seasonal sets
Draw ideas from OREOiD to plan a coordinated tray. Offer an oreos set with an insert card that names each character. Keep a steady chocolate base so flavors stay familiar across designs.
| Option | Why use it | Quick tip |
|---|---|---|
| Color family | Creates fast visual impact | Group three to five cookies per color |
| Finish variety | Matte, glossy, or glitter adds depth | Use edible shimmer for sparkle |
| Sprinkle blends | Personalizes for events | Mix two sprinkles for contrast |
| Packaged sets | Great for gifting or fundraisers | Label boxes and include an oreos set card |
Conclusion
A simple rhythm—melt, dip, press on eyes, and rest—delivers consistent, photo-ready results.
, Follow the proven ratio: 1 cup candy melts with 1 tablespoon coconut oil, heated in 30‑second bursts at 50% power. Thin with 1 teaspoon of oil at a time if the mix slows so each dipped oreos gets a smooth, glossy coat.
Work on a lined baking sheet with a sheet parchment paper so cookies release cleanly. Press on eyes and small accents while the surface is tacky, then make small final touches—like a nose mouth—after bases set.
Pack finished pieces in a bag or box with parchment between layers to protect faces and wings. Keep white candy melts, green candy melts, and orange candy melts on hand for cohesive color families and quick fixes using a dab of chocolate candy or warm candy melt.
With this recipe and workflow you can scale output, customize looks, and serve polished dipped oreo treats with confidence.
