5 Easy Garlic Bread Recipes for Last-Minute Dinners
In the midst of a dinner rush, a simple yet delicious solution can be a lifesaver. Did you know that garlic bread is among the top favorite comfort foods in the United States? It’s a versatile side dish that can elevate any meal.
This Website contains affiliate links. That means I may earn a small commission if you purchase through my links, at no extra cost to you.
Quick garlic bread recipes are a boon for busy evenings. With just a few ingredients and some simple steps, you can have a homemade garlic bread ready to go alongside your main course.
These easy dinner sides are not only tasty but also require minimal preparation, making them perfect for hectic weeknights.
Key Takeaways
- Discover simple garlic bread recipes for busy evenings.
- Learn how to make homemade garlic bread with minimal ingredients.
- Explore versatile options for easy dinner sides.
- Understand the benefits of quick garlic bread recipes.
- Find out how to customize garlic bread to your taste.
The Magic of Garlic Bread for Quick Meals
There’s something magical about the combination of garlic and bread that elevates any meal. Garlic bread has earned its place as a staple in American kitchens due to its simplicity, versatility, and the way it can transform a simple meal into something special.
One of the primary reasons garlic bread makes the perfect last-minute side dish is its ability to complement a wide range of main courses. Whether you’re serving pasta, soups, grilled meats, or salads, garlic bread can seamlessly integrate into your meal. The psychological satisfaction of adding a warm, aromatic element to your dinner cannot be overstated. It instantly elevates the dining experience, making even the simplest meals feel more satisfying.
Why Garlic Bread Makes the Perfect Last-Minute Side
Garlic bread is a time-efficient option compared to other side dishes. Its preparation requires minimal effort, and the result is a delicious, aromatic accompaniment to your meal. The powerful aroma of garlic bread creates a welcoming atmosphere, suggesting a home-cooked meal rather than a rushed, last-minute preparation.
Key benefits of garlic bread include:
- Quick preparation time
- Versatility in pairing with various main courses
- Aromatic appeal that enhances the dining experience
Bread Options for Different Recipes
Choosing the right bread is crucial for making great garlic bread. Different recipes call for different types of bread. For instance, a crusty baguette is ideal for a classic garlic bread, while ciabatta or sandwich bread can be used for a softer, more absorbent garlic bread. The type of bread you choose can significantly impact the final product.
Garlic Preparations: Fresh vs. Powdered vs. Pre-Minced
The way you prepare garlic can also affect the flavor and convenience of your garlic bread. Fresh garlic provides a robust, authentic flavor, while powdered garlic is a convenient alternative that still packs a punch. Pre-minced garlic, found in jars, offers a middle ground between the two, saving time on preparation while maintaining a good flavor.
Consider the following when choosing your garlic preparation:
- Flavor intensity: Fresh garlic is more intense than powdered or pre-minced.
- Convenience: Powdered or pre-minced garlic can save time.
- Recipe requirements: Some recipes may specify the type of garlic to use.
5 Easy Garlic Bread Recipes for Last-Minute Dinners
When dinner needs to be on the table quickly, garlic bread can be a lifesaver. These quick garlic bread recipes are designed to be prepared in no more than 10 minutes, using ingredients that are readily available in most kitchens.
The beauty of these recipes lies in their simplicity and flexibility. Whether you’re dealing with limited cooking equipment, tight time constraints, or specific dietary preferences, there’s a garlic bread recipe here to suit your needs.
What Makes These Recipes Perfect for Busy Weeknights
The five garlic bread recipes featured here share common attributes that make them ideal for weeknight dinner sides. They require minimal active preparation, use readily available ingredients, and can be cooked while waiting for the main dish to finish.
These recipes cater to different kitchen scenarios, ensuring that you can prepare a delicious garlic bread regardless of your cooking setup or time limitations. The balance between convenience and flavor is key, proving that “quick” doesn’t have to mean sacrificing taste.
Kitchen Tools You’ll Need
To make these garlic bread recipes, you’ll need some essential kitchen tools. Basic equipment includes a baking sheet, a sharp knife, and a mixing bowl.
Optional tools that can enhance efficiency include a garlic press, pastry brush, and aluminum foil. Here’s a summary of the tools needed:
| Tool | Purpose | Essential/Optional |
|---|---|---|
| Baking Sheet | Cooking garlic bread | Essential |
| Sharp Knife | Cutting bread | Essential |
| Mixing Bowl | Preparing garlic butter | Essential |
| Garlic Press | Crushing garlic | Optional |
| Pastry Brush | Applying garlic butter | Optional |

Classic Buttery Garlic Bread
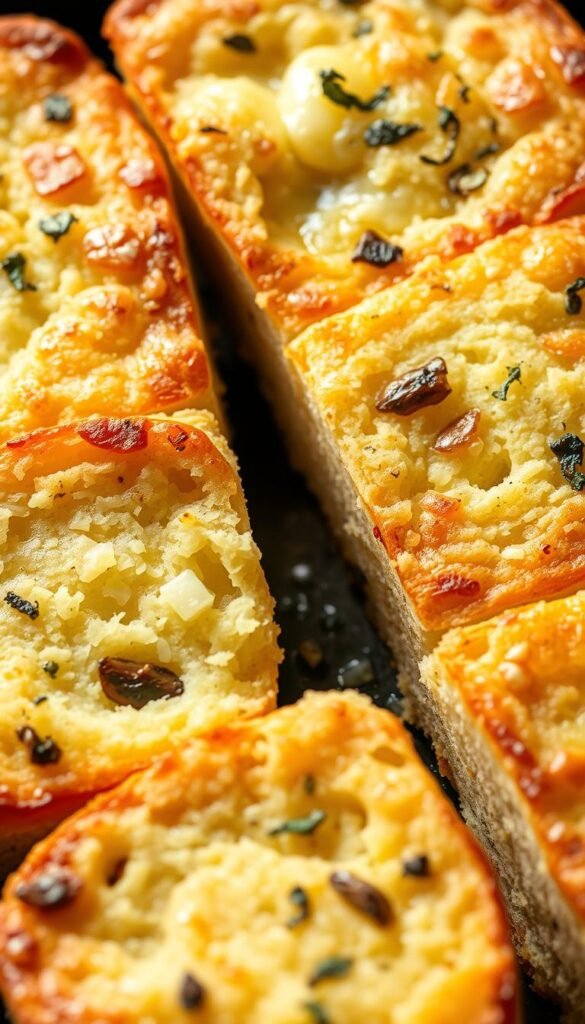
For a timeless side dish that’s sure to please, look no further than the classic buttery garlic bread recipe. This oven-baked delight combines the simplicity of French bread with the richness of butter and the pungency of garlic, creating a flavor profile that’s both comforting and sophisticated.

Ingredients List
To make this classic garlic bread, you’ll need the following ingredients:
- 1 loaf of French bread (preferably day-old bread)
- 1/2 cup (1 stick) of unsalted butter, softened
- 3 cloves of garlic, minced
- 1 tablespoon of chopped fresh parsley
- Salt to taste
- Optional: 1/4 cup of grated Parmesan cheese, 1 teaspoon of Italian seasoning
These ingredients are likely pantry staples, making this recipe easily accessible even on short notice.
Step-by-Step Preparation
Preparing your buttery garlic bread involves a few straightforward steps:
- Preheat your oven to 350°F (175°C).
- Slice the French bread in half lengthwise and place it on a baking sheet.
- In a small bowl, mix together the softened butter, minced garlic, and chopped parsley.
- Spread this garlic butter mixture evenly onto the bread halves.
- If using, sprinkle Parmesan cheese and Italian seasoning over the butter.
- Bake in the preheated oven for 10-12 minutes, or until the bread is toasted and the butter is melted.
- For an extra crispy crust, broil the bread for an additional 1-2 minutes, watching closely to avoid burning.
This oven-baked garlic bread recipe results in a perfectly toasted loaf with a golden crust.
Serving Suggestions and Pairings
This classic buttery garlic bread is versatile and pairs well with a variety of main dishes. Serve it alongside pasta dishes like spaghetti Bolognese, with soups such as tomato soup, or with roasted meats like chicken or beef. To ensure the bread is warm when serving, time its preparation to coincide with the main course.
Time-Saving Tips
To make this recipe even quicker, consider the following tips:
- Softening butter quickly can be done by microwaving it for 10-15 seconds or by grating it.
- Prepare the garlic butter mixture ahead of time and store it in the refrigerator.
- Use pre-minced garlic or garlic powder to save on prep time.
- Clean your baking sheet immediately after use to prevent butter and garlic from hardening.
By implementing these strategies, you can enjoy your classic garlic bread with minimal fuss.
Cheesy Garlic Pull-Apart Bread
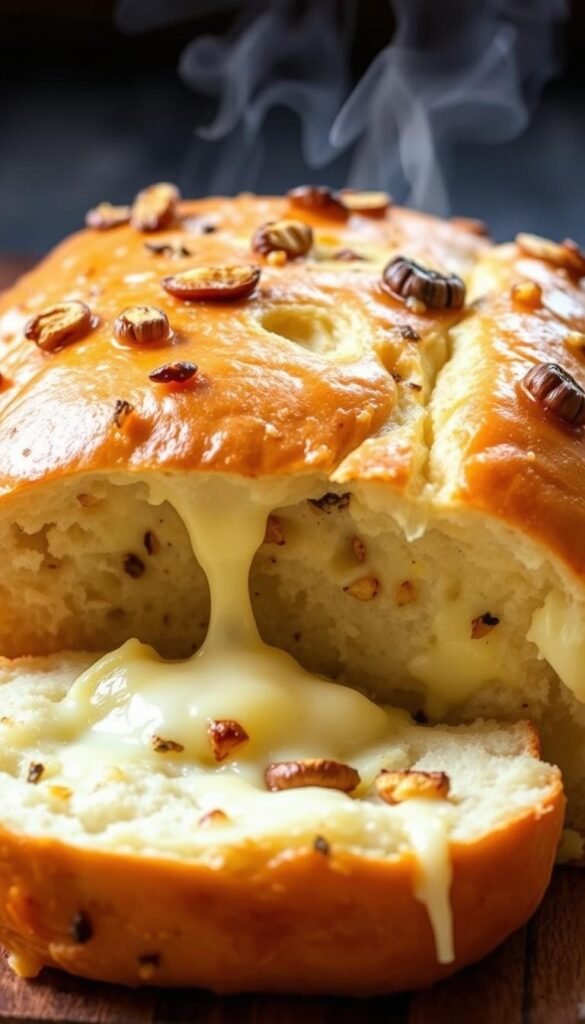
For a shareable and delicious twist on traditional garlic bread, try making Cheesy Garlic Pull-Apart Bread. This interactive bread is perfect for family dinners, game-day gatherings, or any occasion where you want to serve something special with minimal fuss.
Ingredients List
To make this delightful Cheesy Garlic Pull-Apart Bread, you’ll need the following ingredients:
- 1 round sourdough loaf
- 1/2 cup unsalted butter, softened
- 3 cloves garlic, minced
- 1 cup mozzarella cheese, shredded
- 1/4 cup grated Parmesan cheese
- 1 tsp dried oregano
- Salt and pepper to taste
Step-by-Step Preparation
Preparing Cheesy Garlic Pull-Apart Bread involves a few simple steps:
- Preheat your oven to 350°F (175°C).
- Prepare the garlic butter by mixing softened butter with minced garlic.
- Cut the sourdough loaf in a crisscross pattern, being careful not to cut all the way through.
- Stuff the loaf with shredded mozzarella cheese between the cuts.
- Spread the garlic butter over the loaf, making sure it seeps into the cuts.
- Sprinkle Parmesan cheese and oregano over the top.
- Bake for 15-20 minutes, or until the cheese is melted and bubbly.

Serving Suggestions and Pairings
Cheesy Garlic Pull-Apart Bread is a versatile side dish that pairs well with a variety of meals. Serve it alongside:
| Meal | Description |
|---|---|
| Chili | A hearty, comforting bowl of chili is elevated by the cheesy, garlicky goodness. |
| Stews | Whether it’s a beef stew or a vegetable stew, this bread is a perfect accompaniment. |
| Game-day Spread | It’s a crowd-pleaser for any sports gathering, easy to grab and go. |
Time-Saving Tips
To make this recipe even quicker, consider these tips:
- Use pre-sliced cheese to save on preparation time.
- Utilize store-bought garlic butter as a base.
- Prepare the loaf in advance and refrigerate until baking time.
No-Bake Stovetop Garlic Bread
No-bake stovetop garlic bread is an innovative twist on a classic recipe, ideal for busy weeknights or hot summer days when you don’t want to heat up the kitchen.

Ingredients List
To make delicious stovetop garlic bread, you’ll need the following ingredients:
- 4 slices of sturdy bread (such as baguette or Italian bread)
- 3 cloves of garlic, minced
- 1/4 cup of clarified butter or oil
- 1 teaspoon of dried oregano
- Salt and pepper to taste
You can substitute the bread with gluten-free options if needed, and for a vegan version, use a plant-based butter or oil.
Step-by-Step Preparation
Follow these steps to achieve perfectly cooked stovetop garlic bread:
- Heat a large skillet over medium heat.
- Mix minced garlic with clarified butter or oil.
- Brush the garlic butter mixture evenly onto each bread slice.
- Place the bread slices in the skillet, garlic side down.
- Cook for 2-3 minutes or until the bread develops a golden crust.
- Flip the bread over and cook for another minute.
- Remove from heat and season with salt, pepper, and dried oregano.
The key to this recipe is managing the temperature to prevent burning the garlic while achieving a crispy crust.
Serving Suggestions and Pairings
Stovetop garlic bread pairs exceptionally well with:
- Grilled meats and vegetables
- Salads for a crunchy contrast
- Soups, especially creamy broths
Its unique texture, with a crisper exterior and softer interior, adds variety to your meal.
Time-Saving Tips
To make the most of your time:
- Prepare the garlic butter mixture in advance and store it in the fridge.
- Cook multiple slices in succession to save time.
- Use a cast-iron skillet for even heat distribution.
Cleanup is easy; just wipe the skillet with a paper towel, and to prevent lingering garlic odors, wash the skillet with soap and warm water.
Air Fryer Garlic Bread Sticks
Discover the secret to making perfect garlic breadsticks using your air fryer. This innovative method produces crispy, golden breadsticks with a soft interior, all within minutes. It’s a perfect solution for last-minute dinners or as a snack to accompany your favorite dips.
Ingredients List
To make air fryer garlic breadsticks, you’ll need the following ingredients:
- 1 package of pre-made breadstick dough
- 2 cloves of garlic, minced
- 2 tablespoons of unsalted butter, softened
- 1/4 cup of grated Parmesan cheese
- 1 teaspoon of dried oregano
- Salt, to taste
Step-by-Step Preparation
Follow these steps to prepare delicious garlic breadsticks in your air fryer:
- Preheat your air fryer to 375°F (190°C).
- Roll out the breadstick dough to your desired thickness.
- Mix the minced garlic and softened butter, then brush the mixture evenly over the dough.
- Sprinkle Parmesan cheese and dried oregano over the garlic butter layer.
- Cut the dough into breadstick shapes and place them in a single layer in the air fryer basket.
- Cook for 5-7 minutes, or until the breadsticks are golden brown.
| Air Fryer Model | Temperature | Cooking Time |
|---|---|---|
| Model A | 375°F | 5 minutes |
| Model B | 380°F | 6 minutes |
| Model C | 370°F | 7 minutes |
Serving Suggestions and Pairings
Air fryer garlic breadsticks are versatile and can be served with a variety of dips and dishes. Some popular options include:
- Marinara sauce
- Garlic dip
- Soups, such as tomato soup or creamy broths
- Pasta dishes, like spaghetti or lasagna
Time-Saving Tips
To save time when making air fryer garlic breadsticks, consider the following tips:
- Use refrigerated dough products to skip the dough preparation step.
- Prepare the garlic butter mixture in advance and store it in the refrigerator.
- Clean the air fryer basket between batches to ensure even cooking.
Microwave Emergency Garlic Bread
When dinner is on the line and time is running out, Microwave Emergency Garlic Bread is here to save the day. This quick fix is perfect for those moments when you need a delicious side dish in a flash. While it may not replace the crispy goodness of oven-baked garlic bread, this microwave version is a lifesaver in true emergencies.
Ingredients List
To make Microwave Emergency Garlic Bread, you’ll need the following basic ingredients:
- 2 slices of sandwich bread
- 1-2 cloves of garlic, minced (or 1/2 teaspoon garlic powder)
- 1 tablespoon butter, softened
- Salt and pepper to taste
- Optional: dried herbs like parsley or oregano
If you have a bit more time, consider upgrading with grated cheese or using a garlic spread for enhanced flavor.
Step-by-Step Preparation
Follow these steps to make the best Microwave Emergency Garlic Bread:
- Start by spreading one side of each bread slice with softened butter.
- Sprinkle minced garlic or garlic powder evenly over the buttered side.
- Place the bread slices, garlic side up, on a microwave-safe plate lined with a paper towel.
- Cook on high for 20-30 seconds. Check the bread; if it’s not done, continue in 10-second increments until it reaches your desired level of toastiness.
- Remove carefully as the plate may be hot.
Tip: Using a paper towel helps absorb moisture and can prevent the bread from becoming soggy.
| Cooking Time | Result |
|---|---|
| 20 seconds | Lightly toasted |
| 30 seconds | Moderately toasted |
| 40 seconds | Very toasted (be cautious of overcooking) |
Serving Suggestions and Pairings
Microwave Emergency Garlic Bread is best served alongside dishes that complement its softer texture. Try it with:
- Hearty soups or stews for dipping
- Pasta dishes, especially those with light, oily sauces
- Grilled meats or vegetables for a quick, satisfying side
While it may not be as crispy as other garlic bread recipes, it still packs plenty of garlicky flavor.
Time-Saving Tips
To maximize efficiency, consider these tips:
- Prepare a batch of garlic butter in advance and store it in the refrigerator for up to a week.
- Cook multiple slices at once to save time for future meals.
- For a crisper texture, briefly toast the bread in a toaster before adding garlic butter and microwaving.
By following these steps and tips, you can enjoy a tasty garlic bread emergency fix in under 2 minutes, making it a valuable addition to your quick meal arsenal.
Common Mistakes to Avoid When Making Quick Garlic Bread
Making garlic bread can be a straightforward process, but several common mistakes can turn this simple task into a culinary challenge. To achieve the perfect garlic bread, it’s essential to understand the pitfalls that can lead to disappointing results.
Temperature and Timing Issues
One of the most critical aspects of making garlic bread is getting the temperature and timing right. Preheating the oven adequately is crucial to ensure that the bread cooks evenly. Cooking at too high a temperature can result in a burnt exterior and a raw center, while too low a temperature can lead to dried-out bread. It’s also vital to watch the garlic bread constantly during the final minutes of cooking, as garlic can quickly go from perfectly toasted to burnt.
The science behind why garlic burns so quickly lies in its chemical composition. Garlic contains compounds that are sensitive to heat, and when exposed to high temperatures, these compounds can rapidly degrade, leading to a bitter taste. To prevent this, it’s recommended to keep an eye on the garlic bread during the last few minutes of baking and to adjust the cooking time as needed.
Ingredient Balance Problems
Another common issue when making garlic bread is achieving the right balance of ingredients. Too much butter can make the bread soggy, while too little can result in a dry, flavorless loaf. Similarly, insufficient garlic can lead to a bland taste, while too much garlic can overpower the other flavors. To avoid these problems, it’s helpful to use specific ratios, such as tablespoons of butter per inch of bread, and to ensure even distribution of the ingredients.
To achieve a well-balanced flavor, it’s also important to consider the type of bread being used. For example, a denser bread may require more butter and garlic than a lighter bread. By understanding the characteristics of the bread and adjusting the ingredients accordingly, you can create a delicious and aromatic garlic bread that complements a wide range of dishes.
Customizing Your Garlic Bread
Whether you’re looking to spice up your garlic bread or adapt it to dietary restrictions, there are countless ways to make it your own. The beauty of garlic bread lies in its simplicity and flexibility, allowing you to experiment with various flavors and ingredients.
Herb and Spice Variations
One of the simplest ways to give garlic bread a new twist is by incorporating different herbs and spices. For a Mediterranean flair, try adding oregano, basil, and sun-dried tomatoes to your garlic butter. For a Southwestern-inspired version, mix in cilantro, lime zest, and a pinch of mild chili powder. If you prefer a savory-sweet combination, rosemary and honey can create a fascinating flavor profile.
| Variation | Ingredients | Complements |
|---|---|---|
| Mediterranean | Oregano, Basil, Sun-dried Tomatoes | Pasta dishes, Grilled vegetables |
| Southwestern | Cilantro, Lime Zest, Chili Powder | Mexican dishes, Grilled meats |
| Savory-Sweet | Rosemary, Honey | Roasted meats, Soups |
Dietary Adaptations
For those with dietary restrictions, garlic bread can still be a delicious option. To make gluten-free garlic bread, use a commercially available gluten-free bread or make your own using gluten-free flours. Be aware that gluten-free breads tend to dry out more quickly, so keep an eye on your bread while it’s baking. For vegan garlic bread, substitute traditional butter with a plant-based alternative and use nutritional yeast to achieve a cheesy flavor.
Adapting garlic bread to dietary needs doesn’t have to be complicated. By making a few simple substitutions, you can enjoy this tasty side dish while adhering to your dietary preferences.
Storing and Reheating Tips
To enjoy garlic bread at its best even on the busiest days, understanding how to store and reheat it properly is key. This knowledge not only saves time but also ensures that your garlic bread remains delicious and fresh.
Making Garlic Bread Ahead of Time
Preparing garlic bread components in advance can be a significant time-saver. You can mix and refrigerate the garlic butter days before, or prepare the bread up to the point of baking and store it in the refrigerator or freezer. Proper wrapping is crucial to prevent drying or absorption of refrigerator odors. For instance, wrapping the bread tightly in plastic wrap or aluminum foil can help maintain its freshness.
Here are some strategies for making garlic bread ahead:
- Mix garlic butter and store it in the refrigerator for up to 3 days.
- Assemble the bread up to the baking point and refrigerate or freeze it.
- Bake the bread completely, then store it properly for quick reheating later.
Best Methods for Reheating
The method you choose for reheating garlic bread can significantly impact its final texture and flavor. Here are some common methods and their effects:
| Reheating Method | Temperature | Time | Result |
|---|---|---|---|
| Oven | 350°F | 5-10 minutes | Crisp crust, soft interior |
| Toaster Oven | 325°F | 3-5 minutes | Crispiness with less energy |
| Air Fryer | 300°F | 2-3 minutes | Quick and crispy |
| Microwave | High | 20-30 seconds | Soft, potentially soggy |
To avoid common issues like dryness or sogginess, it’s essential to monitor the reheating process closely. Using a toaster oven or air fryer can help achieve a crispy crust while keeping the interior soft.
Conclusion
Delicious garlic bread is now within reach, even on the busiest weeknights. The five easy garlic bread recipes explored in this article offer a range of options to suit different tastes and time constraints. From classic oven-baked garlic bread to quick microwave emergency garlic bread, there’s a method to fit every scenario.
These easy garlic bread recipes can transform ordinary dinners into special experiences. By experimenting with different methods and customization options, you can develop your perfect garlic bread recipe. Whether you’re serving a family dinner or entertaining guests, quick dinner sides like garlic bread are sure to impress.
Mastering the art of homemade bread recipes like garlic bread is a simple culinary skill worth acquiring. With minimal investment in time and ingredients, you can enjoy a delicious homemade side dish that elevates your meals. Try out the different recipes and techniques presented here to find your new favorite way to make garlic bread.


