Spooktacular Halloween Cupcakes
Surprising fact: nearly 70% of hosts say dessert design is the first thing guests remember at a party.
This Website contains affiliate links. That means I may earn a small commission if you purchase through my links, at no extra cost to you.
That scale matters: a simple recipe and tidy piping can make your dessert table look professional without hours of work.
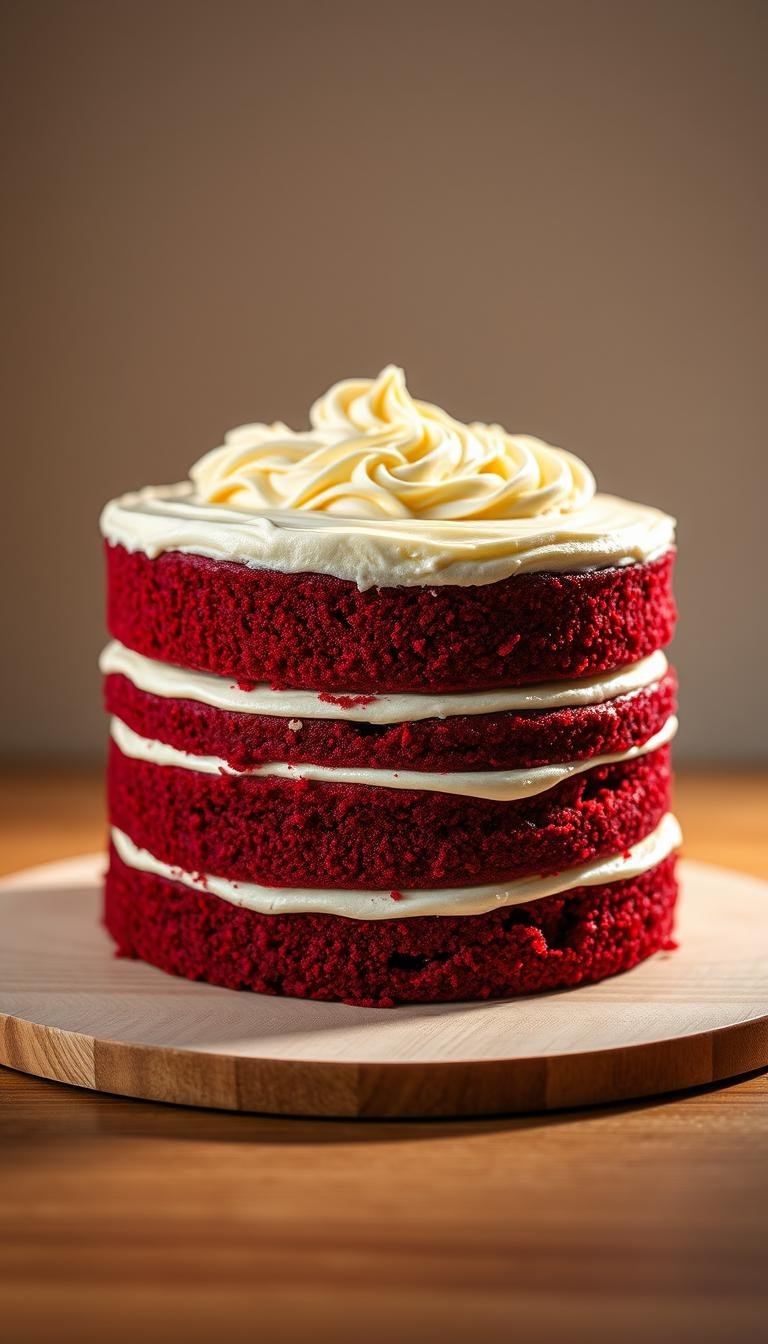
Start with fully cooled bases to prevent melting and sliding of frosting and decorations. Use a sturdy vanilla buttercream for crisp piping and consider Swiss meringue as a less-sweet alternative for smoother cream textures.
Four beginner-friendly designs—green monsters, purple monsters, jack-o’-lanterns, and Oreo spiders—need only a small toolkit and basic Wilton tips. Gel colors like Americolor Orange, Leaf Green, Super Black, and a Fuchsia+Violet mix deliver bold hues without thinning your frosting.
Quick color tip: frosting darkens as it sits; mute neon tones with the tiniest dot of black gel on a toothpick. Add candy eyeballs just before serving to avoid pupil bleeding and keep photos sharp.
Key Takeaways
- Begin with fully cooled bases for clean results.
- Vanilla buttercream pipes sharp details; Swiss meringue is less sweet.
- Use Americolor gels for intense color without thinning.
- Try four easy designs to mix and match on a dessert tray.
- Add candy eyes right before serving to prevent color bleed.
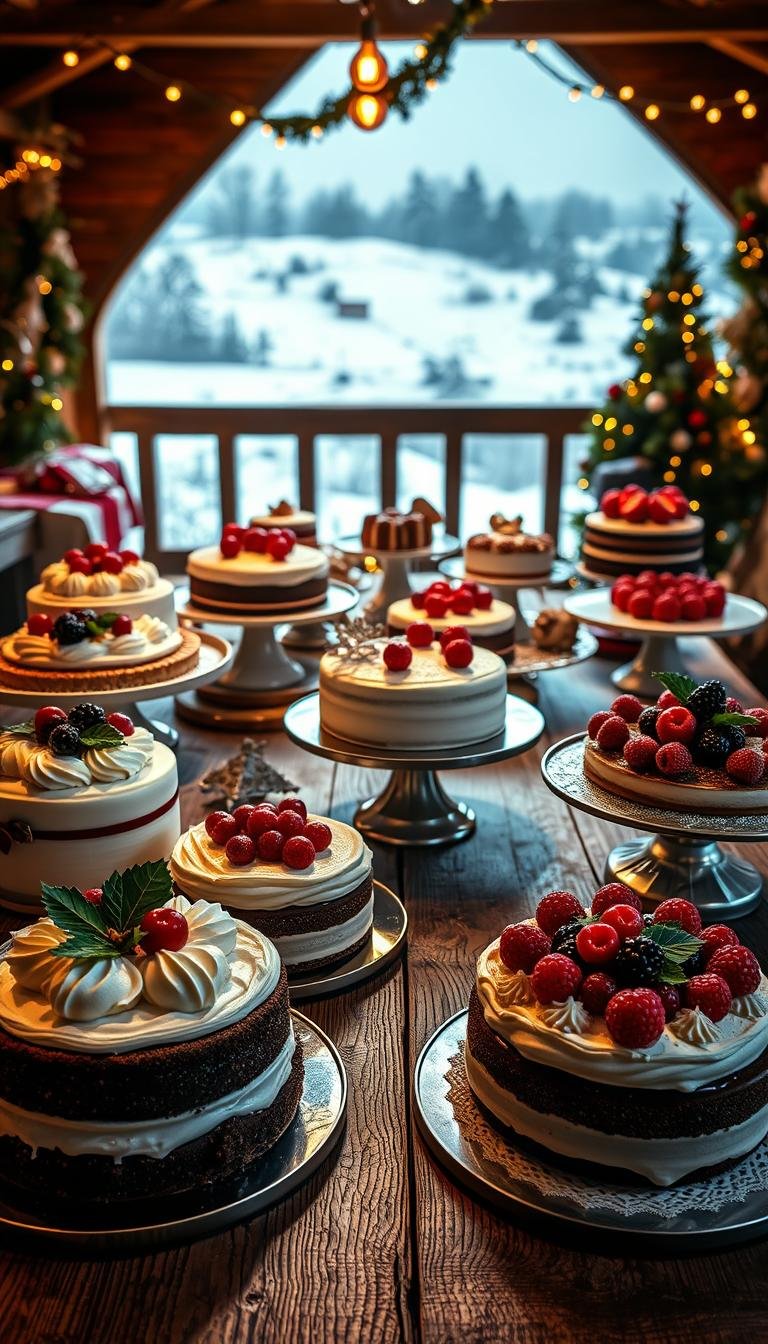
Why These Halloween Cupcakes Belong at Your Monster Mash
A single tray that blends monsters, pumpkins, and spider webs keeps your party spread lively and cohesive.
Home bakers praise these designs for being fun and easy to follow. Green and purple monsters bring playful vibes while jack-o’-lanterns add classic seasonal charm.
Spider-web designs use crushed Oreos for crunch. That contrast pairs well with creamy frosting and candy eyes for pops of color and texture.
The range suits every skill level. Beginners can repeat a few basic piping moves and still impress. Advanced decorators can layer details and textures for more wow.
- Flavor flexibility: pair decorations with pumpkin, vanilla, or chocolate bases for seasonal variety.
- Decorations double as tabletop décor, turning your dessert display into a focal point.
- Batch colors and reuse one piping tip across designs to save time and cleanup.
Follow the simple recipe steps and you’ll have party-ready treats that look curated and taste great.
Ingredients You’ll Need for Cupcakes, Frosting, and Decorations
A short shopping list of pantry essentials sets you up for neat piping and bold colors. Gather quality ingredients and prep them before you start to avoid lumps and color streaks.
Base cupcake options
Pick one: moist chocolate cupcake, classic vanilla cupcake, or seasonal pumpkin cupcake. Each base supports bold toppings and rich flavor pairings.
Frostings
Vanilla buttercream: butter, confectioners’ sugar, a splash of cream, and vanilla extract. This buttercream holds sharp ridges for piping.
Cream cheese frosting: cream cheese, butter, powdered sugar, and vanilla. It spreads easily but will not keep very crisp edges.
Decorations and extras
- Gel food coloring (Americolor Orange, Leaf Green, Super Black, Fuchsia + Violet)
- Large and small candy eyeballs, mini Oreos, pretzel rods, and sprinkles
- Sift lumpy confectioners’ sugar; measure by cup or use a scale. Add a pinch of salt and a teaspoon-level boosts balance.
Prep tip: Bring butter, cream, and cream cheese to room temperature, portion colors into small bowls, and keep a tidy workstation to prevent cross-color streaks.
Essential Tools and Piping Tips
Gathering the right tools makes decorating faster and keeps piping consistent across every treat. A compact kit reduces mistakes and helps you move through color batches without losing momentum.
Core gear to have ready
Use disposable or reusable piping bags with couplers so you can swap a tip quickly between colors. Wilton #21 (open star) creates spirals and star “fur.” #125 (petal) makes pumpkin ridges. #4 (small round) draws webs and facial lines.
Optional extras and mixing setup
Try grass tip 233 for a shaggy monster texture if you want extra dimension beyond the open star look. A stand or hand mixer plus several mixing bowls lets you split frosting into vivid batches fast.
Small tools that make a big difference
Keep a small offset spatula and bench scraper or knife to smooth bases for spider-web work. Line a sheet pan with wax paper to pipe candy-melt vines, then transfer once firm.
- Pack extra liners to ensure even portioning and easy release when baking multiple trays.
- Organize tips and bags on a tray to avoid misplacing tiny parts mid-decorating.
Choose Your Base: Chocolate, Vanilla, or Pumpkin Cupcakes
Choose a reliable base—your batter choice sets texture, taste, and how well decorations sit. The right foundation makes decorating easier and keeps colors sharp.
Moist chocolate options
Two methods deliver very different chocolate results.
- Buttermilk + sour cream: yields a dense, fudgy crumb ideal for a rich cake finish. Use high-quality cocoa and keep liquids balanced for tenderness.
- Boiling-water method: makes a thin batter that bakes into an ultra-moist, tender crumb. This technique gives a lighter feel while staying intensely chocolatey.
When to pick vanilla or pumpkin
Vanilla is your go-to when you want colors to pop and a neutral profile that complements any topping.
Pumpkin brings seasonal spice and pairs especially well with tangy cream cheese frosting and jack-o’-lantern décor.
“Fill liners about two-thirds full for even domes, then test with a toothpick and rotate pans if needed for even bakes.”
After baking, let cupcakes rest in the pan for 10 minutes in their liners, then transfer to a rack and cool completely before frosting. This step prevents melting and slipping of decorations.
Frosting That Holds Shape: Vanilla Buttercream vs Cream Cheese
Pick the right frosting and you’ll set the stage for sharp details or soft, tangy swirls. Your choice affects piping, tinting, and how long decorations hold their shape.
When to use vanilla buttercream for defined piping
Vanilla buttercream is the go-to when you want crisp ridges, star points, and clean line work on webs and jack-o’-lantern features. Scale the recipe up if you plan to decorate many treats.
Reliable method: beat butter until creamy, add most of the confectioners’ sugar, then mix in cream and vanilla. Adjust with more sugar to thicken or a splash of cream to loosen until you reach a pipe-ready consistency.
How to make tangy cream cheese frosting for easy spreading
Cream cheese frosting suits simple swirls and spreads where tang is preferred over razor edges. Use room-temperature cream cheese and butter for a silky texture.
To control sweetness, add a pinch of salt. If the frosting is too soft, add more confectioners’ sugar; if too stiff, add a tablespoon of cream at a time to loosen.
- Bubble-busting step: press frosting firmly against the bowl with a spatula to remove air pockets for a satiny finish.
- Tinting: buttercream takes gel color easily; cream cheese also tints but may need extra sugar to keep details crisp.
- Workflow tip: make frosting in two stages when working multiple colors to keep texture consistent across a long decorating window.
“Stir and press frosting against the bowl after whipping to smooth out trapped air and create a stable surface for piping.”
Color Like a Pro: Gel Food Coloring, Toning, and Drying Time
Bright, stable color starts at the bowl — and the right gel keeps your icing firm while giving it real pop.

Why gel beats liquid for vivid color
Gel formulas deliver saturated hues without thinning your frosting. Unlike liquid dyes, gels add pigment but not extra water, so piped details hold their shape.
Toning neon colors with a toothpick
If a shade reads too bright, dip the tip of a toothpick into Super Black gel and stir a tiny dot in. Mix thoroughly and add more sparingly until the tone is right.
Plan for color change as it dries
Colors deepen as icing sits in the bag and while it dries on the cupcake. Aim slightly lighter in the bowl and test swatches on wax paper to preview final shades.
- Core palette: Americolor Orange, Leaf Green, Super Black, and a Fuchsia+Violet mix.
- Make dark shades like black ahead so they settle without over-coloring.
- Small test patches save time and wasted batches when you need exact matches.
Cupcakes Halloween: Step-by-Step Decorating Roadmap
Lay out your color bowls and tips before you touch a single frosted top so you can move through the instructions without stopping. Assemble Wilton #21, #125, and #4 where they are easy to reach.
Start by piping base colors across the tray. Use #21 for star or spiral textures and #125 for pumpkin ridges. Draw webs and facial lines with #4 after bases set slightly.
Prep a separate piping bag for each color to avoid tip swaps, or use couplers when one tip must serve multiple shades. This simple tip saves time and keeps lines crisp.
Pipe spirals from the outside to the center for stable monster mounds. Lay out candy eyes and sprinkles nearby so you can add them while frosting is tacky.
Work in short bursts and rest your hands for a few minutes between batches to steady pressure and avoid shaky lines. Finish each cupcake with eyes and sprinkles just before serving to prevent color bleed.
Follow this order: color bases, structural ridges or lines, faces or webs, then final garnish. It keeps the workflow fast, tidy, and faithful to the recipe.
Green Monster Cupcakes Tutorial
Get the color right before you decorate. Tint a small bowl of frosting with Leaf Green gel and test one swirl. If the hue reads too neon, add the tiniest dot of Super Black and mix until the shade looks natural and camera-ready.
Prepare your tools: fit a piping bag with Wilton #21 and practice a steady coil on parchment to find a comfortable pressure and motion.
Tinting leaf green and muting with a dot of black
Tint in small batches so you can adjust tone without wasting frosting. A microscopic dot of Super Black will dull neon without muddying the color.
Piping a spiral with an open star tip
Load your piping bag and hold it at a 90-degree angle. Pipe from the outer edge inward to build height and form a neat landing spot for the eye.
Centering a large candy eyeball and adding sprinkles
Press a large candy eyeball into the center while the frosting is still fresh so it adheres cleanly. Do this within a few minutes of piping to avoid slippage.
Scatter sprinkles sparingly to keep the eye as the focal point and add playful sparkle without cluttering the swirl.
“Practice one spiral on parchment first — steady pressure and a consistent pace make the best monster mounds.”
| Step | Action | Why it matters |
|---|---|---|
| 1 | Tint Leaf Green; mute with a tiny dot of Super Black | Prevents neon tones and yields a photogenic food color |
| 2 | Fit piping bag with Wilton #21 and practice | Ensures even spiral thickness and reliable texture |
| 3 | Pipe from edge to center; place eyeball immediately | Creates height and secures the focal piece in the center |
| 4 | Add a few sprinkles if desired | Enhances playfulness while keeping the eye dominant |
Purple Monster Cupcakes Tutorial
Give your monster a playful, camera-ready coat by blending two gels until the purple reads pinkish under indoor lights.
Mixing Fuchsia + Violet for pinkish-purple
Blend small amounts of Fuchsia and Violet gel in a bowl. Stir until you reach a vivid pinkish-purple that still looks natural on camera.
Test one dab on parchment and view it in room light. Adjust with tiny dots—never add too much at once—to avoid muddy tones.
Piping star “fur” with #21 and placing small candy eyes
Fit a piping bag with Wilton #21. Practice short, firm squeezes to create many small stars across the top, like hydrangea piping.
Cover the surface densely but avoid heavy overlap so each star keeps a crisp point. Press small candy eyes into the frosting within a few minutes so they set without slipping.
- Vary squeeze pressure slightly for depth and movement.
- Add a few sprinkles sparingly for texture without crowding the face.
| Step | Action | Why it helps |
|---|---|---|
| 1 | Mix Fuchsia + Violet | Creates a photo-friendly pinkish-purple |
| 2 | Fit #21 in a piping bag; practice stars | Ensures uniform star “fur” and steady piping |
| 3 | Place candy eyes within minutes | Keeps eyes secure and prevents slipping |
Jack-o’-Lantern Cupcakes with Defined Ridges
Give your pumpkins clear, curved ridges for a pro look by piping panels that meet at a central seam. This approach creates depth and makes each mini pumpkin pop on the dessert table.
Petal tip technique for pumpkin panels
Fill a bag with orange frosting and fit a large petal tip (#125). Pipe curved panels from one side toward the middle, repeating around the top.
Finish with a vertical center line to accentuate the ridges and create a realistic pumpkin segment effect.
Green stem and black facial features
Use a #21 in green to pipe a short stem at the top. Switch to a #4 with Super Black gel to draw eyes, nose, and a mouth.
Keep the features bold but simple for camera-friendly results.
Pumpkin patch variation with pretzel stems
Break pretzel rods into 1-inch pieces and press them into the center as rustic stems.
Pipe hardened green candy melt vines on wax paper, transfer when set, and add sprinkles for a patch effect.
- Keep panels slightly overlapping at the sides to avoid gaps.
- Consider an orange-tinted cream cheese frosting base for a tangier flavor, then pipe details with stiffer buttercream.
| Element | Tool | Tip |
|---|---|---|
| Pumpkin panels | Petal tip #125 | Pipe curved strokes from side to center for natural ridges |
| Stem | Open star #21 | Short vertical squeeze, slightly off-center for realism |
| Face details | Round tip #4 | Draw simple shapes for bold contrast |
Spider Web Cupcakes with Oreo Spiders
A flat, even layer of white icing sets the stage for precise web lines and tiny spider accents.
Spread a level white base with a small offset spatula for clean edges and a stable canvas. Let the frosting rest for a couple of minutes so piping stays crisp.
Web technique and spider assembly
Fit a bag with Wilton #4 and pipe three intersecting spokes from center to edge. Connect them with gentle curved lines to form a classic web.
Place half a mini Oreo as the spider body and attach two tiny candy eyeballs using dots of black frosting. Pipe eight thin legs radiating from the cookie with the same tip.
Color swap and variations
For contrast, top a chocolate ganache layer and pipe white webs. Alternatively, melt chocolate and use it for firmer legs that add extra chocolate flavor.
- Twist mini Oreos gently to separate; remove some filling to let the spider sit lower.
- Work in short bursts so lines stay even — a steady hand in a few minutes makes all the difference.
| Element | Tool | Why it helps |
|---|---|---|
| White base | Offset spatula | Creates a smooth canvas for fine piping |
| Web lines | Wilton #4 tip | Produces thin, precise black strands |
| Spider body | Mini Oreo + candy eyes | Fast, playful focal point with texture |
| Legs option | Melted chocolate or black frosting | Chocolate sets firm and boosts flavor |
Gluten-Free and Allergy-Savvy Tips
A few targeted ingredient swaps let you keep festive designs while serving allergy-aware guests.

Use reliable cup-for-cup blends so texture and crumb stay familiar. Bob’s Red Mill 1-to-1 Gluten-Free Flour and King Arthur Gluten-Free Measure for Measure Flour work as direct substitutes in most recipes.
Flour and base swaps
These blends keep moisture and structure in a small cake or batch of treats. Chocolate recipes adapt well to them, giving a tender bite.
Cookie and eye alternatives
Pick gluten-free Oreos or bake tiny homemade black cookies for spider bodies. Candy eyes are often gluten-free; always check labels.
“When in doubt, make DIY eyes with melted white chocolate and mini chocolate chips.”
| Item | Option | Why it helps |
|---|---|---|
| Flour | Bob’s Red Mill / King Arthur | Reliable cup-for-cup texture |
| Cookie body | GF Oreos or small homemade cookies | Keeps look and crunch |
| Eyes | Candy eyes or white chocolate + chips | Easy label check or DIY safe option |
Safety note: verify cross-contact risks for highly sensitive guests and keep decorations packaged separately until assembly. If using cream cheese, check that labels meet dietary needs.
These small changes let your decorated treats stay photo-ready while keeping guests safe and satisfied with each bite of chocolate or other flavors.
Make-Ahead, Storage, and Transport
Plan storage from the start so flavors and shapes stay camera-ready. A simple timeline keeps texture steady and prevents last-minute fixes.
Room temperature vs refrigeration timelines
Unfrosted treats can sit covered at room temperature for up to 2 days. After that, refrigerate for up to 4 days to preserve freshness.
Frosted cupcakes with buttercream refrigerate well for up to 3 days. If you use cream cheese frosting, chill promptly and keep those in the fridge.
Why candy eyeballs should be added close to serving
Add candy eyes just before serving. Refrigeration adds moisture that can cause the black pupil to run. Save those final details for the last few minutes on site for the best photos and clean lines.
Freezing undecorated or simply frosted cupcakes
Freeze unfrosted or simply frosted items for 1–3 months. Wrap tightly, thaw fully, then finish piping and add cookies or eyes.
- Transport tip: use a sturdy cupcake carrier and snug liners to protect webs and ridges.
- At the venue, budget a few extra minutes to place eyes and sprinkles for a sharp final look.
“Freeze early, finish late: freeze plain or lightly frosted bases; add delicate decor after thawing and just before serving.”
Troubleshooting Texture, Piping, and Color
When texture or color goes off, a few targeted moves will get your icing back on track fast.
Fix thick or thin frosting: if too loose, add up to 1/2 cup confectioners’ sugar a few tablespoons at a time. If too stiff, add cream 1 tablespoon at a time and re-mix until smooth. A pinch of salt can balance an overly sweet batch.
Pop air bubbles: beat just to combine, then press frosting firmly against the bowl with a spatula to release trapped air. This yields a glassy surface that resists tiny holes when piping.
Preventing color bleed and over-neon tones
Add candy eyes at the last time possible and let base icing crust slightly before placing dark details. Tone neon shades with the tiniest touch of Super Black and wait a few minutes — colors deepen as they sit.
- Keep a steady piping tip angle and consistent pressure; clean clogs promptly for crisp lines.
- Diagnose texture quickly: add confectioners’ sugar if loose; add cream if stiff and then re-mix.
- Season subtly with salt to lift flavors without dulling color.
Conclusion
Keep your setup simple and the results will follow. Use a small set of tips and three go-to gel colors to unlock monsters, jack-o’-lanterns, and spider-web looks with minimal cleanup.
Choose buttercream when you need crisp detail and butter-forward structure. Pick cream cheese when you want tang and an easy, spreadable frosting. Both approaches work in these recipes and the single recipe flow keeps things efficient.
Bake and freeze plain bases, then finish fresh for the best texture. Add candy eyes at the last minute to avoid bleeding. Mix chocolate, vanilla, and pumpkin bases for a varied platter of halloween cupcakes that balances flavor and visual punch.