Easy Halloween Recipes: Spooky and Delicious “recette halloween”
Surprising fact: more than 60% of U.S. hosts add themed foods to their party plans, turning simple snacks into instant conversation starters.
This Website contains affiliate links. That means I may earn a small commission if you purchase through my links, at no extra cost to you.
This guide helps busy hosts build a showstopping menu fast. You’ll find quick five‑minute wins, mains, sides, desserts, and drinks laid out in a clear, practical flow. Each idea uses supermarket‑friendly ingredients and easy swaps to save time without losing the spooky effect.
Expect US favorites like puff‑pastry sausage mummies, spider‑web donuts, and graveyard cakes alongside family‑friendly treats such as banana “ghosts” and cake pops kids can decorate. Tips include make‑ahead steps, plating notes, and small garnishes that boost the fear factor—think lychee “eyeballs” and edible fake blood.
Plan smarter: mix savory and sweet to balance sugar, use pre‑made doughs and store sauces to cut stress, and pick one showstopper so your party looks intentional and fun.
Key Takeaways
- Follow a clear menu roadmap from quick snacks to drinks and desserts.
- Use store‑bought bases and simple garnishes to save time.
- Pick one showstopper like a graveyard cake or sausage mummies.
- Include kid‑safe activities such as decorating cake pops.
- Balance savory and sweet for a guest‑friendly spread.
Halloween, USA style: setting the spooky scene for your menu
Set a spooky tone by carving one dramatic Jack O’Lantern and lining the table with mini citrouille lanterns for a cinematic effet.
Lay a black base cloth and scatter novelty bonbons—dentures, gummy eyeballs, and tiny arachnids—down the center to form a playful runner.
Place toy spiders among the candies for texture and movement; they catch camera light and add instant drama when the lights go low.
Pre-freeze ice cubes with candy “eyes” so every sip gives a gentle jump scare. Offer a kid-safe tomato mocktail alongside a classic Bloody Mary for adults to set the tone from the first pour.
- Label dishes with punny tent cards so guests know what’s playful and what’s spicy.
- Lean on American bites like mini burgers and styled hot dogs for fast, familiar crowd-pleasers.
- Save pumpkin trimmings—use the flesh later in soups, pies, or cakes to avoid waste.
“A focused playlist and dimmed lights let your decor do the heavy lifting.”
These small staging choices boost visual impact and lead naturally into simple, fun recettes for the rest of your menu.
Quick wins before dusk: five-minute “recette halloween” ideas
Short on time? These fast snacks give you big spooky style with little work. Make two simple stars for your spread: banana ghosts and olive‑and‑garlic spiders. Both look crafted but assemble in minutes.
Banana ghosts with chocolate “eyes” for less candy, more fun
Halve bananas, pat them dry, and pipe tiny dots of melted chocolate for the eyes and a small “boo” mouth. Mount on a lollipop stick for a nut‑free option that cleans up easily.
Tip: Keep a squeeze bottle of chocolate warm in a mug of hot water for quick touchups.
Olive-and-garlic spider bites that crawl onto the platter
Use halved black olives for bodies and thin slices for legs. Set each spider on garlic toast, deviled eggs, or cream‑cheese canapés for a savory pop.
- Add a parsley sprig or chive crosshatch to read as webbing and contrast the dark araignées.
- Plate on white platters and arrange in concentric rings so the spiders seem to creep outward; this lifts the forme and looks great in photos.
- Prep slices and bread ahead, then assemble just before guests arrive to keep textures fresh.
“Small, themed bites let you finish setup and still greet guests with a full, festive table.”
These quick recettes act as last‑minute fillers and pair well with larger mains. They save time and add playful detail without extra fuss.
Savory bites that bite back: mommies, monsters, and witchy doigts
Turn classic party bites into playful monsters with simple tweaks and store-bought shortcuts.
Puff pastry sausage mummies with ketchup “sang” sauce
Cut puff pastry into thin bands and spiral them around hot dogs or sausages. Bake until crisp and golden.
Dot ketchup or mustard to make eyes. Serve with a warm sauce ramekin for dipping.
Witch’s fingers with almond nails and marinara dip
Shape buttery dough or breadstick dough into long digits and score knuckles for realism. Press whole almonds into the tips as nails.
Warm a thick marinara so it clings to each bite. Arrange these doigts over rosemary to mimic a forest floor.
Cheesy mummy toasts with tomato “blood” and olive pupils
Layer mozzarella strips over a tomato base like bandages. Add olive slices for pupils and bake until the fromage sets.
Stir in a touch of chipotle to the tomato “blood” for smoky heat. Offer a vegetarian swap: roasted carrot mummies wrapped in pastry.
- Vary cheese widths to give each mummy character.
- Dot tiny plastic araignées for a playful, camera-ready board.
- Arrange all three on one platter with ramekins of dips so guests can mix textures.
| Snack | Main visual | Best dip |
|---|---|---|
| Puff pastry mummies | Golden strips, mustard/ketchup eyes | Warm ketchup-based sauce |
| Witch’s fingers | Almond nails, scored knuckles | Thick marinara |
| Cheesy mummy toasts | Mozzarella bandages, olive pupils | Smoky tomato “blood” |
Mini scares, mega flavor: sliders, hot dogs, and crazy sandwiches
Turn small sandwiches and sliders into playful scares with a few clever cuts and bright garnishes.
Scary mini burgers are child-friendly and fast to build. Cut cheese into tiny triangles for fangs and tuck thin pickle slices as tongues so buns look like little monsters.
For hot dogs, slice the top to form “fingers,” add thin onion or ketchup lines as knuckles, and dot ketchup for dramatic “blood.” These are quick wins for hungry convives.
Use cookie cutters to stamp bread into bats, coffins, or skulls so plain fillings adopt a spooky forme. Toast buns lightly to keep the crunch and prevent soggy bites on the table.
Try mini salmon and herbed cream cheese sandwiches: olive slices make wide eyes and a caper works as a pupil. Offer veggie sliders—black bean or mushroom—to balance the spread.
- Set a DIY station with buns, patties, cheeses, pickles, and labeled squeeze bottles like “venom” and “slime.”
- Assemble last-minute savory “crazy sandwiches” to keep textures fresh and photos crisp.
“A simple bar keeps lines short and lets guests customize while you enjoy the party.”
Soupe and cauldron comforts: potiron, tomato “blood,” and spooky garnish
Two dramatic soups—a bloody tomato with pasta “maggots” and a silky potiron—bring warmth and theater to your table. Both travel well, taste better after a day, and make service simple when you prep ahead.
Bloody tomato soup with pasta “maggots” for dramatic effect
Simmer a thick tomato base until it coats a spoon. Stir in cooked orzo (langues d’oiseau) so the tiny shapes mimic wriggling maggots while staying comforting to eat.
Tip: carve a medium pumpkin, drop a heatproof bowl inside, and ladle the hot soup so the vessel seems to “bleed.” Finish each bowl with a few basil oil swirls to add aroma and motion without changing the core sauce.
Pumpkin potiron soup served in carved citrouille bowls
Reserve pumpkin trimmings from carving and purée them with onion, stock, cream, and a pinch of nutmeg for a classic potiron. The result is smooth, spiced, and perfect for ladling.
Serve portions in mini carved shells (citrouille) for personal cauldrons that wow on arrival. Offer crunchy toppings—roasted seeds, croutons, or crispy prosciutto—for contrast, and keep separate ladles to avoid flavor transfer.
- Simmer tomato base thick and add orzo for texture that reads spooky but tastes friendly.
- Use a heatproof insert when serving from a carved pumpkin to protect the shell and steady heat.
- Prepare both soups a day ahead; reheat gently and finish with oil swirls and toppings just before serving.
“Soups are simple to scale and deliver big table drama with little fuss.”
These two recettes balance showmanship and comfort, making them perfect centerpieces for a festive menu that still feeds a crowd.
Monster mains: pizza, sushi citrouille, and inky pasta
Mains that look eerie but taste familiar—think DIY pizza faces, jack o’lantern sushi rolls, and midnight-hued pasta with garlicky toast. These dishes are easy to scale and keep kids engaged while adults mingle.
Jack O’Lantern sushi rolls with nori shapes
Make maki using rice tinted orange with a touch of carrot juice or paprika. Press thin nori triangles and jagged mouths into the roll before slicing so each piece reads like a tiny citrouille face.
Plate on a black slate so the pumpkin faces pop. Sprinkle sesame seeds for “freckles” and offer soy or sweet chili for dipping.
Black “ink” spaghetti with monstrous garlic bread
Boil squid-ink spaghetti for dramatic color, then toss with a bright tomato sauce so the flavor stays familiar. Add protein—chicken, shrimp, or mushrooms—to turn a bowl into a satisfying main.
Serve with monstrous garlic bread: slash a baguette top, stuff with garlic butter and mozzarella, and bake until oozy. Cut irregular wedges to emphasize creature forme and keep portions easy to share.
- Shape sushi rolls with orange-tinted rice and press nori triangles for eyes and jagged mouths.
- Coach kids to design pizza faces—olives for pupils, pepperoni smiles—on a tomato‑mozzarella base before baking.
- Boil squid‑ink spaghetti for a midnight look; finish with bright tomato sauce to keep flavors familiar.
- Serve garlic-stuffed baguette slices hot so the cheese pulls for dramatic effect.
Tip: Garnish pastas with chopped parsley “webs” or one olive “spider” to echo the araignées theme without extra fuss.
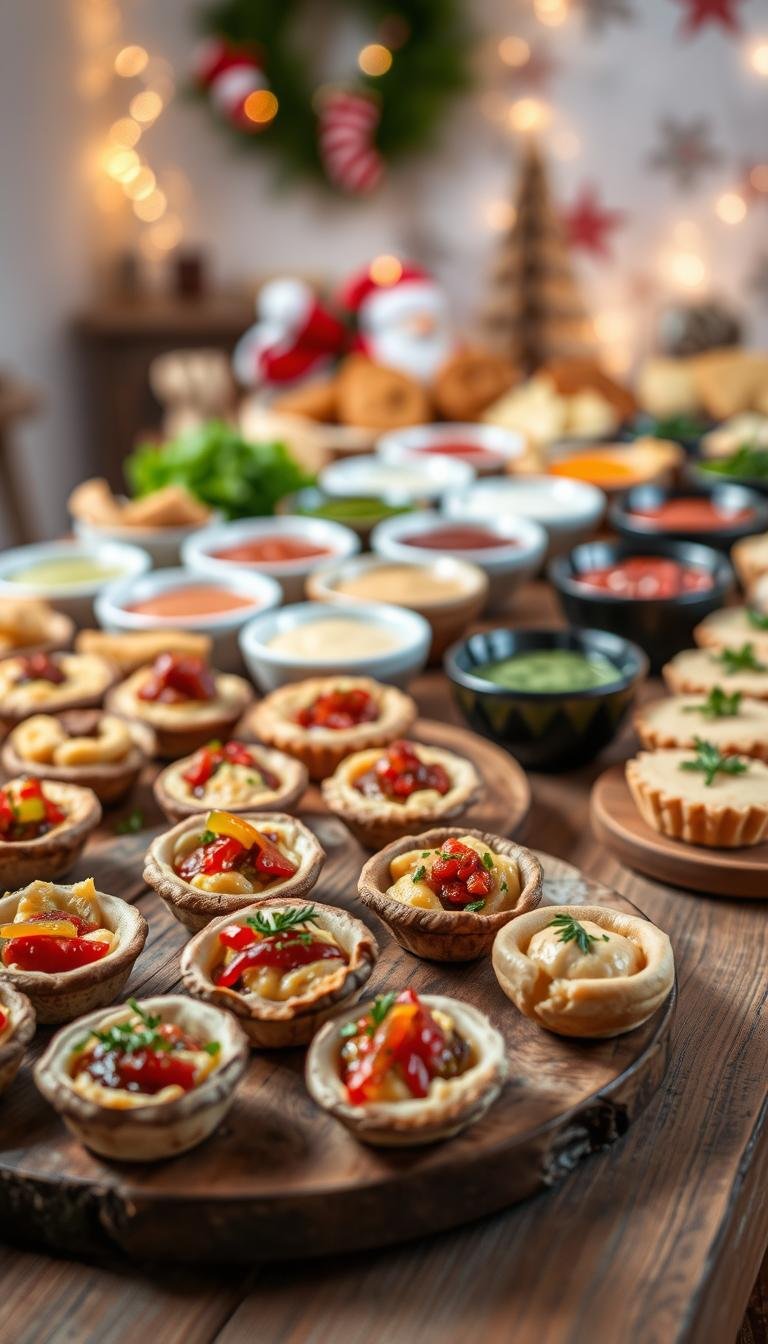
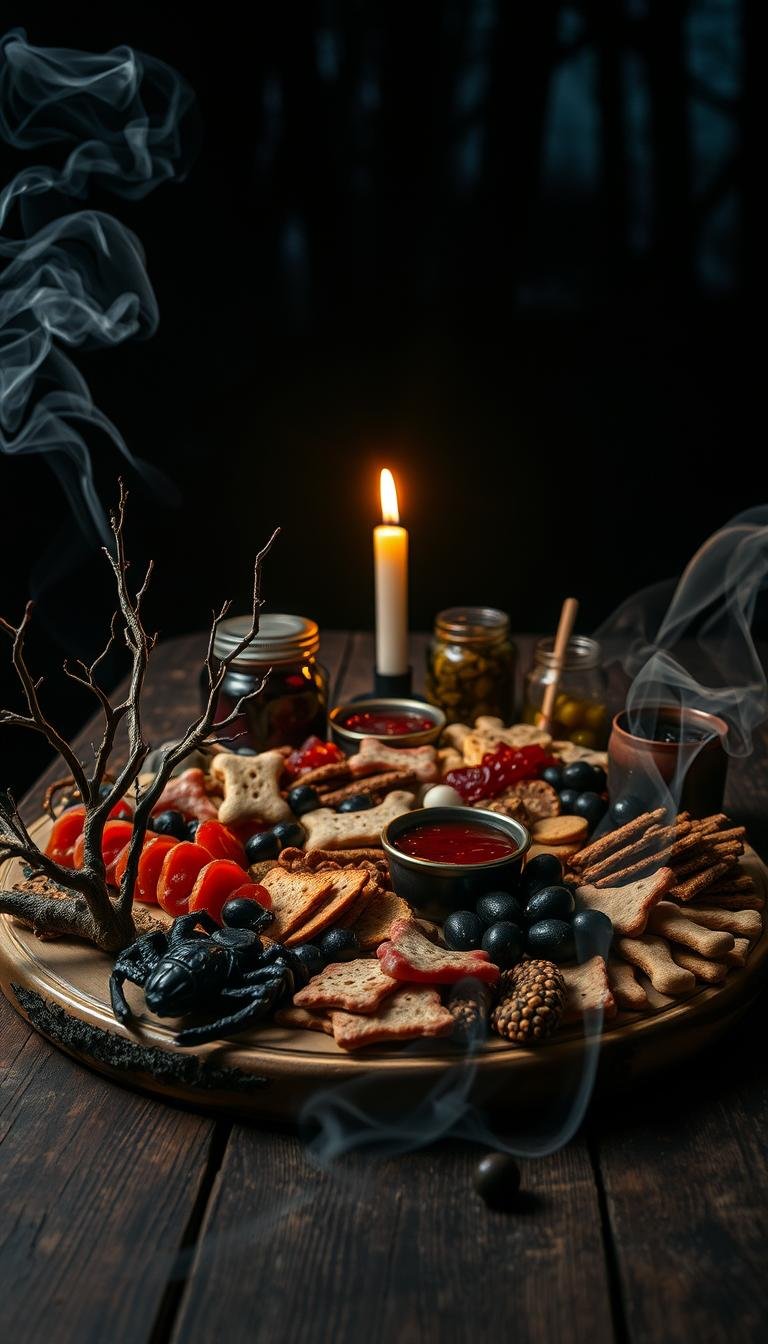
Spooky sides and snack boards: charcuterie with fromage and faux yeux
Create a grazing station that balances rich fromage with bright fruit and a few creepy props. A focused board saves time and looks curated when guests arrive.
Choose contrast: a charcoal‑coated wedge paired with a tangy blue‑veined cheese reads dramatic and tastes balanced. Add homemade seeded crackers and pre‑sliced hard cheese so guests can graze easily.
Halloween cheeseboard with charcoal rind and blue‑veined fromage
Fold cured meats into small “roses,” tuck in pickles, and dot the surface with dried apricot and persimmon to let orange tones pop on a matte tray.
Offer honey, mustard, and a pepper jelly to vary sweetness and heat. Sprinkle smoked paprika on a log of goat cheese for a dusty, witchy edge that photographs well.
Themed charcuterie table with toy spiders for full effect
Scatter toy araignées and a few plastic eyeballs across the board for instant theme without extra cooking. Place a kid‑friendly corner with mild cheddar cubes and pretzels so younger guests have safe choices.
- Visual tip: use black slate or a matte tray to make orange fruits and cheese veins glow.
- Pre‑slice firm cheeses to avoid a cutting bottleneck.
- Tuck grapes, figs, and apple slices between meats to reset the palate.
| Element | Why it works | Serve with |
|---|---|---|
| Charcoal rind cheese | Instant dramatic color | Seeded crackers, honey |
| Blue‑veined fromage | Tangy contrast | Pear slices, pepper jelly |
| Kid section | Inclusive snacking | Cheddar cubes, pretzels |
“A simple board, staged with contrast and a few playful props, keeps guests nibbling and mingling.”
Chocolate thrills: cupcakes, donuts, brownies, and bark
Quick chocolate treats bring a dramatic finish with minimal fuss. Use basic techniques and contrasting chocolate to keep details readable in dim light.
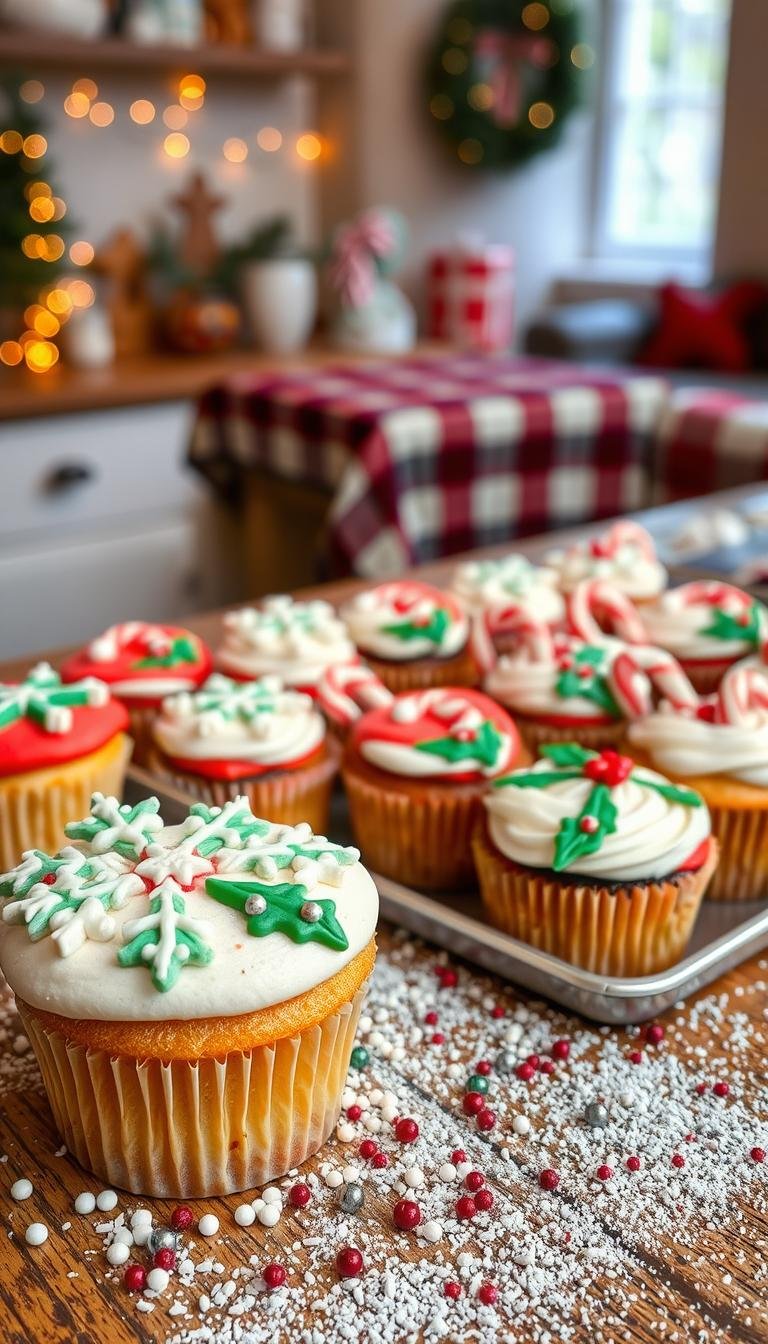
Jack Skellington cupcake faces
Bake chocolate or black‑velvet cupcakes and pipe simple white faces with a round tip. No special tools needed—just a steady hand for eyes and a stitched mouth.
Spider‑web donuts with dark and white chocolat
Glaze doughnuts in dark chocolate, pipe concentric white rings, then drag a toothpick from center outward to form webs. The two‑tone contrast makes the web pop.
Brownies, bark, and a graveyard base
Make fudgy brownies and cut into small squares for a brownie base. Crumble chocolate cookies as “soil” and add cookie tombstones with icing. For bark, spread melted chocolate, swirl a second color, and stud with candy eyes, pretzel shards, or nuts for texture.
Tip: Present treats at varied heights to create a dessert skyline that photographs well.
| Item | Decoration | Best pairing |
|---|---|---|
| Jack Skellington cupcakes | White icing faces on chocolate | Vanilla buttercream piped with round tip |
| Spider‑web donuts | Dark glaze + white web | Espresso or milk |
| Ghoulish bark | Swirled chocolates, candy eyes | Pretzel shards, nuts |
| Graveyard brownies | Cookie soil, icing tombstones | Cold vanilla milk |

Biscuits, cookies, and whoopies crawling with araignées
Turn simple cookies into mini scenes: spiders, skeletons, and glossy chocolat accents finish the board.
Start with a sturdy dough so shapes hold their edge after baking. Round biscuits make the best base for spider builds.
Pipe eight thin chocolate legs from a central candy and add two icing eyes. That simple trio of elements keeps prep fast and the motif clear.
Whoopie pies become crawling treats by tucking licorice strings as legs and drizzling a thin chocolate sheen for dimension.
Offer skeleton biscuits as a kid activity. Give children small piping bags to trace bone shapes with royal icing—it’s fun and fine‑motor friendly.
Prep tip: set a decorating station with parchment, cooling racks, labeled sprinkles, and single‑serve frosting cups for hygiene and flow.
| Cookie type | Key decoration | Best dough |
|---|---|---|
| Spider biscuit | Chocolate legs + icing eyes | Sturdy butter or sugar dough |
| Whoopie spider | Licorice legs + chocolate drizzle | Cake‑like whoopie batter |
| Skeleton biscuit | Royal icing bones | Ginger or shortbread dough |
Keep decorations minimal—two or three elements per cookie—so each design reads well and prep stays quick.
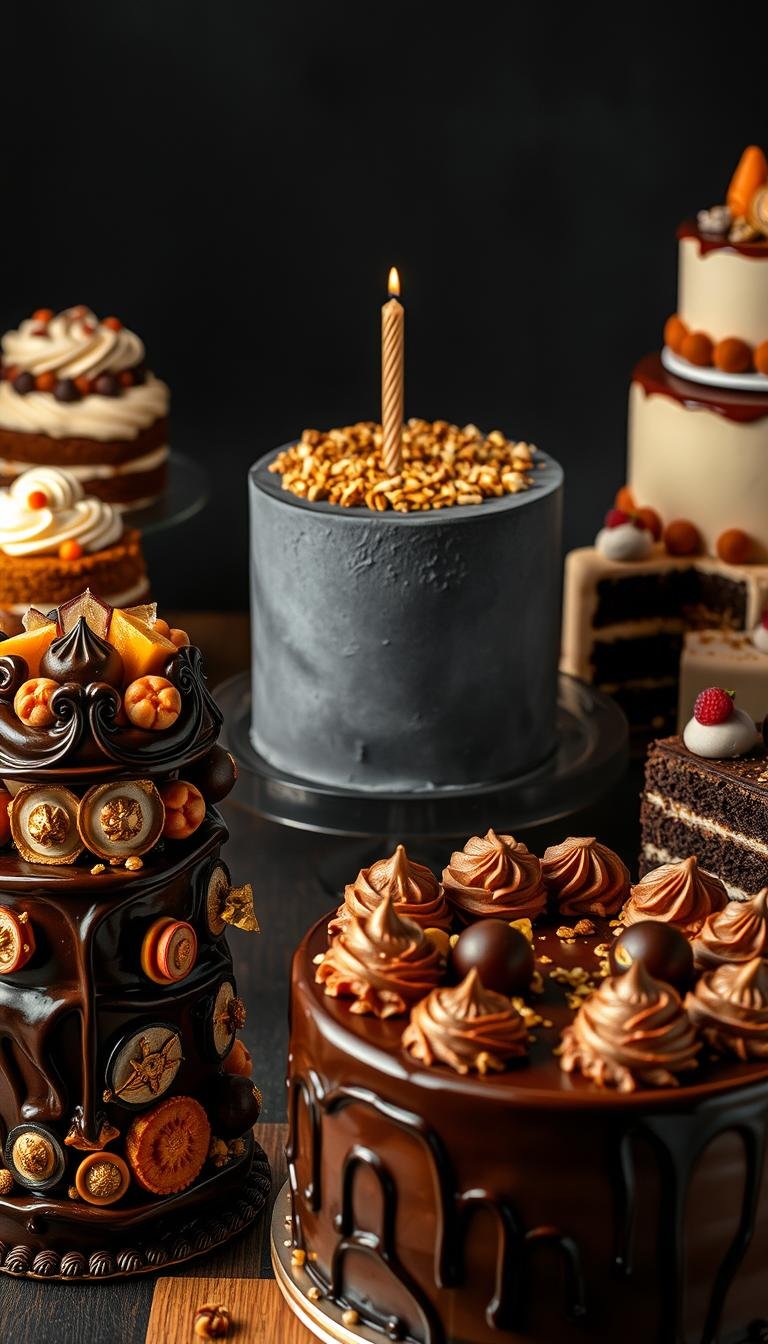
Cakes that cause a stir: pumpkin cake, cemetery cake, and blood‑drip bakes
Finish your spread with dramatic cakes that look impressive but stay easy to serve. These designs pair showy toppers with reliable baking techniques so the dessert table feels intentional and stress‑free.
Autumn spiced pumpkin cake:
Autumn spiced pumpkin cake with white‑chocolate ghosts
Bake a moist pumpkin layer cake spiced with cinnamon and nutmeg. Ice with orange buttercream and top with small molded white‑chocolate ghosts for height and charm.
Tip: chill tiers briefly between crumb coat and final icing so the buttercream stays smooth and the ghosts sit straight.
Graveyard brownie base:
Graveyard brownie base with cookie “soil” and tombstones
Use a dense chocolate or brownie base and crumble chocolate cookies as “soil.” Stand cookie tombstones into the crumb and pipe tufts of green frosting as grass.
Scatter candy skulls and edible moss sprinkles so every slice reads like a scene. A hint of chocolat in the base anchors the sweet flavors.
Red “blood” jam drip:
Red “blood” jam drip cake with fondant and food coloring
Smooth fondant over your cake, then warm strawberry jam and tint it to the shade you want. Spoon medium‑viscosity jam along the edge so it drips naturally without pooling.
Pro tips:
- Keep drip viscosity medium so trails hold their forme.
- Stabilize tall cakes with dowels for transport; heavy toppers can shift.
- Short on time? Bake cupcakes with the same batters and decorate the same way—fewer tools, faster output.
- Slice with a hot, clean knife between cuts to preserve crisp visuals for photos and service.
Small detail, big impact: a few well‑placed toppers and controlled drips turn simple cakes into centerpieces guests will talk about.
Pop treats on a stick: cake pops, pop cakes, and candy apples
Pop treats make a grab‑and‑go dessert that keeps kids and adults smiling. These handheld sweets look festive and are simple to prep ahead. They work well for a busy party flow and make neat favors when wrapped.
Eyeball cake pops kids can decorate
Roll cake crumbs with a few tablespoons of frosting, form tight balls, and chill so they hold their shape. Dip each ball in a white coating and add a colored iris plus a dark pupil for a striking œil effect.
Keep veins minimal: draw thin red lines with a food pen to suggest realism without going overboard. Use melting wafers or temper your coating so the finish stays glossy and crack‑free.
Classic candy apples in eerie colors
Skewer apples firmly, then dip in candy syrup tinted bright red, black, or neon green for instant impact. For a softer bite, coat apples in melted chocolat and finish with crushed nuts, sprinkles, or honeycomb.
Wrap each treat in clear bags with ribbon; they double as party favors and help portion sugar for kids. Stage pops upright in a foam block covered with black tissue so your display reads polished and professional.
- Roll cake crumbs with frosting, chill, and dip in white coating; add a colored iris and dark pupil.
- Draw thin red lines for veins—keep it minimal so treats stay appetizing.
- Temper or use melting wafers so coatings set shiny and crack‑free.
- Skewer apples firmly; dip in tinted candy syrup or coat in chocolate and top with mix‑ins.
Tip: Arrange a small bowl of loose bonbons nearby to let guests pick extras and vary textures.
Bonbons and creepy gummies: œil, dentier, and spider sweets
Arrange a monstrous candy runner down the center to give your party one instant focal point. Use gummy eyeballs, chewy denture pieces, and small spider candies for variety and theme.
Mix textures by adding chocolate rocks and soft marshmallows so handfuls stay interesting. Pre‑portion some treats into small cups for kids to manage servings and to speed service.
- Build a candy “river” with eyeball gummies, denture chews, and mini spiders.
- Pair marshmallows and crunchy chocolate pieces to vary mouthfeel.
- Keep colors cohesive—red, black, orange—so the display pops on a dark table.
- Pre‑portion bonbons for younger guests to avoid spills.
- Set out small savory bowls (pretzels, cheese crackers) nearby to balance sweet bites.
“A single, themed runner brings cohesion and keeps guests grazing.”

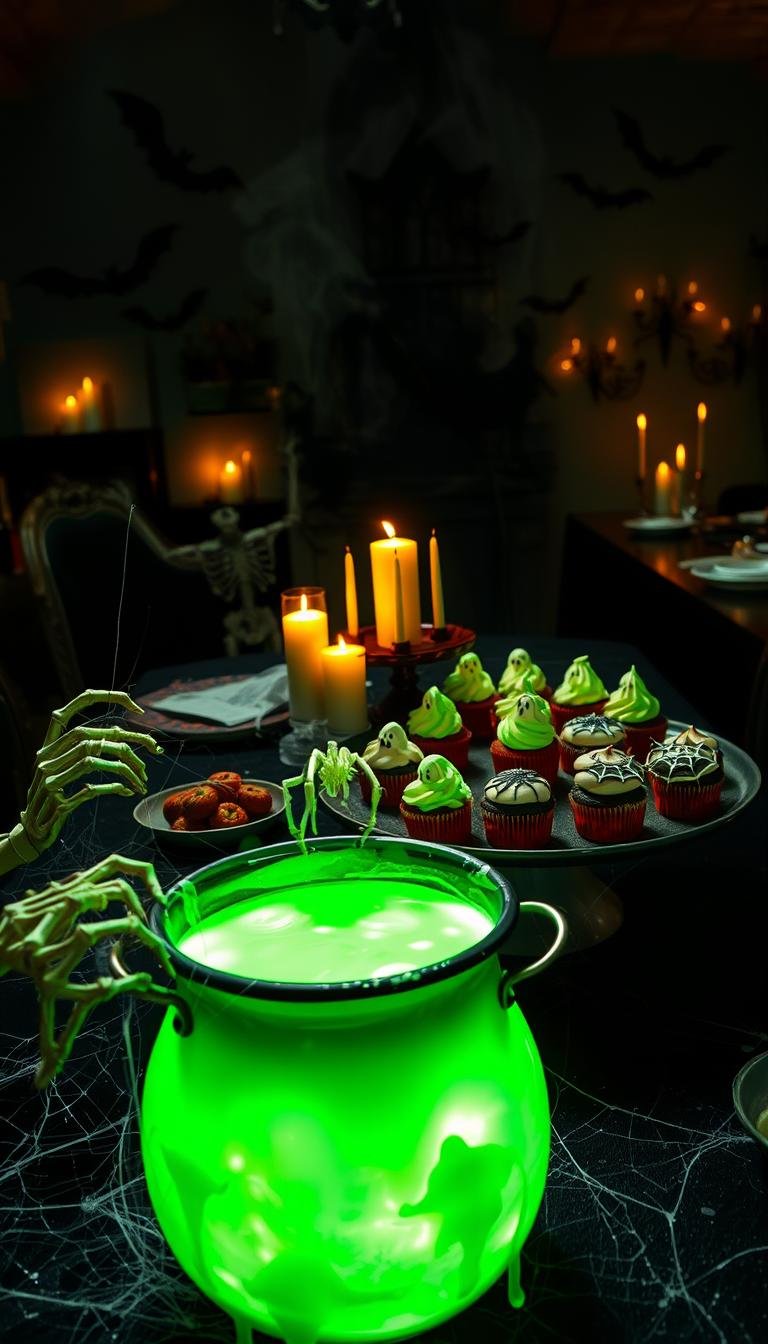
Potions to pour: kid punch, cocktails, and fake blood sauce for bakes
Make drinks part of the show with one dramatic punch and a simple adult cocktail. These pours add theater without extra fuss.
Purple fruit punch with lychee œil “eyeballs” and frozen “hands”
Stir a deep purple juice base and chill it in the fridge. Float lychees stuffed with blueberries so they bob like clear, floating eyes.
Freeze a food‑safe glove mold filled with water or juice and drop the solid “hand” into the bowl at serving time for a big reveal that melts slowly.
Mint‑green grasshopper for grown-ups
Shake crème de menthe, crème de cacao, and cream with ice, then strain into a chilled glass. The mint‑chocolate notes are bright and smooth.
Edible fake blood to drizzle over cupcakes and cakes
Whisk corn syrup with red food coloring and a touch of cocoa for depth. Test drip speed on a chilled plate to find the right guise—too thin it runs, too thick it blobs.
- Serve kid punch in a cauldron labeled “Potion” to lean into sorcière vibes.
- Stage drinks on a sideboard so the main table stays free for food.
- Use LED tealights or glowing ice cubes to add hype without real peur.
Tip: Label adult cups and kid cups clearly to avoid mix‑ups and keep service smooth.
Kid‑friendly fun: decorate, assemble, and serve with less sugar
Create small, supervised stations so children can assemble whoopie “spiders,” pipe skeleton biscuits, or top mini pizzas with prepped veggies and a little cheese.
Offer a savory corner with breadstick doigts—press almond “nails” into the tips and bake. These balance sweet treats and give picky eaters a hands-on option.
Keep sugar lower by swapping candy for fresh fruit faces on pancakes or yogurt cups. Cap icing portions and stash most decorations in small bowls so kids use less at once.
- Set up cookie decorating, cake-pop “eyes,” and mini pizza stations with simple sample cards.
- Provide veggie platters carved like pumpkins for a fresh, crunchy break.
- Rotate tasks so each child pipes a bone, places an eye, or shapes a witch’s finger (sorcière) and gains confidence.
“Small steps and clear cards let kids work semi-independently while you supervise.”
| Station | What to prep | Kid role |
|---|---|---|
| Cookie decorating | Pre-baked biscuits, small piping bags | Pipe skeleton lines |
| Cake-pop eyes | Chilled pops, white coating, colored candies | Place iris and pupil |
| Mini pizza faces | Pre-rolled dough, sliced toppings | Arrange toppings and bake |
Tip: Give two-step instruction cards and praise each tiny success so every child leaves proud of their spooky guise.
Dress the table: forme, effet, and décor tricks to wow convives
Set a stage for your menu by balancing height, texture, and tiny surprises. A dramatic focal point and small personal lanterns guide attention and make seating feel special.
Jack O’Lantern centerpieces and mini citrouille lanterns
Carve one large Jack O’Lantern and place it on stacked books draped in black cloth for a sudden lift. Surround it with several mini pumpkins as personal lanterns.
Mini lanterns at each place act as warm guides so guests find their seats and feel welcomed.
Spider and denture bonbons as a monstrous table runner
Lay a narrow black runner down the center and arrange gummy spiders and denture bonbons in a winding path to imply motion.
Add torn cheesecloth or gauze for texture and tuck witch’s fingers (doigts) on appetizer boards so decor doubles as snacks.
Ice cubes with candy “eyes” for instant fear factor
Freeze candy eyes in ice molds and drop them into clear drinks at the last second. The result is a quick jump‑scare with zero mess.
“A final lap—dim lights, light candles, and cue the playlist—brings the whole tour together.”
| Element | Why it works | Quick tip |
|---|---|---|
| Elevated pumpkin | Creates focal height for photos | Use books wrapped in black cloth |
| Black runner + bonbons | Leads the eye and adds movement | Place gummies in a meandering line |
| Eye ice cubes | Surprise in every glass | Store frozen in a sealed container |
Conclusion
Bring the night full circle, strong, by pairing warm soupe and savory comforts with showy sweets like spider‑web donuts, brownies, and bark.
Unveil a punch bowl with lychee “eyeballs” and a frozen hand to create a single memorable moment that ties the tour together. Prep soups and cakes ahead so the last hour focuses on plating and finishing touches.
Plan one hero centerpiece—a graveyard cake or a bold charcuterie board—to anchor the table without overextending. Delegate kid‑friendly stations to a helper so you can circulate and enjoy the party.
Finish with a quick checklist: lighting, playlist, serving tools, labeled dishes, and a final room tour to catch small fixes. Small details—eyeball garnishes, toy spiders, crisp labels—deliver outsized delight and make your spread feel effortless.