Easy Bone In Chicken Thigh Recipes for Home Cooks
Surprising fact: many home cooks hit 425°F and roast for just 35–40 minutes, then broil 2–3 minutes, and end up with restaurant-quality results every time.
This Website contains affiliate links. That means I may earn a small commission if you purchase through my links, at no extra cost to you.
This method is forgiving and fast. A wire rack over a foil-lined sheet pan lets hot air circulate so skin crisps while the meat stays juicy. Pat dry, season, and bake hot to render fat under the skin for better texture.
You’ll use common ingredients and basic tools most kitchens already have, making this approach ideal for a weeknight meal. Leftovers hold well for 3–4 days in the fridge and freeze for up to 1–3 months.
Why it works: high heat speeds browning, a quick broil finishes color and crunch, and simple steps give reliable results so you can focus on sides like mashed potatoes or roasted vegetables.
Key Takeaways
- Roast at 425°F for about 35–40 minutes, then broil 2–3 minutes for crispy skin.
- Use a wire rack on a foil-lined pan for the best airflow and crunch.
- Simple seasonings and high heat yield juicy meat with minimal effort.
- Leftovers store 3–4 days in the fridge or freeze for up to 1–3 months.
- Reheat in a 350°F oven or air fryer to preserve texture and crispness.
Why bone-in, skin-on chicken thighs are a home-cook win
Dark, skin-covered thighs give home cooks a forgiving, flavorful centerpiece that rarely dries out. These skin-on cuts are naturally tender and hold moisture better than lean white cuts, so the meal is forgiving if timing slips.
Because the meat has more connective tissue and some fat, you can roast at a bit higher heat to break that down. That yields a more succulent bite and deeper flavor.
Patting the surface dry before seasoning helps the skin render and brown rather than steam. A wire rack on a sheet pan encourages even airflow so the outer layer crisps on all sides.
“Juicy meat under crunchy skin is the low-effort, high-reward result every home cook wants.”
- Dark cuts keep juices better, giving margin for oven timing.
- Bone adds natural heat regulation and richer mouthfeel.
- Skin renders fat as it roasts, creating that shattering crisp.
- Widely available and budget-friendly for everyday dinners.
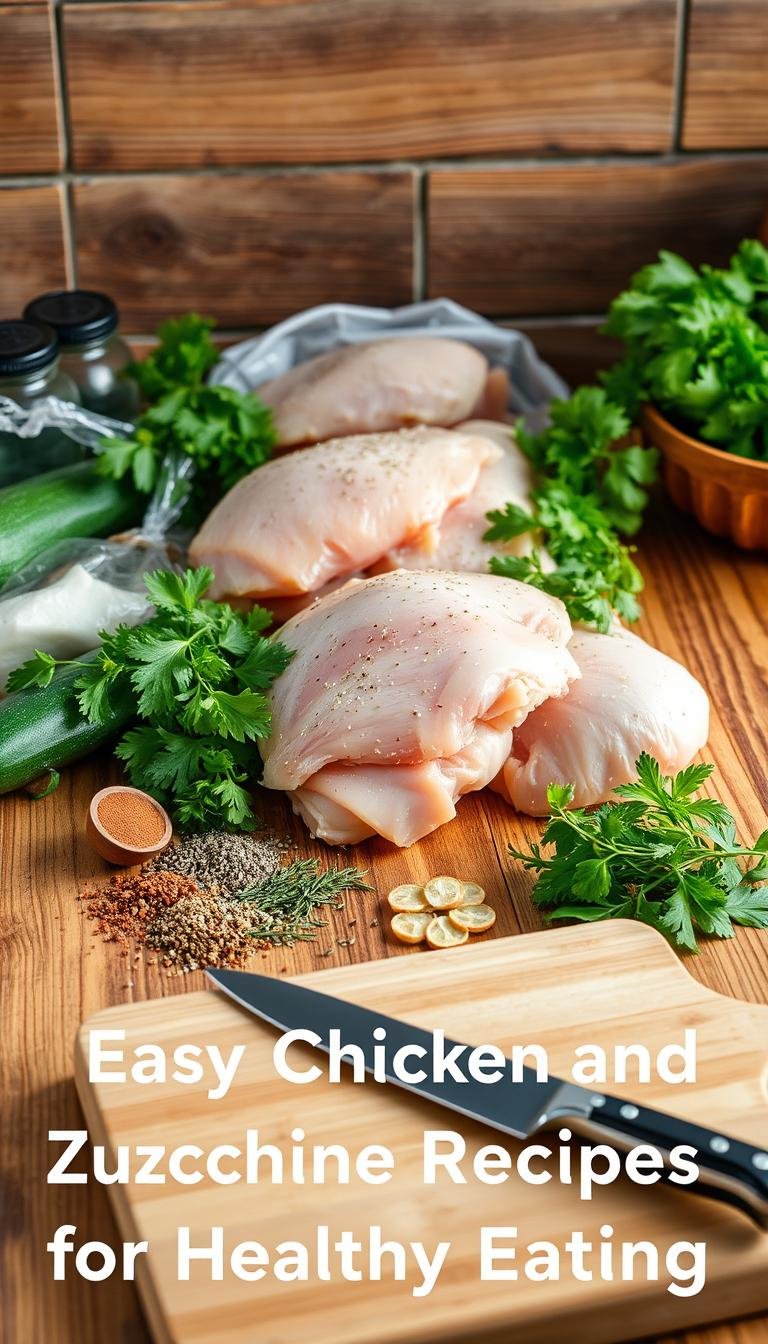
Ingredients you’ll need for flavor-packed chicken
Start by gathering a few pantry staples that punch well above their weight to season for great flavor. Simple items give the most return: olive oil, salt, pepper, garlic, and a handful of dried herbs make a reliable base.
Core pantry items
Use skin-on chicken thighs, olive oil, salt, black pepper, paprika, garlic powder, onion powder, oregano, and thyme. These spices form a balanced, savory backbone.
Smart substitutions
If you need swaps, boneless thighs or chicken breasts work with shorter cook times. Choose dried garlic for rubs or fresh garlic for pan sauces.
- Pat chicken dry with a dry paper towel so spices stick and skin crisps.
- Olive oil helps seasonings adhere and promotes browning under high heat.
- Butter can replace oil for skillet finishes; oil is better for dry rubs and oven roasting.
- If you lack a rack, use a roomy sheet pan so rendered fat doesn’t make the surface soggy.
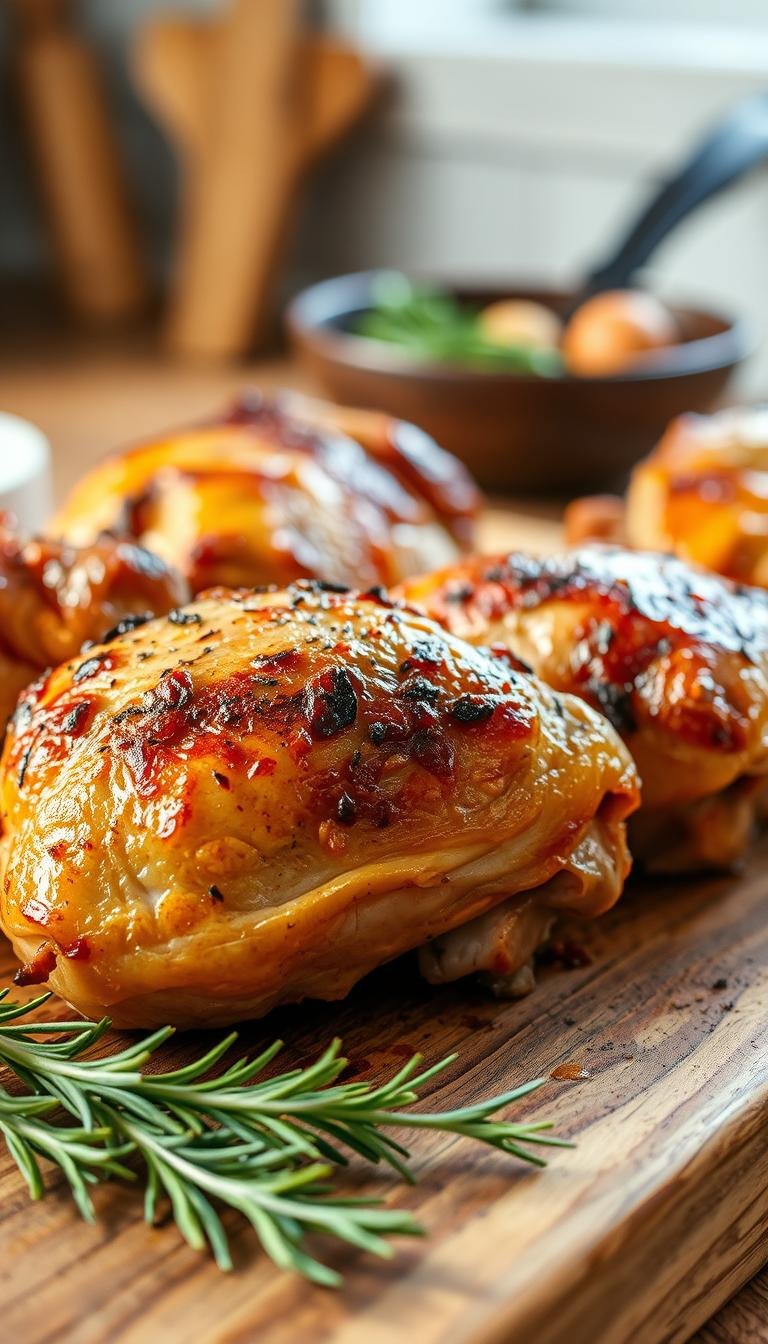
Bone in chicken thigh recipes: simple step-by-step that delivers crispy skin
Small steps — dry, season, and roast — create reliably crispy results every time.
Prep and pat dry
Preheat the oven to 425°F. Pat chicken as dry as possible using a dry paper towel so the skin browns instead of steaming.
Season and oil
Mix paprika, garlic powder, onion powder, dried oregano, dried thyme, salt, and black pepper. Add a splash of olive oil and rub the blend over the skin and under it if you like extra flavor.
Preheat oven and bake
Place chicken on a rack set over a foil-lined sheet pan, skin side up. Bake 35–40 minutes so the fat renders and the surface crisps while the meat stays juicy.
Finish strong
Check the internal temperature in the thickest part of a thigh; aim for 165–170°F. For extra crispy skin, broil on high for 2–3 minutes, watching the top closely.
“High heat and a dry surface are the two fastest paths to perfectly crispy skin.”
- Rest 5 minutes before serving to let juices settle.
- This baked chicken method scales easily and keeps cleanup simple.
| Step | Time | Key tip |
|---|---|---|
| Preheat & prep | 5 minutes | Preheat oven to 425°F; pat dry with a dry paper towel |
| Season & oil | 5 minutes | Mix spices with oil; rub under the skin for depth |
| Bake | 35–40 minutes | Place on rack over sheet pan; check internal temperature |
| Broil & rest | 2–3 minutes + 5 minutes rest | Broil top to crisp; rest to redistribute juices |
Seasoning and sauce ideas to match your dinner mood
A simple herb rub or a quick garlic butter sauce can steer the whole meal toward Italian, smoky, or fresh citrus notes.
Classic herb blend: Mix garlic powder, onion powder, paprika, oregano, thyme, salt, and pepper. Whisk that with a splash of olive oil for an all-purpose crust. Apply about a teaspoon of the mix per piece so each bite has bold yet balanced flavor.

Garlic butter skillet-to-oven method
Sear skin-side down in a hot skillet with a little oil. Add butter and minced garlic to make a quick pan sauce, then place chicken directly into the oven to finish. This gives richer mouthfeel and a glossy finish.
Spice swaps and finishing tips
Try smoked paprika, dried rosemary, basil, or lemon-pepper to change the profile without extra work. Preheat oven so you can move the pan straight from stove to oven for best color.
| Profile | Key spices | Finish |
|---|---|---|
| Classic herb | Oregano, thyme, garlic powder | Olive oil rub, broil 2–3 minutes |
| Rich garlic butter | Minced garlic, butter, black pepper | Skillet sear then bake; broil top briefly |
| Smoky or bright | Smoked paprika, rosemary, lemon-pepper | Dry rub; broil for color |
Tools and setup that boost results with minimal effort
The right gear and small setup choices cut guesswork and speed up cleanup. A wire rack over a foil-lined sheet pan ensures airflow and easy cleanup. It helps fat drip away so skin crisps evenly.
Essentials to keep on hand
Heavy-duty sheet pan: Choose one that won’t warp at high oven heat. Line it with foil to catch drips and reduce scrubbing.
Instant-read thermometer: Check internal temperature in the thickest spot so the thighs are safe and juicy without overcooking.
Quick setup tips
- Pat surfaces dry with a paper towel before seasoning; a dry exterior browns faster.
- Lightly brush olive oil on skin or oil the rack to prevent sticking during the initial roast.
- Place chicken with space between pieces so heat circulates; crowding causes steaming and soft skin.
- Use tongs to transfer pieces and position the rack low enough to allow a final broil blast.
“Simple tools and a smart layout make crisp, even results repeatable.”
| Tool | Purpose | Quick tip |
|---|---|---|
| Wire rack | Improves airflow and crisping | Set over a foil-lined pan to catch drips |
| Heavy-duty sheet pan | Stable surface at high heat | Large enough to hold drippings and avoid smoke |
| Instant-read thermometer | Confirms safe internal temperature | Check at the thickest point, then rest meat before serving |
Serve it right: easy sides and weeknight dinner pairings
Match the roast with a couple of quick sides to make a complete, weeknight dinner with little fuss.

Weeknight sides that pair well
Classic pairings are mashed potatoes, roasted Brussels sprouts, or green beans brightened with lemon and shallots. These take little hands-on time and balance savory meat with fresh veggies.
Make-ahead uses and reheating
Sliced leftovers fit salads, grain bowls, or wraps for fast lunches. For best texture, reheat in a 350°F oven or air fryer for several minutes to re-crisp the skin. Avoid the microwave; it softens the top and ruins crispness.
- One-pan idea: roast a tray of veggies on the same pan, staggering start times.
- Quick pan sauce: deglaze drippings with broth and lemon, then spoon over the baked chicken for an upgrade.
- Finish with chopped parsley on top for color and brightness.
| Side | Prep time | Quick tip |
|---|---|---|
| Mashed potatoes | 15–20 minutes | Use warm milk and butter for silky texture |
| Roasted Brussels sprouts | 20–25 minutes | Toss with olive oil and roast near the end |
| Green beans with lemon | 8–10 minutes | Sauté with shallots and finish with lemon zest |
Time, temperature, and storage: from oven to fridge or freezer
A clear plan for bake times and cooling will save texture and flavor on busy nights.
Bake times vary by cut and oven temperature. At 425°F expect many bone-in pieces to take about 35–40 minutes, often finishing near 165–170°F internal temperature.
Boneless pieces cook quicker—usually 15–20 minutes depending on size. If you roast at 400°F, many pieces finish around 25–30 minutes; adjust based on how crowded the sheet and rack are.
Storage: cool completely, then transfer to an airtight container and refrigerate for 3–4 days. For longer storage, freeze cooled pieces for 1–3 months and label the container with the date.
Reheating for crisp skin: reheat in a 350°F oven about 15 minutes or use an air fryer for 3–4 minutes to restore crunch. Reheat on a rack or preheated pan so air circulates beneath. Avoid microwaving if you want to keep the exterior crisp.
Conclusion
This dependable method gives you crisp skin and juicy meat with minimal fuss, every time.
Pat dry, season, roast at 425°F for roughly 35–40 minutes, broil 2–3 minutes, then rest. That timeline makes baked chicken predictable and repeatable for busy nights.
Seasoning is flexible: swap herbs or finish with garlic butter without changing the workflow. The basic recipe handles flavor swaps well and scales from one piece to a full tray.
Store cooled leftovers in the fridge and reheat in a hot oven or air fryer so the skin stays crisp. Keep an instant-read thermometer handy to check doneness and save time on final checks.
Make this your weeknight go-to: simple steps, reliable timing, and a few pantry staples give consistent results that please the family and cut dinner stress.